I received my Freeman 2300 PNP kit a few days ago. It arrived in decent shape. A few holes in the cardboard packaging and some minor damage to the foam.
Overall, I am impressed with the fit of the parts. The plane went together much faster than expected. installing the electronics will take much longer.
I am working on installing the tilt servo. The provided servo has 90 degrees of travel. When I align the spline of the servo with grooves of the provided tilting hardware the motor is either short of vertical (85ish) or beyond vertical (95ish). Full swing the other direction the engine mount is either short of horizontal or a bit beyond. If the forward motors are less than vertical, the plane will go forward in VTOL. If the forward engines are short of horizontal then the forward engines will provide lift, which isn’t very efficient or desirable. If the plane flies at a positive angle of attack then this might be acceptable.
Also, I notice a little movement in the forward engines when they are installed with all screws tightened. I would prefer no movement. Are others seeing the same thing with the provided parts?
I solved that problem by, tuning the corresponding RC pwm values. Than use fine tuning to, you know fine tune. You should increase the bandwith of pwm values for both tilt servos. By default, they should be min1000 max 2000. Try 950 and 2100 for example. And than make trim for both tilt channels.
Thanks. I haven’t connected to mission planner yet. I have a ways to go before I install my Pixhawk. I was just using a servo tester. I was a bit surprised to see range limited to 90 degrees.
Did you notice any movement in your front engine assemble?
Did you get there pixhawk with your kit? I did, my plane also went together very easily, it would be nice if they had a wire harness made for the wings it would be much simpler.
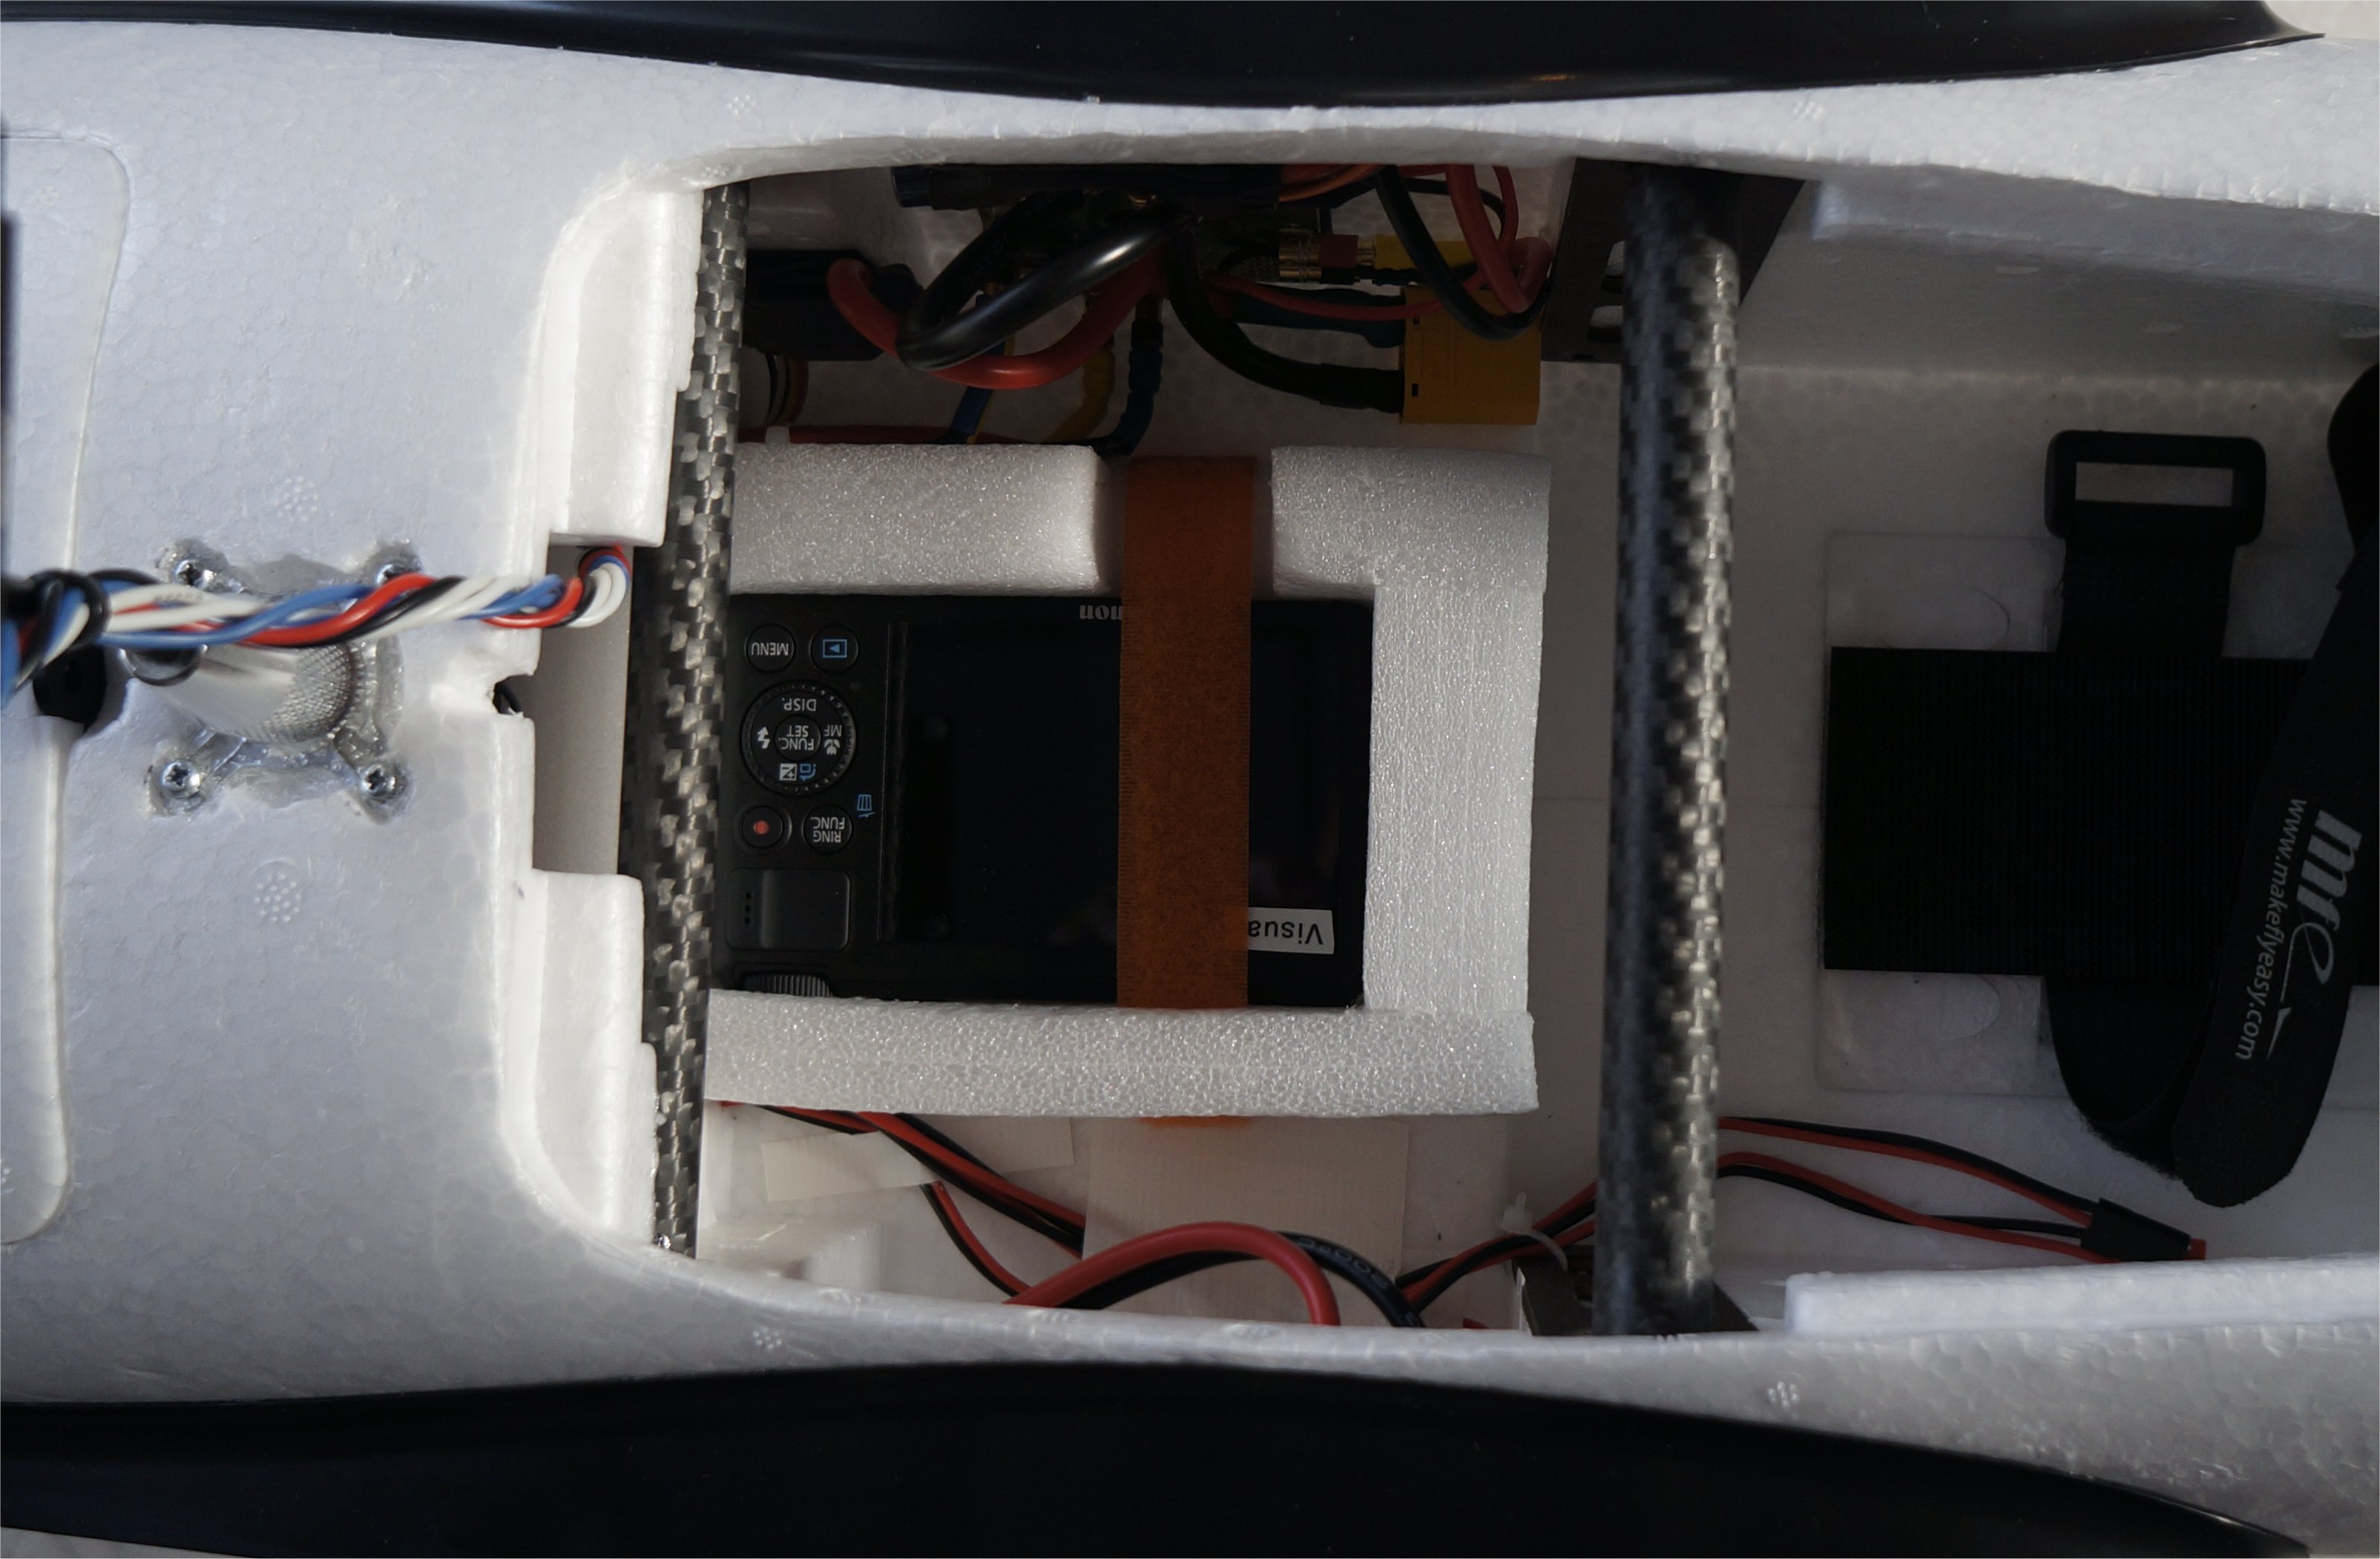
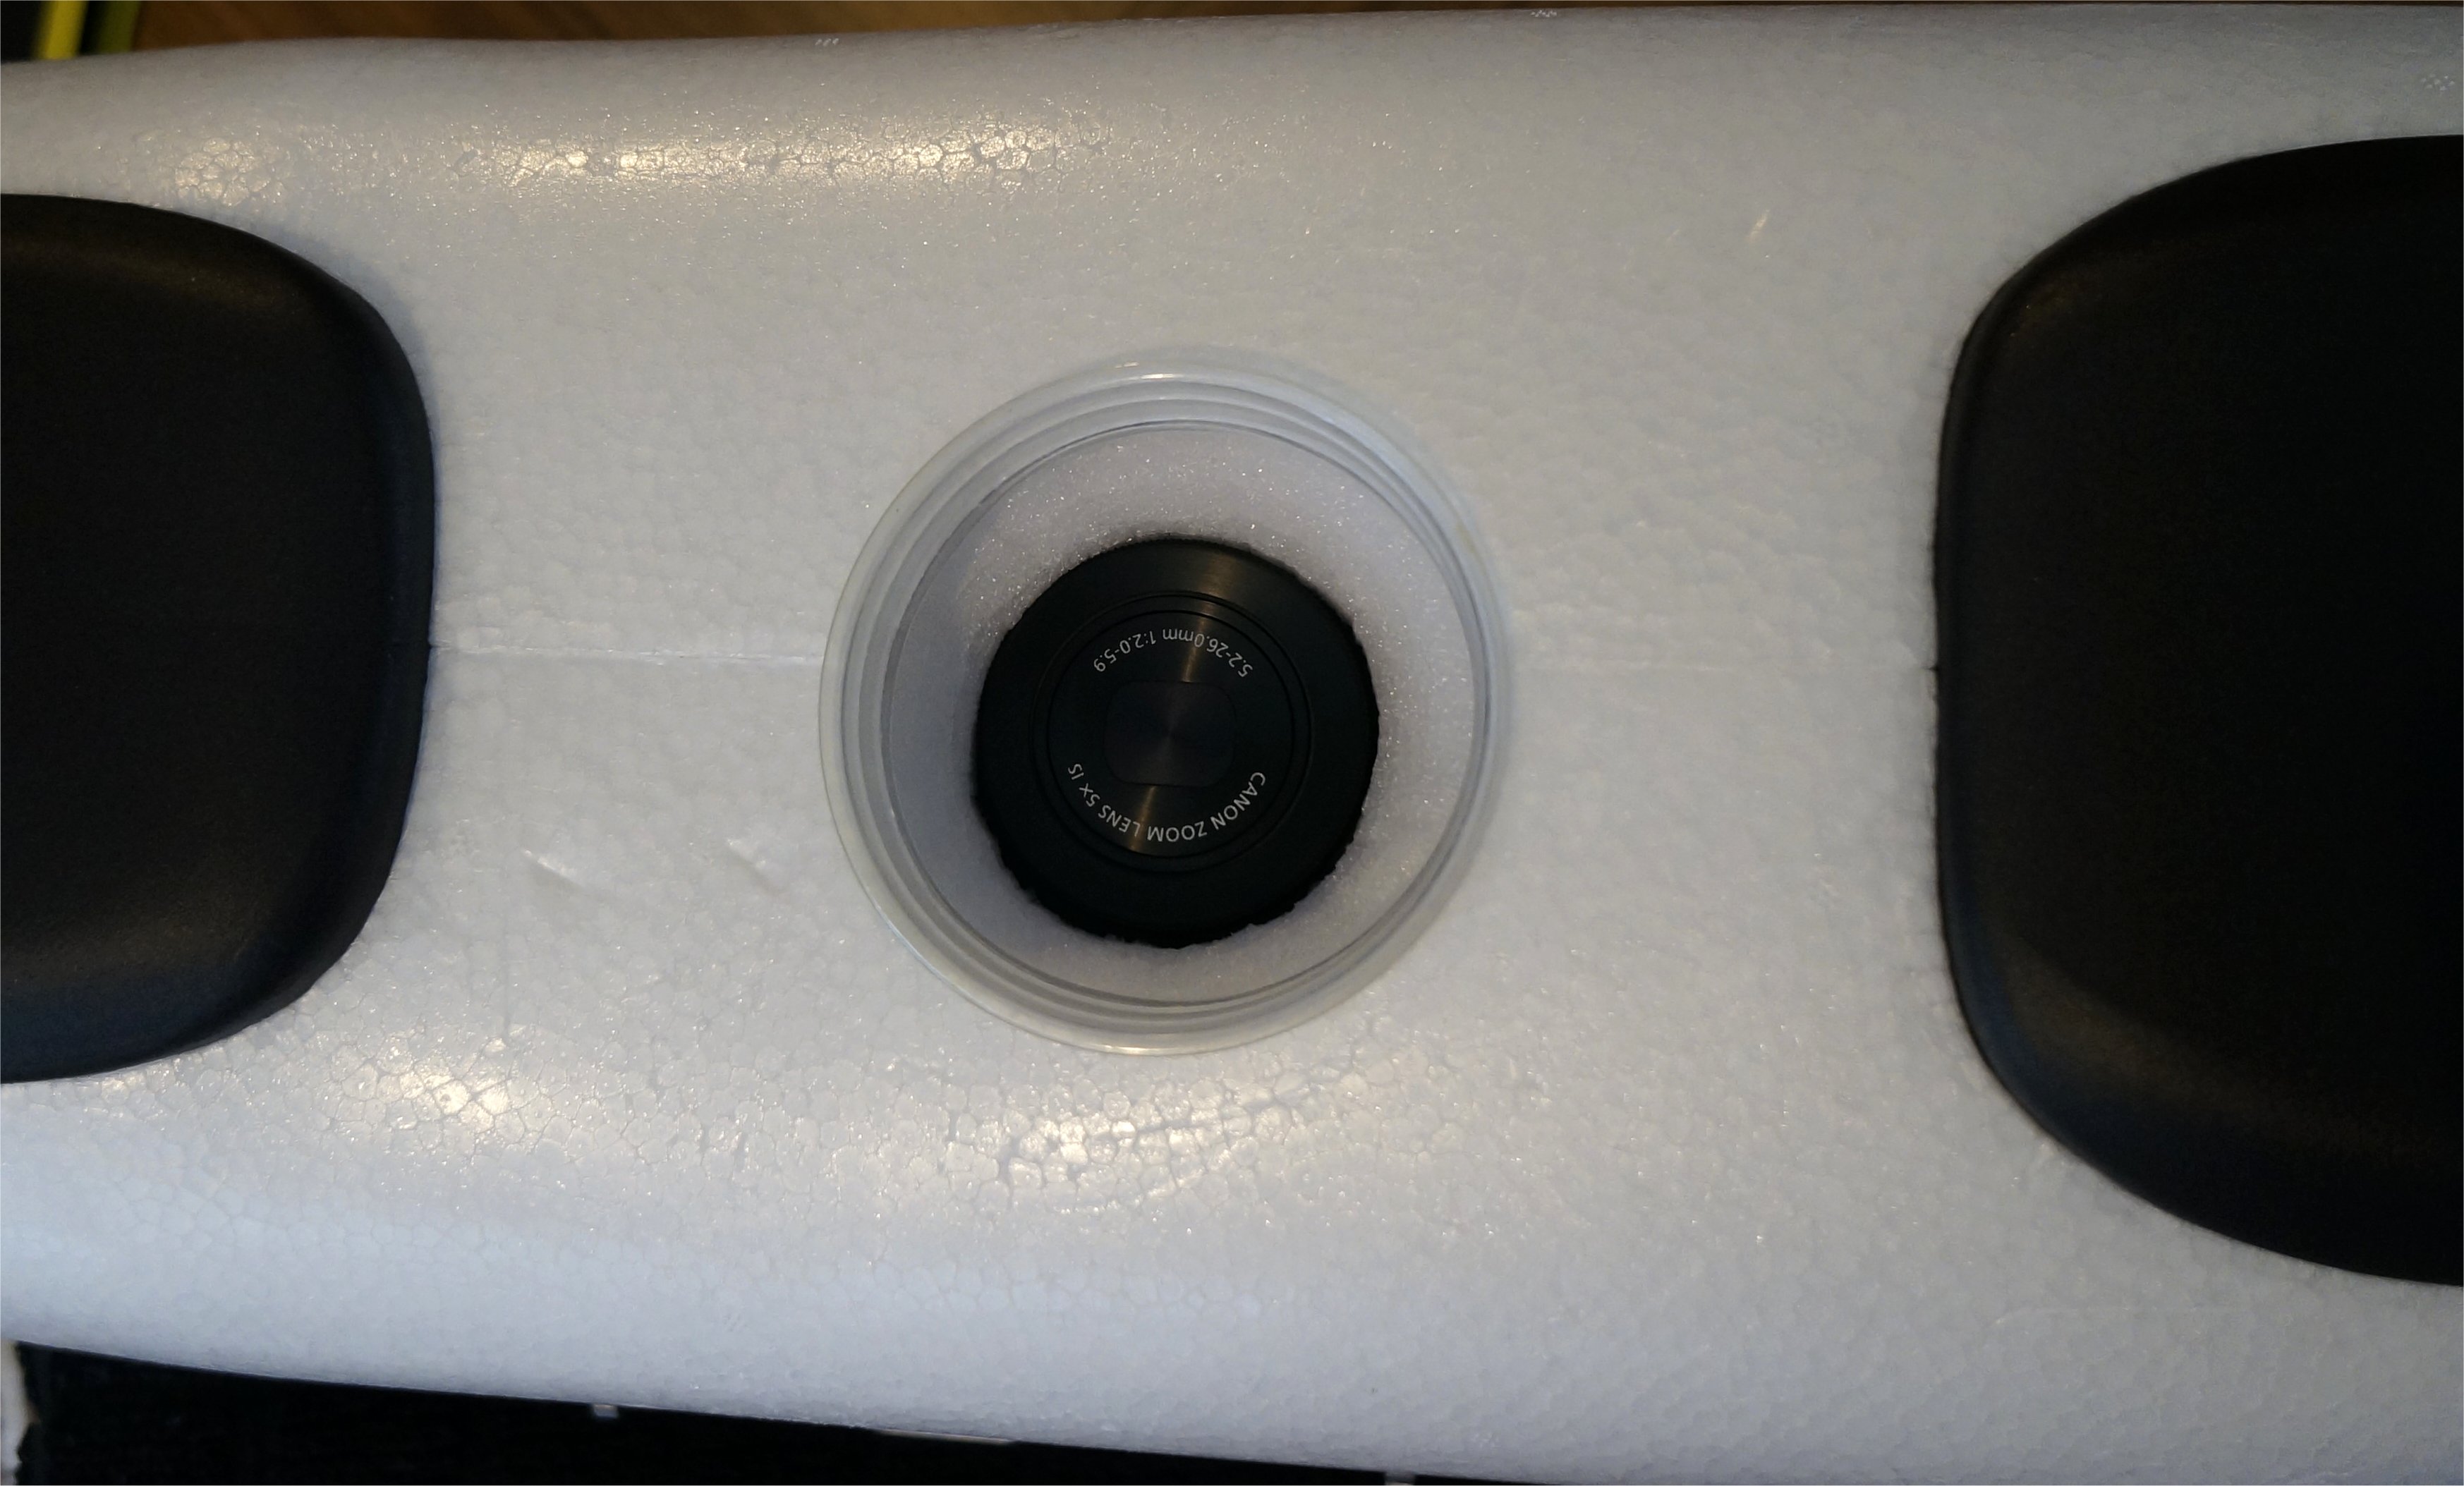
All this talk of Freeman’s made me unpack my fuselage from the Thanksgiving holiday cleanup and mount my mapping camera. My foam enclosure easily mounted in the recessed area using Wasim’s double-side tape technique. It was simple and only weighed 7.4oz (210g) with the S100 camera.
I used a spray paint can top to outline the fuselage bottom after poking a center hole through the inside center of the lens area. After cutting it out and then adding a slanted cut to the opening, a trimmed plastic cup dropped in place to give it a more finished look.
Now it’s time to mount my front GoPro H3 camera up front with the 3-axis gimbal for a video downlink…
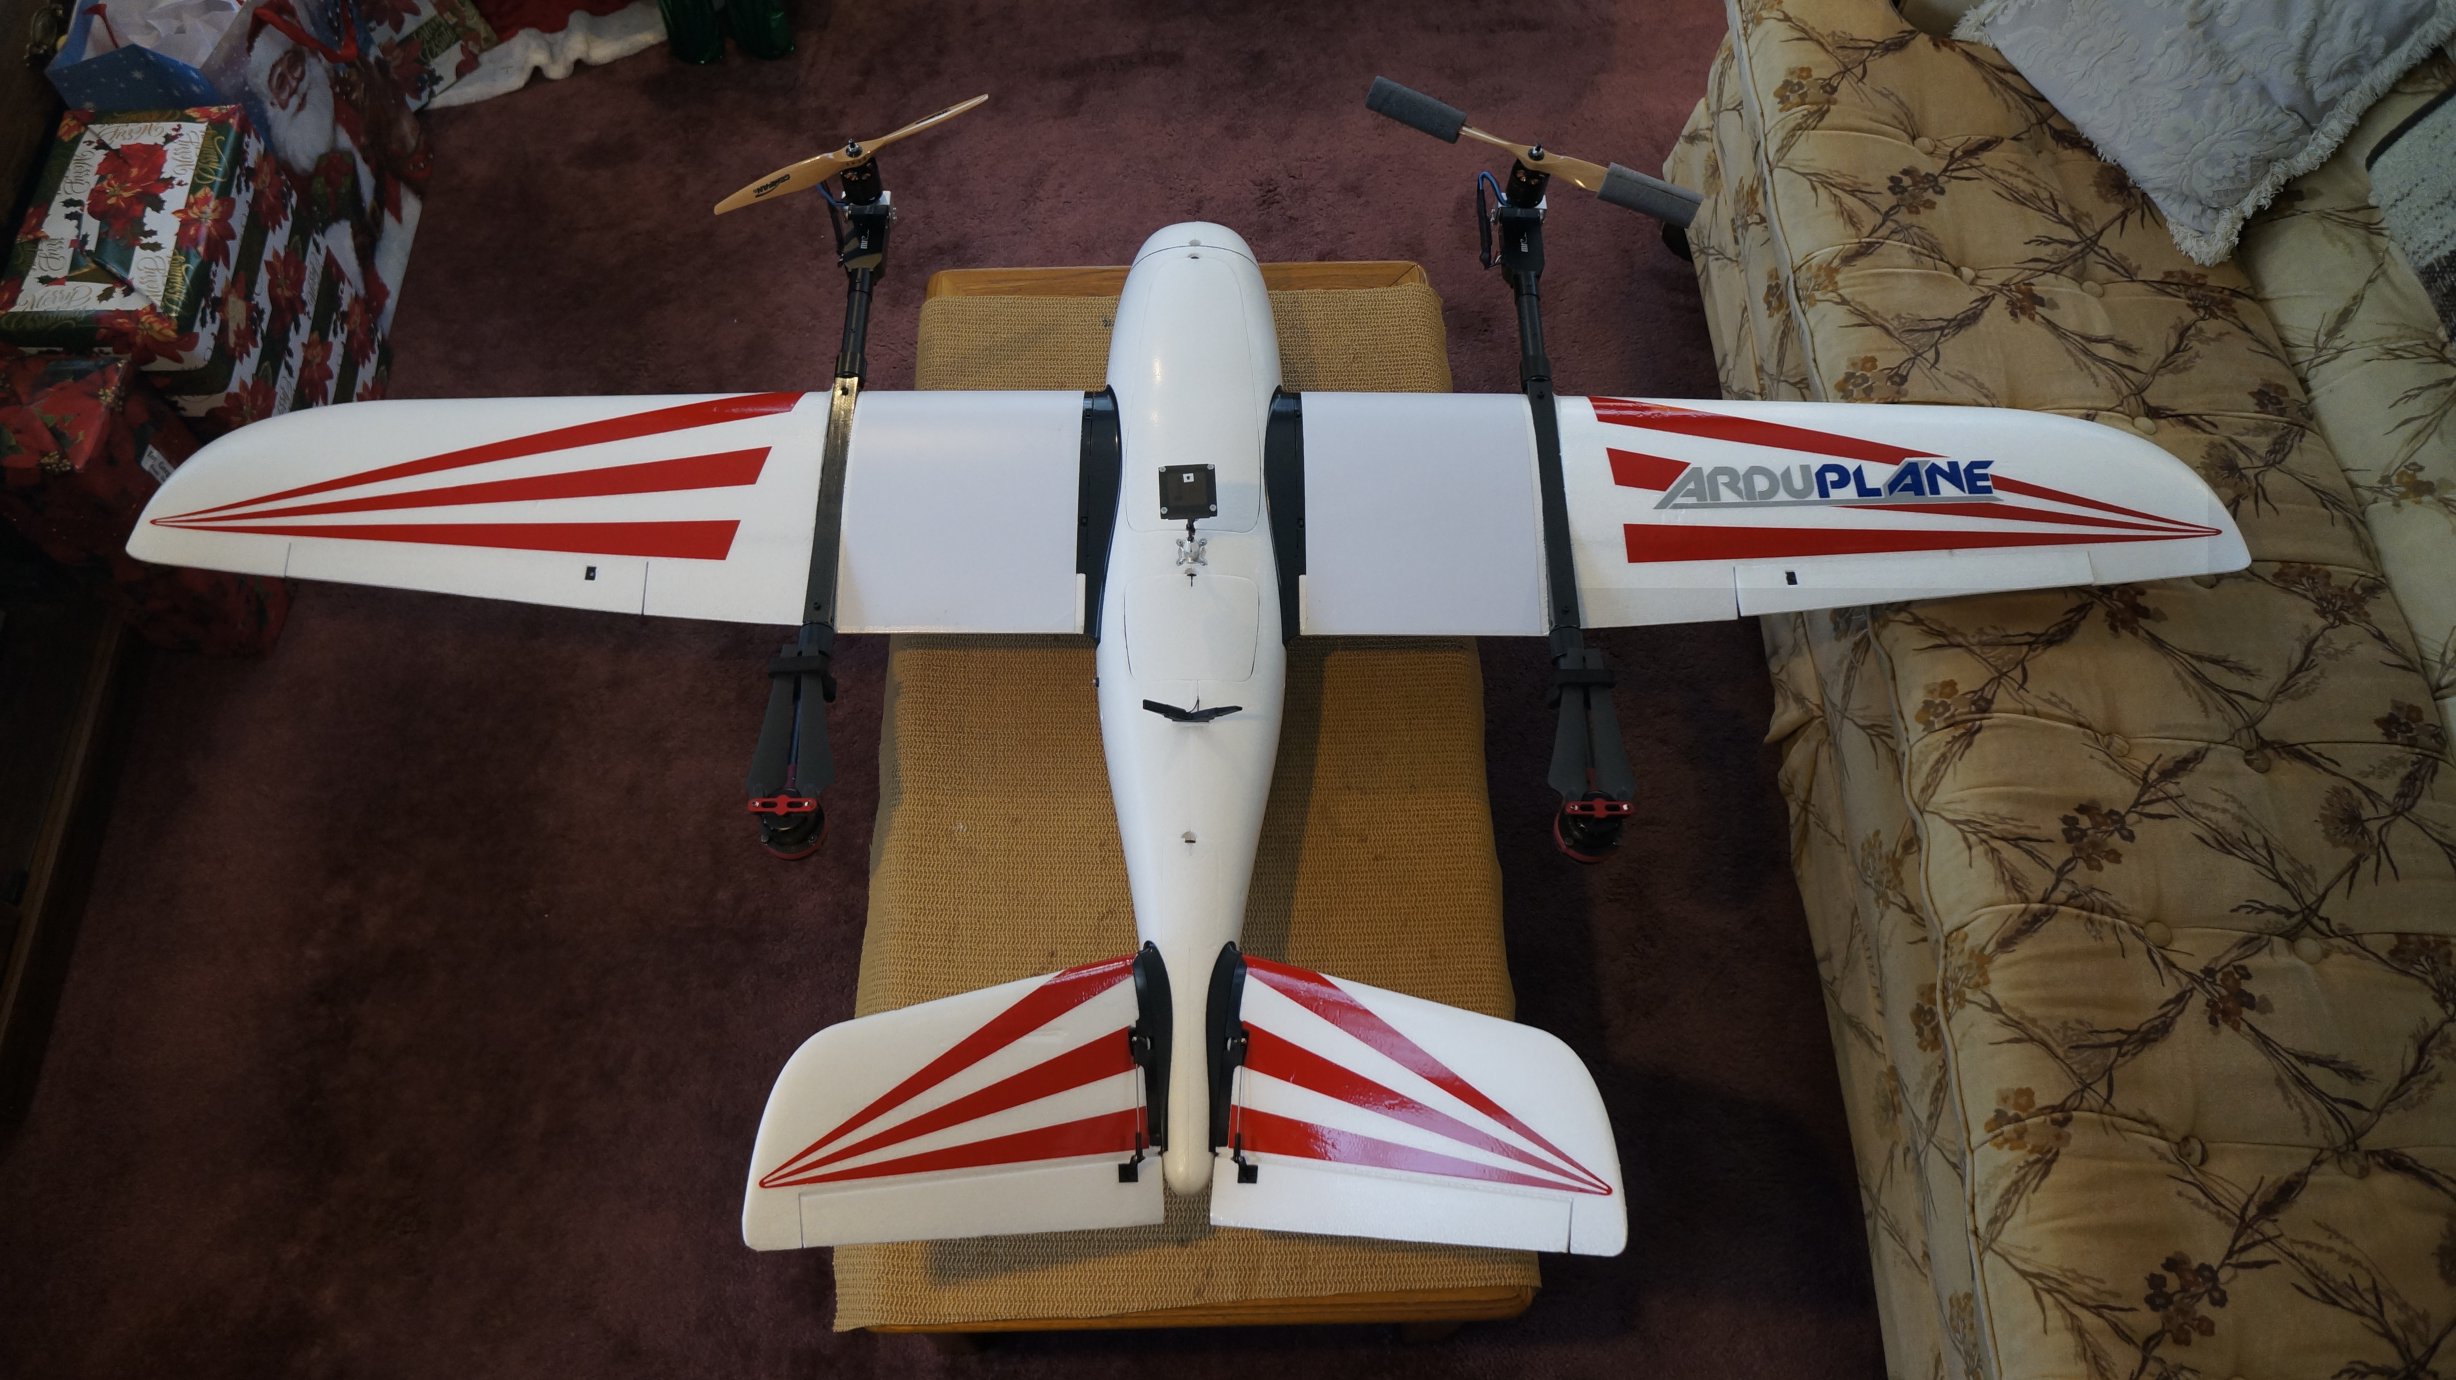
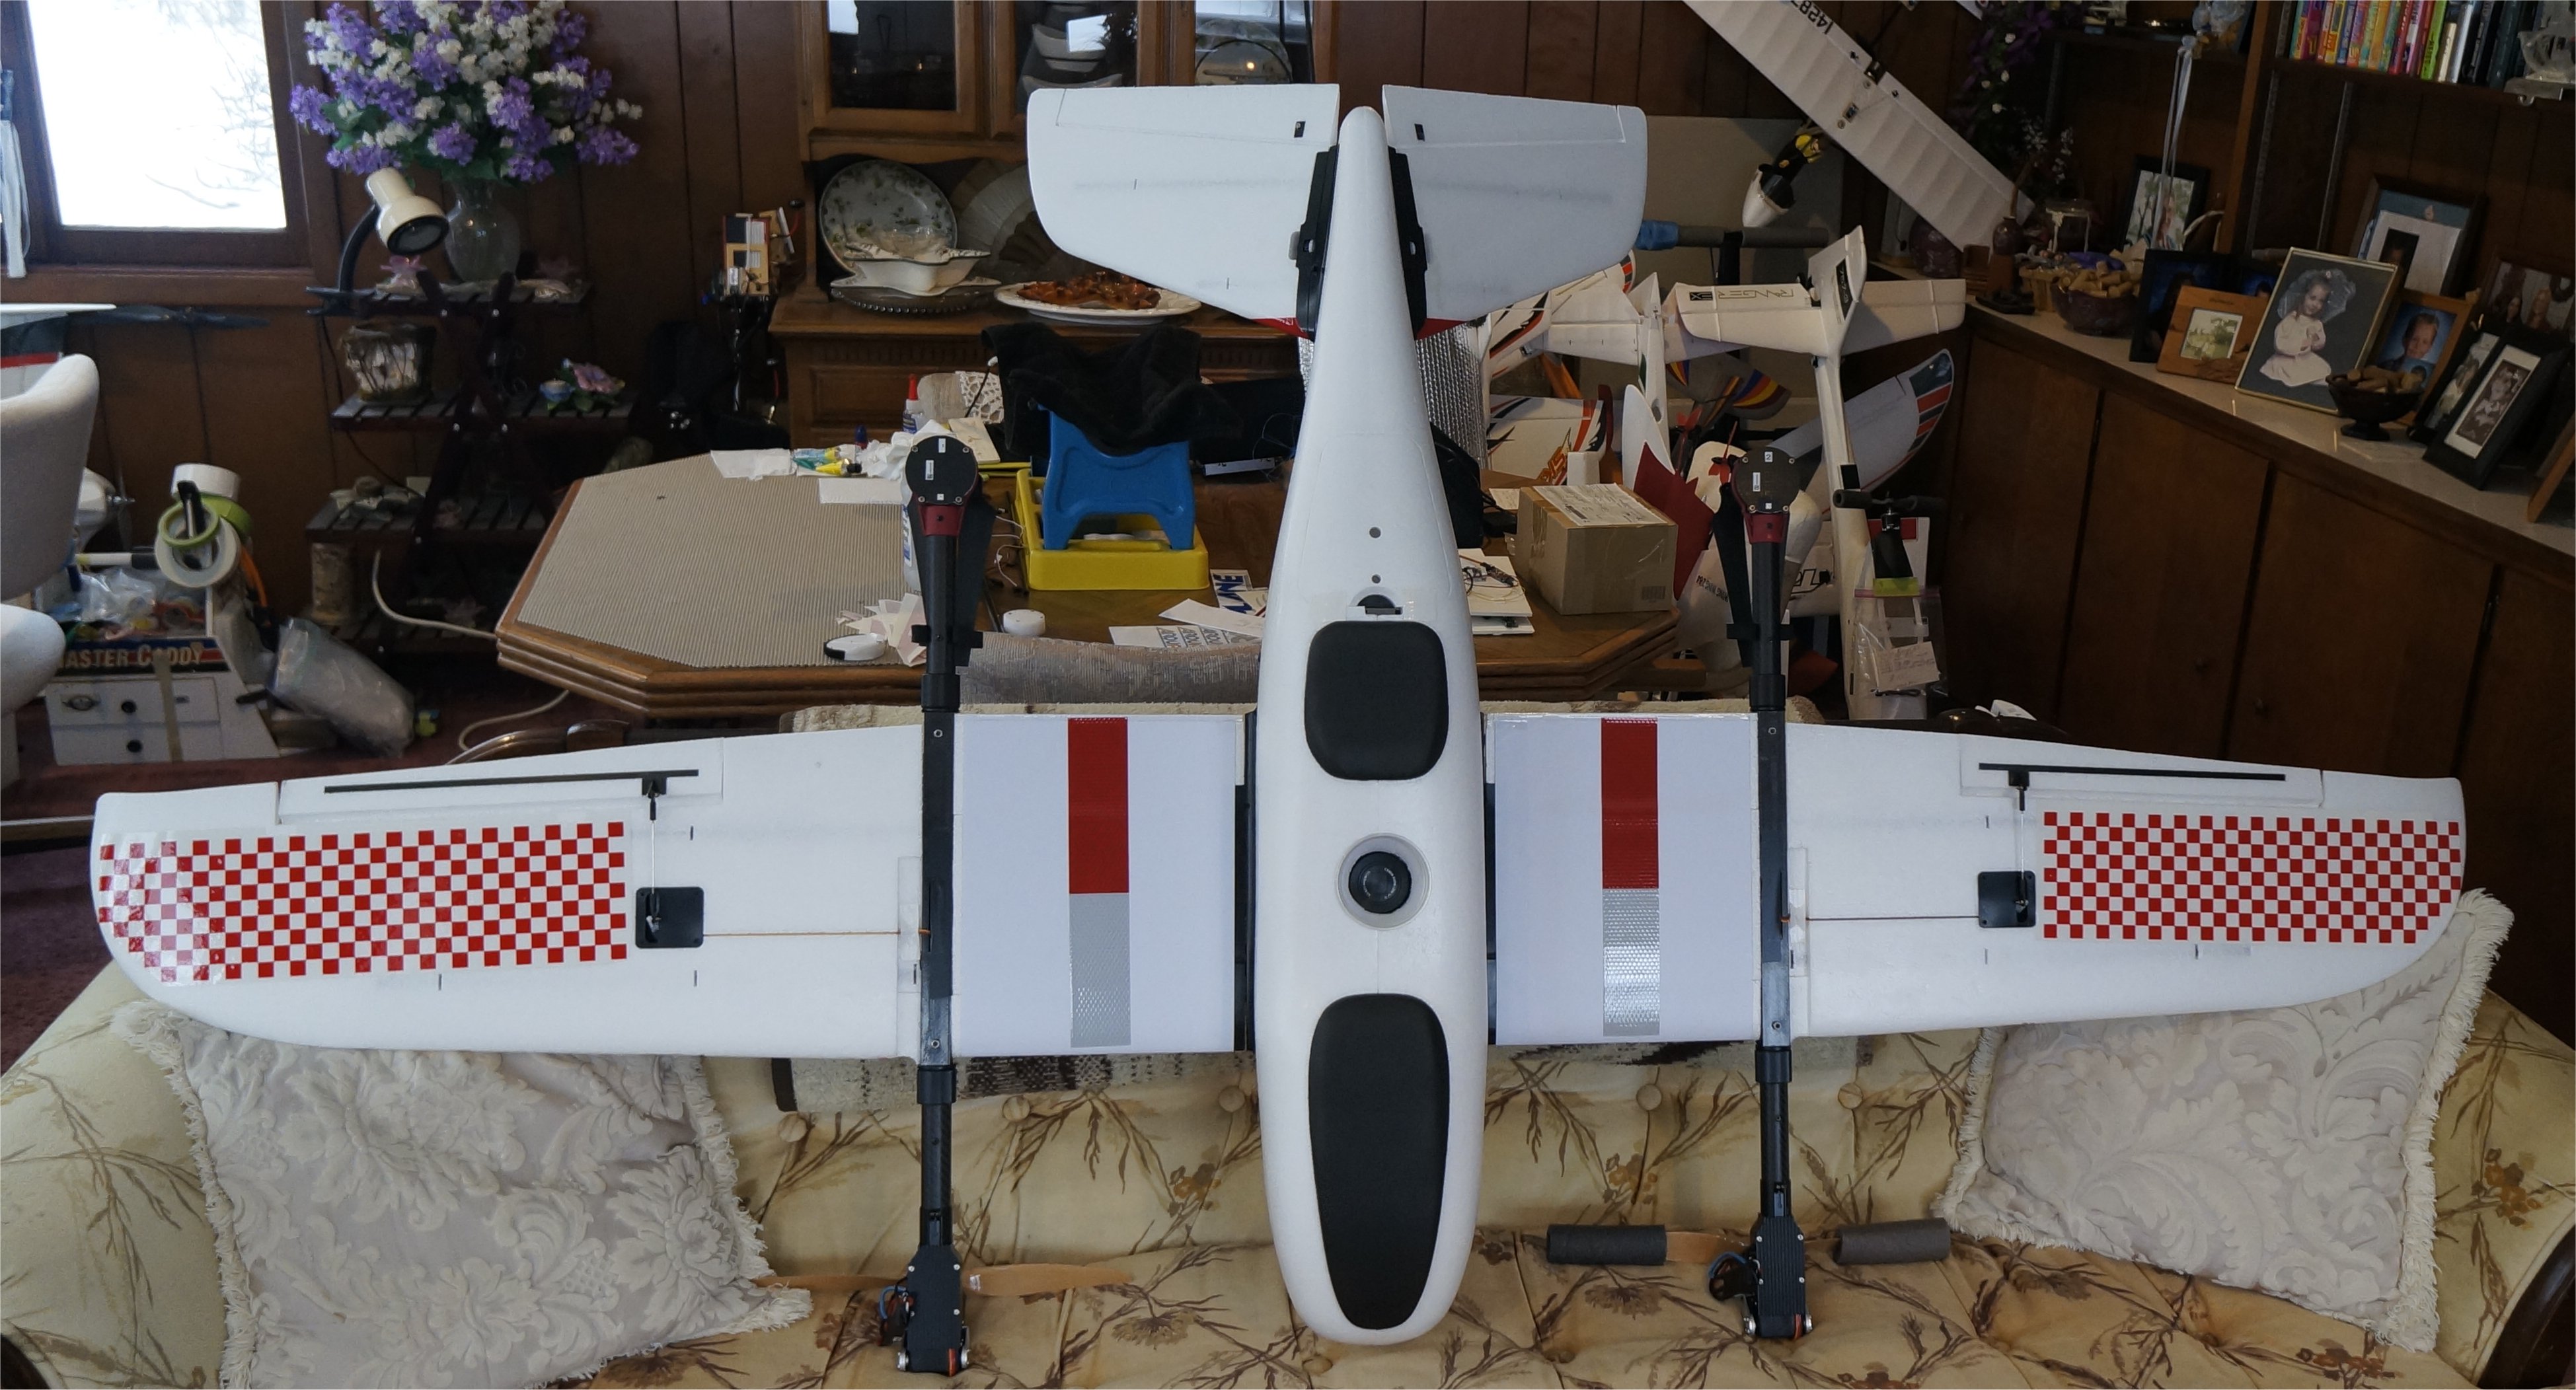
Tis’ the season for red, so I am slowly reducing the “white” of this rather large plane to increase visibility and orientation in the air. I found some quality vinyl decals at HobbyTown USA which actually ships them properly using flat, hard, cardboard. Also, I’ll likely paint the main hatch using Red Pepper Krylon Fusion spray paint…which is a close match.
I held off on mounting my front camera and gimbal for now but realized that I forgot to mount my air speed sensor so I’ll do that next on the fuselage side so it will still fit in the carry case.
Yeah, it should look solid red at a distance. A change from my usual black stripes. I’ve had that Monocote Trim sheet hanging on my wall for years so I decided to finally use it.
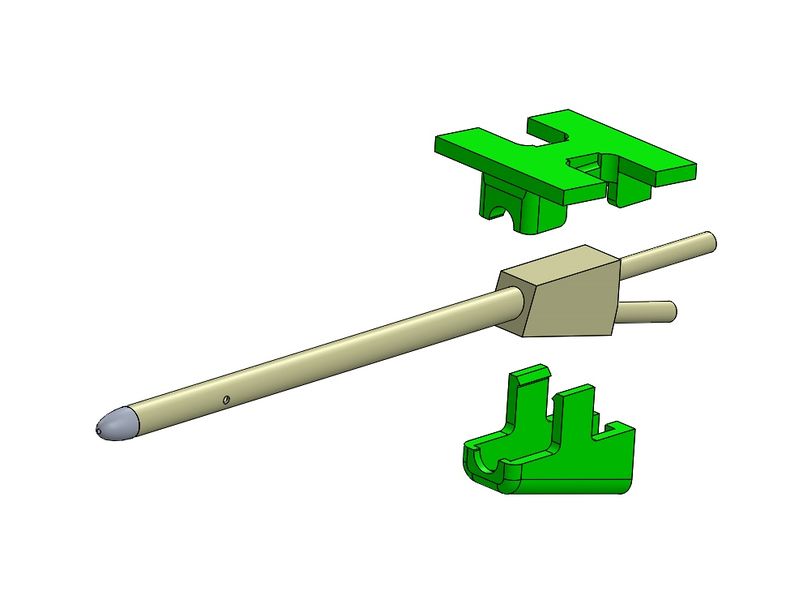
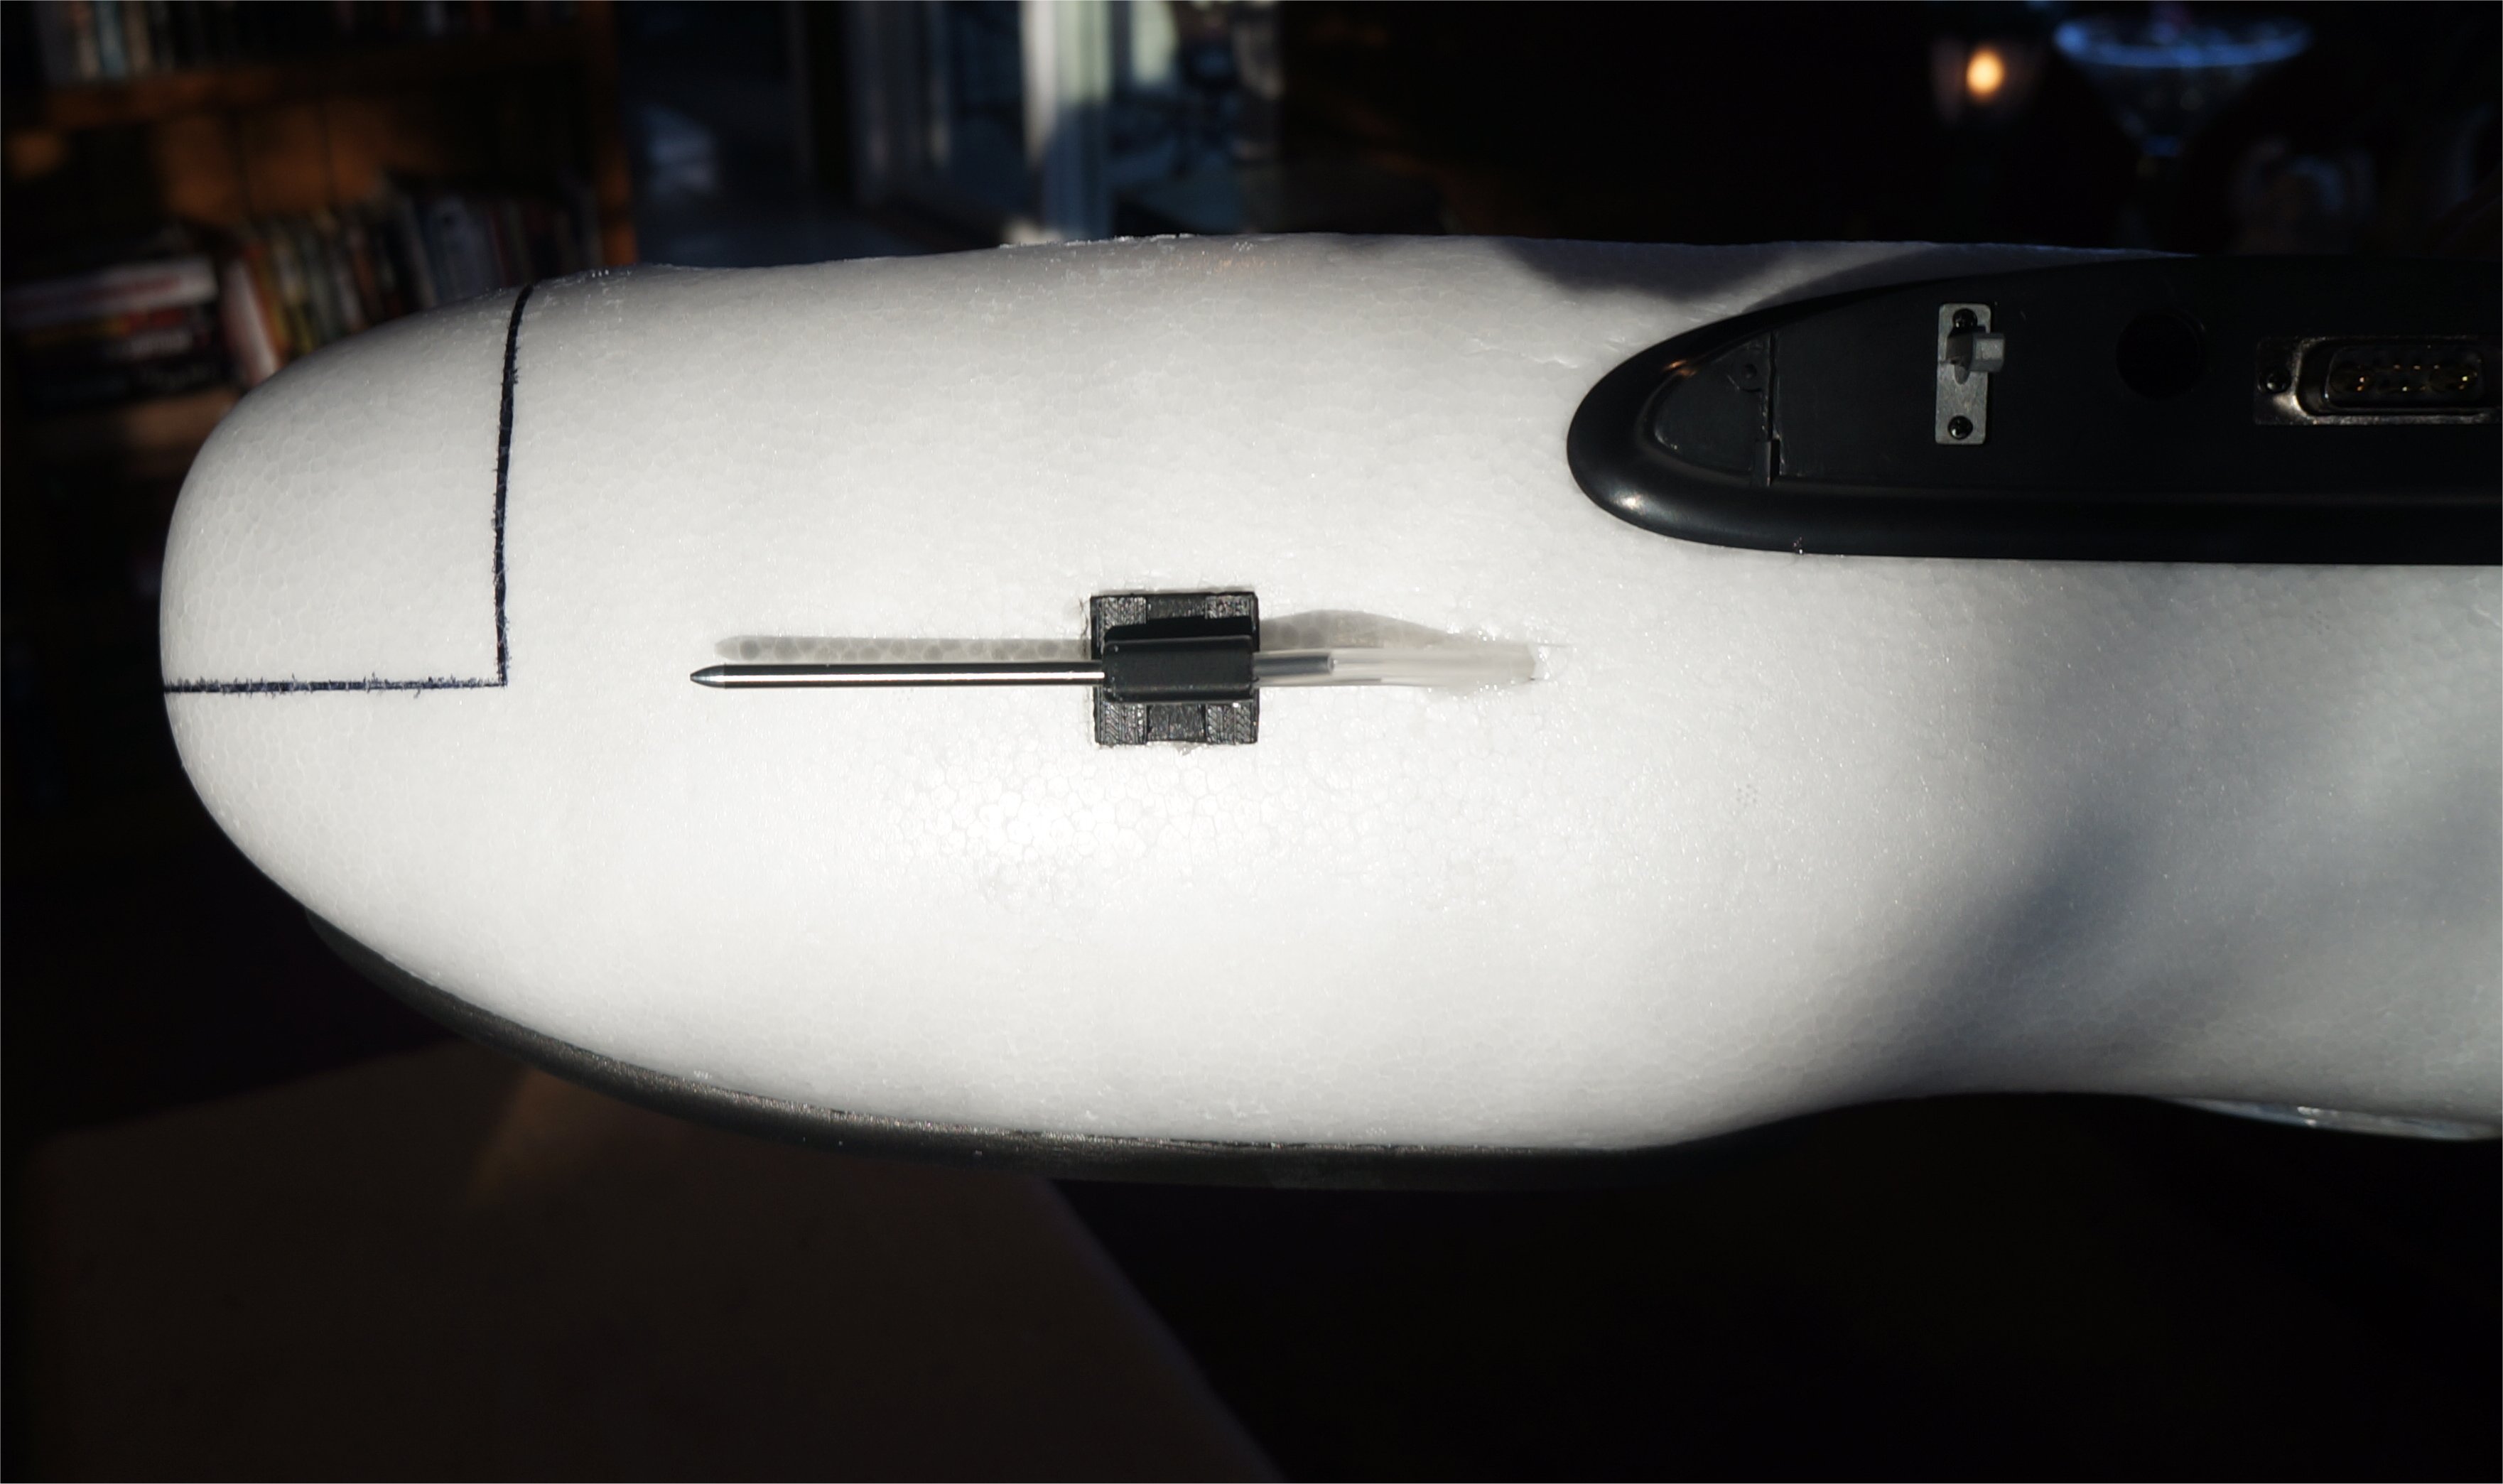
When I ordered my 13x8 props from FoxTechFPV, I also bought one of their Pixhawk Px4 Air Speedometer units since it was a great price at only $36 with no additional shipping cost. However, the pitot tube received did not match the image so I needed to use one of Mark_Q’s Standard APM Pitot Tube Mounts to fit the older style tube…which I had on-hand.
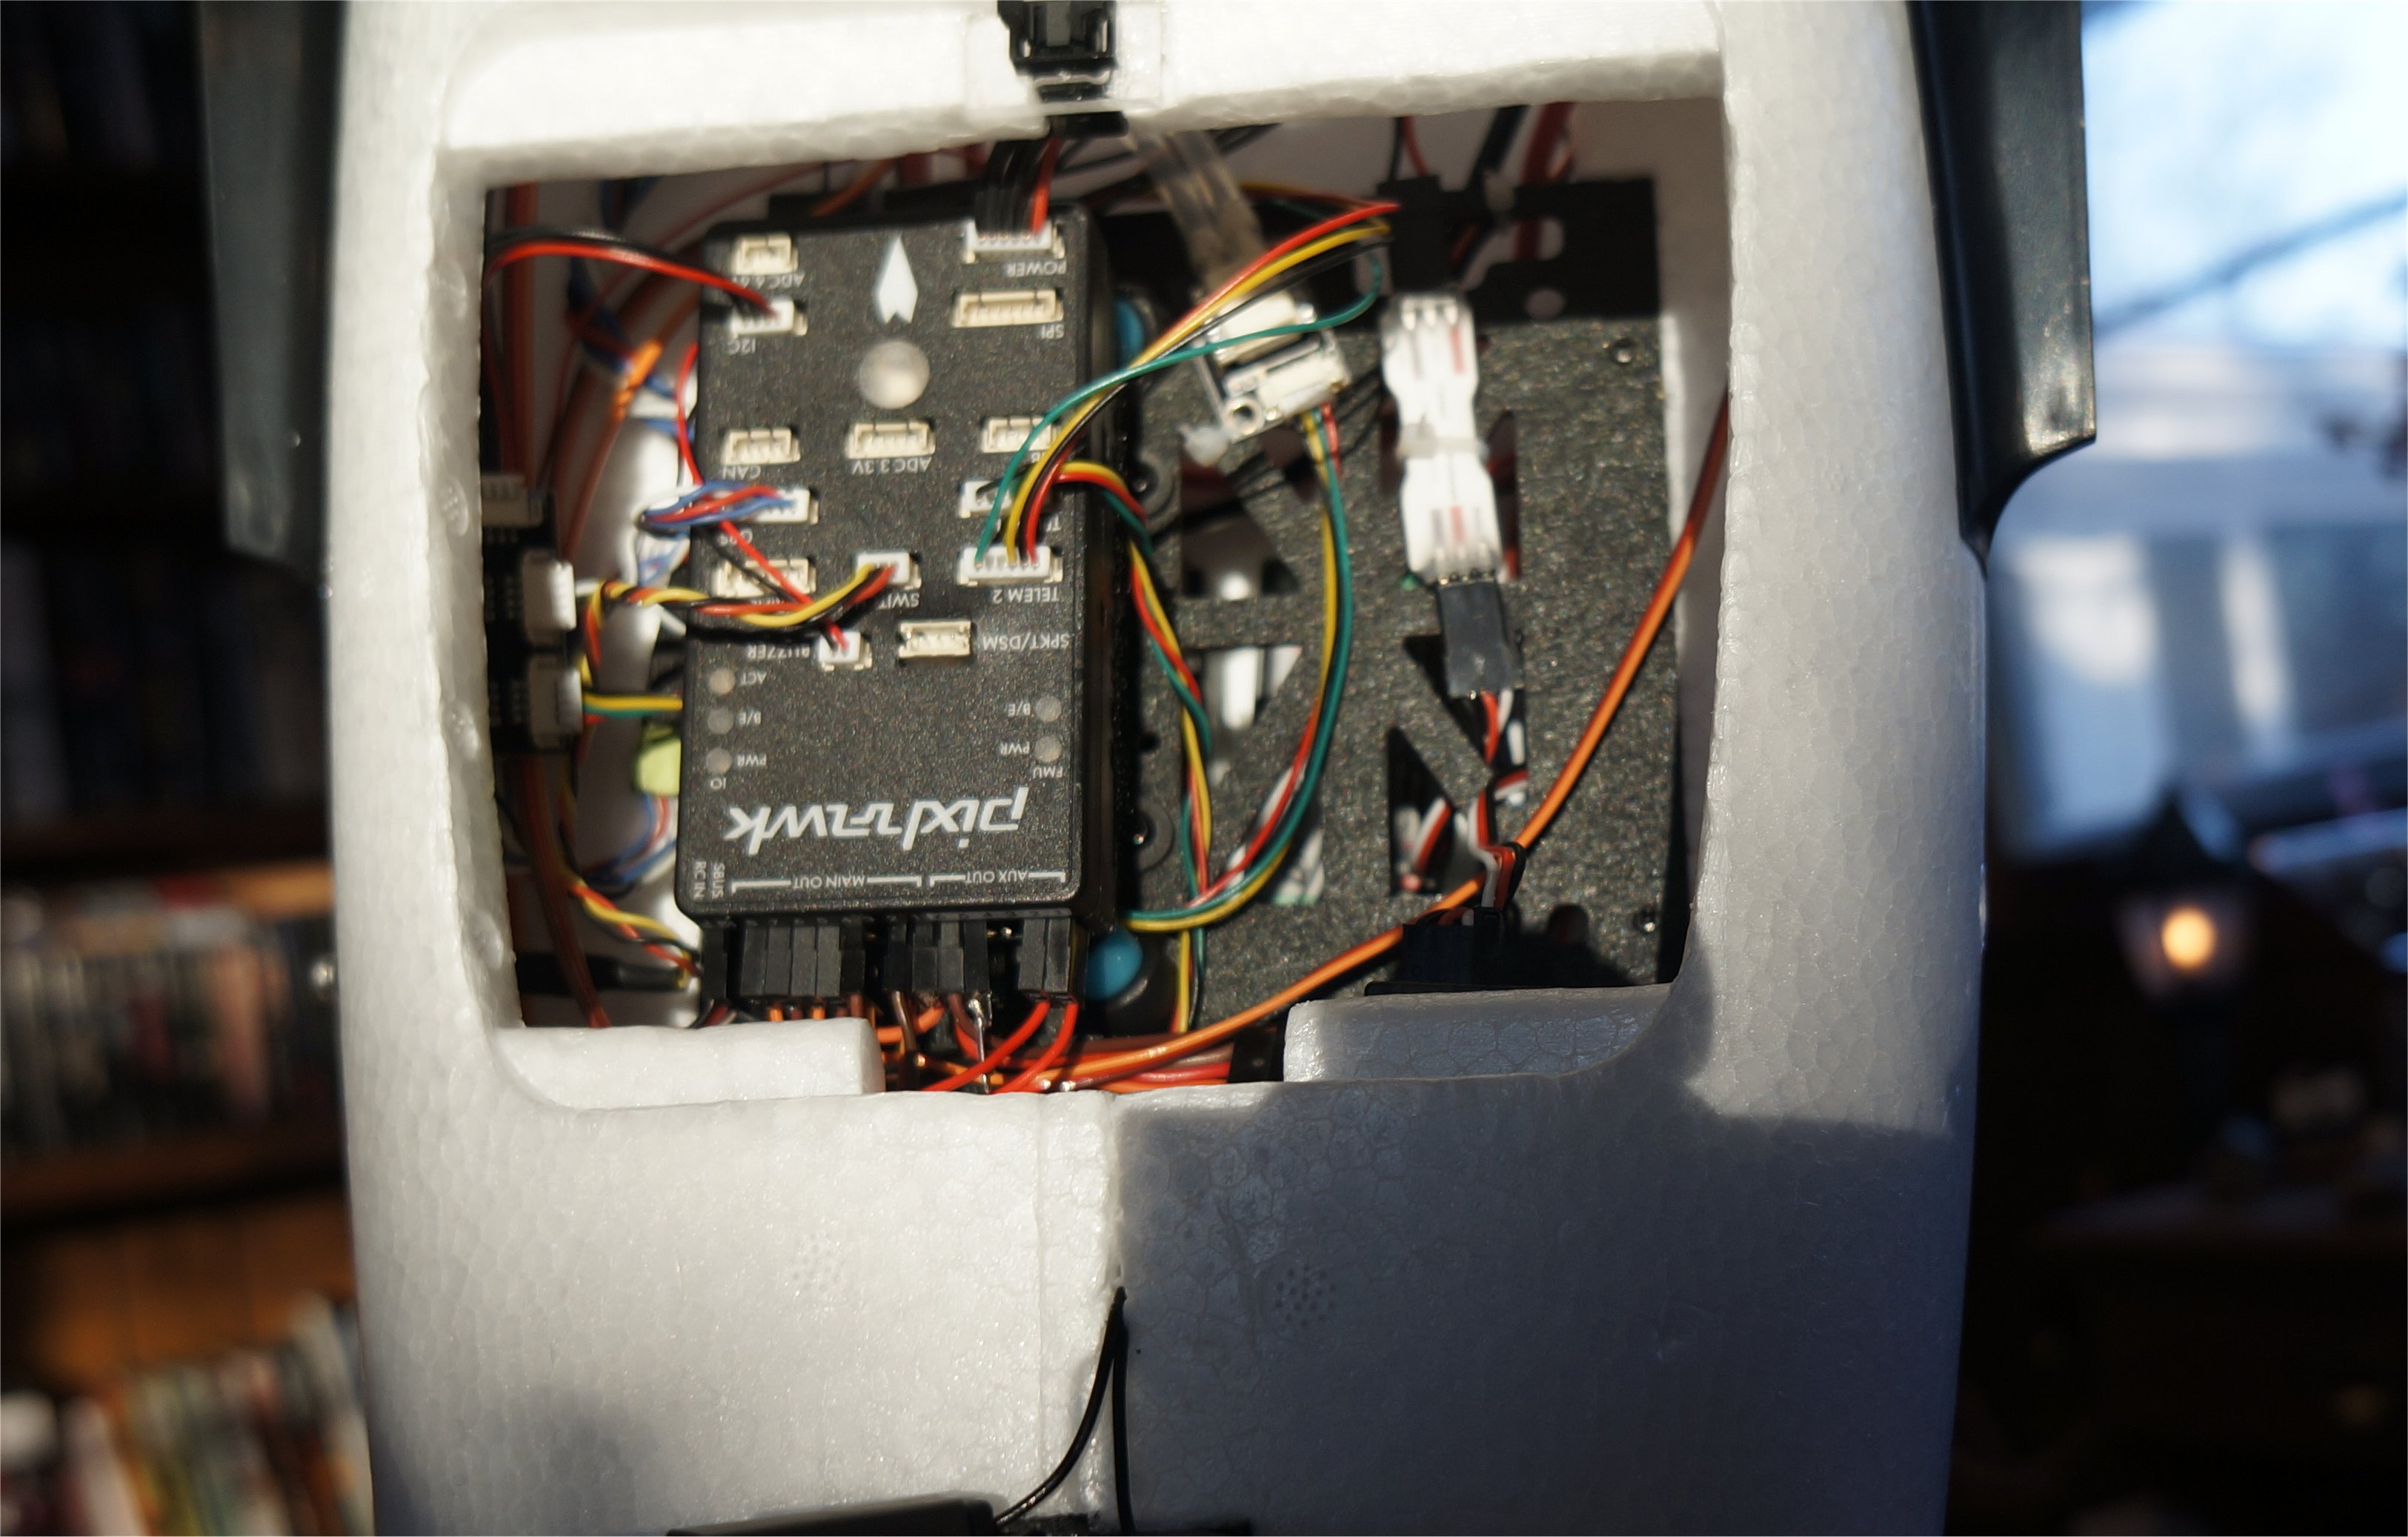
After increasing the base angle with some balsa aileron stock, I glued the assembly together with Foam-Tac and painted it black. There was plenty of room inside the Freeman to run the tubes into the Pixhawk compartment and connect the I2C via a I2C Splitter so that both the AS Sensor and Compass can use the same port.
On the far right of the bottom image is my USB trigger for Pixhawk mapping.
Merry Christmas Everyone !!!
Greg I see you are using a Horus X10s, I ordered one of them a few days ago. I was wondering if you would share your setup for the freeman on it?
All the best to all of you in 2020 safe flying.
Jim McArthur
Sure, there is no magic in the Taranis/Horus setup other than selecting some switches and sounds for the Yaapu telemetry with mapping. I would recommend reading up on the Yaapu telemetry here and here and consider adding the FrSky Telemetry setup in the Wiki here. It will make the Horus X10 come alive!
I have the Freeman 2100 standard build. We have basically everything working with exception of the current sensor.
The voltage reads out fine but the current reads >50A when on the bench. I suspect that this is simply just a wrong pin setup but since the PDB is built in, I cant really figure it out.
Has anyone else had this issue or know of a way to resolve it?