VTOL -- freeman2100 vertical take-off and landing fixed wing +pixhawk

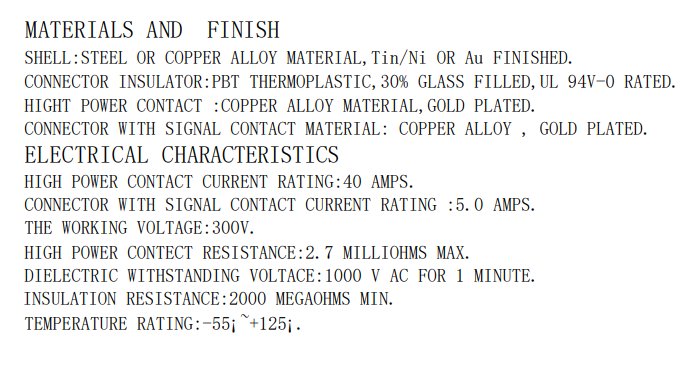
I obtained the Winen Sub-D connector specifications from Mr. Chang and was happy to see that the power ratings were 40amps on the big pins and 5amps on the signal pins. This is more than needed for the application so each wing can provide proper power to both motors.

E487255 WM-H07-02-30-F.pdf (374.1 KB)
7W2 M光孔焊线.pdf (59.4 KB)

1 Like

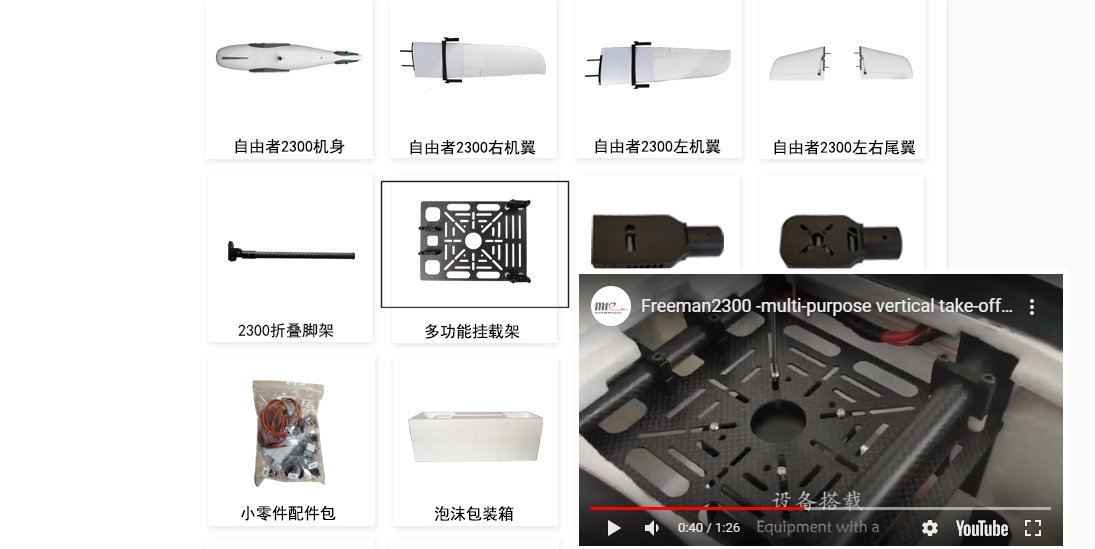
I was looking at the differences between the Freeman 2100 and 2300 and see that the 2300 is supplied with a camera mounting plate for between the wing spars. My assumption is that this plate will also fit on the Freeman 2100 but I don’t see it sold separately.

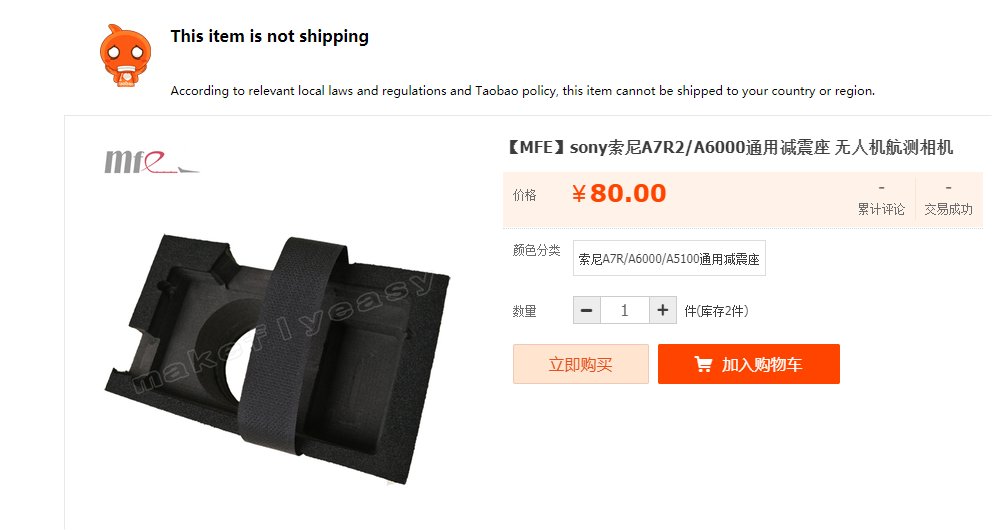
Another foam block camera mount for the Sony cameras isn’t allowed to ship to the U.S. I’m not sure what material is is made from but perhaps it is toxic.

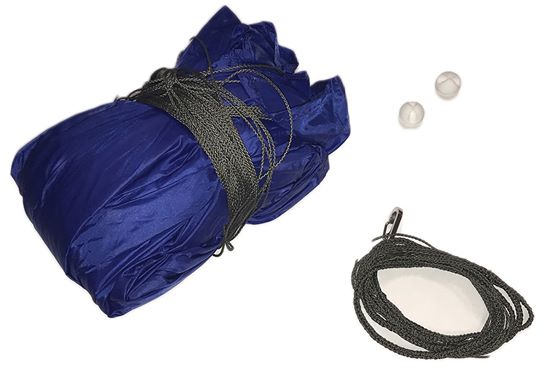
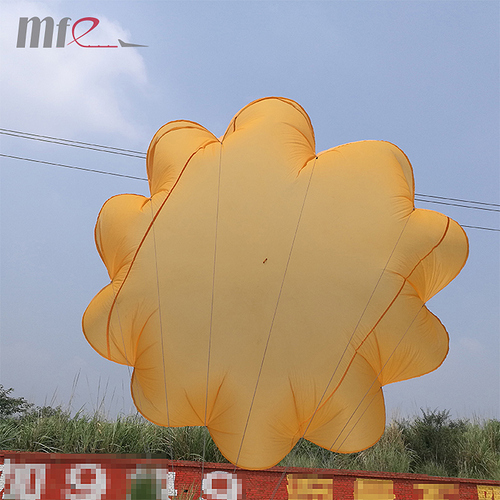
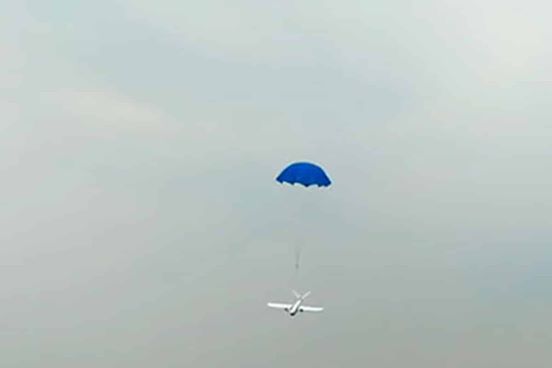
The parachute option is interesting. I have never considered doing this, but, in addition to an emergency bailout feature, perhaps it could be useful on a Believer if you wanted to dump it somewhere specific where the landing area is small or rough.

Parachute1

Parachute2

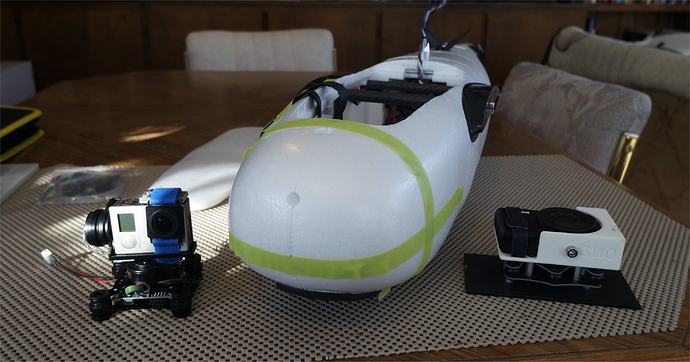
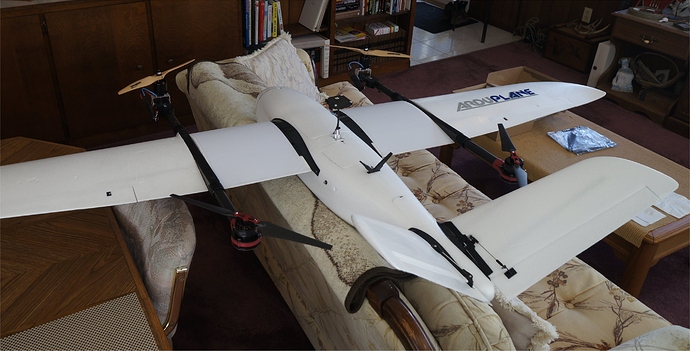
Neither of my cameras mounted nicely so I decided to wait until the Freeman was test flown before mounting my front nose video camera and S100 mapping camera in the belly. This also kept the Freeman better sealed since we already have snow on the ground. I’m not convinced of my camera selections so it will give me more time to think about it.

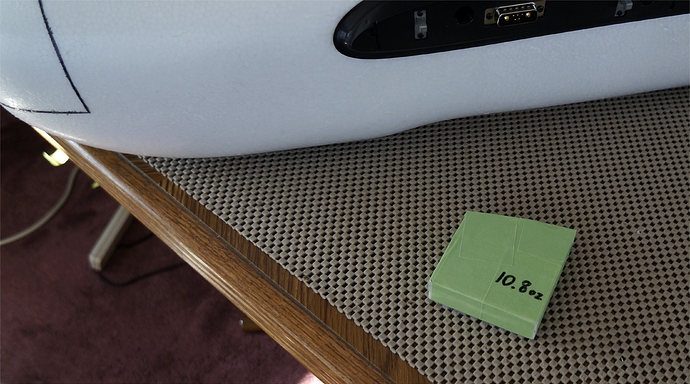
I made a 10.8oz (306g) weight from thick tile to mimic the front camera/gimbal assembly weight. It is held against the inside of the nose and allows the main 6s 10AH pack to be strapped near the center of the battery bay.

Time to mount the props and do some final alignments…

--------------------------------
Apparently you can’t post three times in a row so I needed to add new information to my last post.

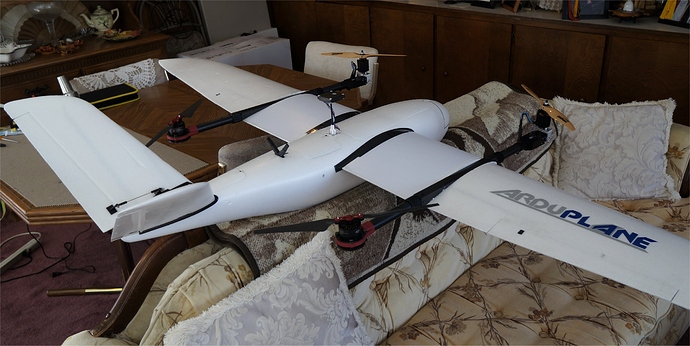
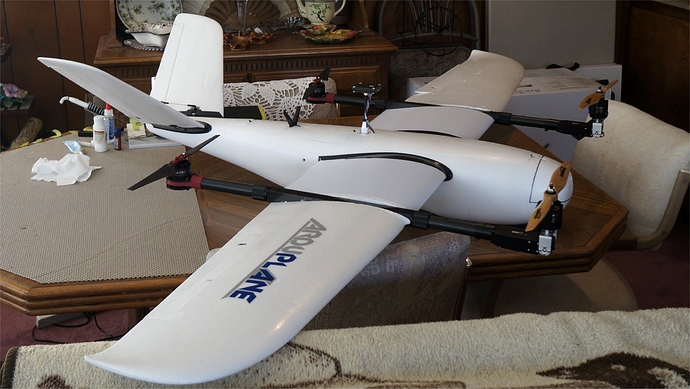
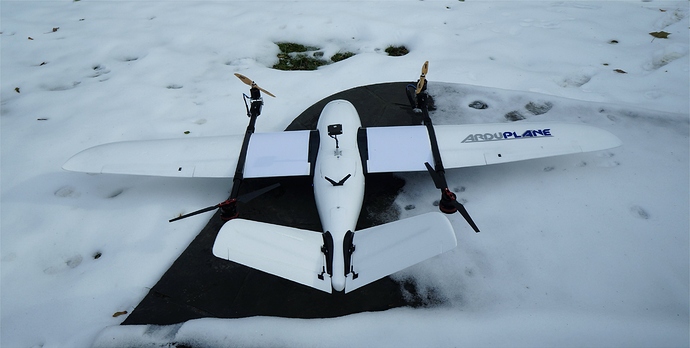
I finished mounting the 13x8 wooden props up front and the DJI 15x5.2 folding props in the rear. I even applied my first “ArduPlane” decal. Obviously, the all white plane needs much more decorating. I marked off the nose area where I plan to cut for my front camera and gimbal. This will force me to mount the pitot tube for the air speed sensor somewhere else…perhaps on the fuselage side.

I should be ready to test hover so we’ll see when the weather wants to cooperate.

--------------------------------
More new information added to my last post.

In this unedited video, my initial hover test in QSTABILIZE mode of the MakeFlyEasy Freeman 2100 VTOL was very successful. My back porch is not a good place to test vehicles because it is surrounded by trees and an upper canopy. Everything went well including a rock solid yaw. It was a good start!

MFE Freeman 2100 Maiden Hover from Gregory Covey on Vimeo.

2 Likes

Nice one Greg. Is that with the original Parameter file that came with your kit?

Thanks, Wasim. I never got any parameter file with the 2100 kit so my starting params were from the Nimbus 1800 VTOL for the v3.9.11 (a23329b2) firmware. Here is my latest param file.

FreemanBuild3.param (17.0 KB)

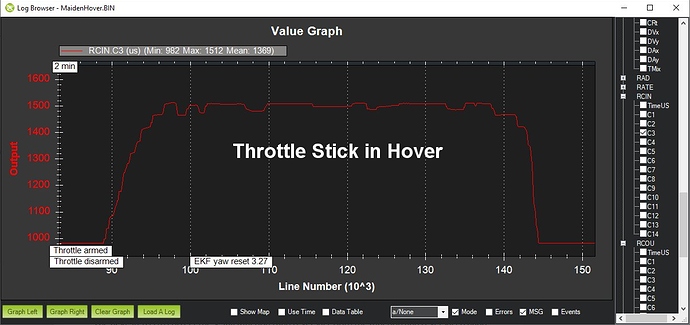
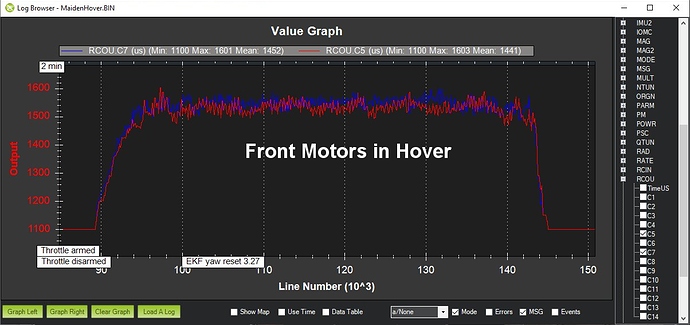
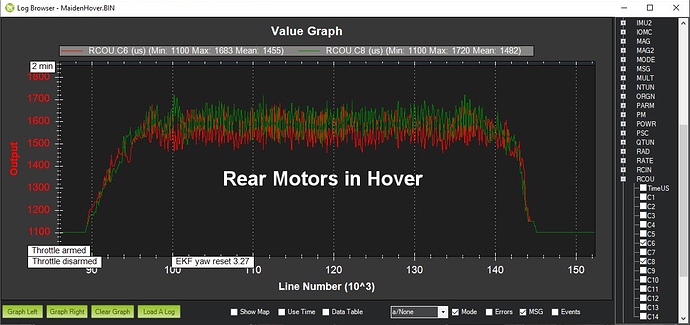
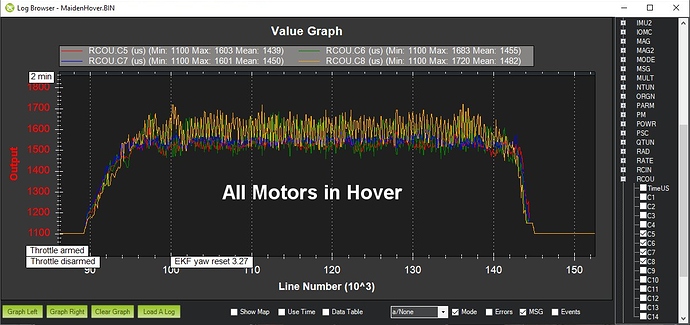
I checked my log from the hover testing. The throttle input and motor output graphs look fine but I did not capture any battery voltage or current measurements…only regulated voltages for PM and servo rail. I’m not sure what happened yet.

Edit: It looks like I had my LOG_BITMASK set to 32764 to reduce size. I’ll crank it up for future testing.

Greg, perhaps you could adapt my parameter file (which I acquired indirectly from the MFE guys) for your build.
MFEFreeman0580V2.param

2 Likes

Hi,
Are these parameters applicable also to freeman 2300?

I take back what I said about my parameters being default as I started with a copy of my Nimbus VTOL parameters. I’ll edit the post above.

Here are the differences I see between my params and Wasim’s from MFE. My value shows first and then Wasim’s value. I haven’t checked to see if there are any critical params in the list so I’ll probably comment in parens () later on what I find. Feel free to comment.

ARSPD_FBW_MIN,12 vs 12
ARSPD_FBW_MAX,22 vs 26
BRD_SER1_RTSCTS,0 vs 2
EK3_ENABLE,1 vs EK2_ENABLE,1
KFF_RDDRMIX,0.5 vs 0.65
LIM_PITCH_MAX,2000 vs 1500
LIM_PITCH_MIN,-1500 vs -2500
MIS_TOTAL,0 vs 9

MNT_RC_IN_TILT,6 vs 0
MNT_STAB_TILT,1 vs 0
MNT_TYPE,1 vs 0

NAVL1_DAMPING,0.75 vs 0.85
NAVL1_PERIOD,19 vs 20

PTCH2SRV_D,0.04 vs 0.221
PTCH2SRV_FF,0.4 vs 0
PTCH2SRV_I,0.15 0.3683333
PTCH2SRV_P,0.7 vs 2.6
PTCH2SRV_RLL,1.15 vs 1.3
PTCH2SRV_RMAX_DN,0 vs 120
PTCH2SRV_RMAX_UP,0 vs 120
PTCH2SRV_TCONST,0.5 vs 0.3

Q_A_ACCEL_P_MAX,110000 vs 56296.96
Q_A_ACCEL_R_MAX,110000 vs 51412.85
Q_A_ACCEL_Y_MAX,20000 vs 27000
Q_A_ANG_PIT_P,6 vs 7.757376
Q_A_ANG_RLL_P,4.5 vs 8.59776

Q_A_RAT_PIT_D,0.004 vs 0.01318255
Q_A_RAT_PIT_I,0.35 vs 0.2904768
Q_A_RAT_PIT_P,0.35 vs 0.2904768
Q_A_RAT_RLL_D,0.004 vs 0.01058215
Q_A_RAT_RLL_I,0.4 vs 0.3333369
Q_A_RAT_RLL_P,0.4 vs 0.3333369
Q_A_RAT_YAW_D,0.07 vs 0
Q_A_RAT_YAW_I,0.08 vs 0.018
Q_A_RAT_YAW_P,0.7 vs 0.5
Q_A_SLEW_YAW,3000 vs 6000

Q_ANGLE_MAX,4000 vs 3000
Q_ASSIST_ANGLE,30 vs 45
Q_ASSIST_SPEED,10 vs 14 (Stall speed is 10m/s, should be below ARSPD_FBW_MIN)

Q_LAND_FINAL_ALT,8 vs 6
Q_LAND_SPEED,50 vs 70

Q_LOIT_BRK_ACCEL,50 vs 250
Q_M_THST_EXPO,0 vs 0.65
Q_M_THST_HOVER,0.5 0.35

Q_TILT_MASK,3 vs 5 (different servo setups)
Q_TILT_MAX,65 vs 35
Q_TILT_RATE_DN,50 vs 10
Q_TILT_RATE_UP,200 vs 45

RLL2SRV_D,0.08 vs 0.305189
RLL2SRV_I,0.2 vs 0.3805394
RLL2SRV_P,1 vs. 3.590459
RLL2SRV_RMAX,0 vs 120
RLL2SRV_TCONST,0.5 vs 0.3

RTL_RADIUS,60 vs 90

SERVO2_FUNCTION,80 vs 79 (this is just a different servo setup)
SERVO4_FUNCTION,79 vs 80
SERVO5_FUNCTION,33 vs 75
SERVO6_FUNCTION,34 vs 76
SERVO7_FUNCTION,35 vs 0 (uses SERVO11_FUNCTION)
SERVO8_FUNCTION,36 vs 0 (uses SERVO12_FUNCTION)

TERRAIN_ENABLE,0 vs 1
THR_MAX,70 vs 100 (on higher powered models, 100% is too high)

WP_LOITER_RAD,100 vs 45 (depends upon goals)
WP_RADIUS,40 vs 110 (bigger is probably better here)

YAW2SRV_INT,0.3 vs 0.15
YAW2SRV_RLL,1 vs 0.8
3 Likes

Good on you Greg
thanks for the intro
build down here going to get some air this week

Hi Wasim
have you had you Freeman in the air with you param file?

Hi Garth,
I have only ground tested my Freedom setup. For most part, the weather has not been favourable at my end, and I have also been very busy with other commercial UAV projects.

Hi Wasim,

I found our EFK selection difference to be interesting. Mine has EK3_ENABLED and yours has EK2_ENABLED. Do you think this is simply due to the firmware versions used or does it also depend upon the Pixhawk selection?

Cheers!

Hi Greg,
I’m using Pixhawk Cube (Black). To be honest, I am not entirely sure where this difference stems from. I also note that you have AHRS_EKF_TYPE=3, which means your pixhawk is indeed using EK3 for flight control, while mine uses EK2. I know for a fact that MFE guys were initially using the developer version of Kris’s software (at the time of their flight tests for Freedom), and this could be the reason I suppose(?).

Ok, thanks, Wasim. My suspicion is that EKF3 is the new norm for Plane. The firmware from Kris is pretty dated now and probably used EKF2 by default.

Cheers!

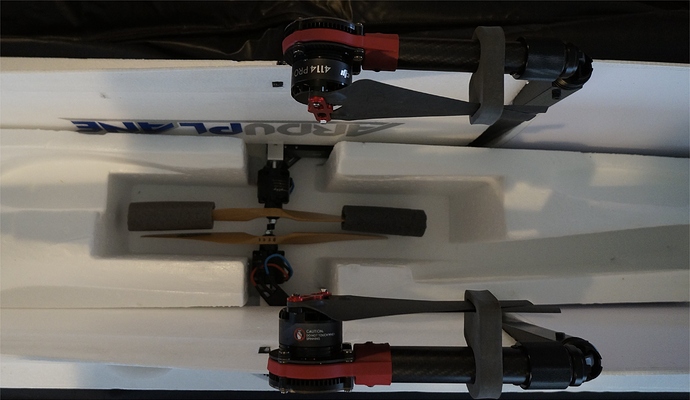
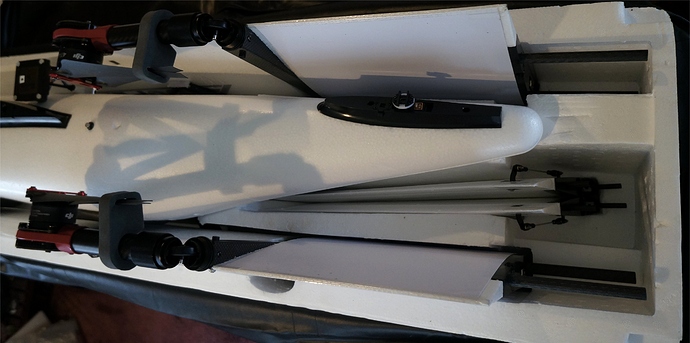
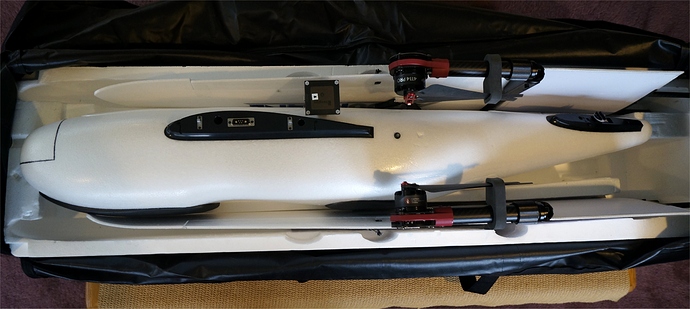
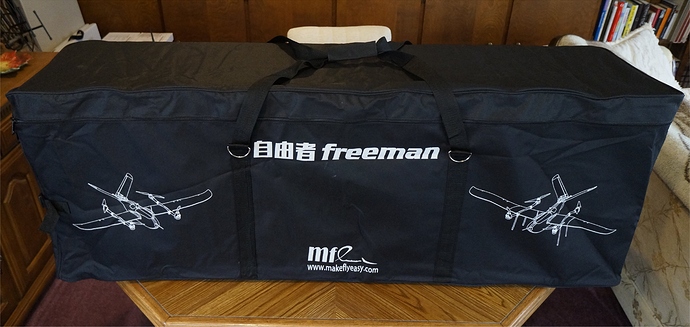
In the U.S., we’re a week away from our Thanksgiving holiday so it was time to start cleaning up my hobby area in the back family room. I also wanted to make sure that my Freeman fit into the nicely designed portable bag that comes with the kits.

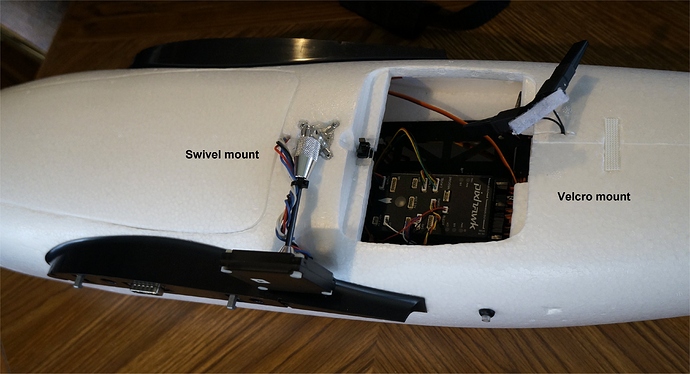
Although the GPS mast fit nicely by swiveling to the side, my FrSky antenna mount did not. I re-mounted the antenna assembly using Velcro and Foam-Tac so that I can now just push it over when using the bag. I consider the easy breakdown and assembly of the wings and tail along with the portable bag to be an excellent design!

2 Likes

Hi Wasim, @Aeroakram

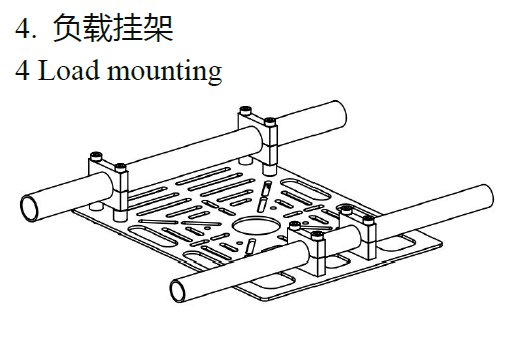
I have a load mounting plate on the way so that I can mount my S100 mapping camera using the Feiyu Tech based shock-absorption gimbal from BEV Aerobotics. (First image in post #123) This gimbal footprint is how I mount most of my cameras.

I also see a Freeman shock-absorbing foam block camera mount for the Sony A-series cameras, which I assume glues to the bottom of the fuselage inside, and simply straps the camera in place. Presumably, these approaches work in both the Believer and Freeman.

What techniques have you been using to mount mapping cameras?

Cheers!

LoadMountingPlate

Hi Greg,
In my last build, I used the foam camera mount, which I secured to the camera bay using strong double-sided tape (so that it can be removed relatively easy too). The camera was mounted to foam block using the velcro strap. It was very simple and it worked reasonably well too, and so I’m probably going to resort to the same method with my Freeman build as well.

1 Like

Wasim,

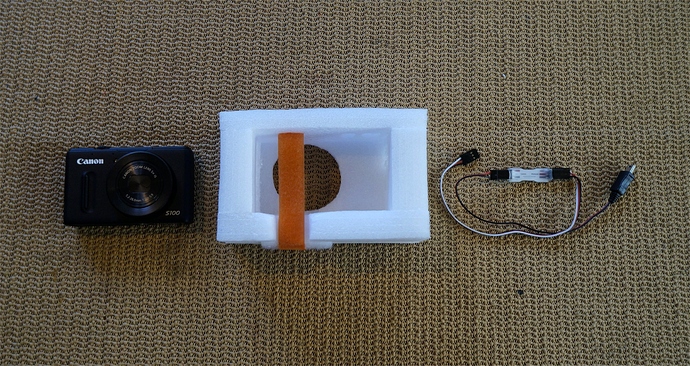
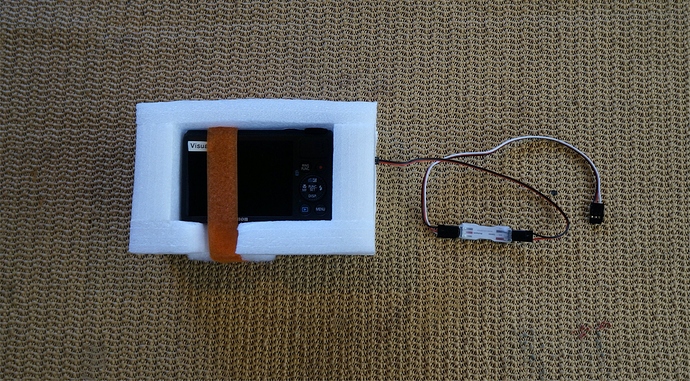
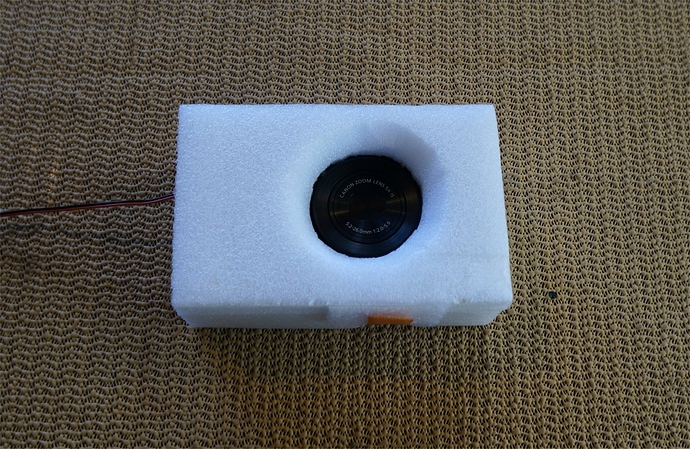
I appreciate your response. After thinking about it a while, it seemed like the easiest way to mount the mapping camera and also have access to the camera before and after a flight. So I decided to make my own S100 version of the foam carrier. It was fun and took no time at all!

I use the Simple Canon compatible shutter from MobileXCopter to trigger the CHDK running on my Cannon. I also have a Sony NEX-5N that I could use but for my hobby mapping the S100 seems to work fine. Another S100 is set up for NIR as commercial mapping cameras can get pricey.

Cheers!

2 Likes

Greg, that’s a neat bit of work as always! :smiley:

2 Likes

Hello James

Actually they told me that the ventral fin was not required for the build when I asked.
Jim