Dear Ardupilots,
arducopter is a very nice software. However, for a beginner it is sometimes quite hard to get a DIY freestyle copter with the current hardware into the air.
The intention of this blog entry is to use a low-cost DIY kit and collect all the information published for arducopter on freestyle quads in order to get more people flying arducopter and having fun.
I have build several of them and use Tyros for FPV filming in situations where you can not be sure to get the quad back.
Hardware
The instructions are based on the Tyro 129 DIY kit. It is a low cost 7-Inch drone kit which is easy to build and well suited for a low cost arducopter. It even comes with a GPS - you just need to add a compass. It is sold on the internet for 100-129EUR, depending on offers and coupons. I got my last one for roughly 100EUR. There is also a 6-Inch version which is also suited for arducopter. The manual for is also valid for the 6-Inch Tyro119.
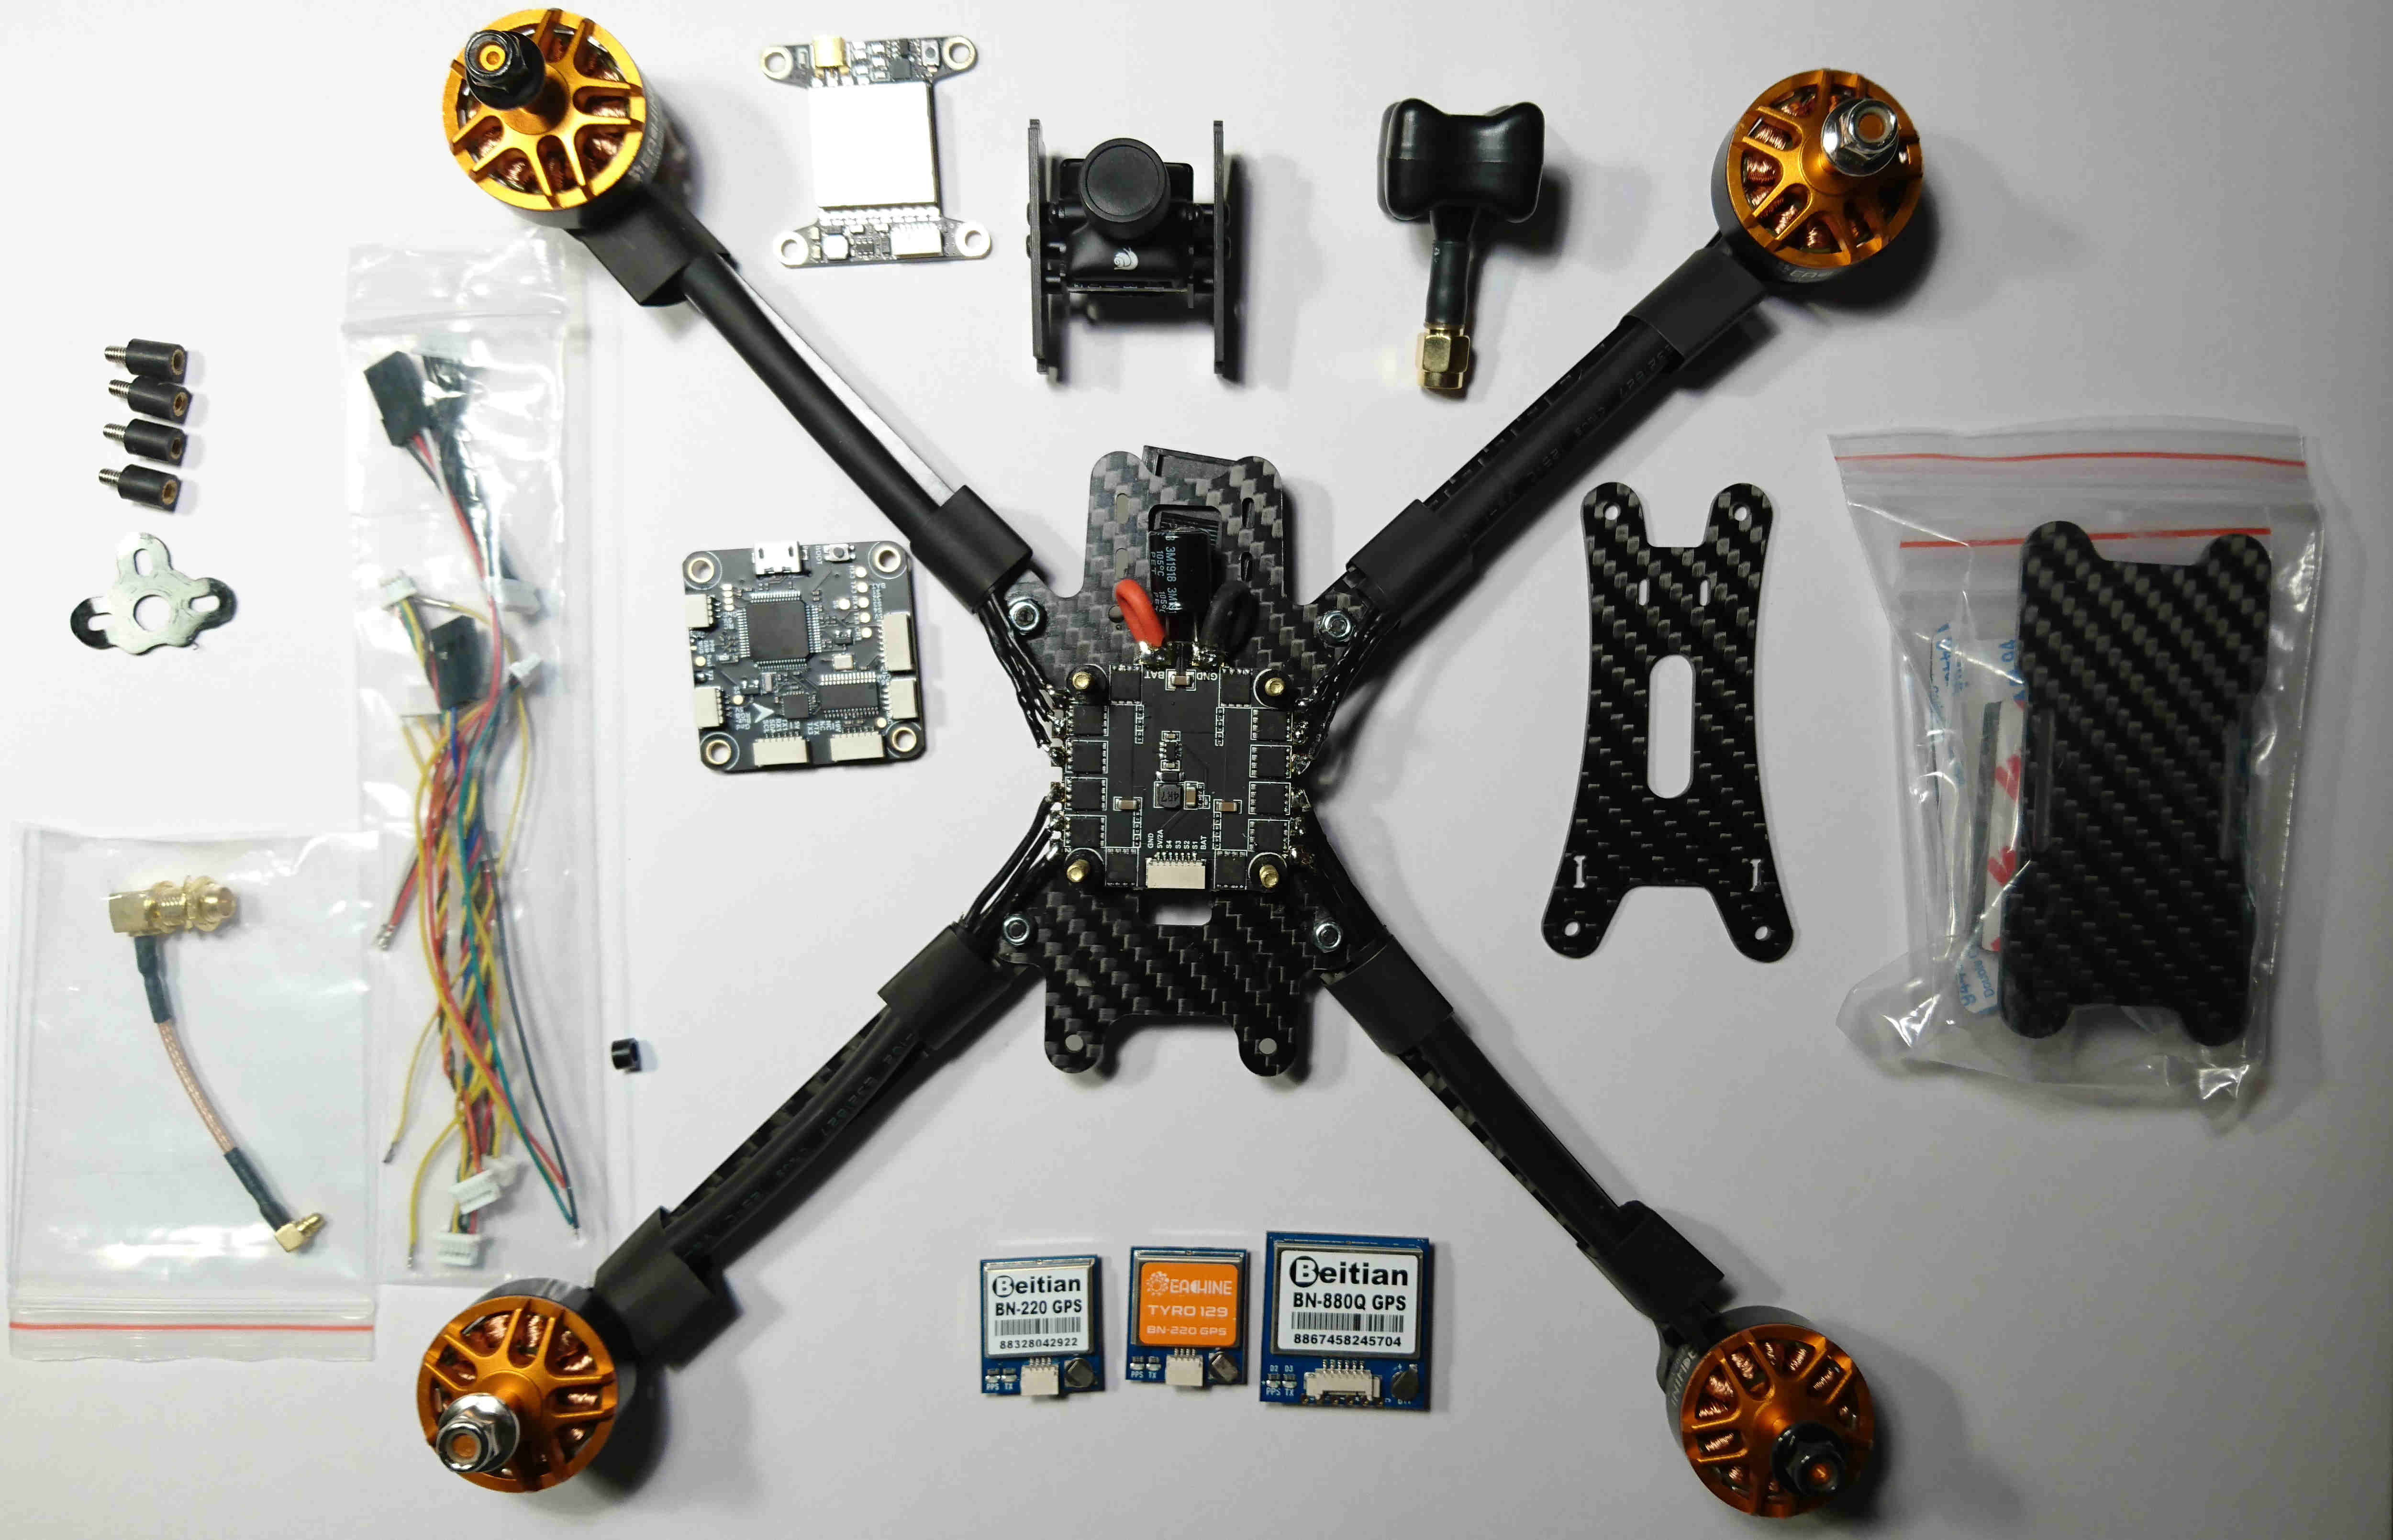
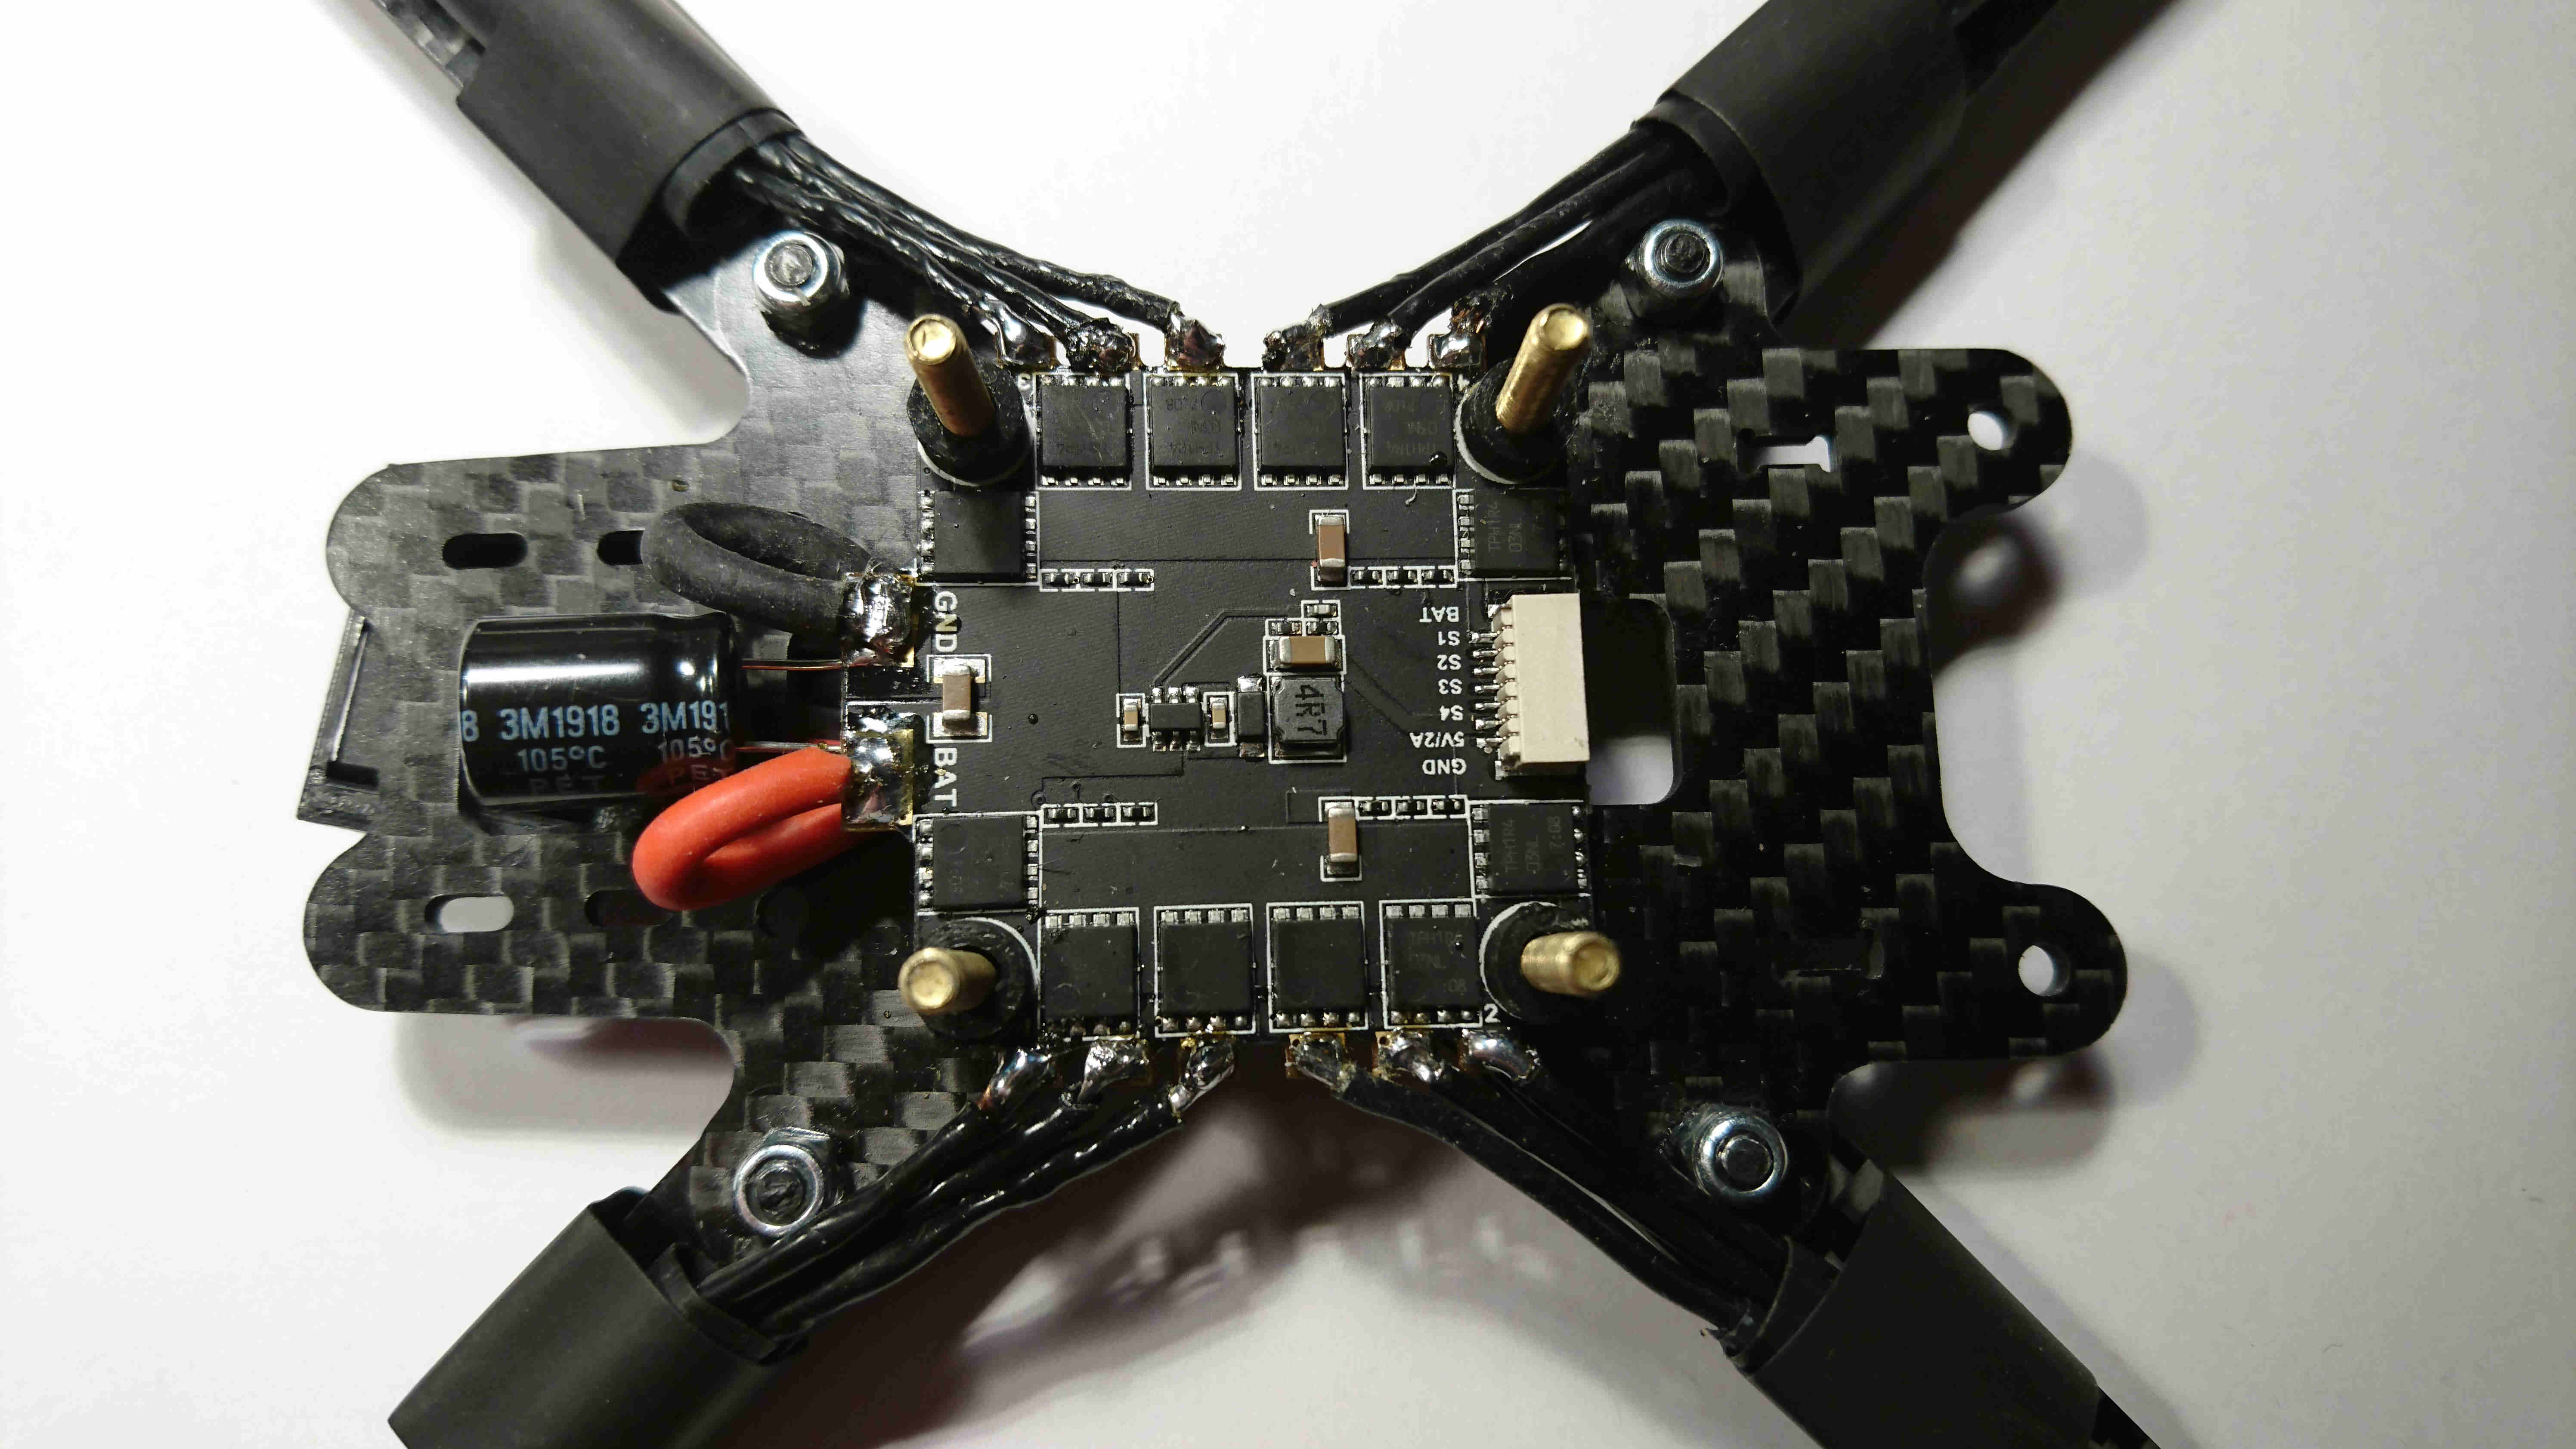
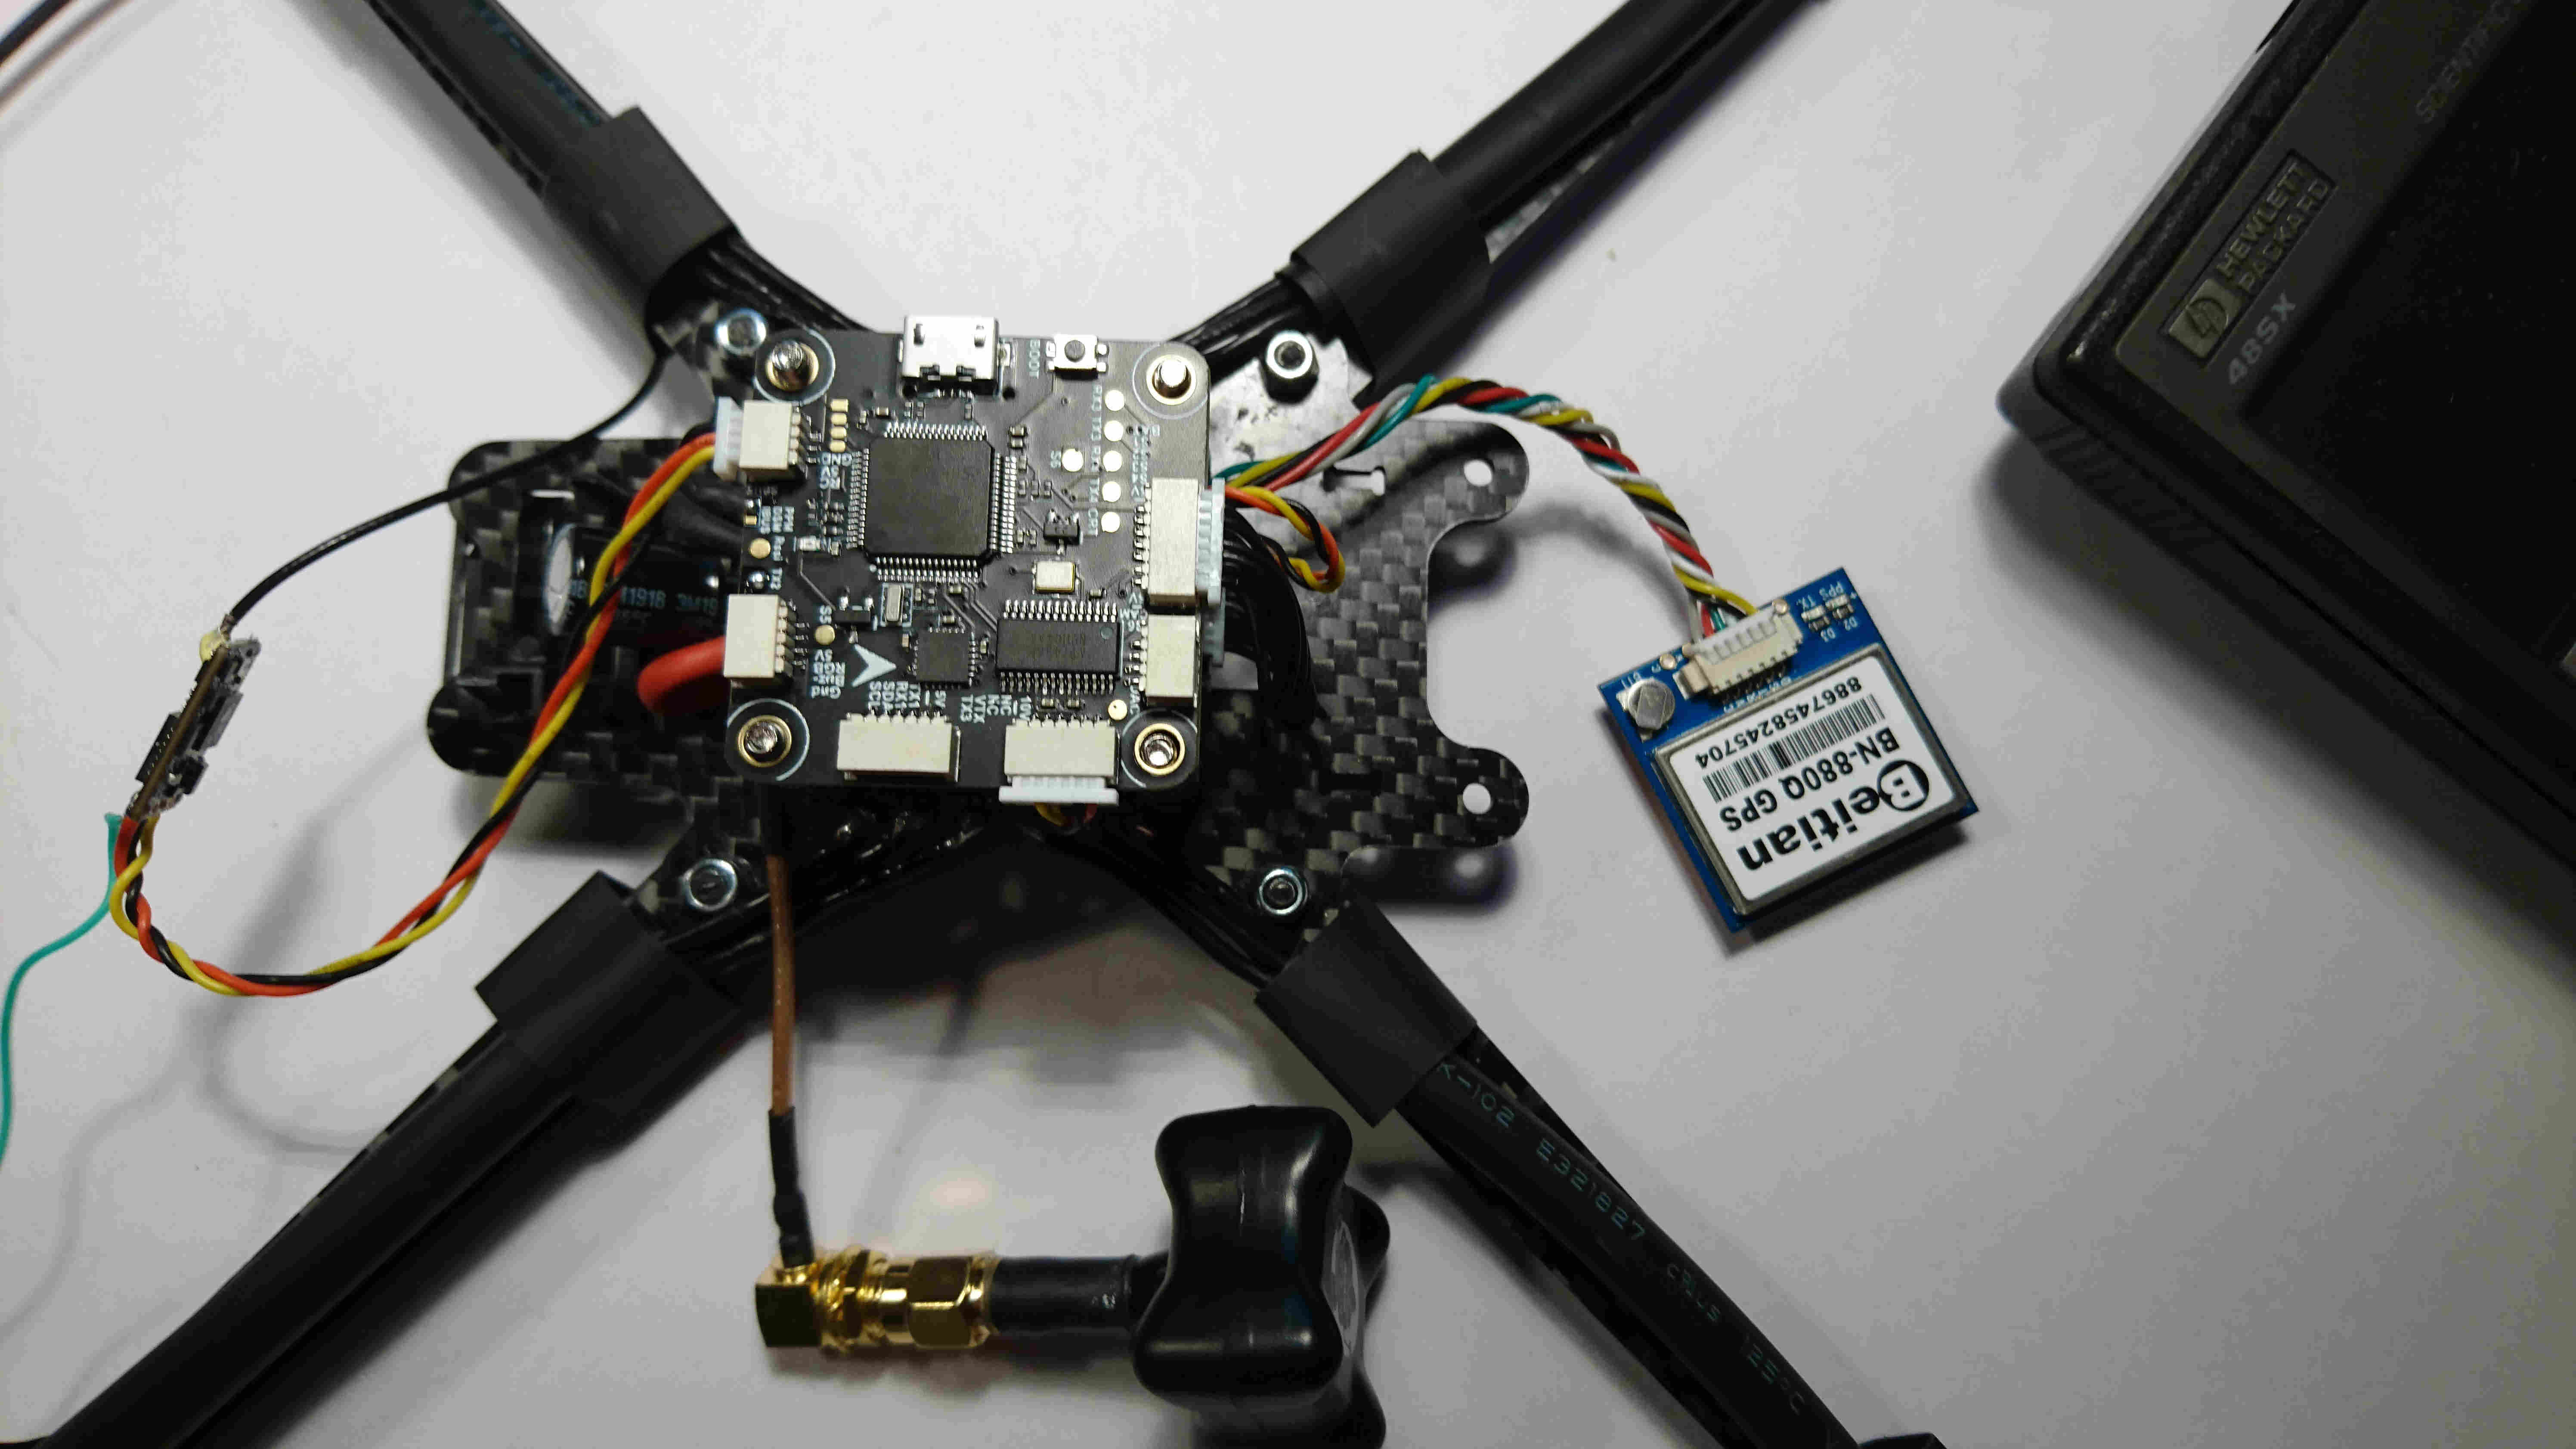
- FC: MatekF405 clone
- VTX: 25-600mW Eachine
- Cam: Caddx
- GPS: BN220
- ESC: 4 in 1 ESC 40A, Dshot 150
- Motors: 2507 1800KV, 3s-6s
- Props: T7056C
Additionally required:
- compass module or a GPS-compass module (BN-280Q recomended)
- Flight Controller Anti-Vibration Fixed Screws or silicon pads
- For the connection of the I2C compass you need two spare JST-SH (1.0mm) cables. They may be pluged into the white connector. Alternatively you can use the solder pads on the underside of the FC.
However, instead of using the GPS included in the kit and adding a compass,
i would hardly recommend to use a better GPS/compass module. This can be for example the low cost BN-880Q which sees more satellites (20+) and has much a faster 3D lock. The electronics of this module are well shielded. The compass and the GPS works very well on small copters. I usually mount the GPS directly on the top carbon plate between the FPV cam and the flight controller. I never had issues with this mounting option.
Battery option
- 3s-2500mAh - cruising, ±20min)
- 4s-2000mAh – freestyle flying
- 4s-3200mAH - filming/long range cruising (±25min with action cam)
- 4s-5000mAH - long range cruising
Assembly
The assembly is straight forward. There are several very detailed build videos on youtube. Just follow them. The only thing to mention is that you should soft mount the motors. The fast spinning motors and the heavy 7-Inch propellers are the major source of vibrations on the quad. I use printed TPU damper, 0.5-0.7mm thick. Several layers of electrical tape or Silicon O-rings are also working.
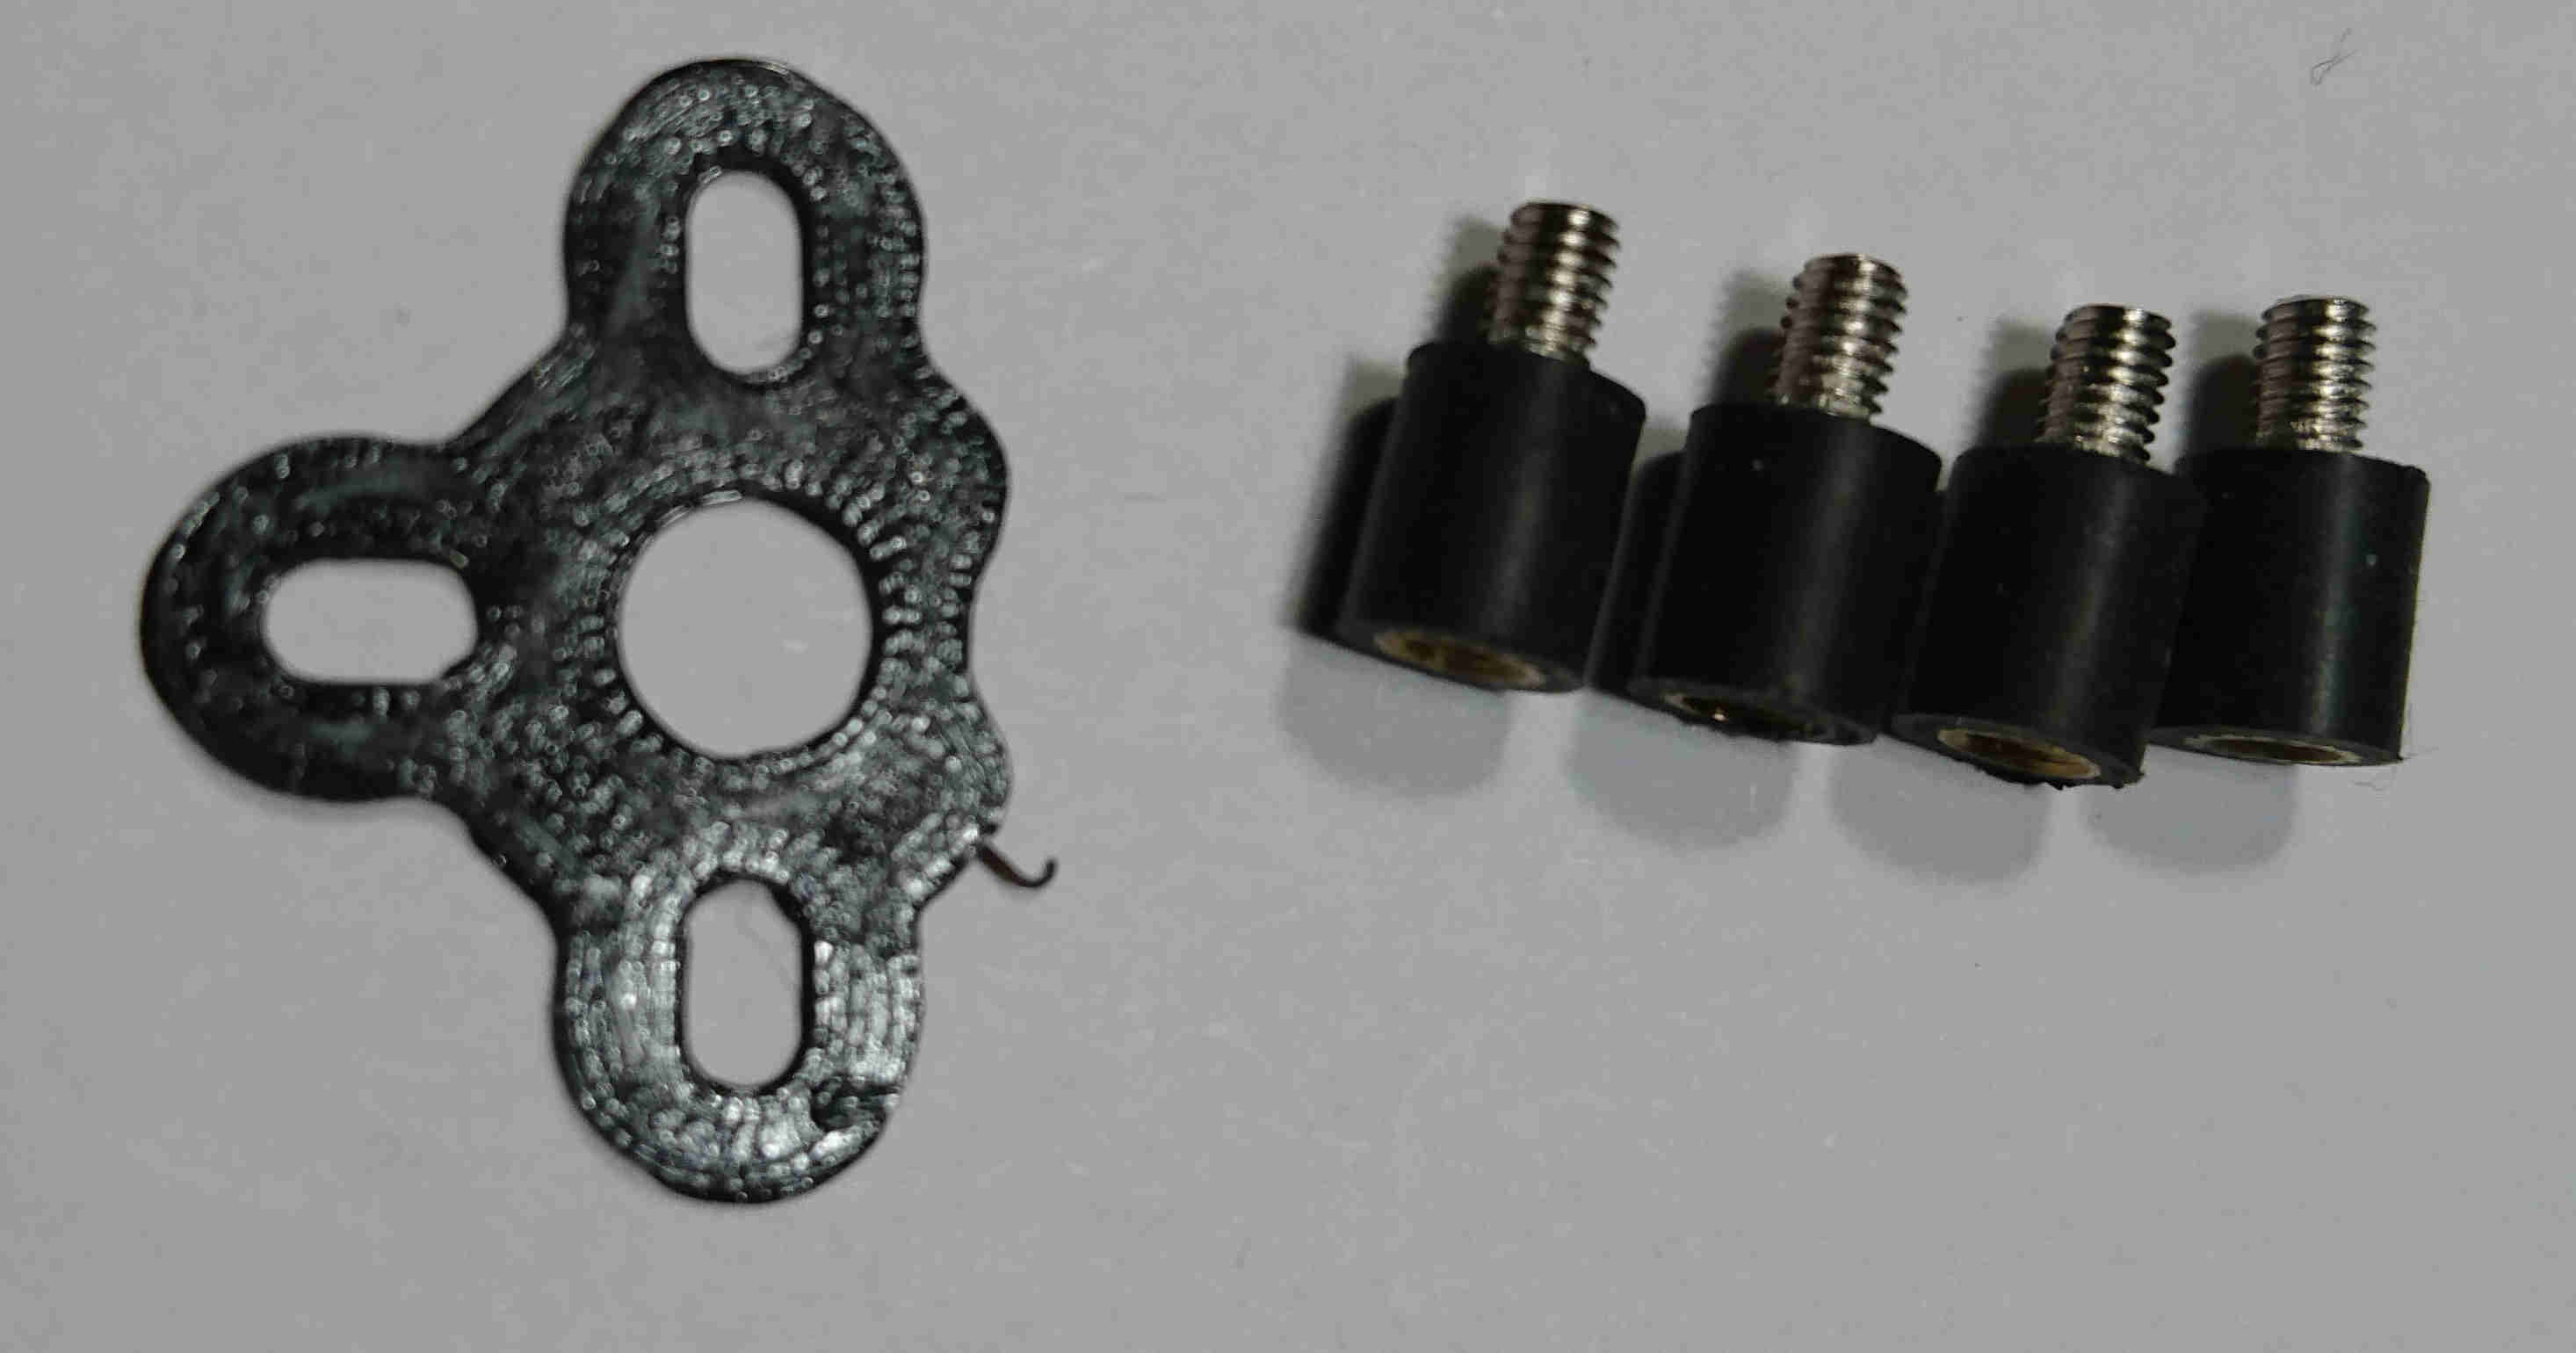
You need to mount the FC by using a very soft gel pad. I used those M3 anti vibration screws.
After the assembly, one may check the hardware using the betaflight configurator, as betaflight is preflashed on the FC. If you connect the motor wires uncrossed, the direction of the motors should be correct. Otherwise you need to reverse them using the BLHeli chome plugin.
Flashing Arducopter
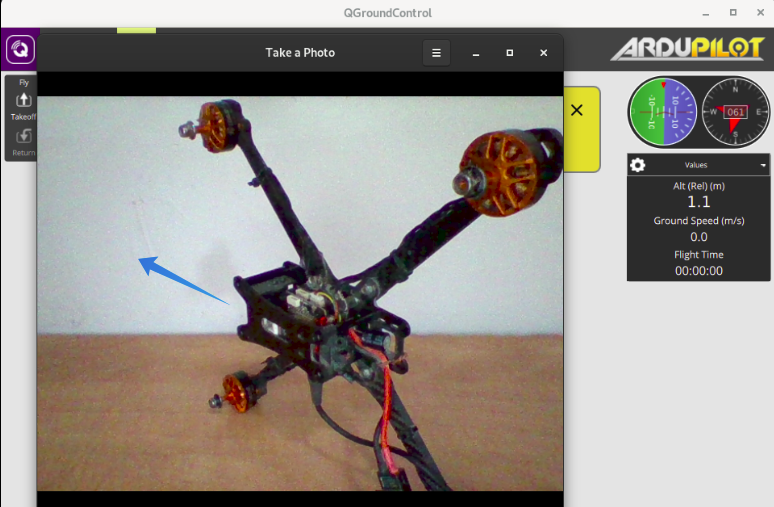
Flashing arducopter is straight forward. Press the boot button, plug in the USB cable, open betaflight and flash the arducopter image “MatekF405”. Reboot the FC, connect it to missionplanner of apmplanner2. The following description is based on arducopter 4.0.2.
Configuration
Go through the initial, mandatory setup as usual. The GPS works out of the box with the default settings after flashing. It uses SERIAL3 which labeled RX1/TX1 on the silkscreen.
Afterward comes the more unpleasant part which requires editing of Full Parameter List
Motor ordering/Dshot
Enable Dshot150 (one of the options is sufficient):
MOTOR_PWM_TYPE = 4
SERVO_BLH_OTYPE = 4
The motor ordering of the hardware is based on betaflight motor numbering. For arducopter we need to reassign the motors:
SERVO1_FUNCTION = 36SERVO2_FUNCTION = 33SERVO3_FUNCTION = 34SERVO4_FUNCTION = 35OSD/Logging
OSD_TYPE = 1LOG_FILE_BUFSIZE = 8Primary altitude source
Unfortunally the barometer found on the FC is totally scrap. Even if it is lying on the desk, the altitude varies by 50m within a few minutes. In oder to disable the barometer and use GPS as primary source set:
EK2_ALT_SOURCE = 2Battery Monitor
BATT_MONITOR = 4BATT_VOLT_PIN = 15BATT_VOLT_MULT = 11.164As the copter is very powerfull, a 3s battery is sufficient and works well for cruising and filming with an additional action cam. A 6s lipo is no fun as the vibrations increase and the frame is too flexible. I use in the following a 4s lipo with 3200mAh (weight ±368g).
Voltage settings for 4s lipos:
MOT_BATT_VOLT_MAX = 16.8MOT_BATT_VOLT_MIN = 13.2Tuning the copter
The most difficult part is the tuning of the copter. As it is a largely overpowerd freestyle quad, it is a bit difficult to find a good parameter set which is suitable for an inital takeoff. The copter behaves very similar to an overpowered 5-Inch freestyle quad. The frame with the motors has its first harmonic around 110Hz as displayed in the FFT diagram.
The hover throttle unfortunally can not be set by “MOT_HOVER_LEARN” as the value is not saved correctly. From an ALTHOLD flight, i got a value of 7% for hovering:
MOT_THST_HOVER=0.068Disable hover learning by:
MOT_HOVER_LEARN=0We choose the filter parameter with some distance to the first harmonic:
INS_GYRO_FILT=80ATC_RAT_PIT_FILTT=75ATC_RAT_PIT_FILTD=75ATC_RAT_RLL_FILTT=75ATC_RAT_RLL_FILTD=75ATC_RAT_YAW_FILTT=75Limit the max accellerations:
ATC_ACCEL_P_MAX=74000ATC_ACCEL_R_MAX=74000ATC_ACCEL_Y_MAX=35000Choose some reasonable initial values for the PIDs for takeoff and auto tune:
ATC_RAT_PIT_D=0.003ATC_RAT_PIT_I=0.2ATC_RAT_PIT_P=0.2ATC_RAT_RLL_D=0.003ATC_RAT_RLL_I=0.2ATC_RAT_RLL_P=0.2I started with the values of one of my 5-Inch quads.
Vertical PID values are calculated from MOT_THST_HOVER=0.068 as noted in the tuning guide:
PSC_ACCZ_I=0.13PSC_ACCZ_I=0.068Now you have a copter which is basically flyable. It is a good starting point for the famous AUTOTUNE procedure. Autotune converges very stable in around 3-4min for each axis. Initially i reduced AUTOTUNE_MIN_D to 0.0008 but afterwards i realized this was not necessary.
From the autotune procedure you will get for the bare assembled copter with a 4s/3200mAh battery (weight 368g):
ATC_ACCEL_P_MAX=173000ATC_ACCEL_R_MAX=285226ATC_ACCEL_Y_MAX=35000ATC_RAT_PIT_D=0.0021ATC_RAT_PIT_I=0.1241ATC_RAT_PIT_P=0.1241ATC_RAT_RLL_D=0.0018ATC_RAT_RLL_I=0.0920ATC_RAT_RLL_P=0.0920ATC_RAT_YAW_D,0.0000ATC_RAT_YAW_I,0.0184ATC_RAT_YAW_P,0.1841Now, you probably like to increase the ATC_INPUT_TC parameter and limit the ATC_ACCEL_P_MAX, ATC_ACCEL_R_MAX, ATC_ACCEL_Y_MAX values to make the quad act more gently to the input.
Harmonic notch filter
The copter has the first harmonic between 86-130Hz. The parameter for the harmonic notch are identified as follows:
INS_HNTCH_ENABLE=1INS_HNTCH_MODE=1INS_HNTCH_REF=0.068 (aka. hovering throttle)
INS_HNTCH_FREQ=108INS_HNTCH_BW=40Discussion
After this you get a very stable quad. It is really fun to fly. The weakest point of the kit is definitely the frame and the FC. The arms are a bit too thin and thus too flexible for the motors/props. However, the Tyro109/129 are very easy to build and fly well. They are a good entry point to fly arducopter with a FPV freestyle quad. Happy flying!