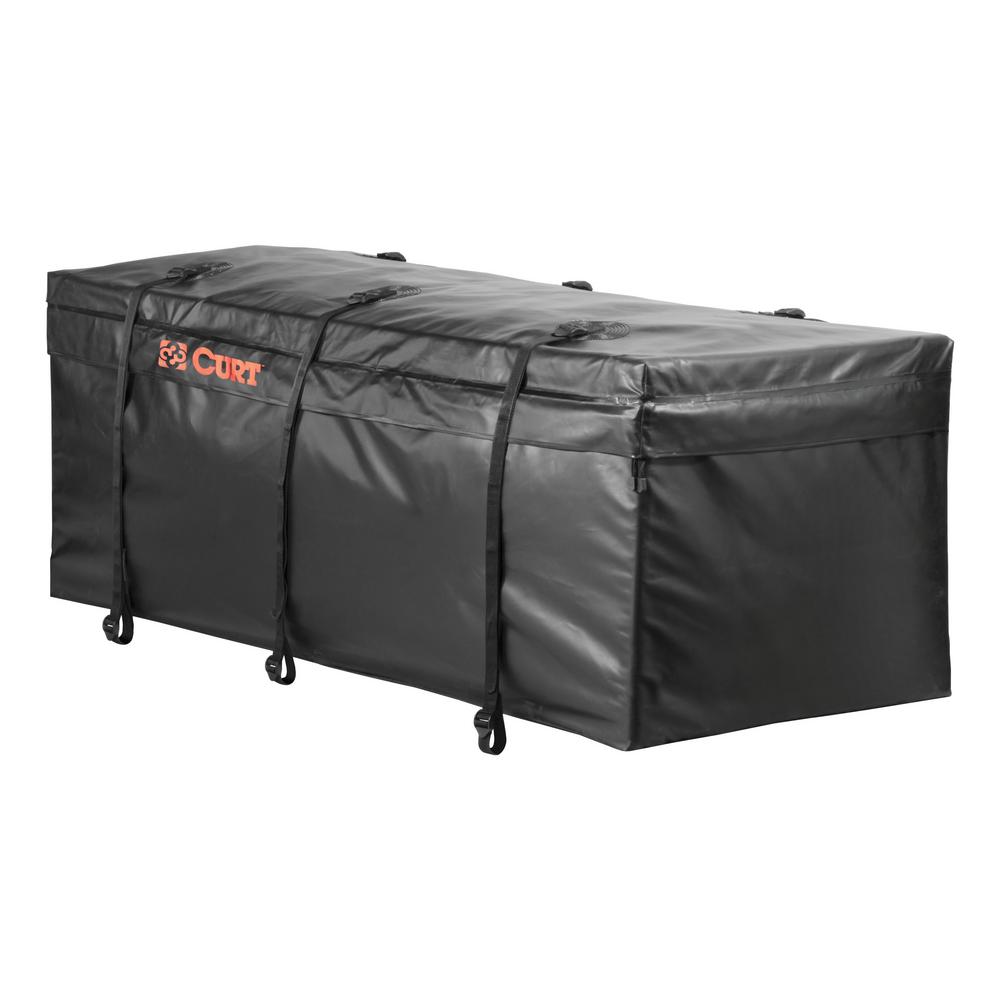
If you use the original box to store the Fighter, it should fit into this Curt 56" x 22" x 21" Water Resistant Hitch Cargo Bag. Mine just missed because of the cart wheels.
1 Like
Thanks Greg.
That could be a good short term solution and it’s affordable.
I got price quotes a couple months ago on a shipping case thinking it would be less than a pelican (or similar) case. Boy was I wrong. I should know better by now that if you have to ask for a price it’s probably not cheap! 
1 Like
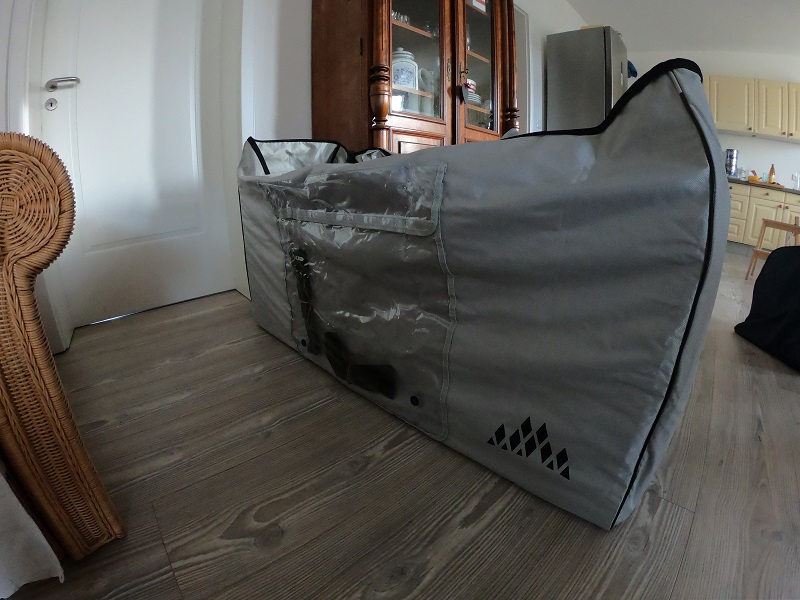
I found a perfect bag in germany which has the size of 50’‘x30’‘x14’’ and it fits perfect. I has a bit of room on the top but that doesn’t matter
2 Likes
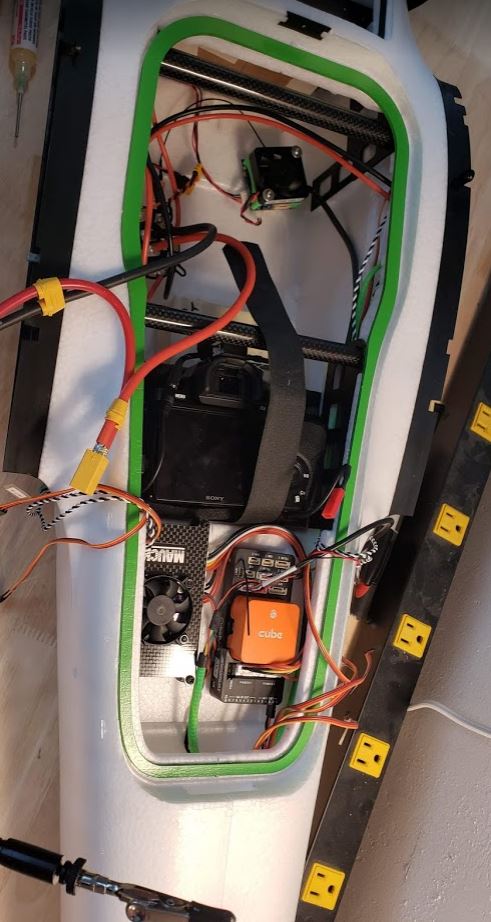
I’ve got all the critical components set in place temporarily (some taped) so basically all that is missing from the final build is a bit of wiring and the Rx antennas. I wanted to do a CG test so I could see the approximate position of where the VTOL batteries needed to go and what sort of bracket/tray I should create to hold them.
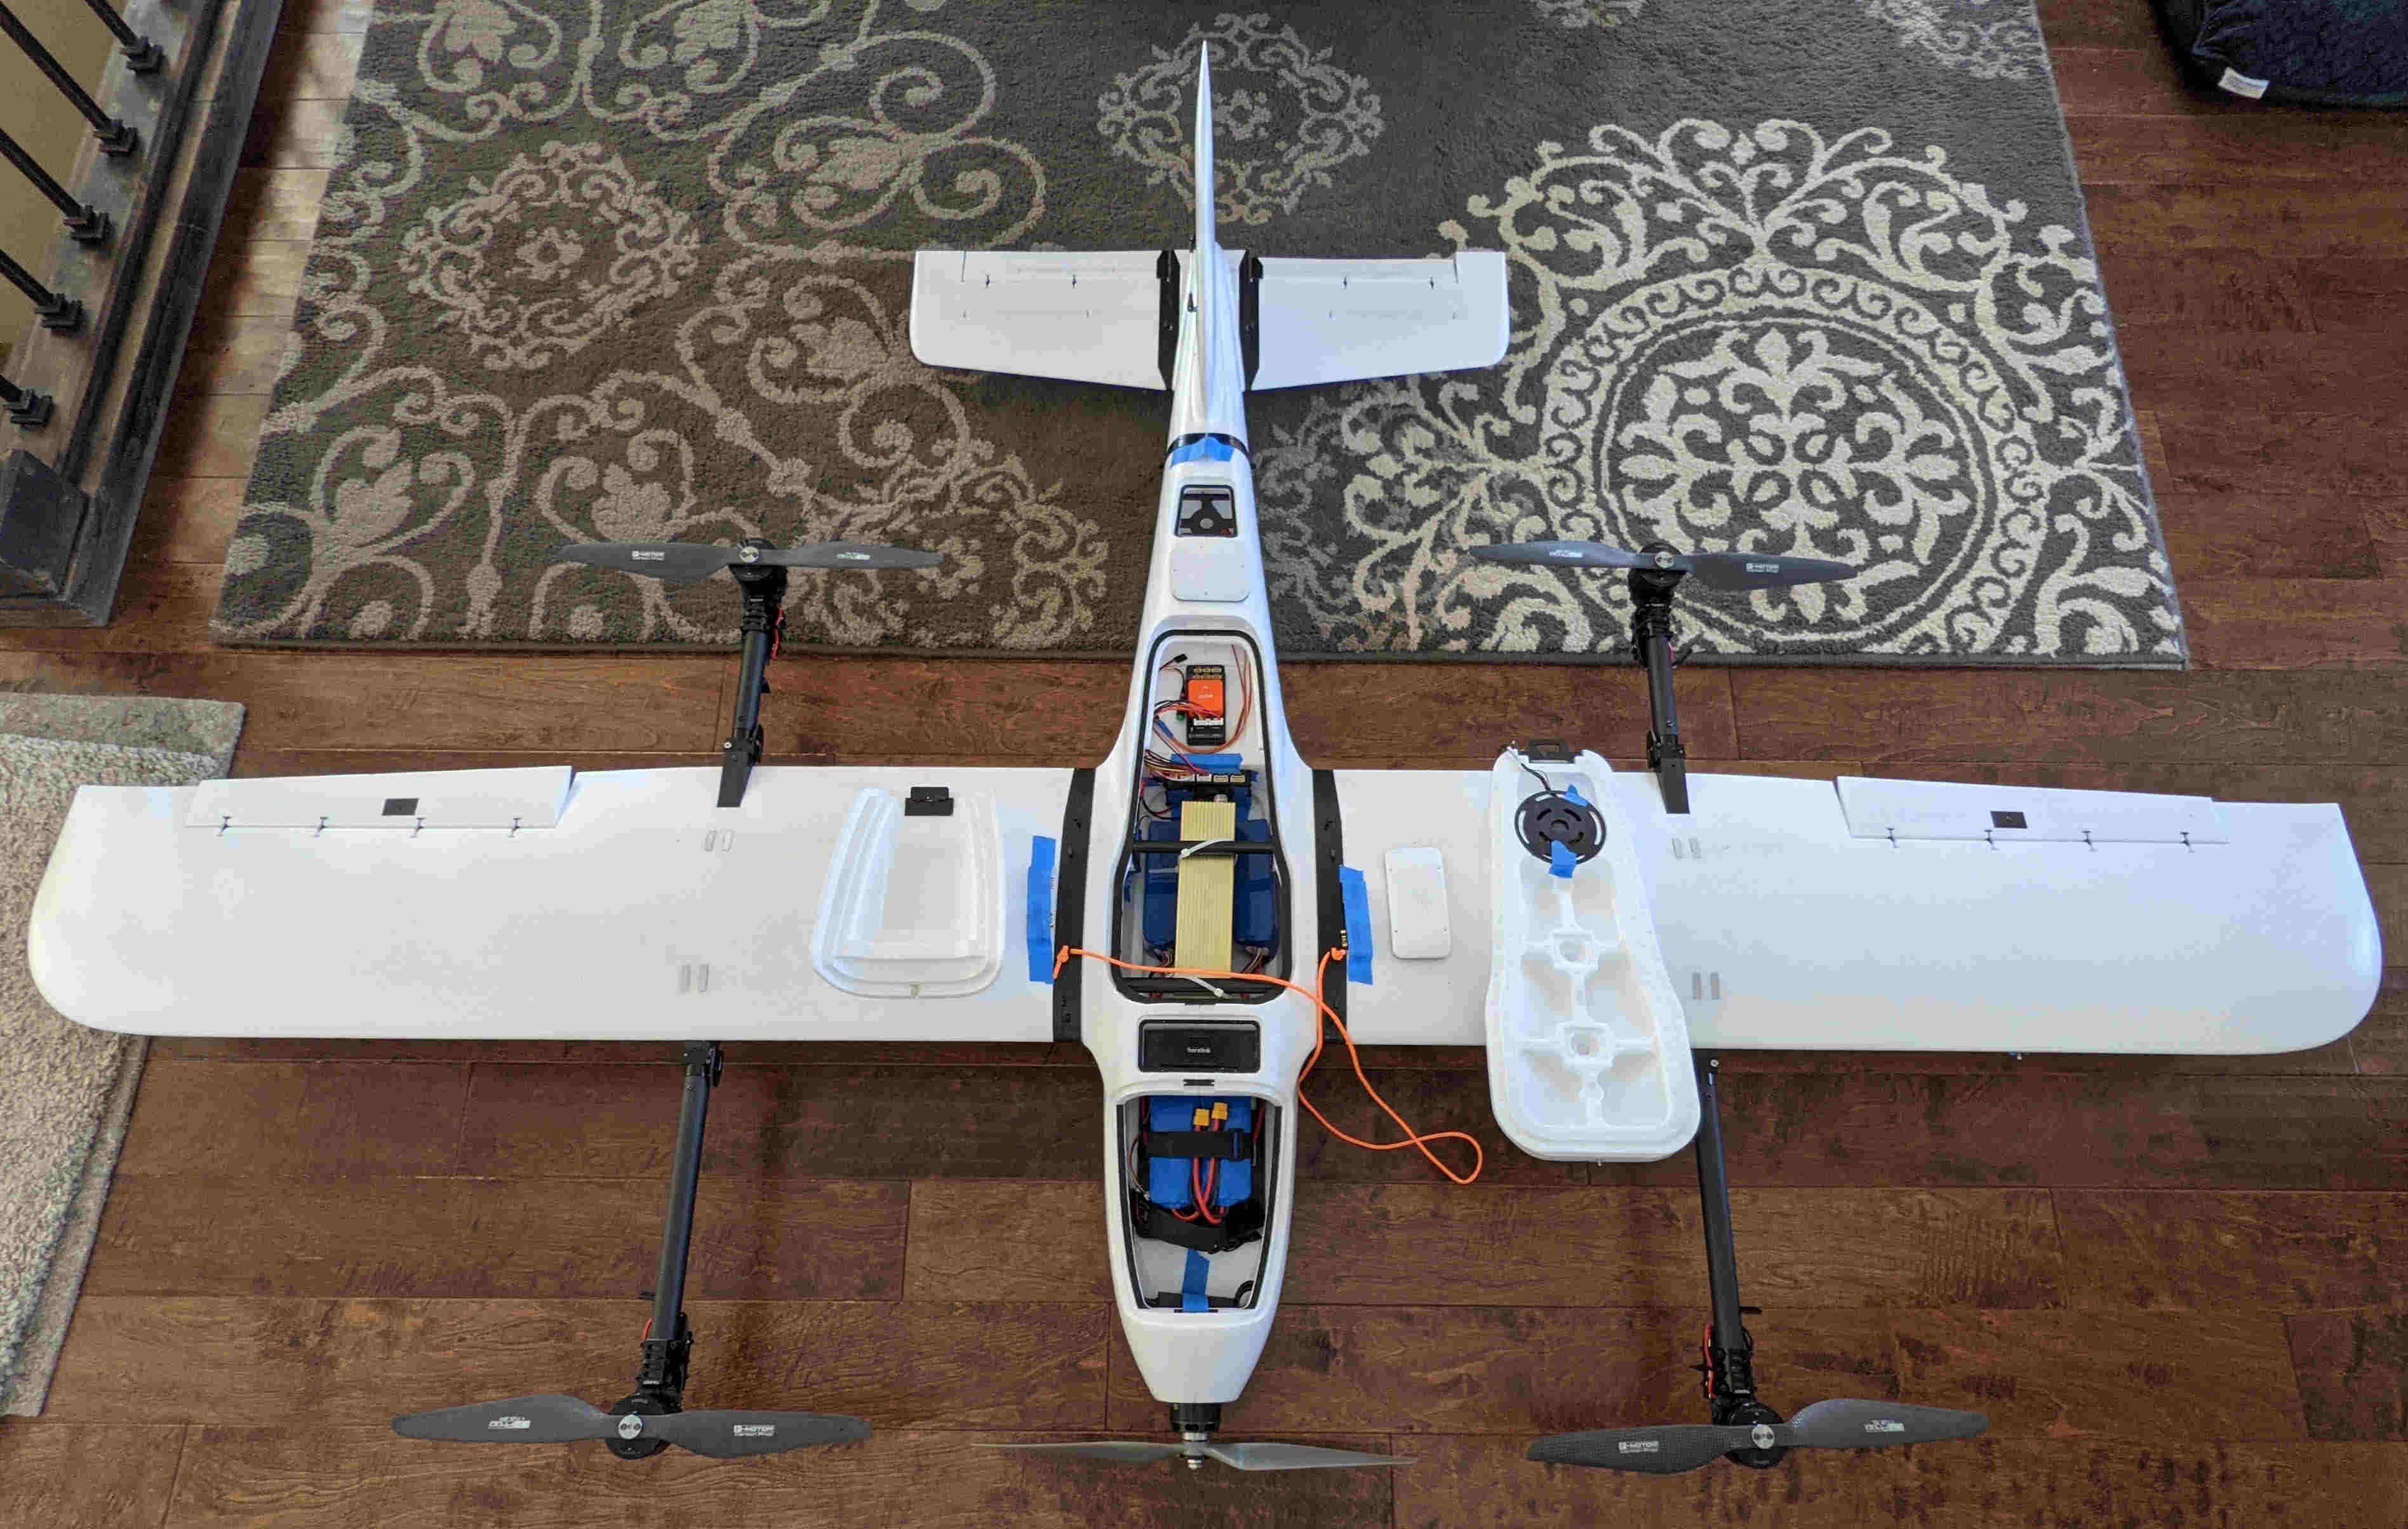
Photo: CG test build
As it sits, the VTOL batteries are 2 x 5000 mAh 6S 25-50C LiPo’s. These seemed to be the best bang for the buck w.r.t. energy density while having a high enough discharge rate to handle the V505 motors in a range of throttle values and hover times. After flight tests I will know if I can step down to a lighter battery of lower capacity and higher C rating. The cruise and system batteries are 2 x 12500 mAh 6S 3C Li-ion’s.
I eventually decided to go with a dual battery system primarily as a safety precaution for a few of reasons:
- With a separate VTOL battery the pilot is able to know more accurately how much energy/time I have left dedicated to VTOL motors without having to guess.
- The pilot can more easily achieve a maximum cruise flight time and not risk voltage sag damaging the cells on a drained battery when it switches to hover mode for landing (inevitably we all tend to land on a low battery).
- One can add backup FC power from the VTOL if the cruise battery fails. I haven’t implemented this as it is a bit more involved and I don’t have the hardware. It is more of a future option.
The VTOL batteries need to be secured and I also need to create an anchor point for the sling load. I want this weight to be supported by the carbon fiber tubing/wings rather than the fuselage. I’m thinking maybe a polycarbonate or carbon fiber sheet tray and some sort of drop down brackets from the carbon fiber tubes that hug the sides of the fuselage. Carbon fiber would be lighter and stronger, but at the disadvantage of blocking Rx signals if too much is used. I want the anchor point on the belly of the plane so that it can pivot freely without making contact with the fuselage. Even a strong, thin plywood could be an option.
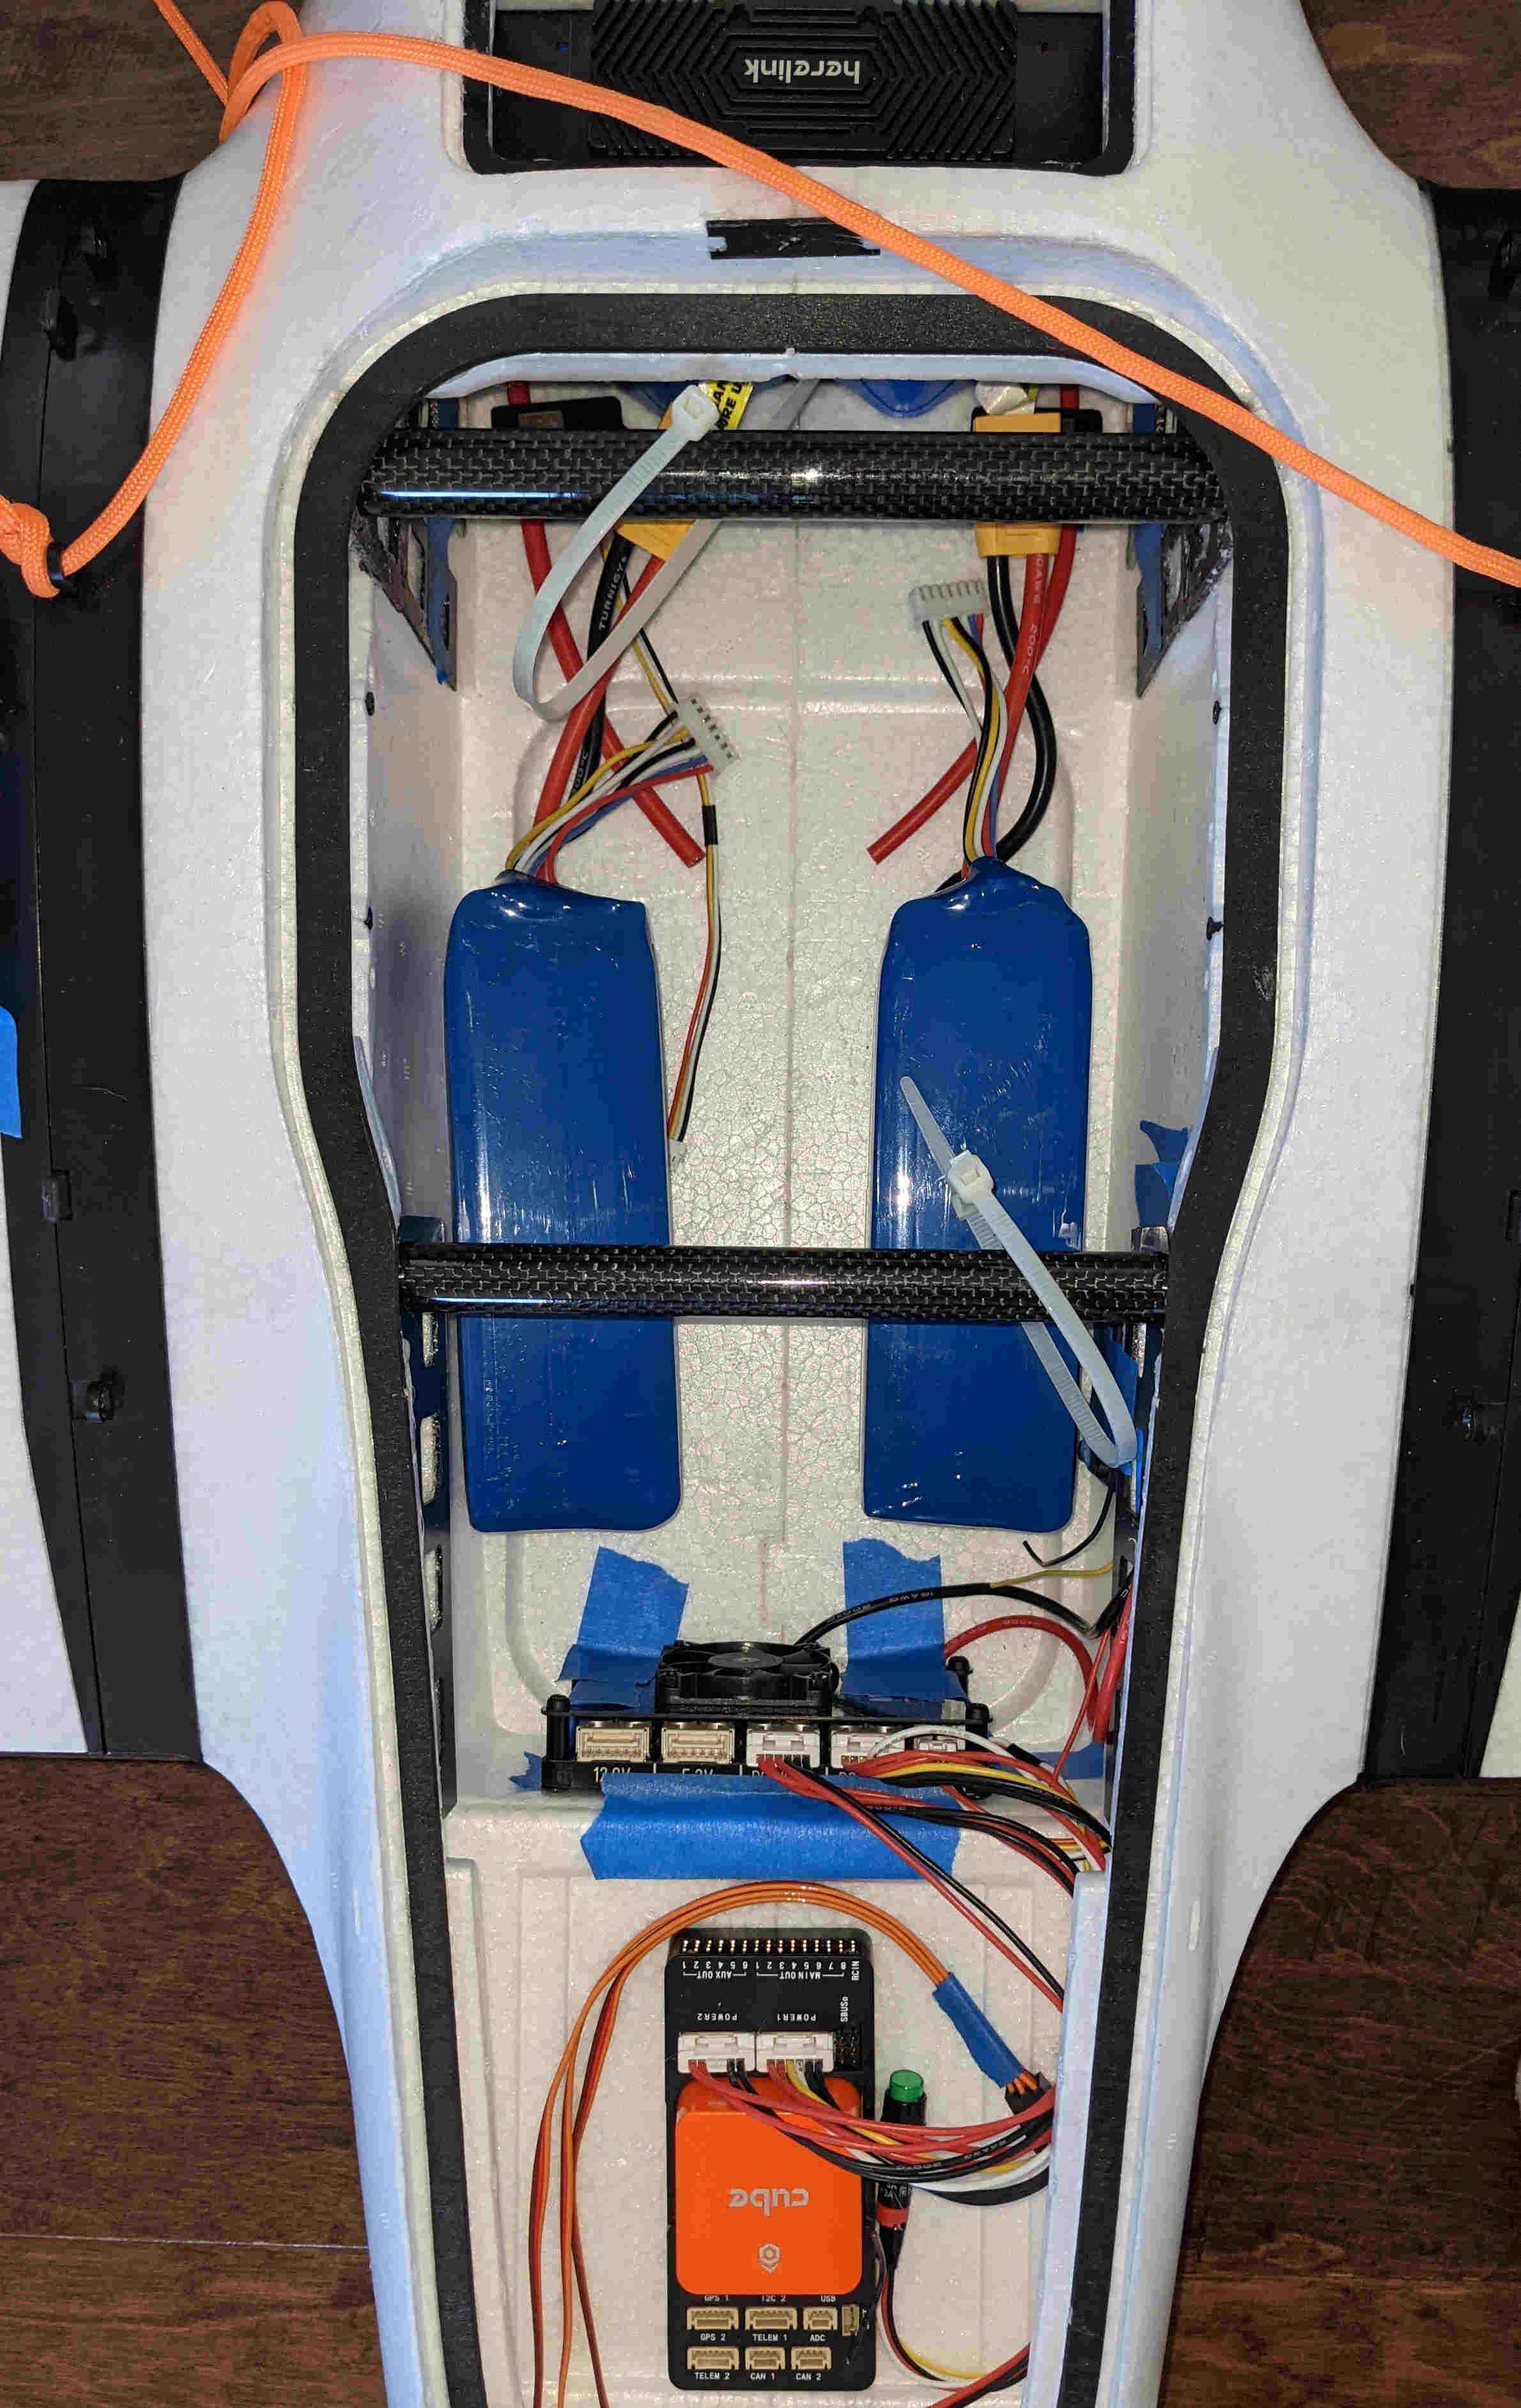
Photo: approx CG balance location of VTOL batteries
Polycarbonate is much more friendly to work with than carbon fiber and it also gives/flexes a bit (for better or worse). I’ll have to double up layers at the anchor point for reinforcement which is where CF has the advantage. Suppose I could do a PC tray with CF plate at the anchor attachment point. I require the tray to be removable/swap-able for flying imagery missions without a sling load. Decisions, decisions…
Happy to hear any suggestions others may offer on the matter.
Cheers,
Christian
1 Like
Hi Christian,
Your Fighter is coming along nicely!
My one concern is how little space you have left for payload options. The four battery packs take up a fair amount of space. What are you using for the R/C system?
Cheers!
Looking good Christian! One question…what airspeed sensor did you use? The mRo I2C HST-GH? I picked up one of these and it is larger in diameter than the recommended tube location on the wing, and looks to be too short to fit through the wing. Before we go hacking into it I was wondering if you used this sensor, if so how did you mount it? If not what sensor did you use that fit? Here are the guts of ours in progress…
Thanks. It’s a work in progress.
I agree, dual battery does take up a lot more space. The 5000mAh packs are quite large, however, they are the biggest that would be in this VTOL and might only be in use for a handful of hover tests to see if the capacity is necessary. For light payloads, I’ll switch to single battery configuration with a higher C rating.
The R/C I am using on this build is a Herelink unit (http://www.proficnc.com/all-products/211-herelink.html). I have an idea or two for mounting the antennas.
Cheers,
Christian
Hey Ian,
Nice touch with the green rim! I’ll eventually be skinning the airframe with some HK covering film.
I have the mRo airspeed sensor (https://store.mrobotics.io/mRo-I2C-Airspeed-Sensor-JST-GH-p/m10030a.htm) and it has the same issue with the MFE stock position. I just have it taped on/in the wing for balancing purposes. I want to find a metal tube that will fit in the stock location so I don’t have to cut away any wing foam. The static pressure inside that wing servo compartment is used for differential so a simple metal tube should be fine. I’ll be headed to the hardware store soon to get various nuts and bolts and see if they have something suitable.
@GregCovey , I believe you had some spare metal tubing that worked for your airspeed sensor. What is the outside diameter of the tube and do you recall where you sourced it?
P.S. - Finding the connector pin type for the Molex clik mate style connectors was a major pain. I have chosen to extend some of the wires for the Mauch components and prefer to not solder such a small gauge wire nor rely on intermediate connectors. If you need the manufacturer ID numbers or digikey stock ID, I have them.
Cheers,
Christian
From post #158:
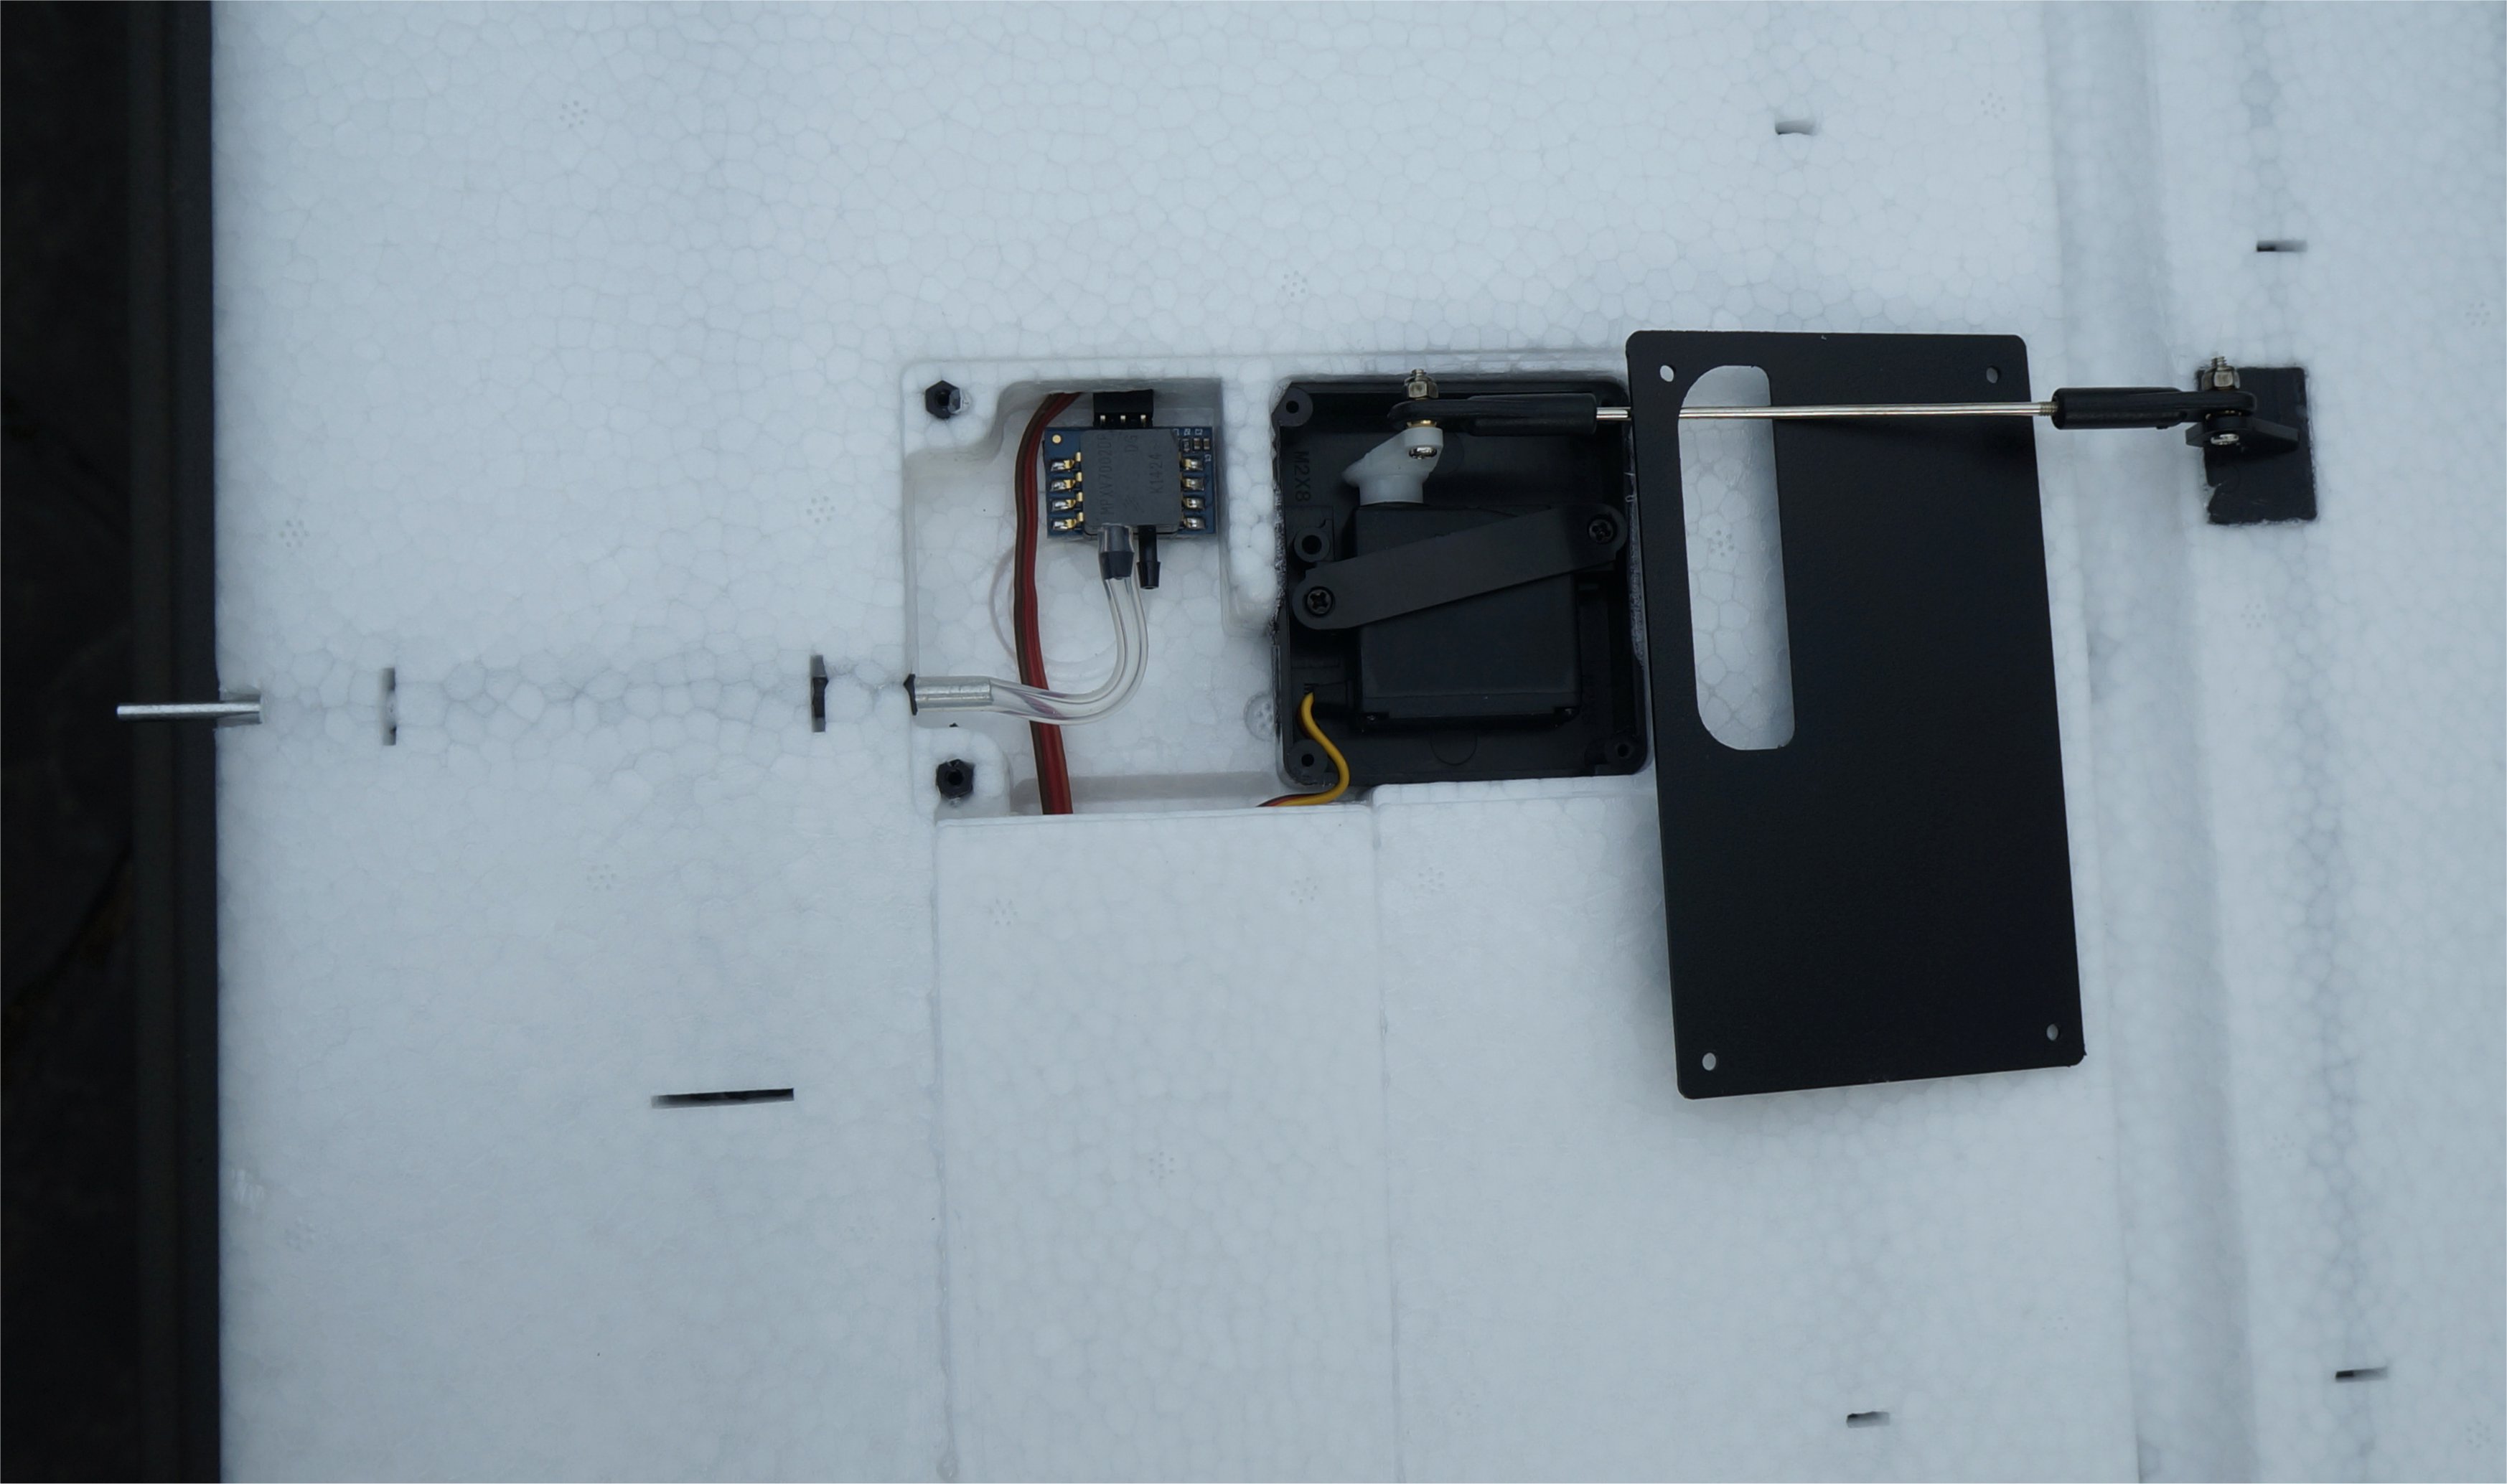
The inside diameter is about 1.5mm with 0.25mm aluminum walls. Brass would work here as well. The outside measurement is close to 3/32" (0.09375) so that might work with the tubing as well.
Typically, I use K&S Tubing from either a local hobby shop, ACE Hardware, or an on-line store. In this case, I had purchased a bag of scrap tubing from the craft section of a local hobby shop and it has kept me looking in the plastic tub for years. ![]()
1 Like
Thanks Greg for the info and pics! Very helpful! Christian where are you planning on installing your HereLink antenna? Are you using the stock antenna that came with the kit, or upgrading to some rubber duckies? We are using a Microhard base, Picoradio air side 2.4 GHz IP radio system with some VAS RHCP Victory antenna on the aircraft and the Pepperbox Extreme for the base antenna:
Airside
Base
Thanks much Greg.
I have an Ace Hardware nearby so I’ll check there. If not, I see that K&S tubing is available online at a handful of places.
-my measurements confirm your values. I get 7/64" I.D. of the MFE stock position so a 3/32" O.D. tube at 6" length would be the right size for a pitot.
Ian,
I picked up an airbot herelink “upgrade” kit which is essentially a stiff omni antenna set (https://irlock.com/collections/pixhawk2/products/herelink-antenna-upgrade-kit). I’m thinking of mounting them to the sides of the Rx compartment on top of the fuselage which allows for a slight angle in orientation and better signal coverage. I’ll put a thin polycarbonate plate or similar on the inside to secure them. For transport, All I need to do is unscrew from the SMA connection and stow.

Photo: antenna placement sketch
For long range, I have an ImmersionRC RHCP antenna similar to the Pepperbox and an antenna tracker (to be assembled/tested later). If I was using a single antenna I’d probably put it in the Rx hatch or the rear mounting position. This keeps it out of the way of the fuselage hatches and less chances for wire to tangle/catch when swapping batteries. imho
Looks like a bit of tight fit for your Mauch PC4 and the FC. I might try that arrangement to give more space in the payload bay. I wonder if there will be any residual electromagnetic interference from the PC4 being so close to the FC? My GPS is directly above that spot so hopefully some copper shielding will be enough.
-Christian
Had to detour for a bit while waiting for more parts to finish my wiring harnesses in the airframe. I have a small FPV cam (Runcam Hybrid split) that I’d like to mount on top from time to time when needed. The Herelink Rx/Tx can take two digital camera inputs with the option to swap between the feeds while in flight. The issue with an FPV camera is the feed is analog so a converter is needed.
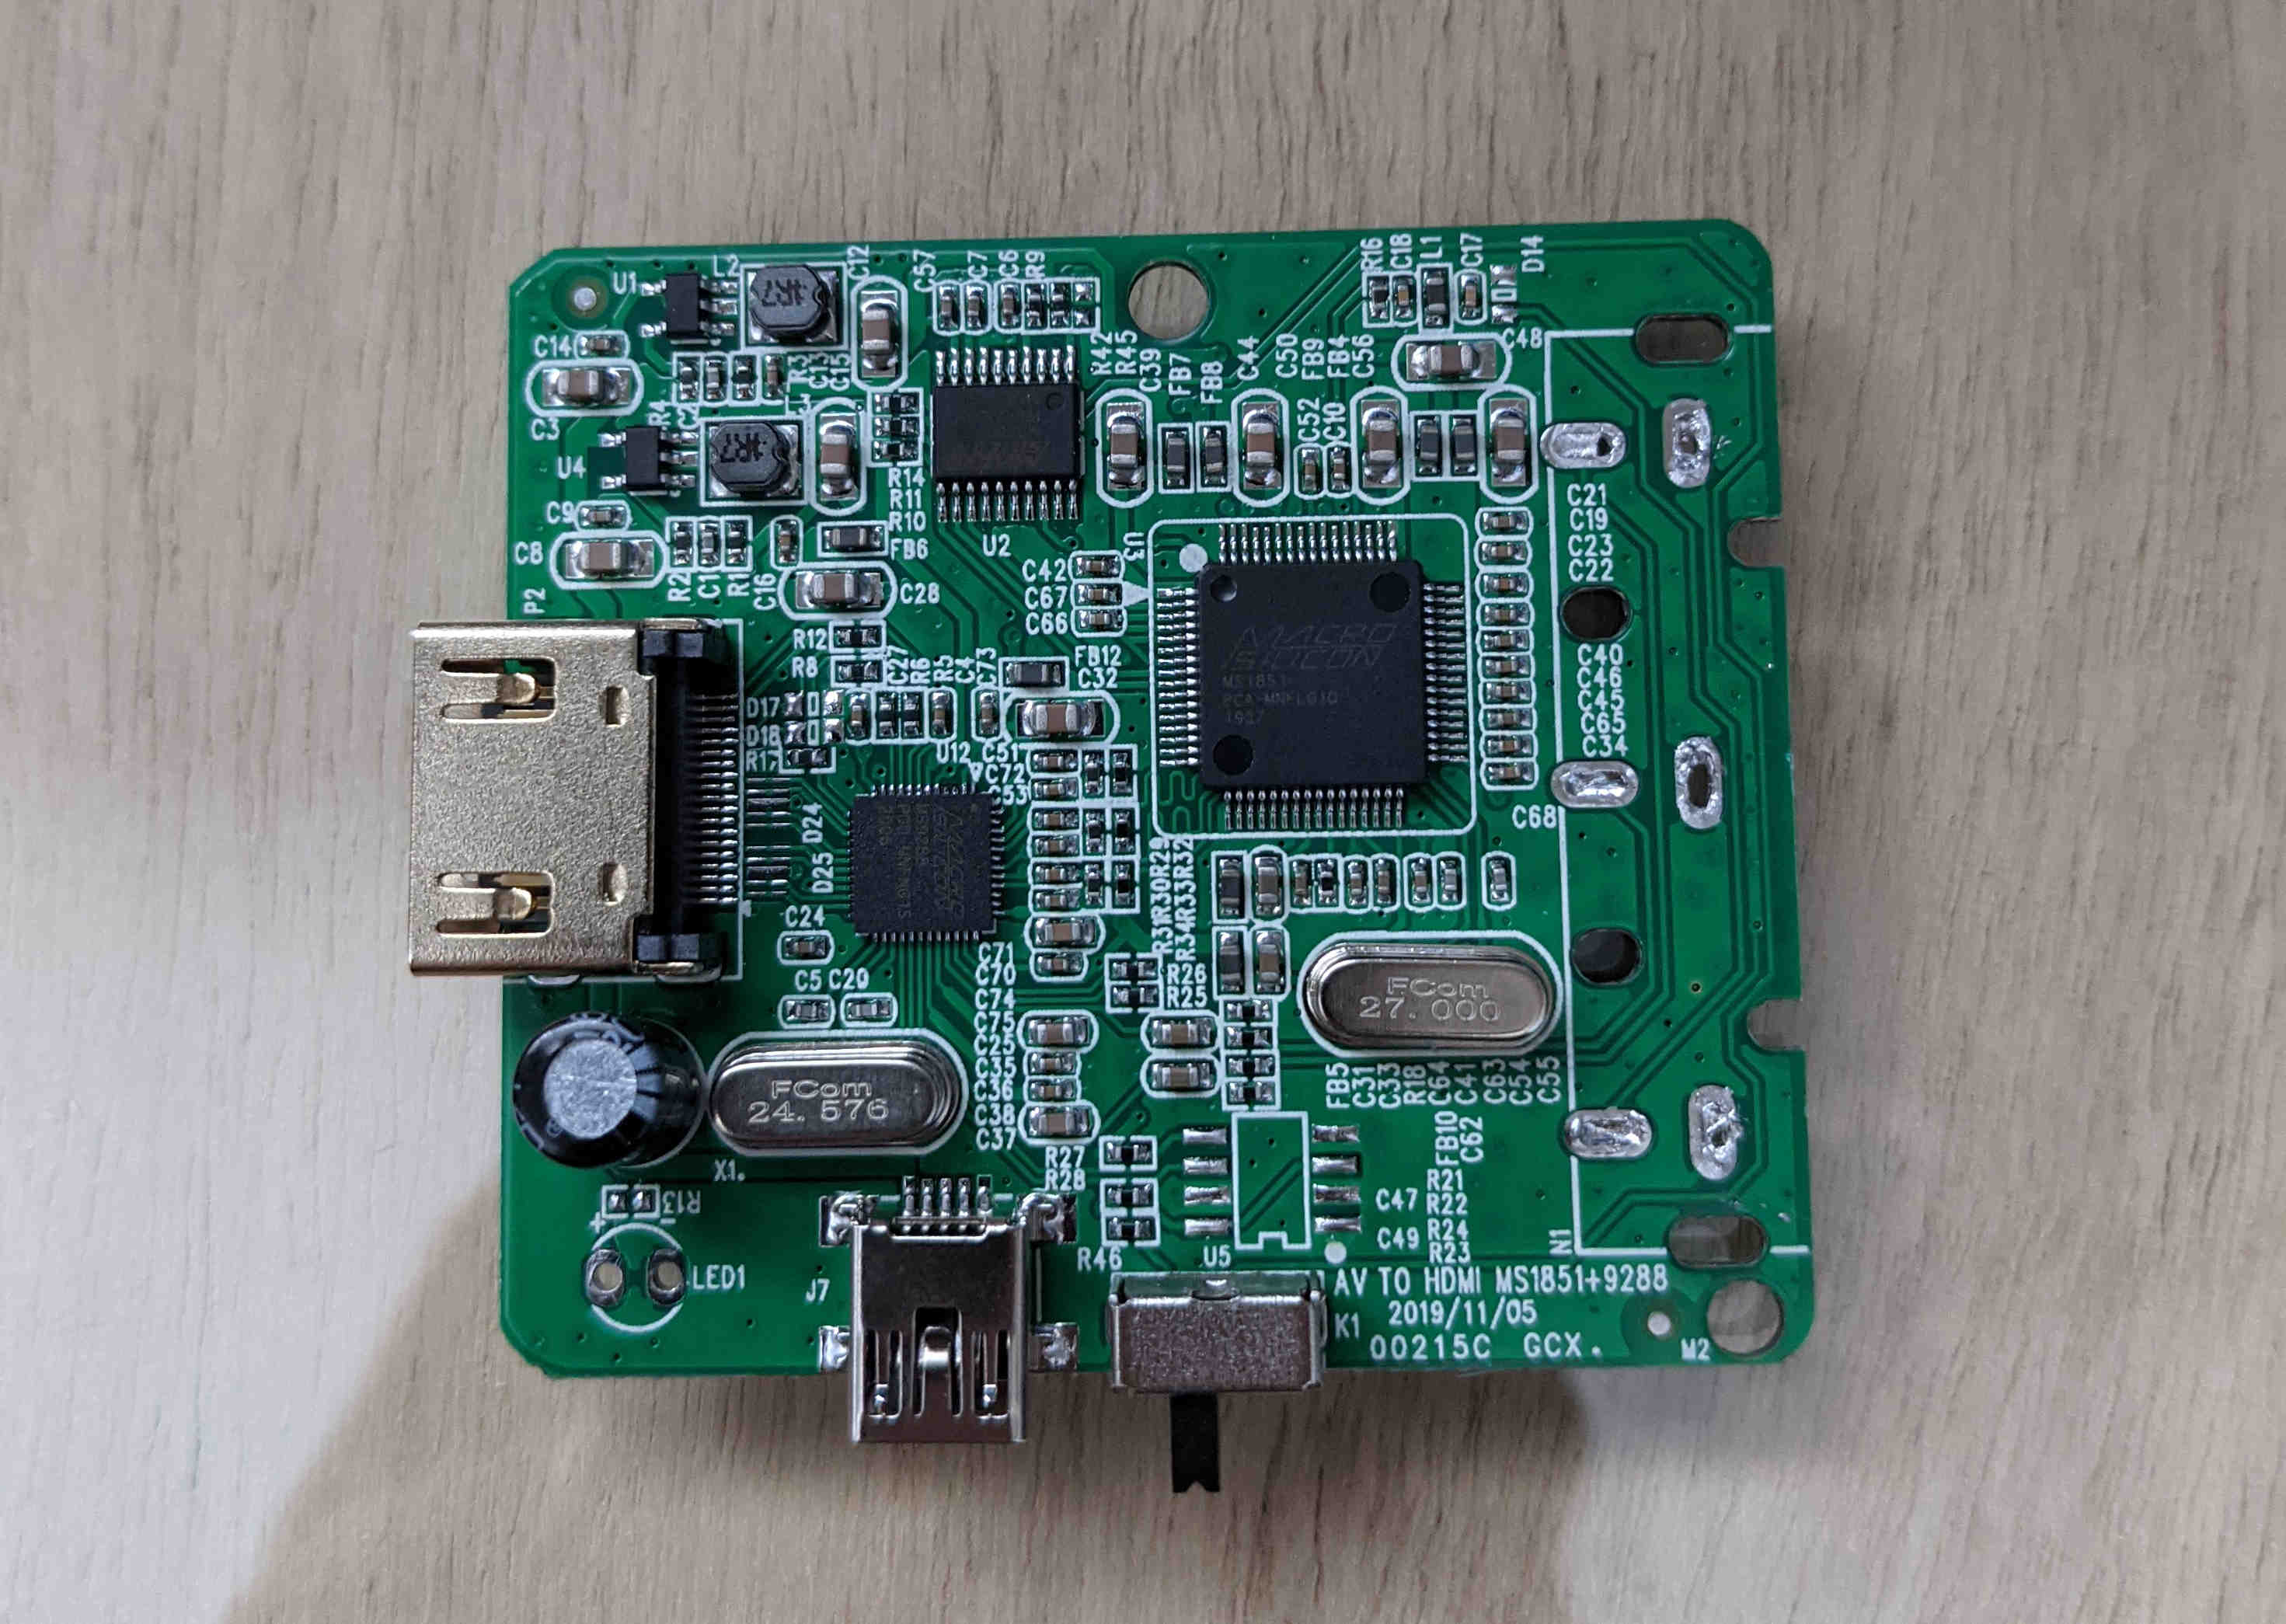
photo 1: converter PCB with inputs removed
I took the tip from Greg and other posts to remove the input receptacles and solder connections directly to the PCB to save weight. One issue I ran into is that there wasn’t an obvious +Vcc to connect the power wire to. Eventually I found an LED position that just needed a solder bridge to activate it (lower left in photo) then hooked up power. I used the PCB default USB (mini-B port) to power the Rx and the FPV cam with a 5V battery pack.
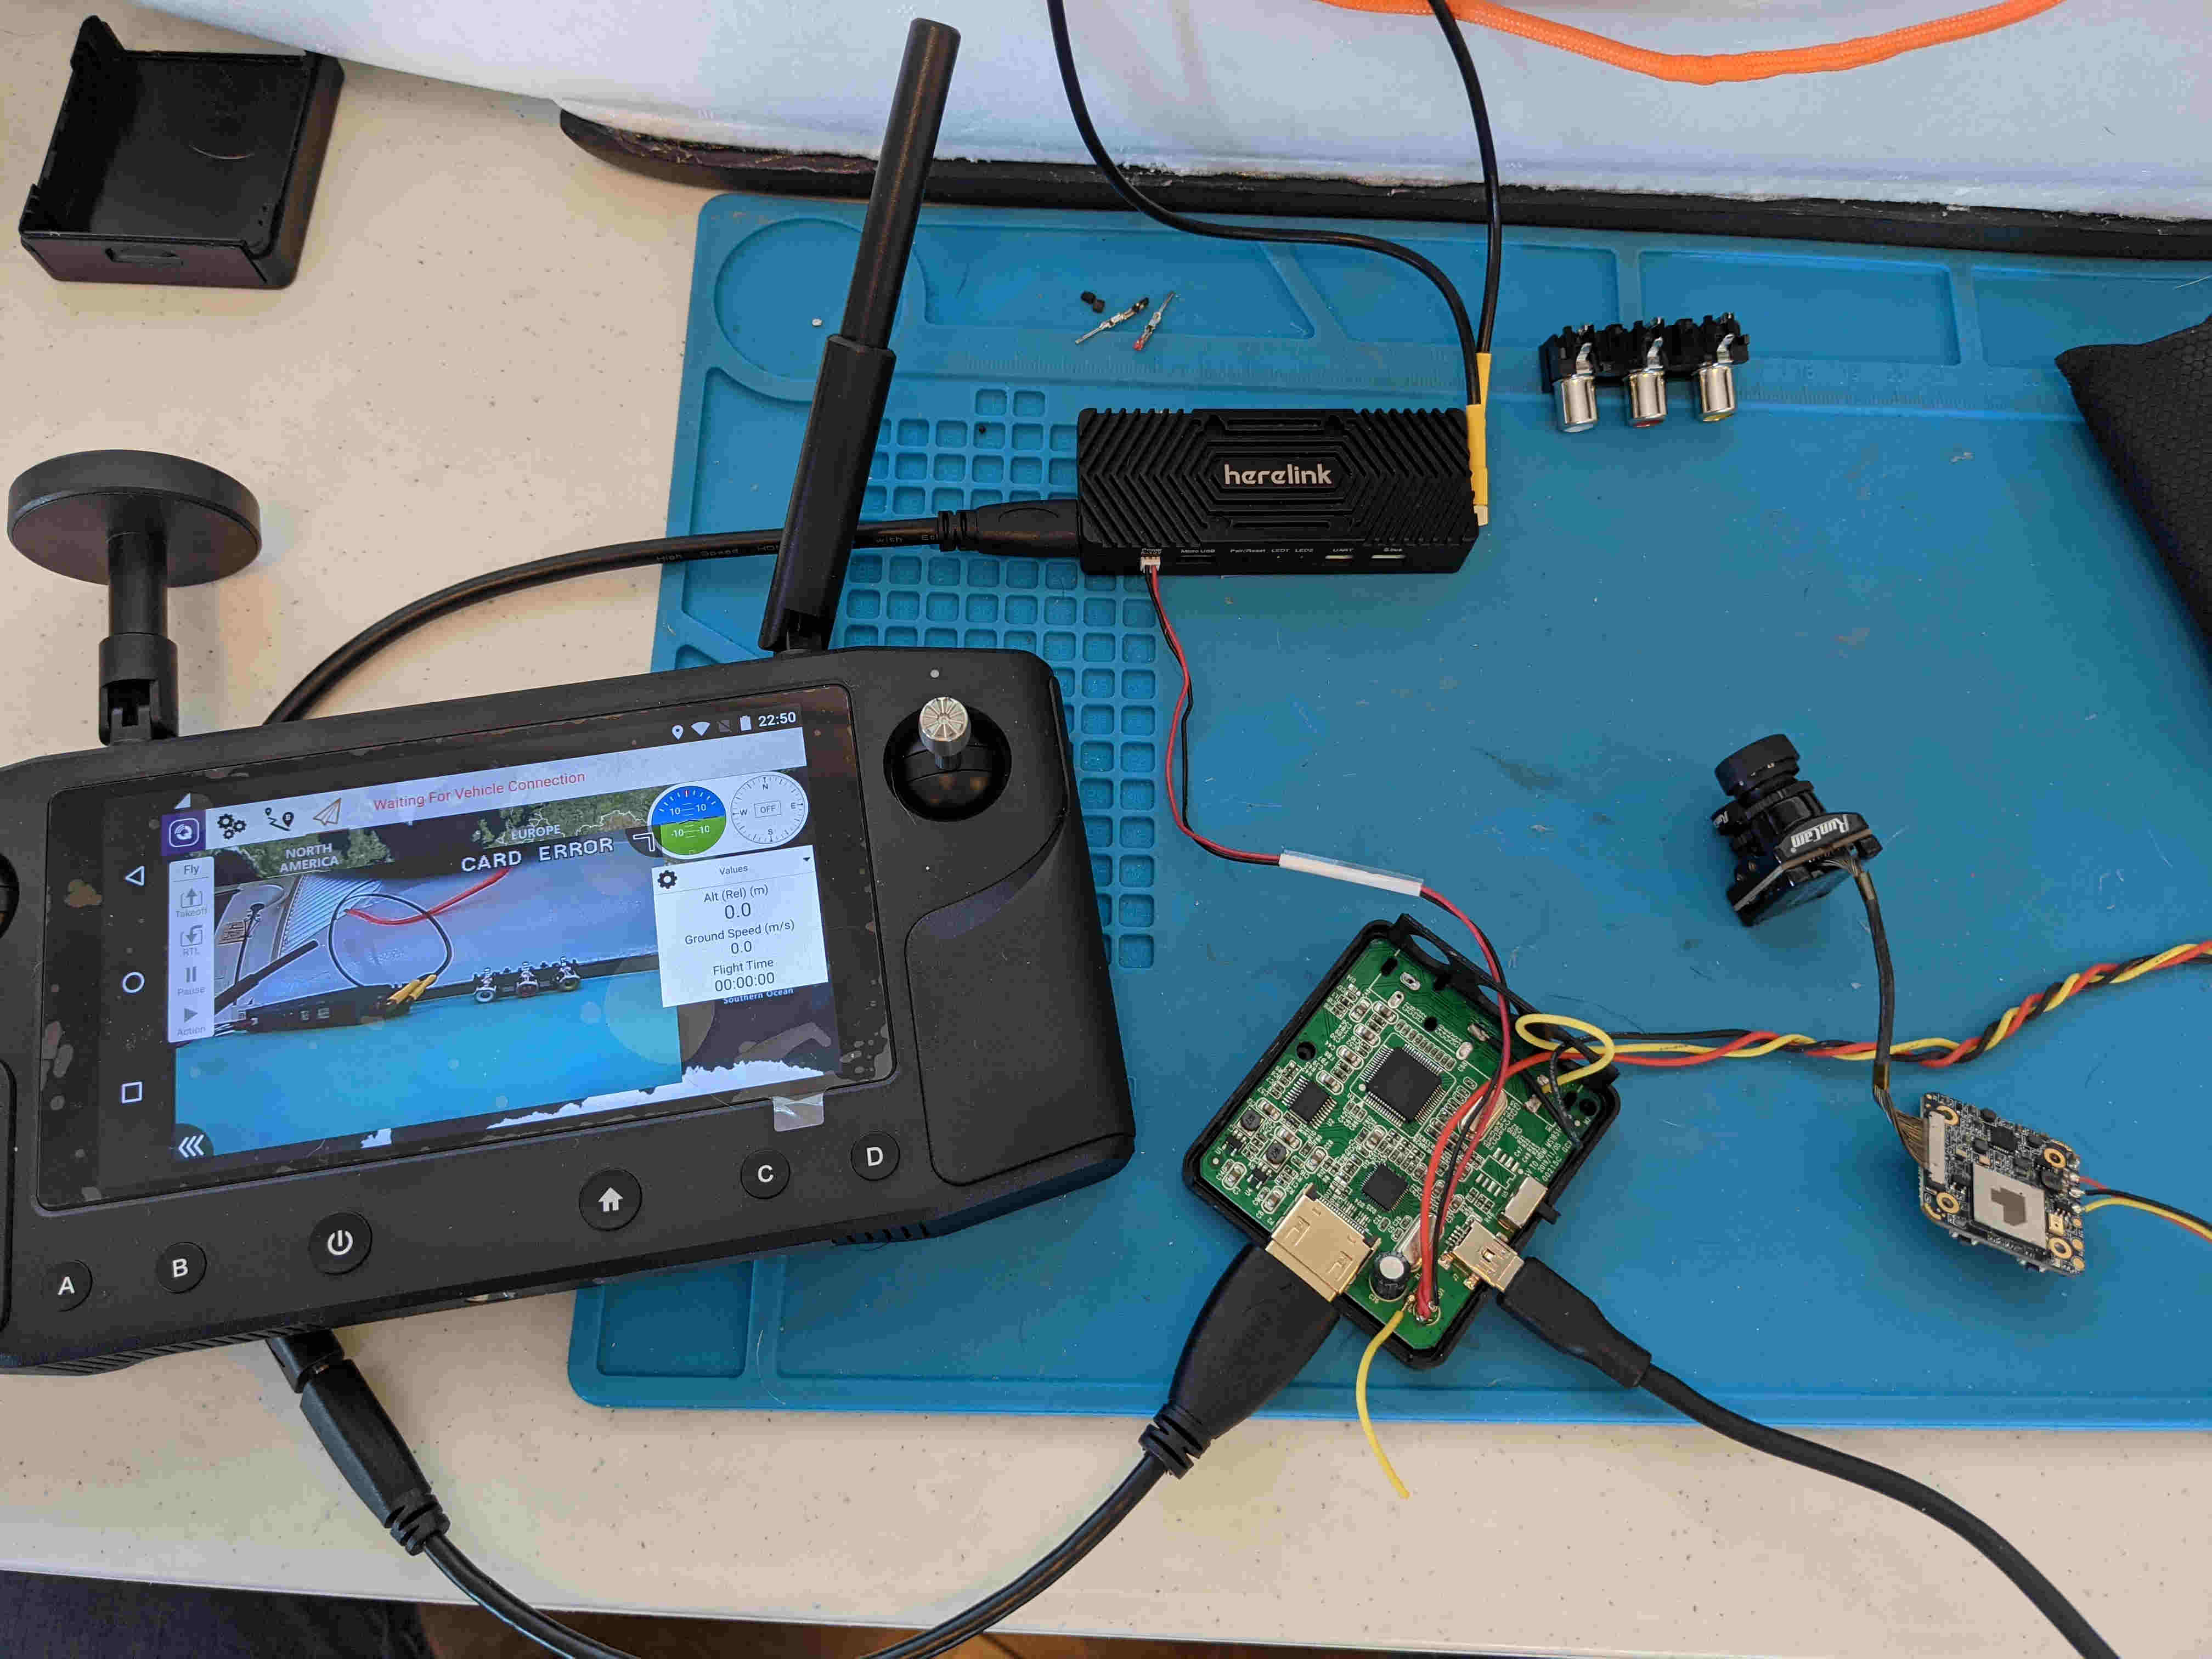
photo 2: connected system with FPV feed transmitted from Rx to ground unit
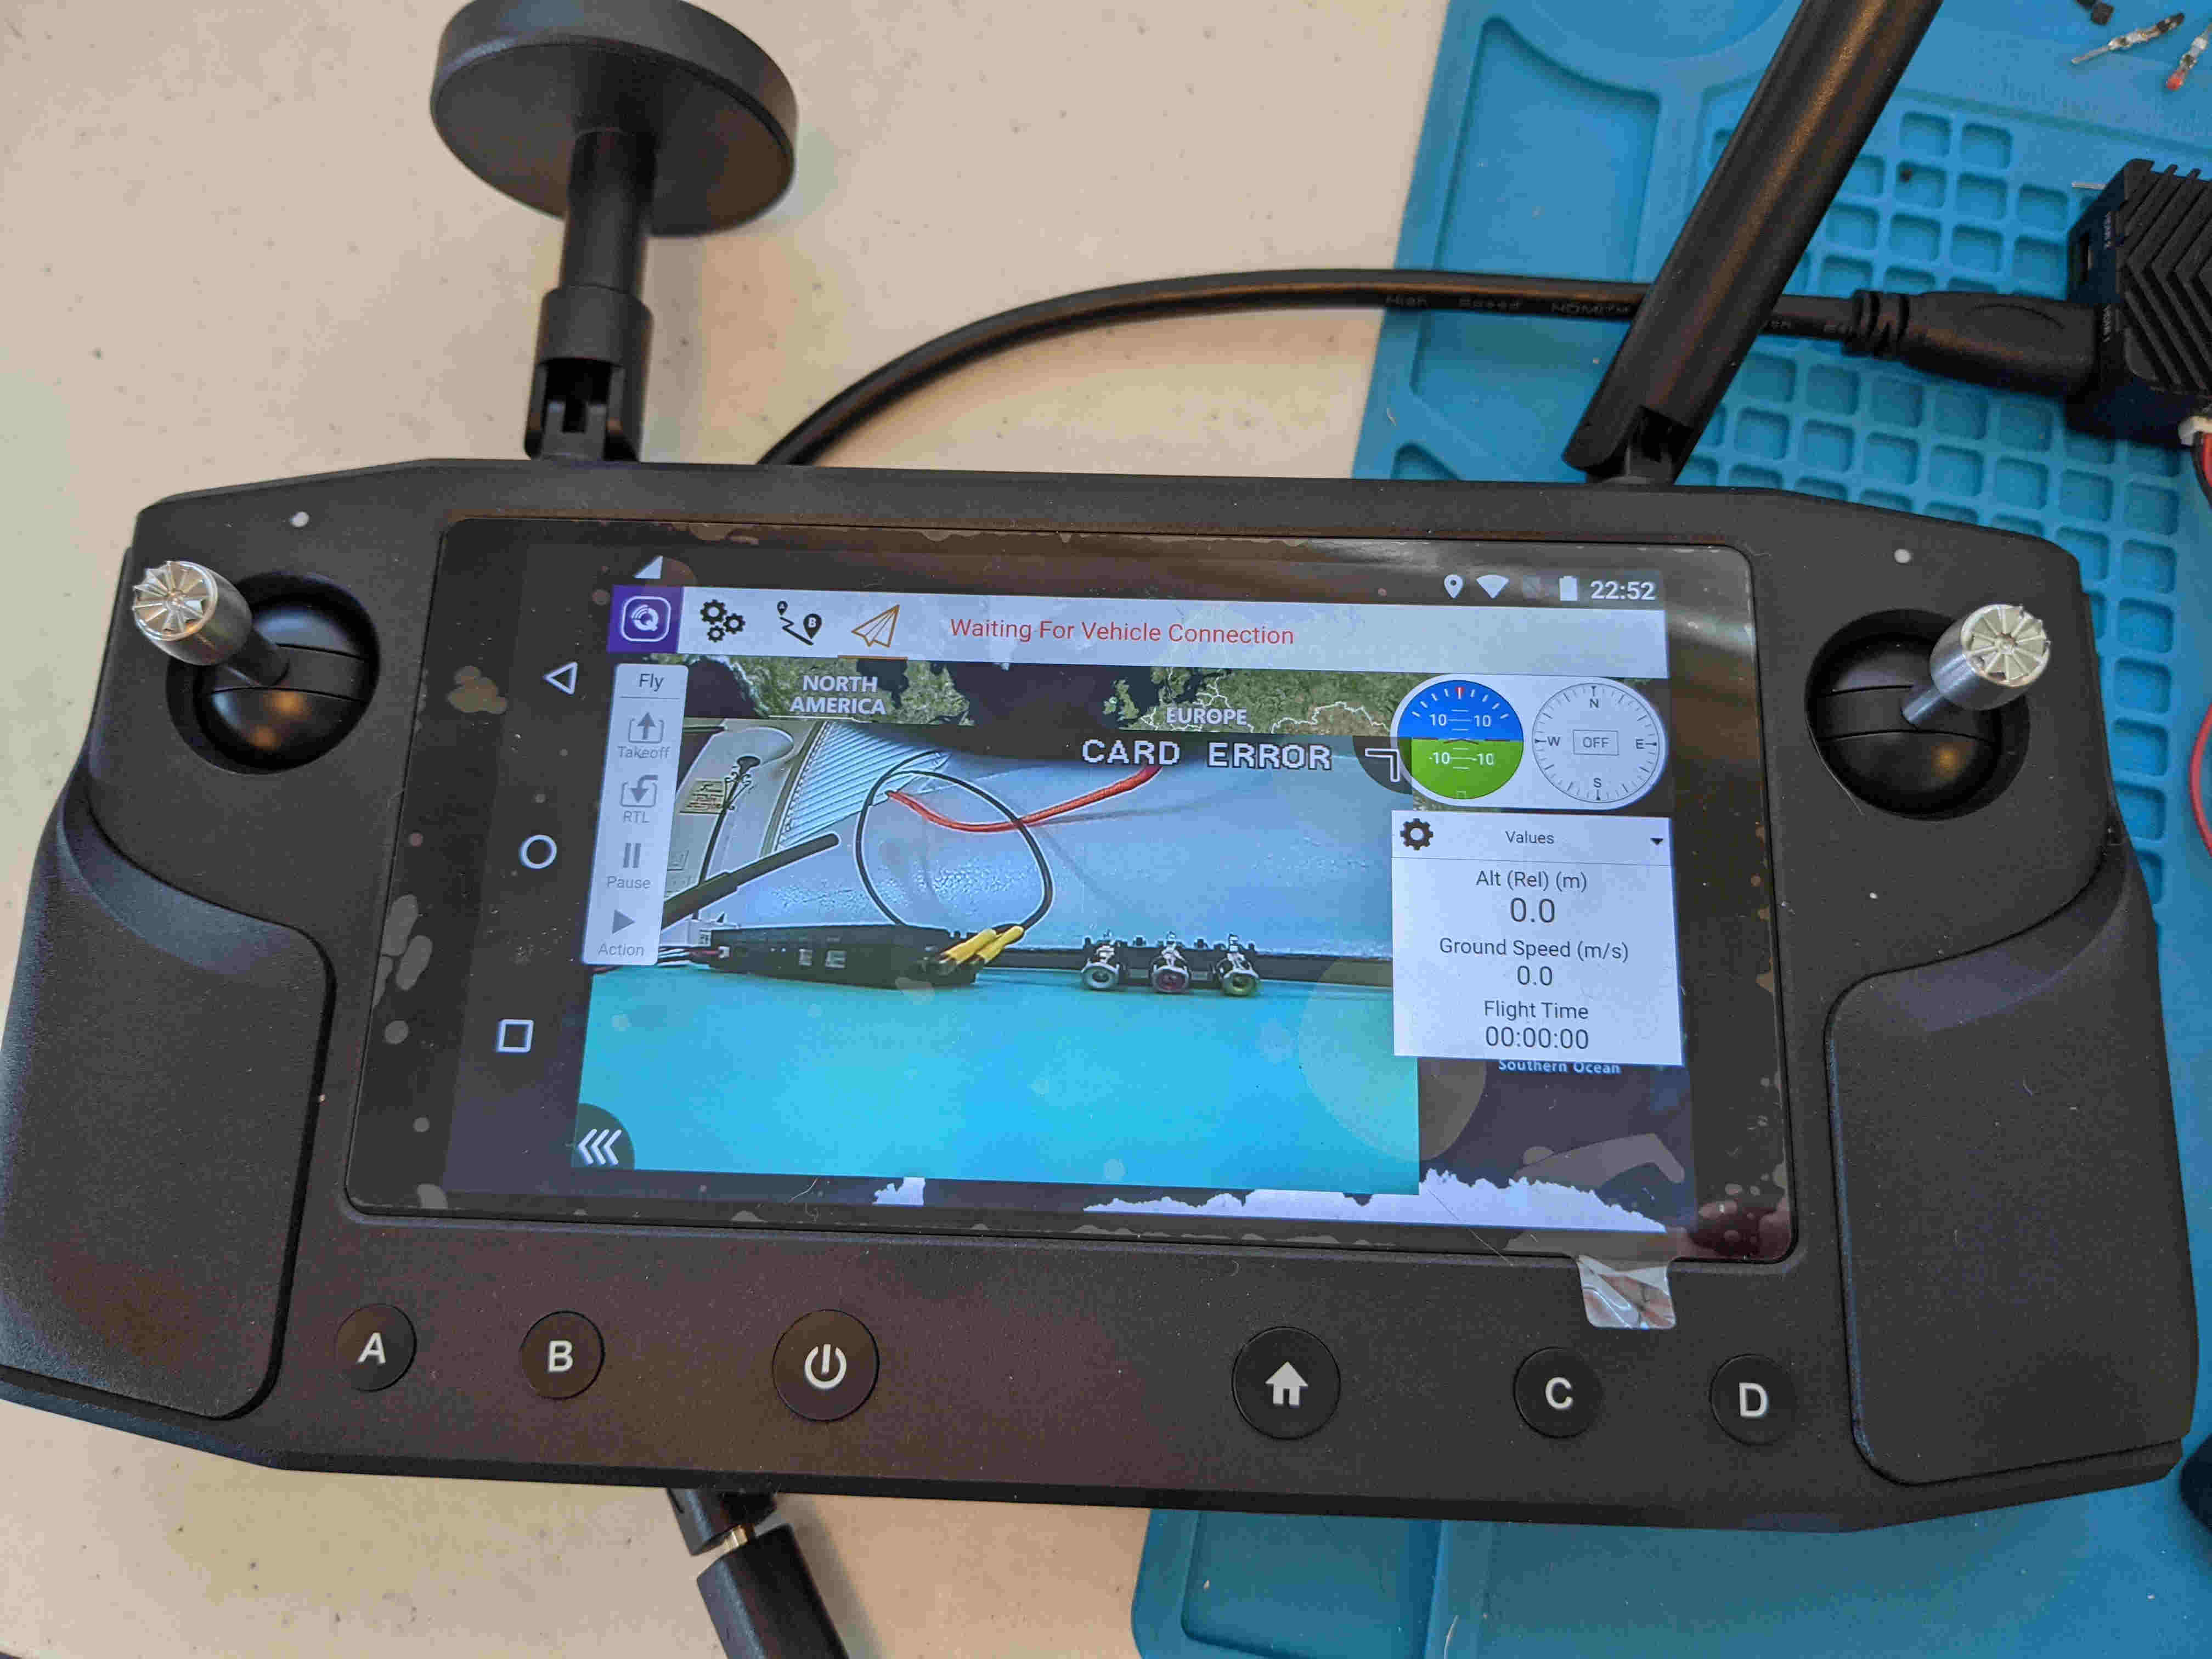
photo 3: video feed closeup
I’ll likely keep the USB mini-B connectors on the PCB for powering the converter and use only +Vcc and GND hookup wires. This way I can just unplug and remove when it’s not needed. Each component will have its own power, unlike this test setup with all power going through the converter PCB.
Cheers,
Christian
1 Like
Nice job, Christian! Those $10 converters seem to work quite well. Since they are inexpensive, I buy one per plane that I use my GoPro H7 on and just move the mount.
Cheers!
1 Like
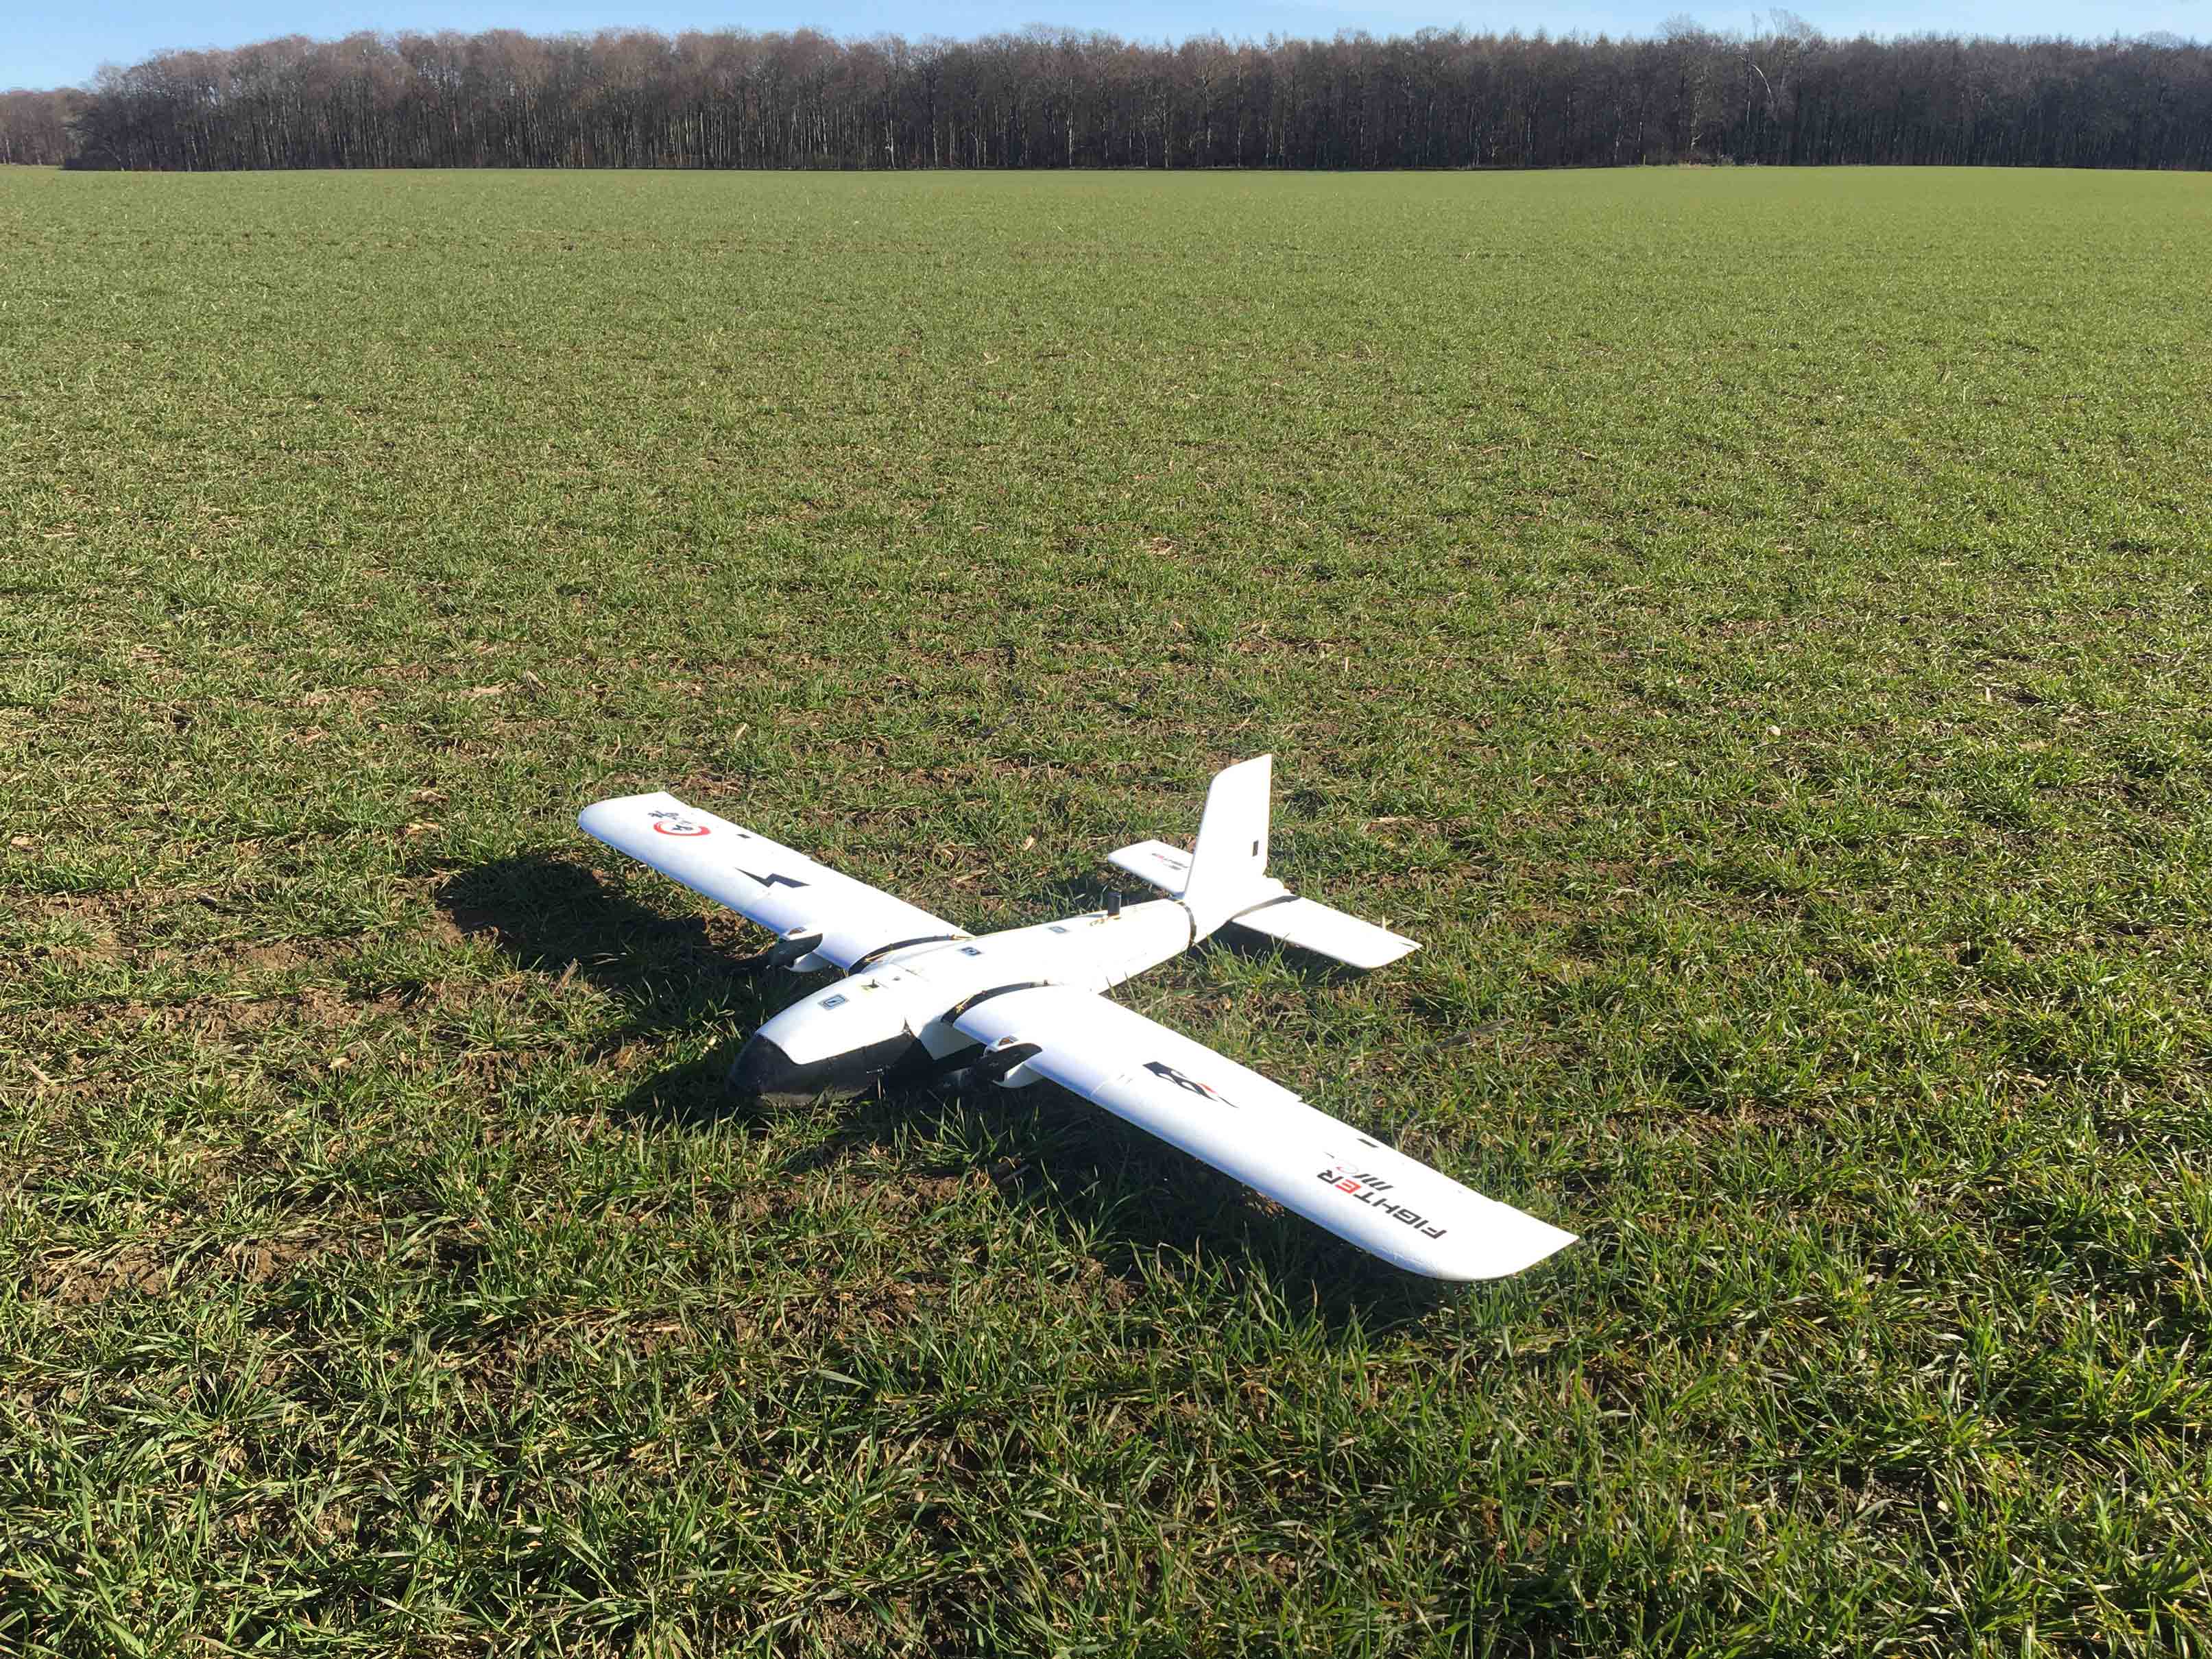
I had a great flight with my Fighter today. I use it for mapping missions. I have both Fighter and Believer and I built my Fighter as a twin toss plane. It has a longer endurance than my Believer.
I use to fly it with DIY 18650 cells 6S10P. Flight time was exactly 3 hrs and it took 4970 photos! Rest voltage measures 3.5V. I will charge them tomorrow to see if the calced capacity used of 26400 mAh does match.
Edit: I charged the batteries today and the charge capacity was 24200 mAh. So that gives you an avg ampdraw of 8.1 Ah. Will do another mapping mission today!
If anybody is interested:
FC: Holybro Durandal
Motors: Sunnysky X3520 kV 520
Camera: Sony A6000+ 16/20mm Lens
Telemetry: UAVcast Pro
3 Likes
Very nice! That’s one long flight time!
1 Like
I wish I could use a twin tractor setup like this for mapping but there aren’t many friendly places (no grass fields) to land where I work. The efficiency is excellent. What is your payload weight and what is your MTOW?
Cheers,
Christian
I use it on our farm so I land it in the crop. The only problem are the props as they catch the ground when landing. I want to use the parachute only in emergency.
The payload weight is 3200 g for batteries + 400 g at the moment for the A6000+20 mm Pancake.
MTOW is 7600 g but you feel that it wouldn‘t be a problem for Fighter if it would be higher. It takes off very easy.
My Believer has 5S8P setup and weighs roughly 5 kg MTOW and you can feel that its at its limit during takeoff.
1 Like
Hi @KadaverJoe,
What size of propeller did you use for the Fighter? Do you use dual APC 14x12 inch, with dual Sunnysky 3520 Kv520 ?? Did you do hand launch take off for this big plane?? Tks.
ton,
I use 15x6 AeroNaut CAM-Carbon propeller. They are from a german manufacturer and seem to be quite efficient but I never compared them to APC style props. I read somewhere that APC is very good for high speed applications but for my mapping missions I try to fly as slow as possible (12 m/s) and the AeroNaut props look very efficient for that.
I compared APC vs Aeronaut on my Believer and the Aeronaut props have much more thrust which is good as I mentioned the low takeoff performance.
Motors are Sunnysky 3520 kV520.
I do hand launches with these planes.