09 - Nylon Bolts? Really??
Based on the responses to my previous post, I thought it would be a good idea to include the following disclaimer about using nylon bolts with your motors or motor mounts…
***DISCLAIMER***
If you are unsure about using nylon bolts to mount your motors, don't use them! If you are building anything heavier than a 2.5kg drone, don't use nylon bolts on your motors! If your payload is bigger than a GoPro, don't use nylon bolts on your motors! If you're not going to check your motor bolts before and after each flight, don't use nylon bolts on your motors! If you are unsure of the source and quality of the nylon bolts, don't use them on your motors!
Okay, now that I’ve warned you, nylon bolts DO work. This is NOT just theory. This is experience. I have over 100 flight hours using nylon bolts to secure the motors on four different frames, using motors from 1100kv to 380kv, with 8", 9", 10", 12", and 15" props. I have never had a single failure! (except during crashes, when I WANTED them to fail!! More on that later!)
That is a custom frame I built in 2015 out of basswood and carbon fiber to replace a heavy QAV400 frame. It has 1100kv motors and 9" props. The motors are all held on with nylon bolts! If you watch the video, I push it pretty hard in my tests. I did a dozen more tests before that video, in various stages of tuning. I also did speed runs at 65mph. Not one time did a single nylon bolt fail or come loose. I checked them before and after every flight.
Here’s the frame from that video: (If you want the plan for that frame, Imk and I’ll post it!)
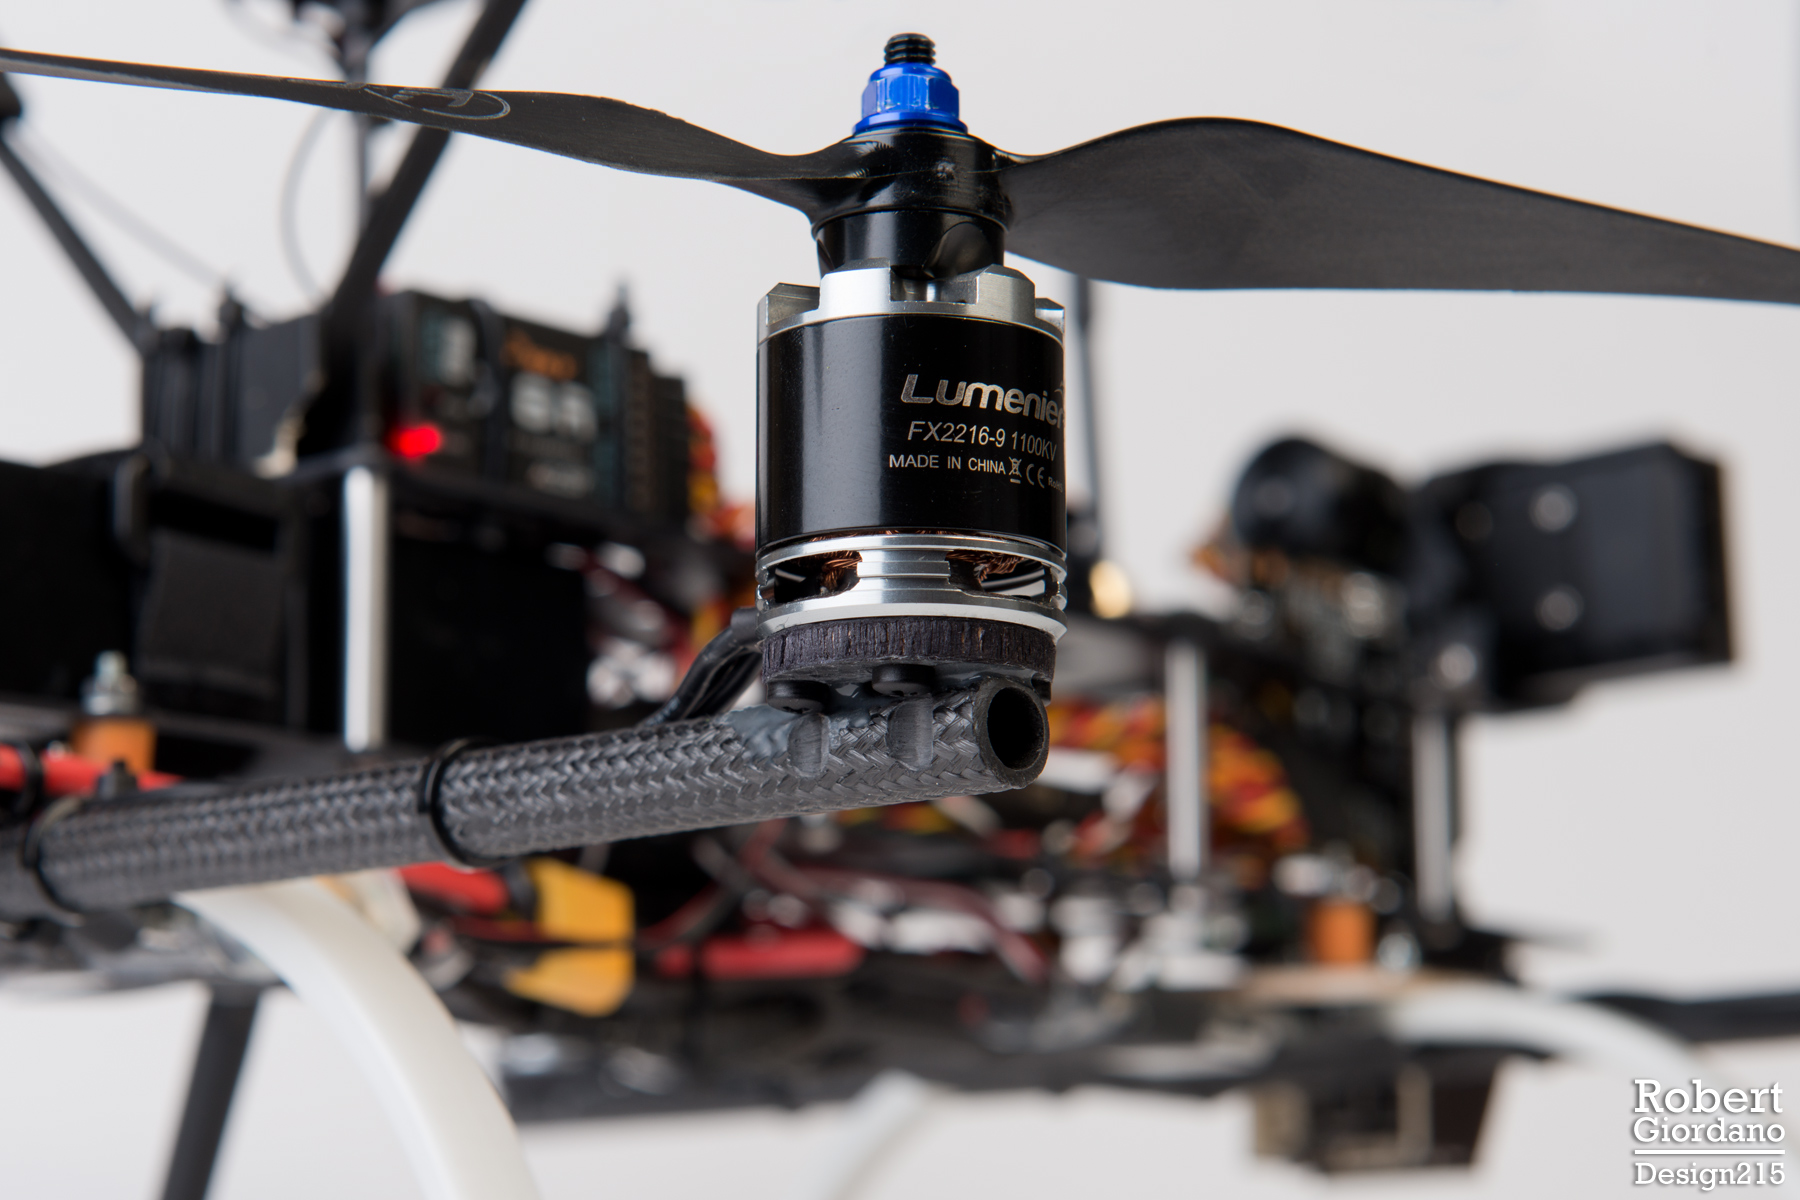
Here’s a closeup of a motor mount:
This was the first version of my motor mount on a previous frame. The arms are 10mm OD braided carbon fiber tubing from Dragonplate. The motor mounts are made from carbon fiber / balsa sandwich panel. The bolts are 3mm nylon. One of my friends built something similar, and was also using nylon bolts. He had a motor mount fail because the mount peeled away from the tubing. The nylon bolts did not fail. Anyway, when I heard about that, I thought it would be a good idea to improve the design a bit.
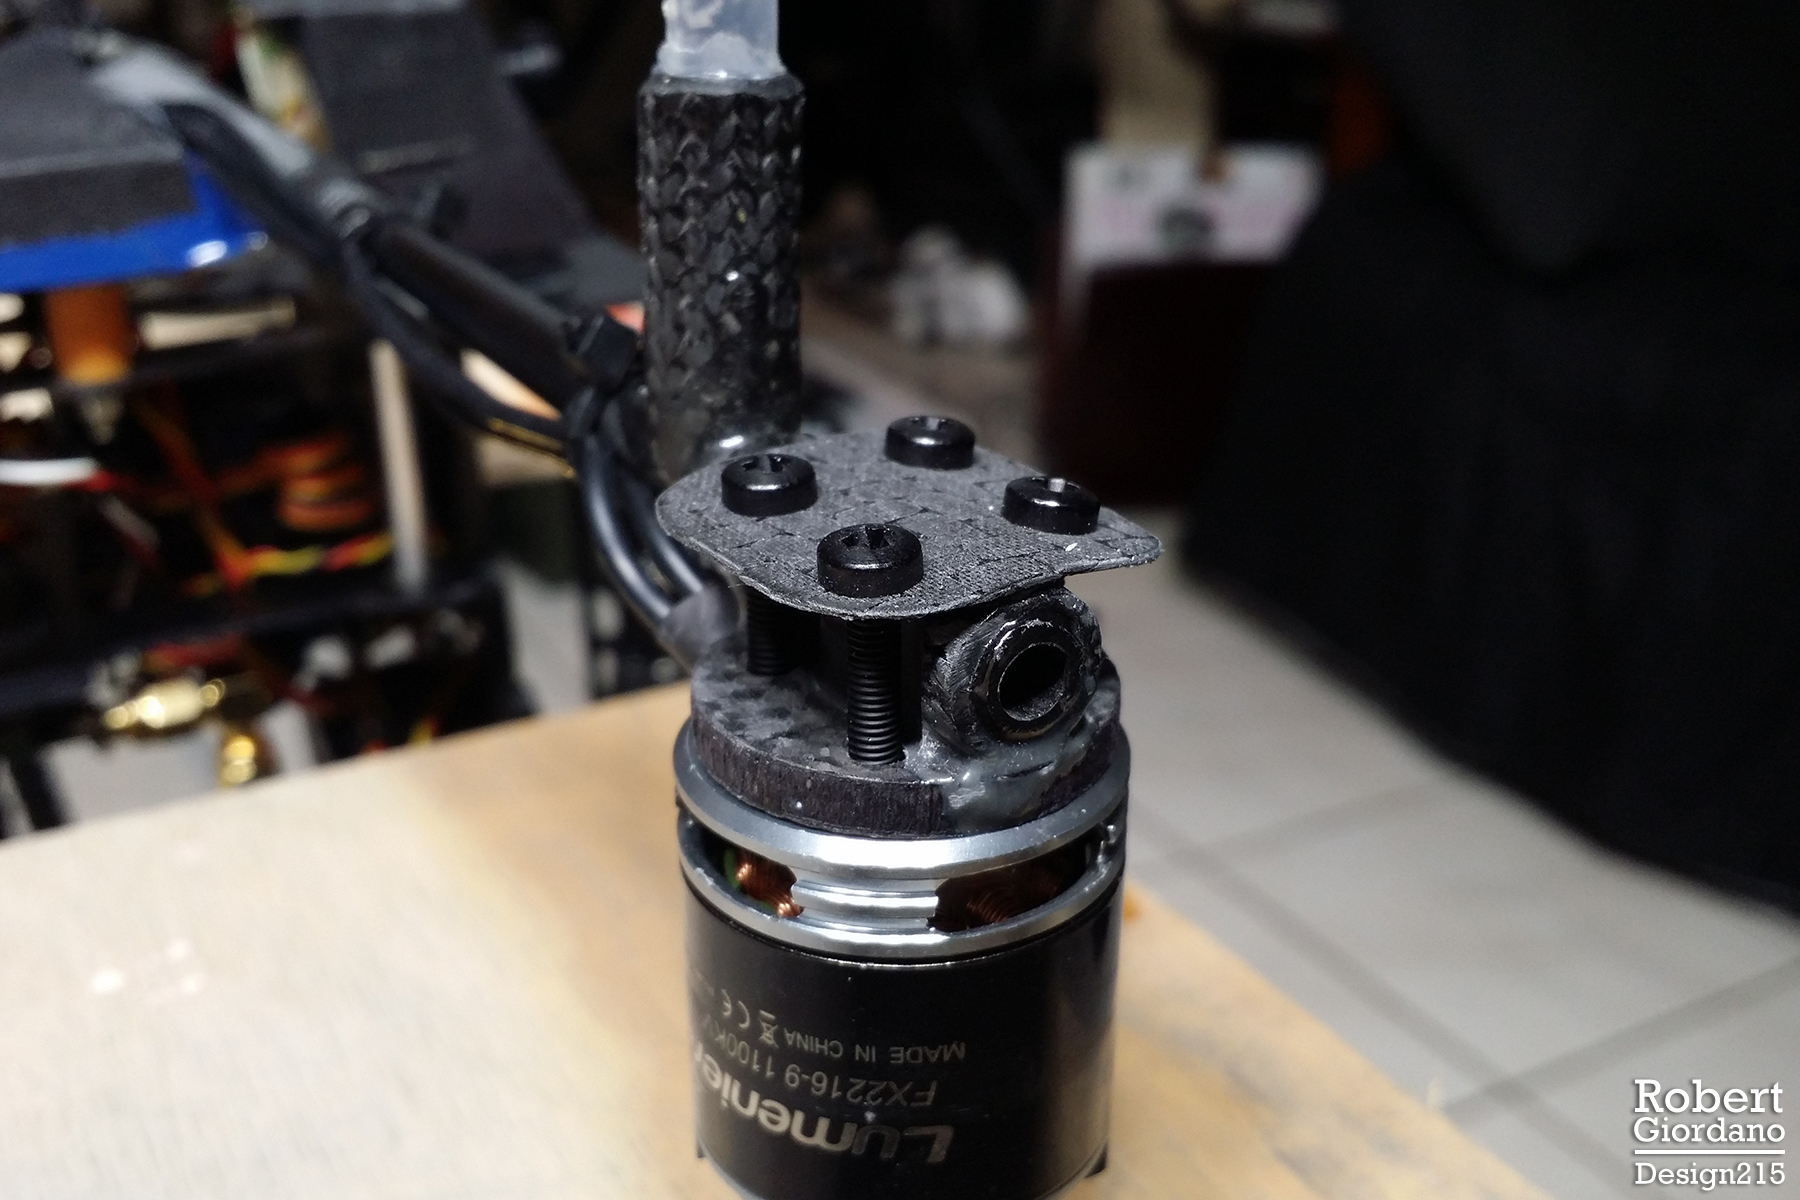
Here’s the improved design. I simply added a piece of 1/32" (0.79mm) carbon fiber plate to the bottom of the tube. I had to use longer nylon bolts. You can see the bottom plate flexes a bit and that might have helped prevent the bolts from coming loose. However, I never had any nylon bolts come loose on the previous frame, or on my next two frames.
What Happens in a Crash??
Watch this short video and you’ll see a 140 foot free fall and crash.
Yes, I crashed into a recently mowed grassy field. But still, it was a crash after falling 140-145 feet. Nothing on the frame broke! None of those lightweight motor mounts broke. The receiver antenna mast and the GPS mast broke. The video transmitter antenna mount broke. Three of the motors were ejected from the mounts because the nylon bolts sheared on impact! This is why the frame arms didn’t snap. This is why none of the balsa / carbon fiber motor mounts broke.
The physics is pretty simple. You have a large, heavy mass (motor and propeller) on the end of a lightweight tube. When you hit the ground after falling at a rate of 9.8 m/s/s (acceleration of gravity), the momentum of each motor mass has to go somewhere. Something is likely to break. I would rather it be some nylon bolts than my frame or motor mounts.
I was visiting a friend in Virginia so I didn’t have much with me for repairs. I got some wood dowels and popsicle sticks at a local craft store and made new GPS and receiver antenna masts. I put on my spare props, put in my spare nylon bolts, and I was flying the next day. I never did figure out why I crashed. I think the battery chemistry failed because it wouldn’t charge properly afterwards. But, the log doesn’t indicate the battery failed so its still an unsolved mystery.
I still have that frame. It still flies great. It still uses nylon bolts.
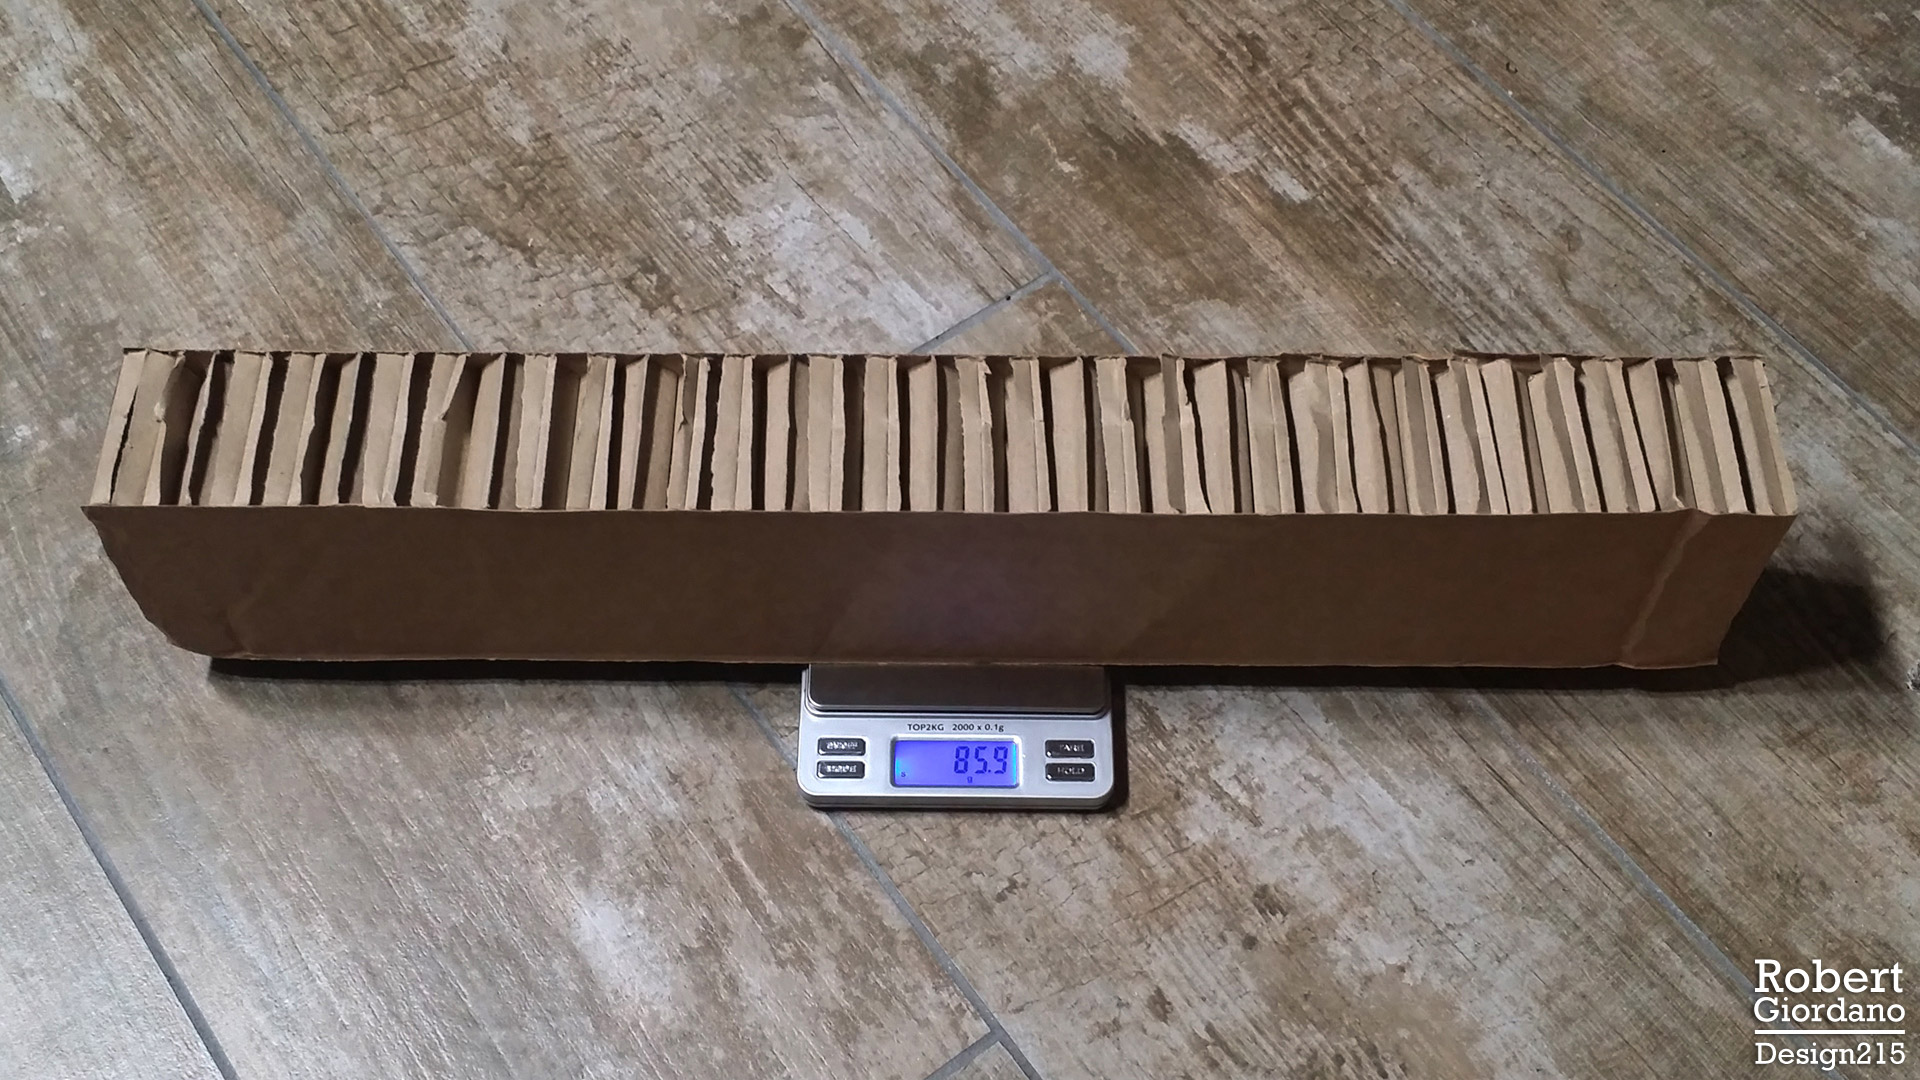
Load Testing and Vibrations with 15" Props
Here’s a 650 class frame with 380kv motors, 15" props, and 6S battery. Everything was working but the motors were getting really hot. I eventually traced it to a defective Pixhawk clone. But it took dozens of tests, both on a stand and outside. The motors are attached with nylon bolts and even with all of the vibrations and high torques on the stand, I never had one bolt come loose.
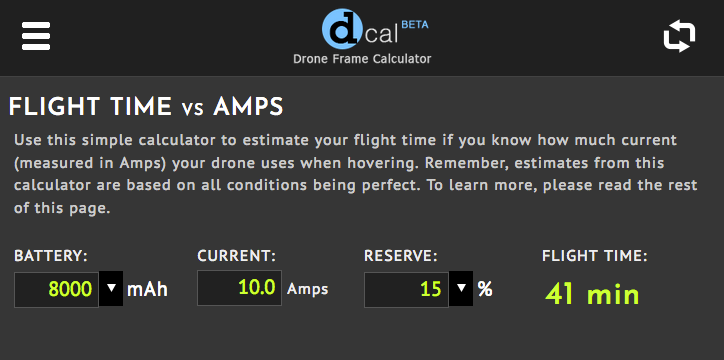
Once I eliminated the defective flight controller and got a Pixhawk CUBE, it flew well and I concentrated on the gimbal and a picture-in-picture video switcher. My flight times ranged from 30 to 40 minutes, and I flew many, many test flights. I never had a nylon bolt come loose. This frame uses lightweight 3D printed mounts that are 7g each. The nylon bolts seat directly against the mount. They do not have a flexible side like my previous mounts.
Finally, about a month ago, I was careless. I was in a parking lot, doing some PID fine tuning. The ship was in Loiter, about 15 feet up. I should have had a friend holding the controller but I didn’t. I was going back and forth between Mission Planner on my laptop and my controller. By accident, I brought it down suddenly and hit the pavement HARD! Two motors ejected and one was loose but still hanging by one of the nylon bolts. One of my landing gear legs, which was attached to the end of a rear arm, caused some damage to that arm. Three of the props were slightly damaged but enough not to use them for flight. Nothing else broke. None of the lightweight, 3D printed mounts broke.
Lesson learned- Let someone else be the pilot while you send PID parameters from Mission Planner!!
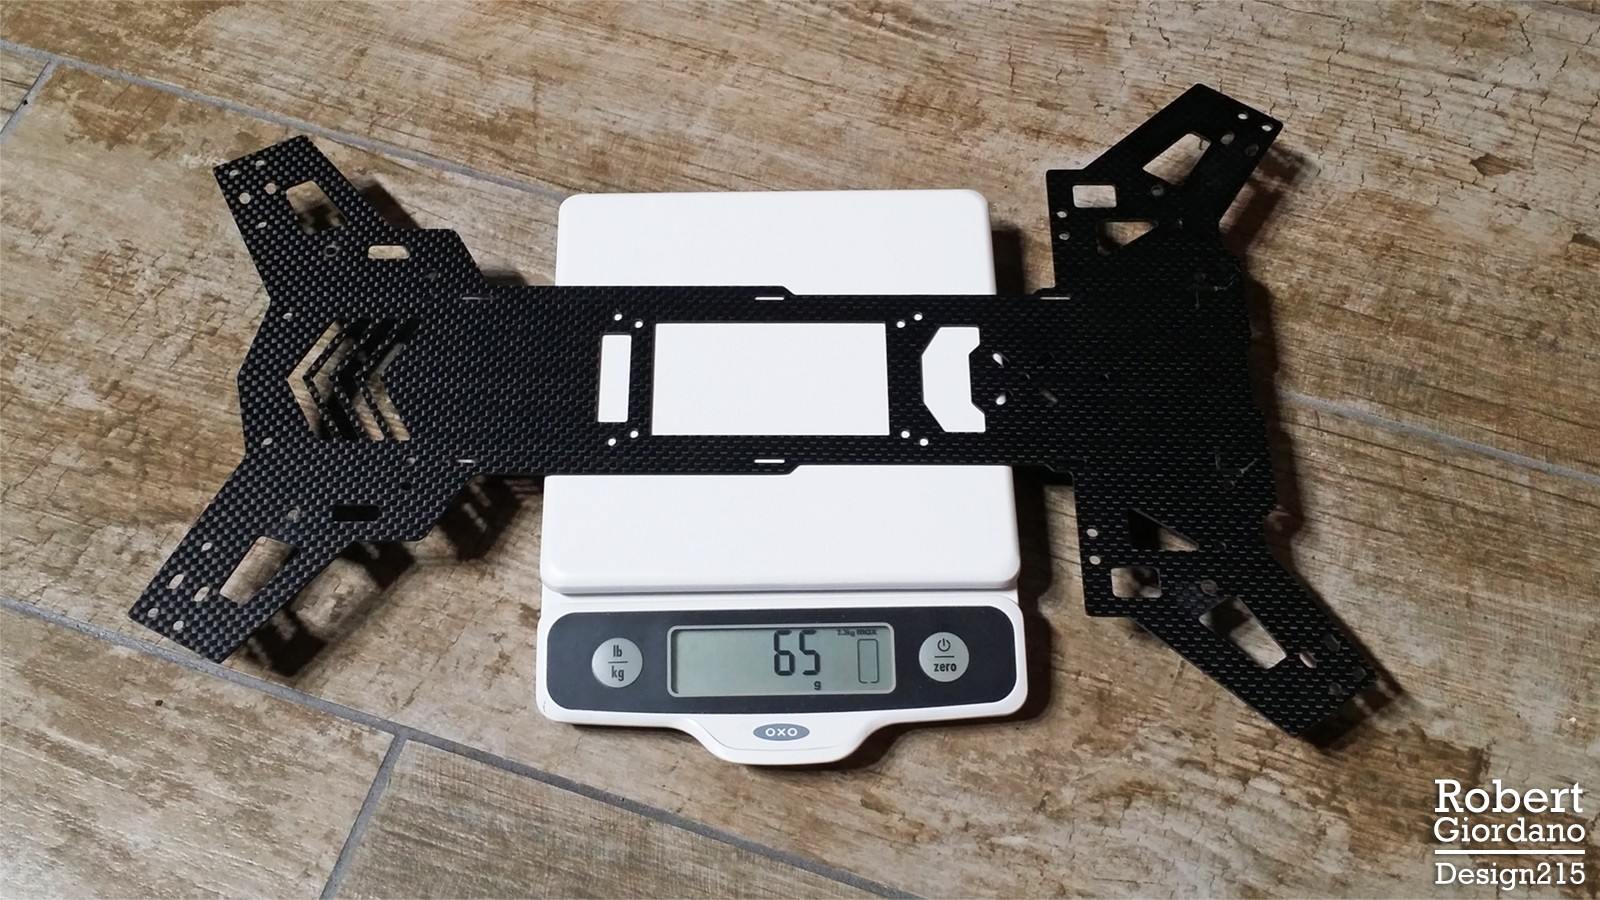
In conclusion, I like using nylon bolts. They have proven themselves continuously for almost 4 years and hundreds of hours combined test stand and flight time. Still, don’t forget my disclaimer! You don’t have to use them.