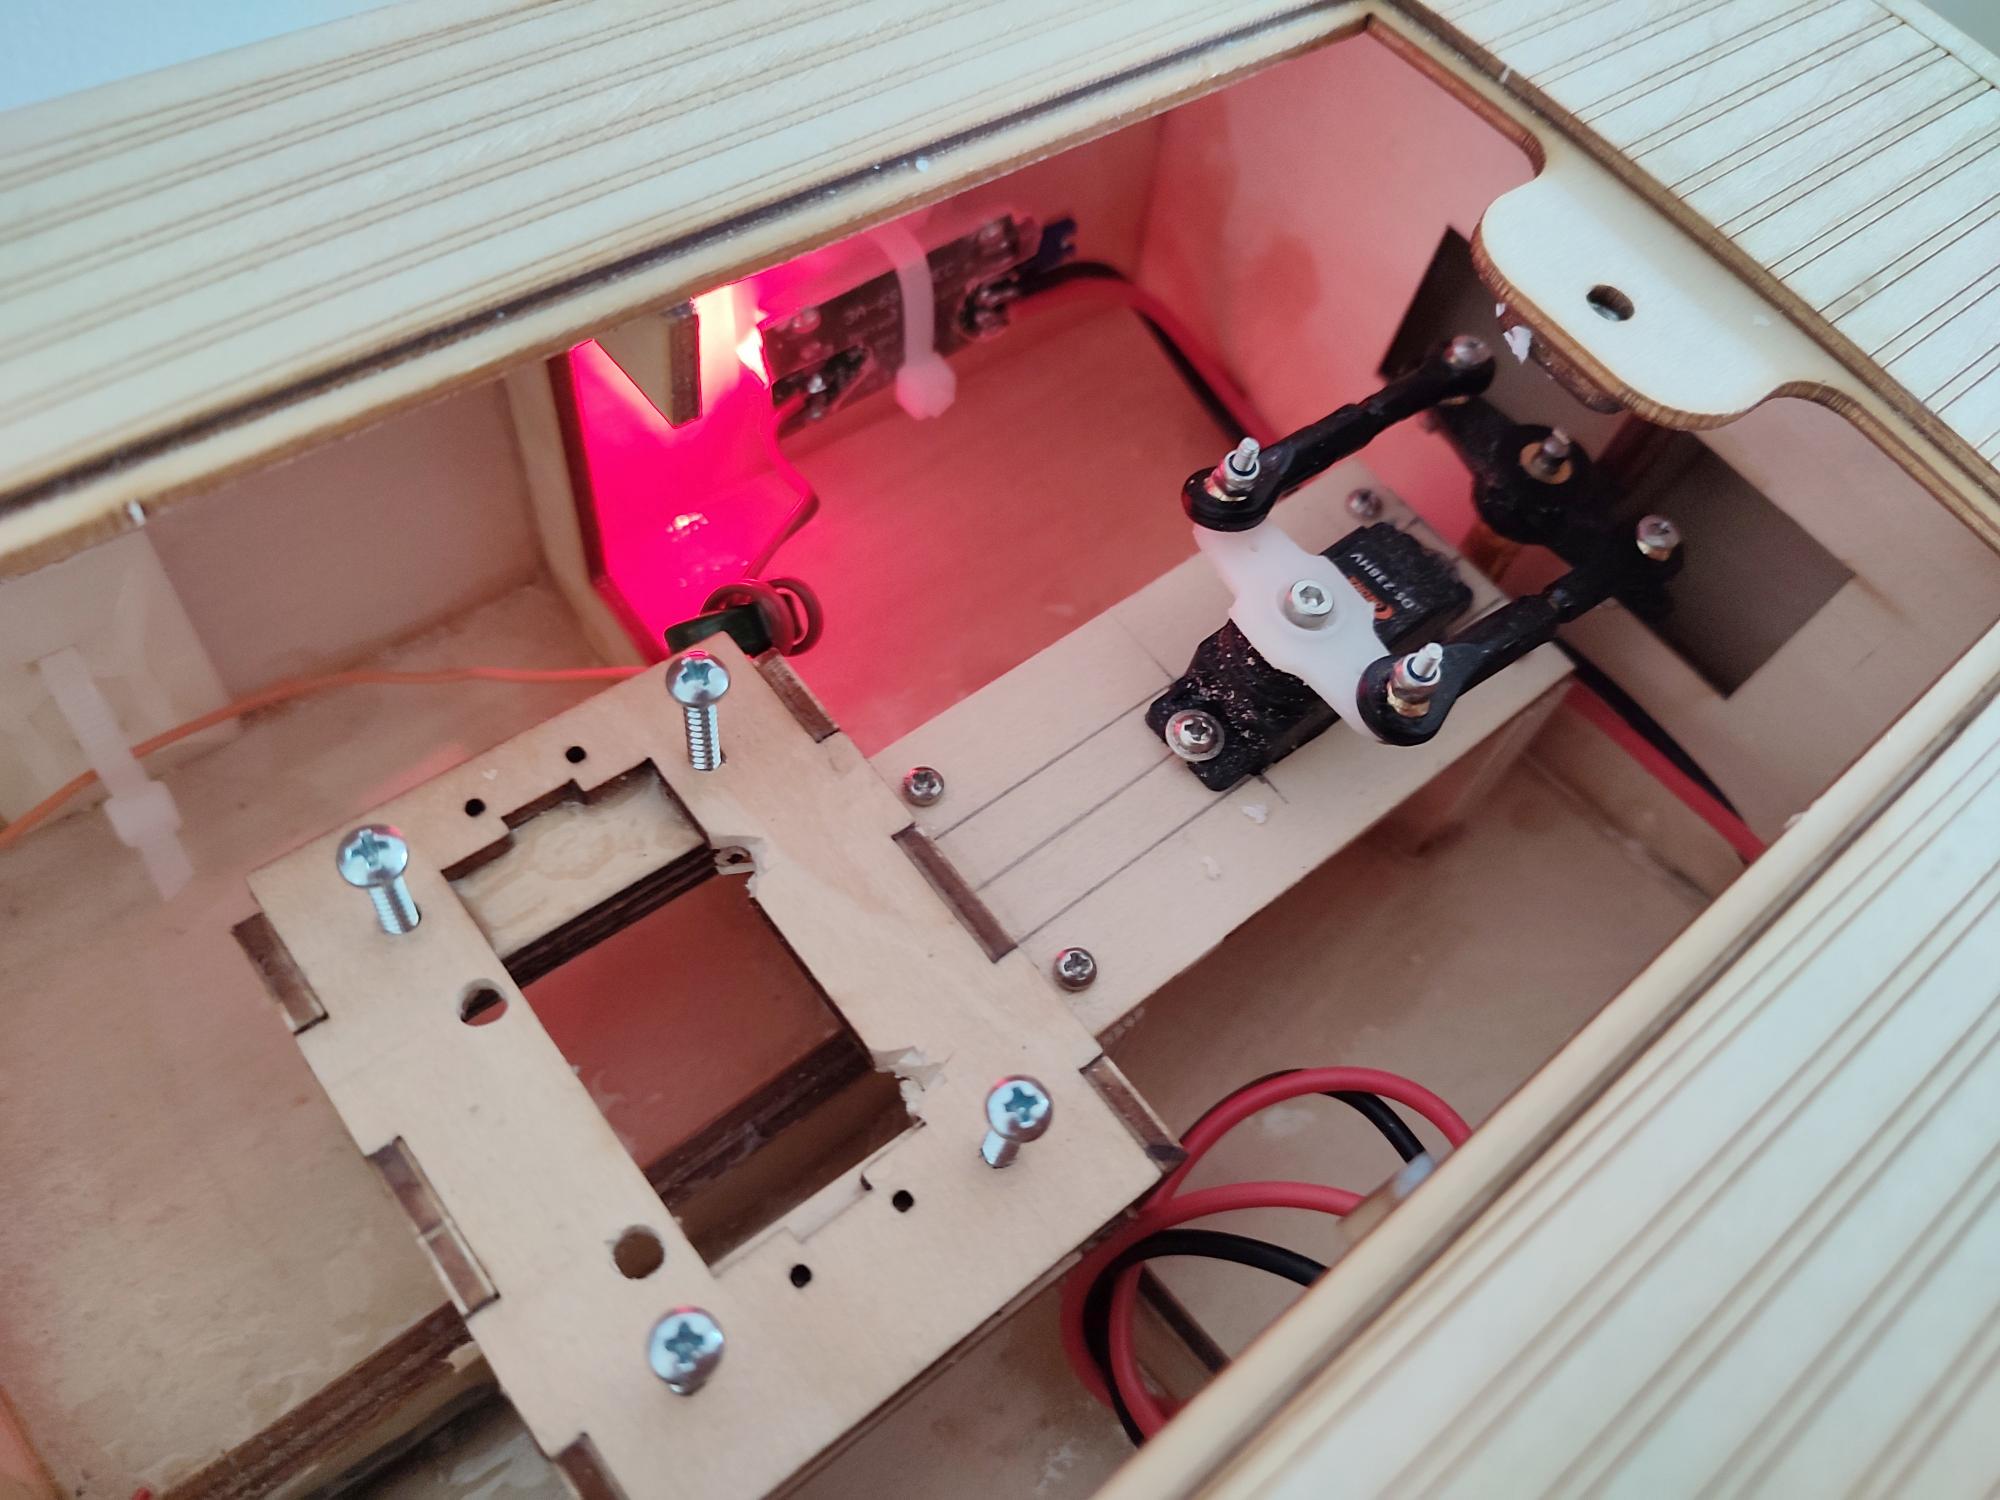
I tried my hand at Ardurover briefly before and got a little speedboat somewhat up and running. Due to its size it had a lot of interference on the steering servo and no space for expanding ideas. I needed more room so I bought a kit of the Bellina. The built is pretty straight forward. Only difficult part is bending the hull planking and keeping it long enough in place to have the epoxy glue set. The bottom is glassed & epoxied.
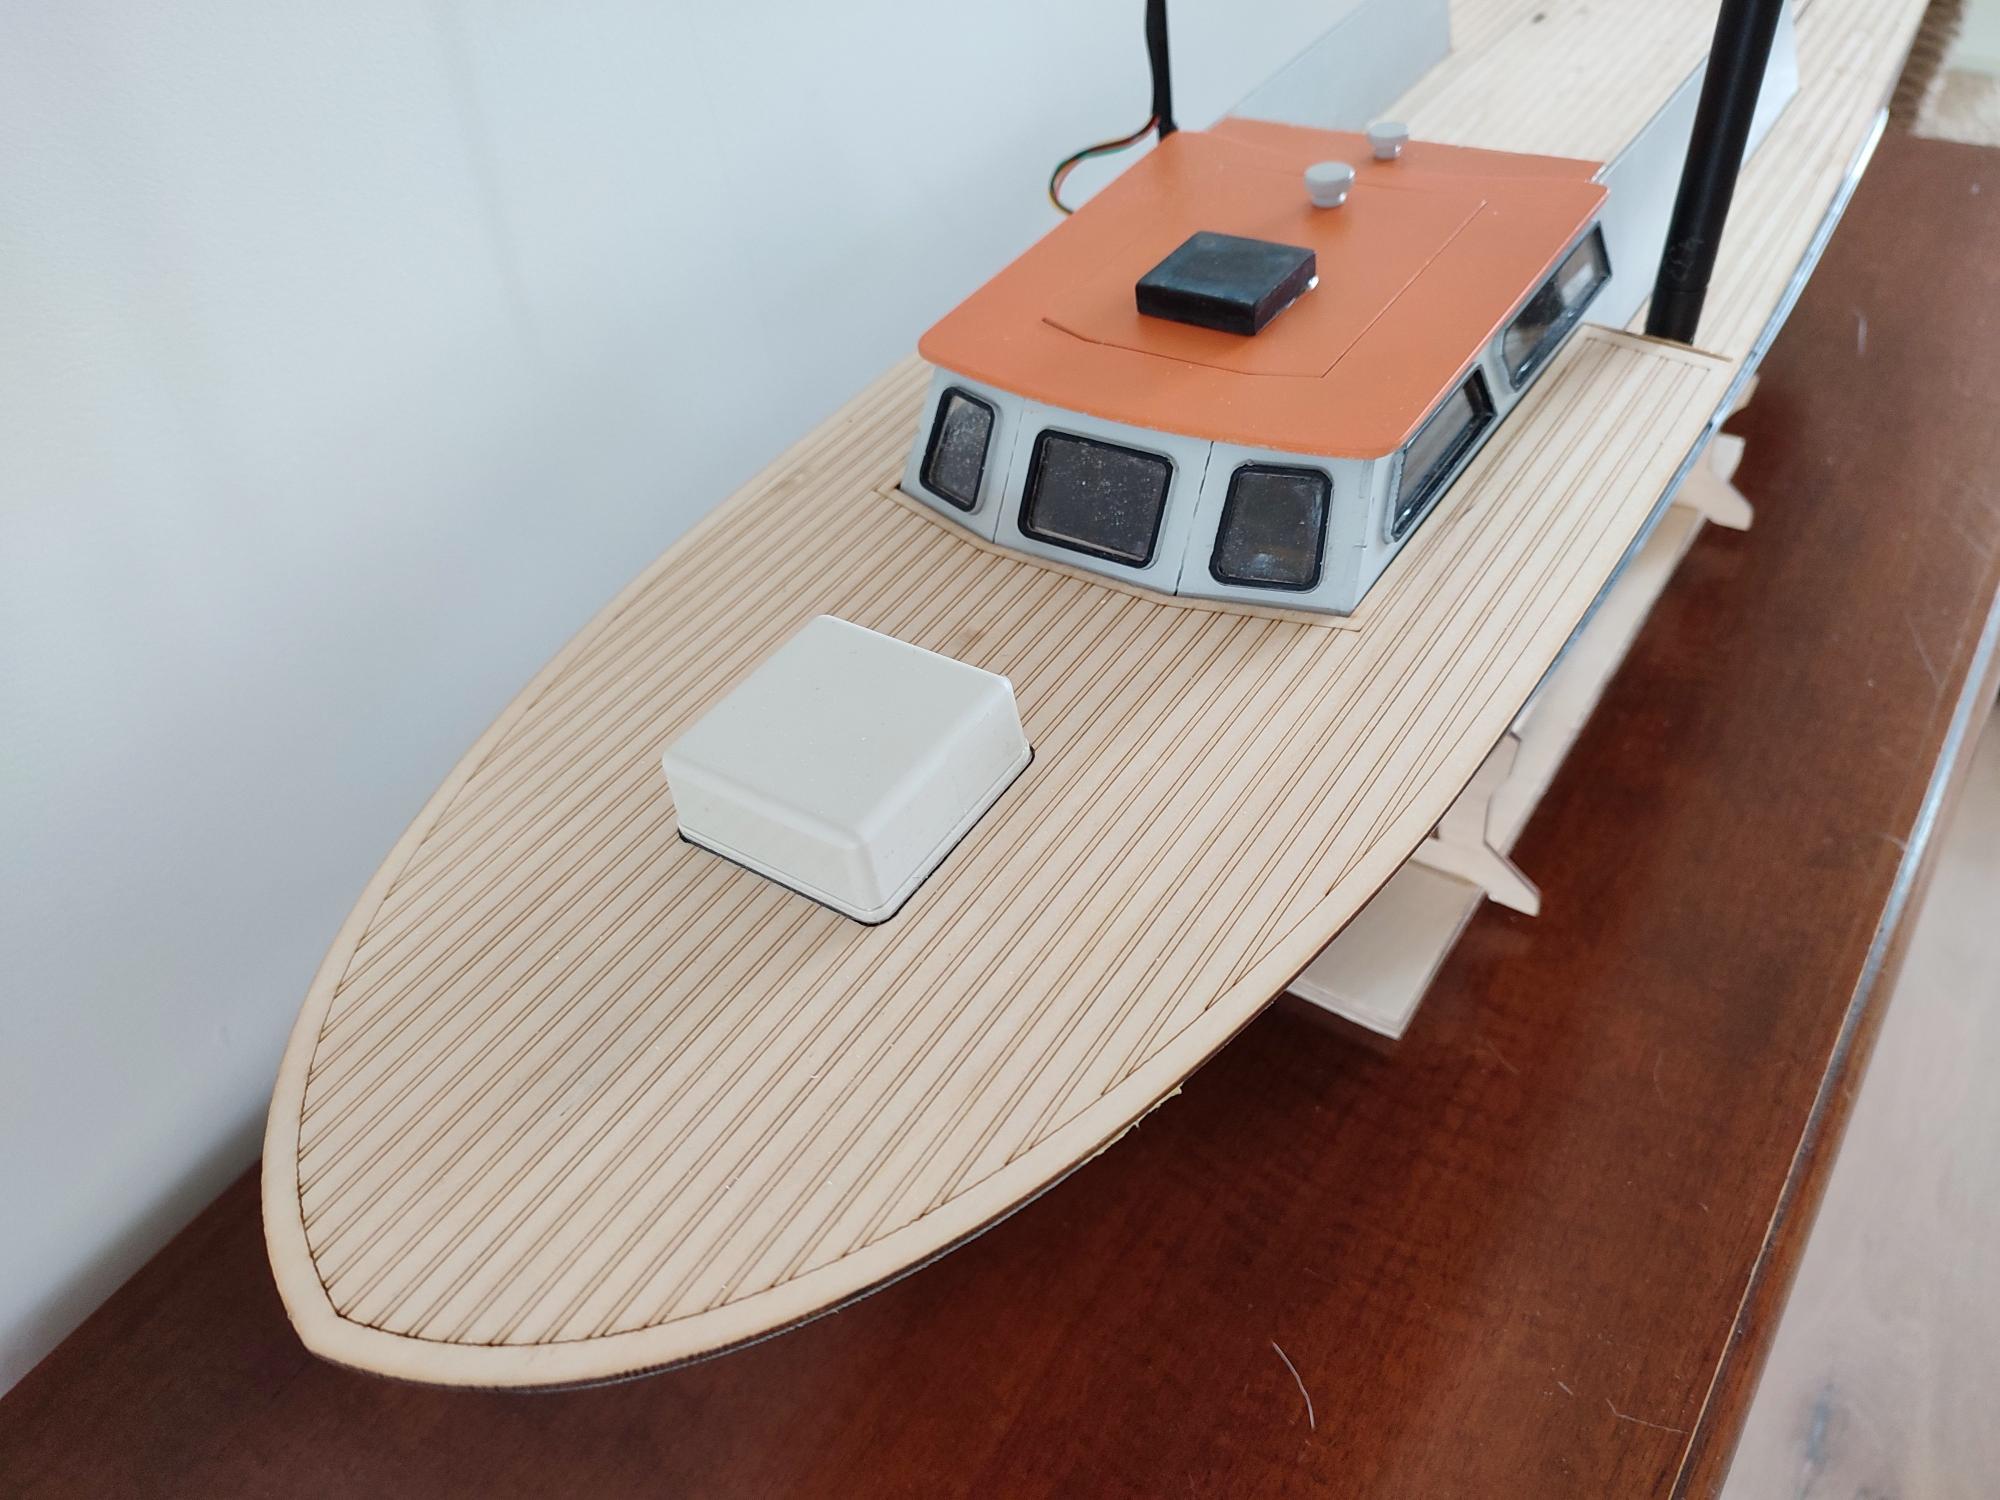
The white bulb contains the SE100 GPS&compass module. I didn’t like the SE100 original housing and went with something nicer. The black square on top is the i2c display set in clear, UV-safe epoxy (Underneath the deck is the CUAV IST8 secondary compass installed)
Replace standard 433mhz antenna for a little bit longer one done
Make brackets for two more batteries (going from 6000mah total to 12000mah total)
Make a bracket for a FPV camera / HD recording
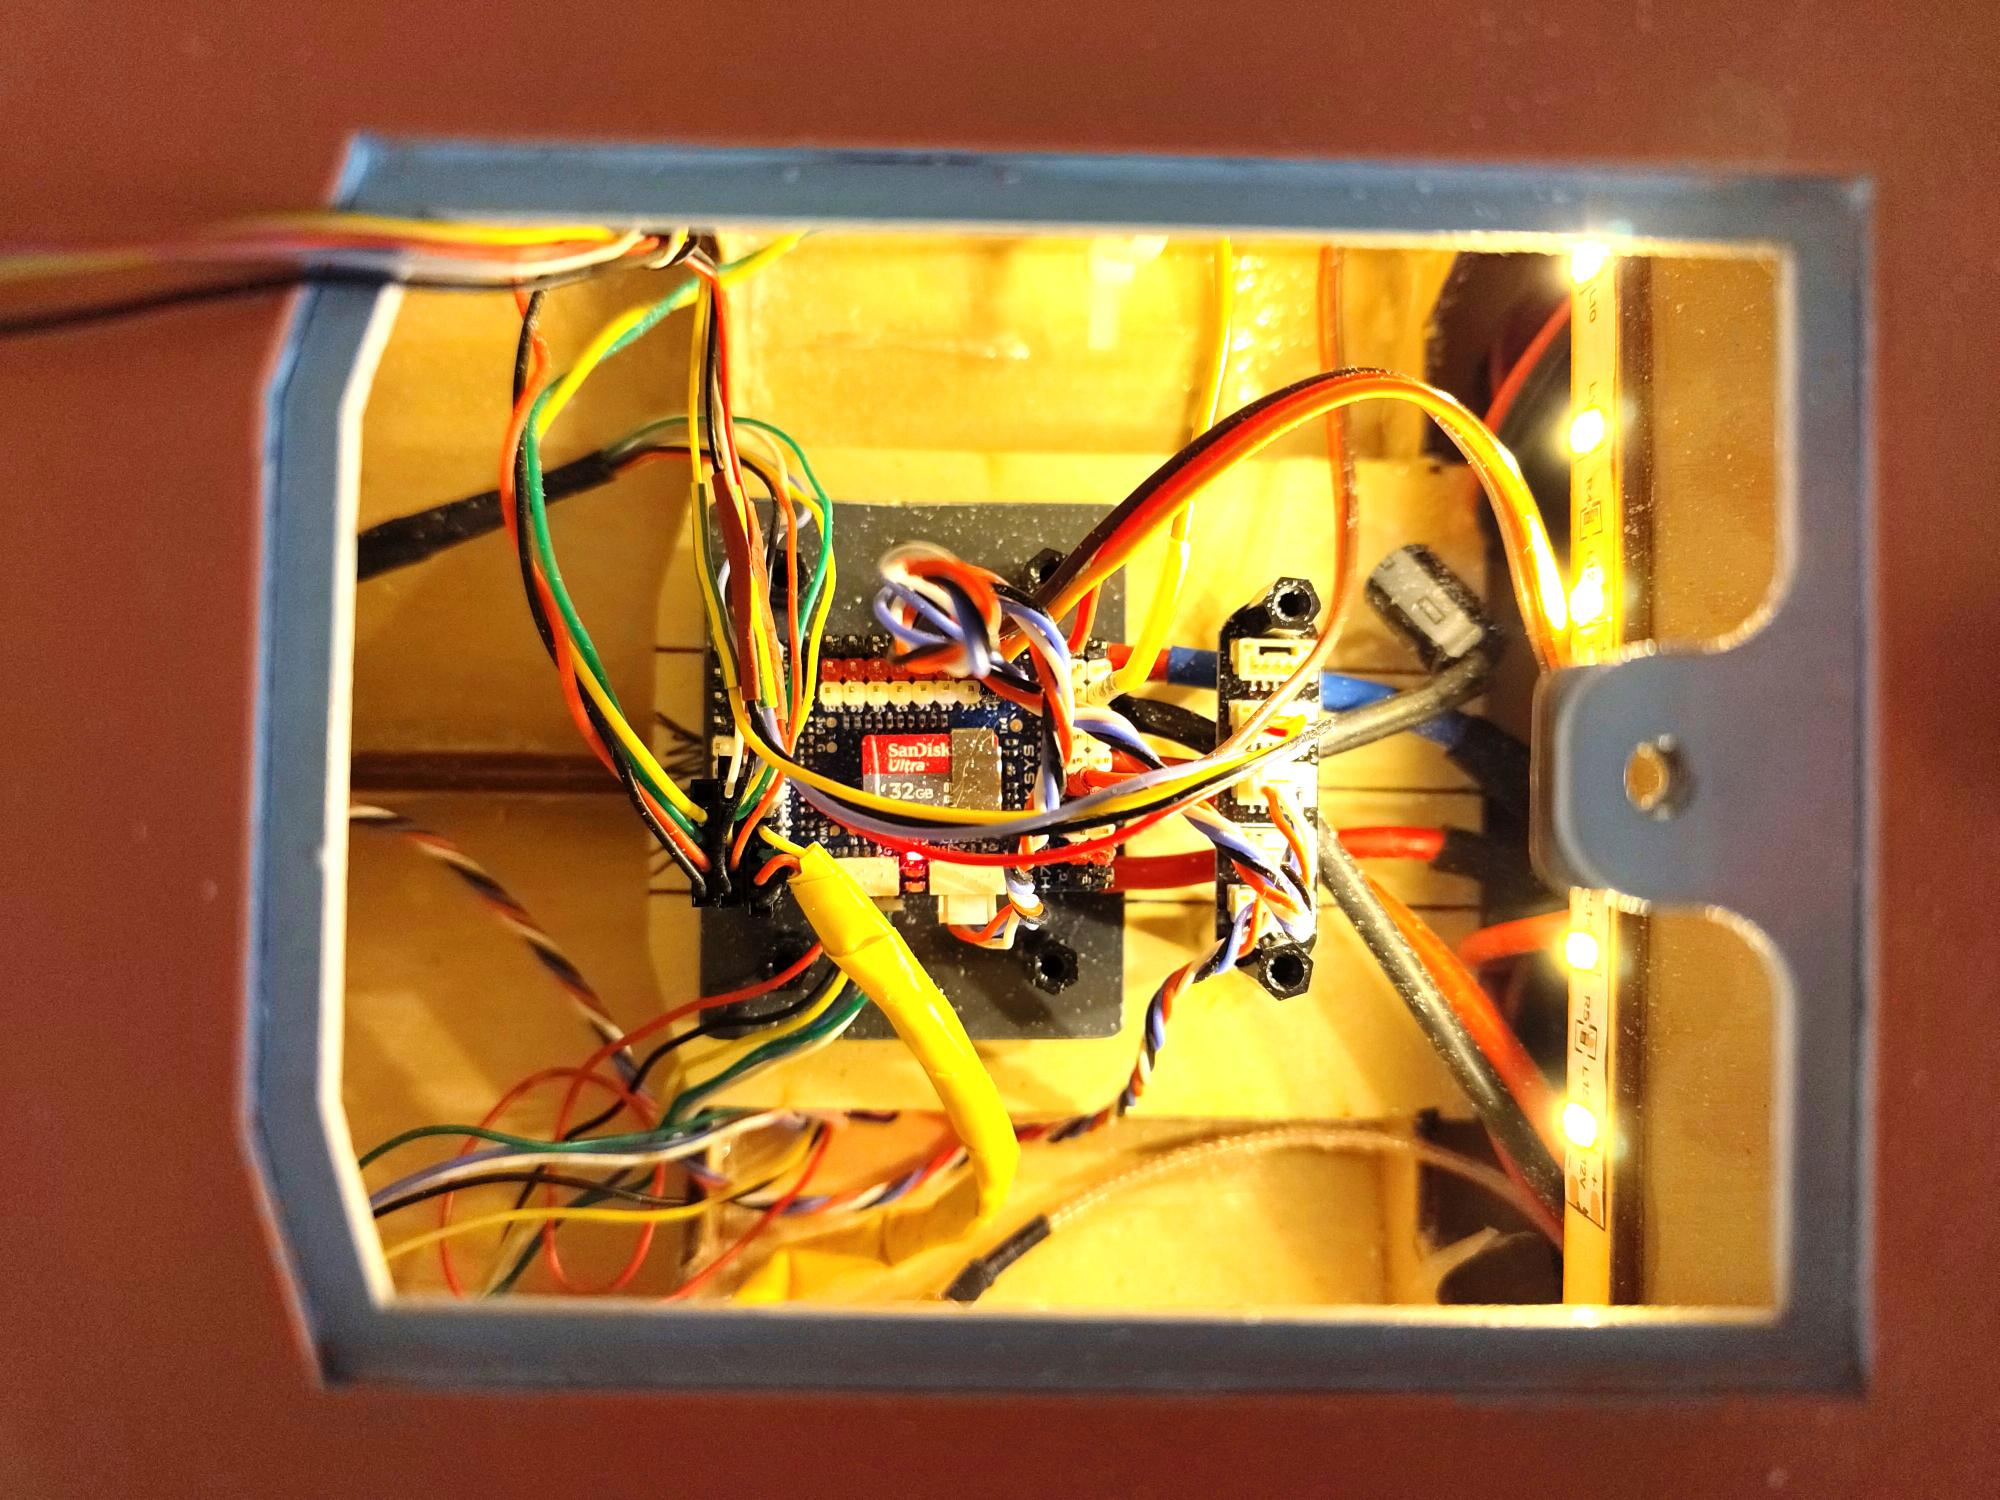
Mount cables more permanent
Install Yaapu Lua on my TX16s and get CRSF working as intended
It’s running 4.3 / Beta10. I had better/faster telemetry updates with Beta8. But over time it got better with Beta8 so perhaps Beta10 needs the same patience for working as fast as before. Edit* works fine, fast download of Params.
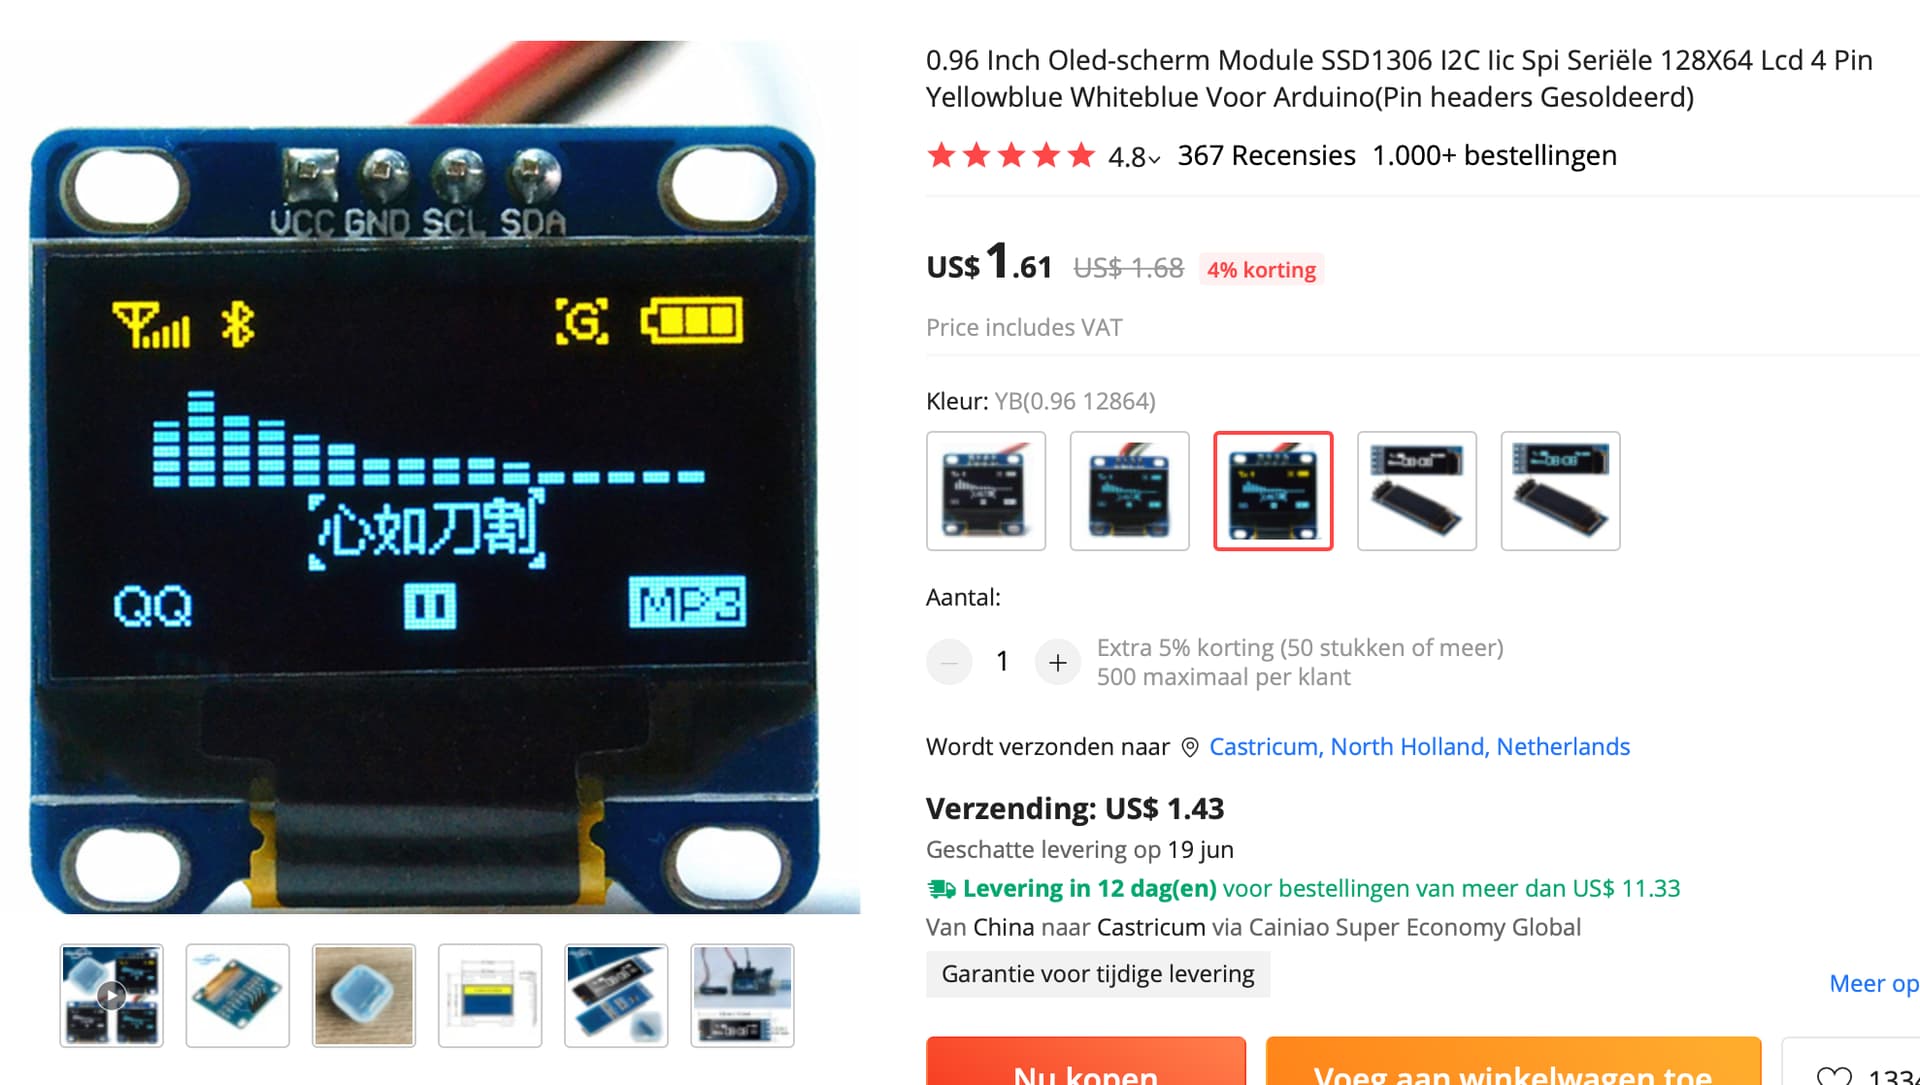
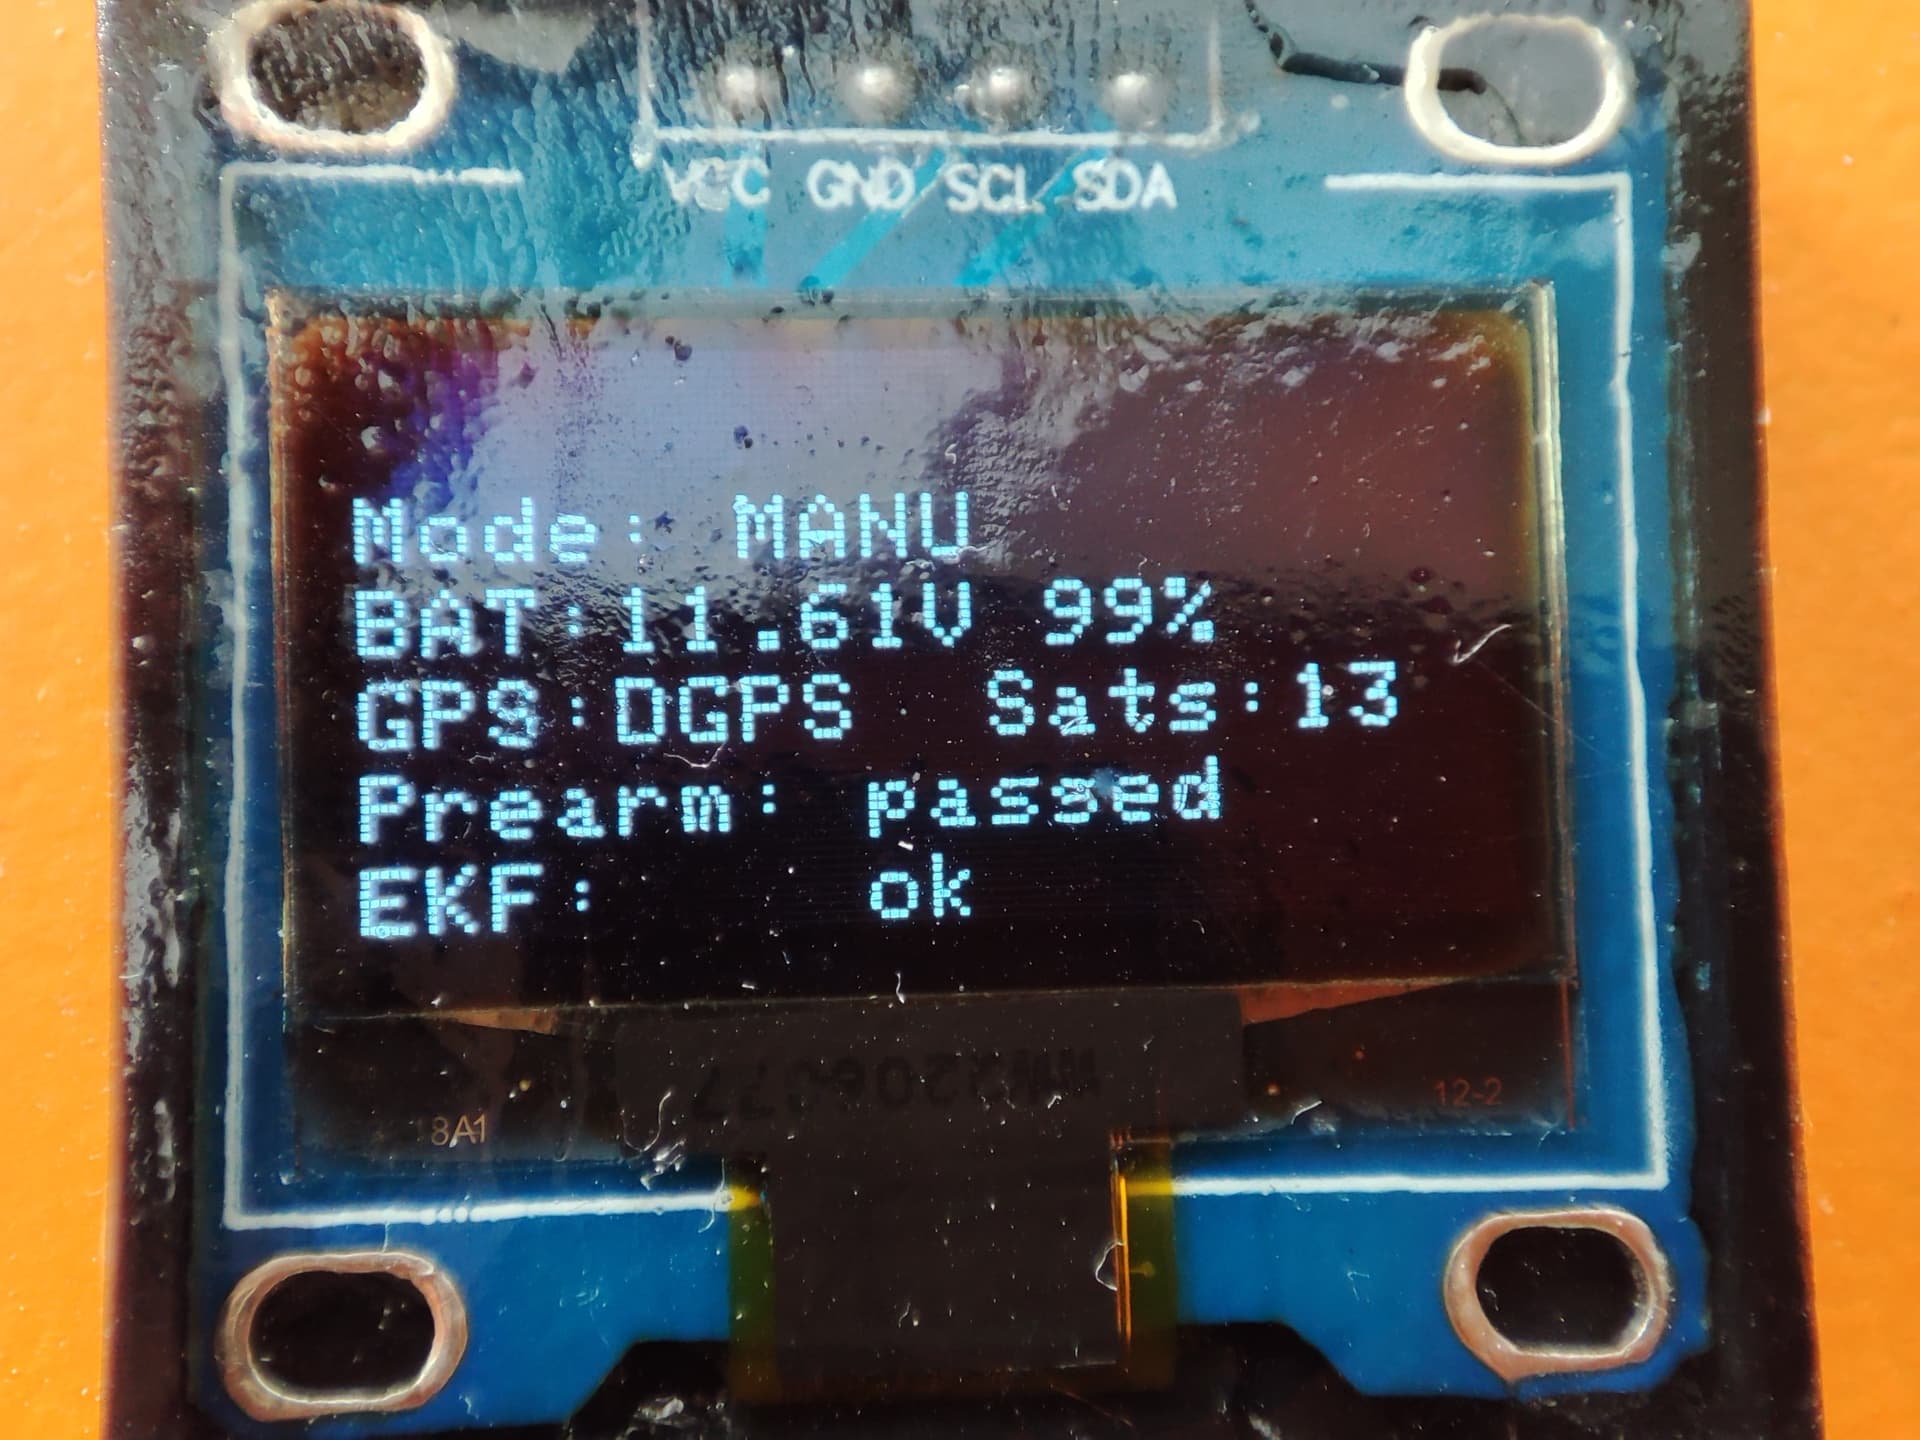
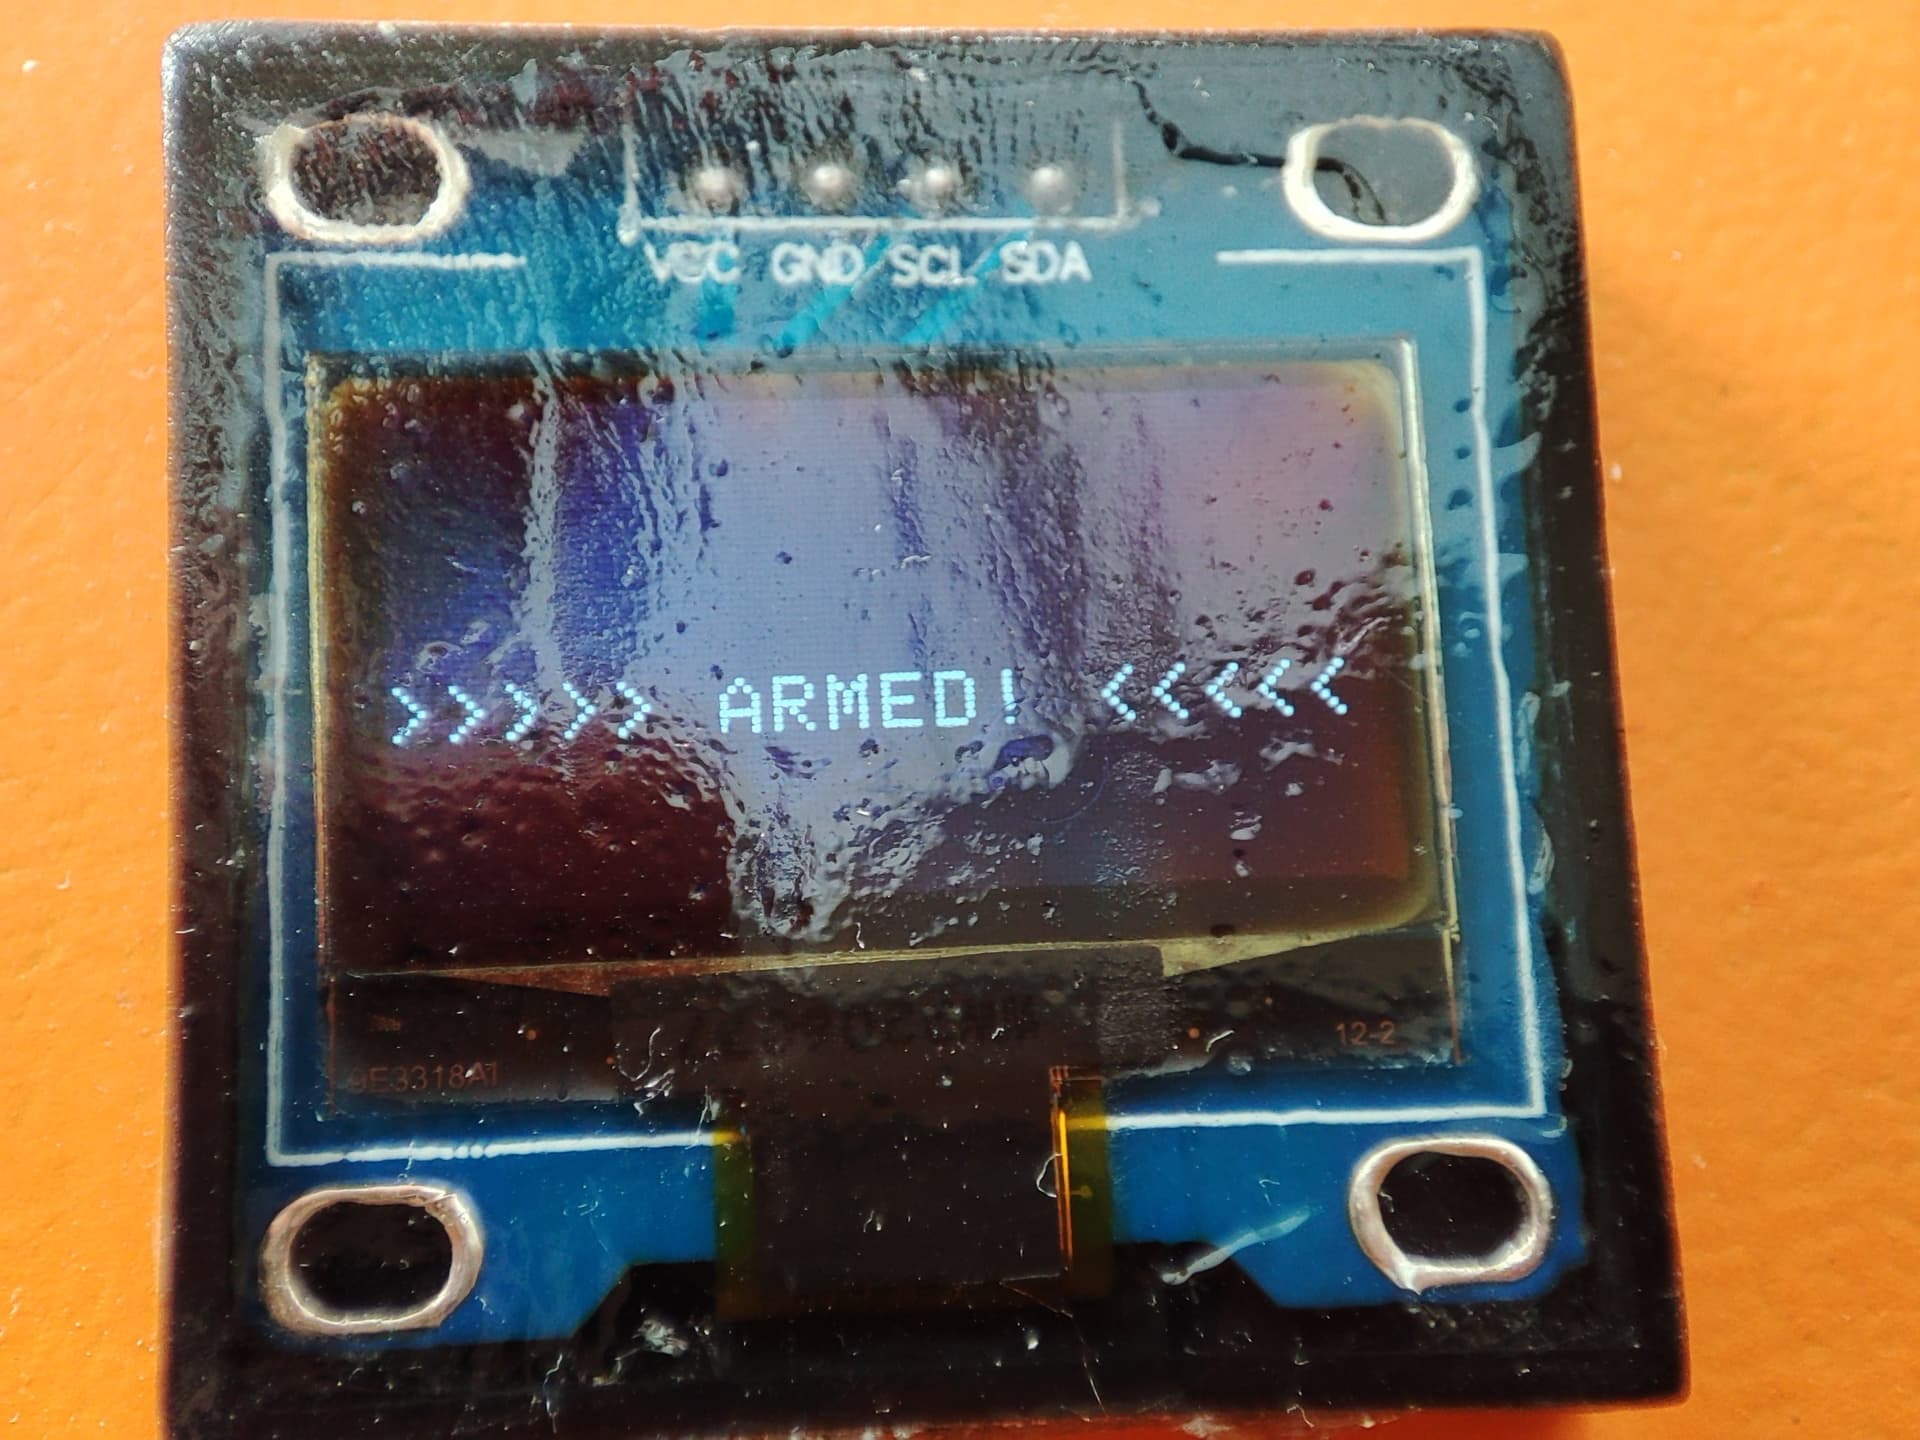
The i2C TFT is a cheap ($2) way of having a quick glance at important info. It also shows >>>ARMED<<< when the vehicle is armed, a nice reminder that fingers can get chopped. I put mine in a plastic housing and poured UV-safe Epoxy in it. Waterproof & submersible!
nice, i have no experience in setting up an lcd, what configuration do you have to set up on flight controller to send that data and what setup is there to layout the info on the tft? how does it work basically?
It’s an i2c display. The cool thing is that i2c uses addresses, so you can wire i2c stuff in parallel. Each item has it’s own digital address and will only respond to data regarding that address.
You have to set this Parameter in order to get it start working: NFT_DISPLAY_TYPE = 1 (don’t forget to reboot the flightcontroller to make it work)
If all your wiring is correct (UART-Tx/Rx and i2C-SDA/SCL ) Ardupilot recognizes most if not all standard electronics. So all that is left is calibrating the Gyro orientation, Compass and Radio. After a lot of trial and error I can now easily update the firmware, calibrate all necessities and my boat is on its way. Not properly tuned, but the very first maiden voyage went quite well without.
If your servo or throttle is reversed (my boat went backwards the first time I started my first mission) Don’t use the checkmark thingies in the Radio calibration tab in Mission Planner, but instead change the parameter of the affected channel. For example, reversing channel 3 is putting a 1 instead of 0 for the parameter: SERVO3_REVERSED,1
If your boat is zig zagging, lower D in Standard Parameters to almost if not completely to 0.
I haven’t figured out why my telemetry is slow again. In my very first build it was slow as well, but got faster over time. The issue is I have no idea why or what I did to improve this. Edit* just as fast as before. First time after powering up takes a few minutes. After that, parameter changes or uploading waypoints goes as intended.
While it takes forever to load ALL parameters. Simply cancelling that still gives me the opportunity to adjust wirelessly parameters/settings/nav-points. I do have communication between laptop & boat. Apparently you don’t need to load all parameters for a quick maiden. Time will tell if and how this improves.
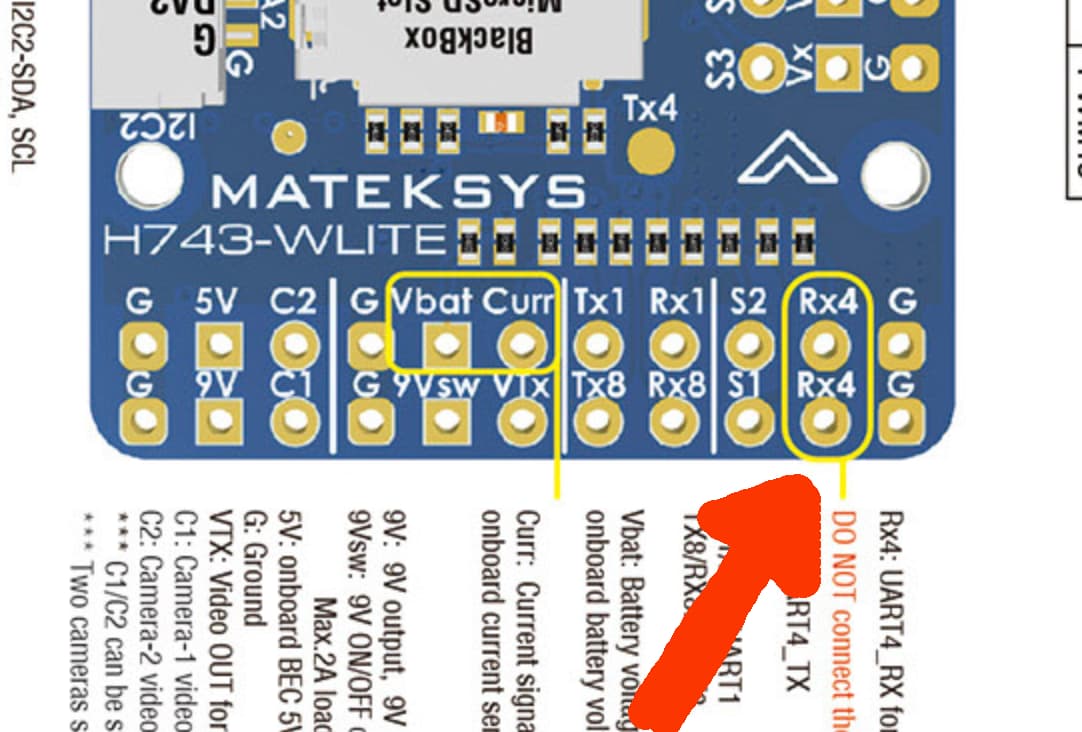
The Matek H743 Lite has NO +5v outputs on S1 and S2. Have this in mind when connecting an ESC or Servo to S1 or S2.
My Fail Safe is set for the boat to continue it’s mission when out of radio range. Yes, I have a Kajak at hand for when I didn’t set this properly So range is not a primary goal.
After all is tuned in and properly set, the next step will eliminating the radio all together and start a mission with a push of a button on the boat. (I know this is a standard option in Ardurover but haven’t read much into it so far)
ok, if you boot into auto mode and use the safety switch it should do just what you are talking about.
I dont even think i will be able to use RTL for a radio failsafe as it means the boat is driving by itself and cannot be stopped by an operator incase of danger so I guess it will be Hold and disarm on radio failsafe which means a recovery every time… i failsafe
Another Matek board is useful for controlling voltage to the servos and limiting draw from the flight controller. It is a 4A BEC with selectable voltage just taking PWM and ground lines from the flight controller.
As far as I can see it is a regulator rather than booster so you won’t get 8.2V if your supply is below that like you would with some of the 1/12th RC car ESCs.
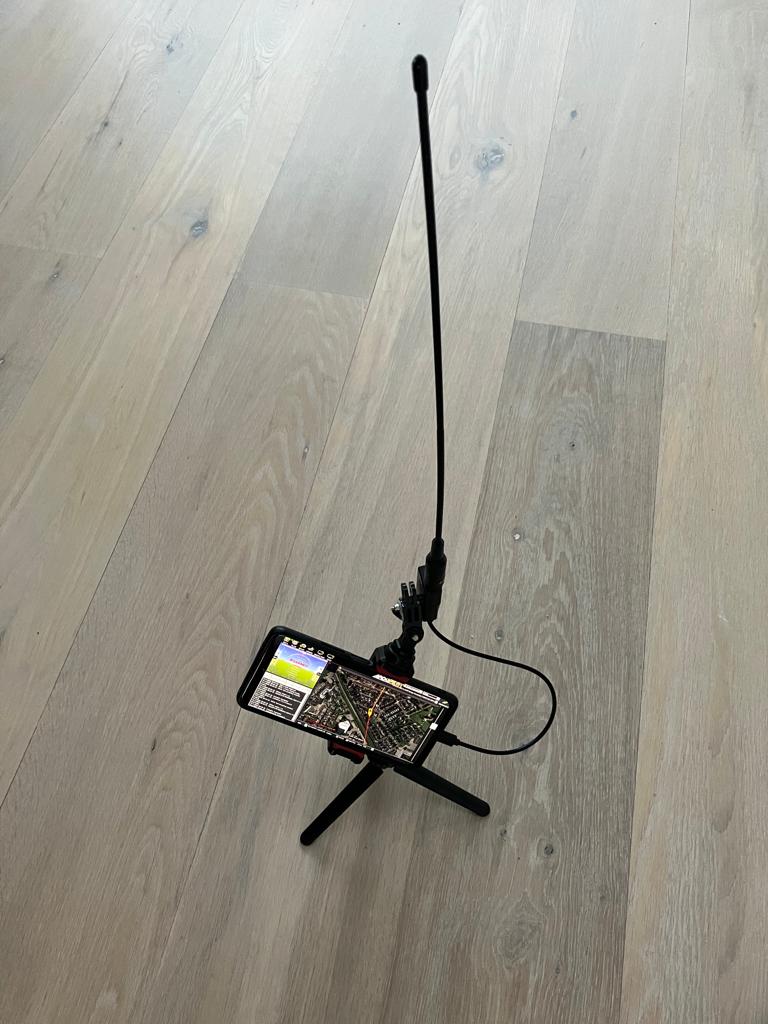
Got everything set up for mobile tracking and testing the follow me mode. Hopefully next weekend maiden and thoroughly testing of my shenanigans. Edit* the phone can be mounted horizontal, im just being lazy for now.
Diamond srh771 antenna and an Ulanzi ST-06S phone bracket. Got the Usb-c to micro usb from AliExpress. The rest is DIY with GoPro mounts/arms.
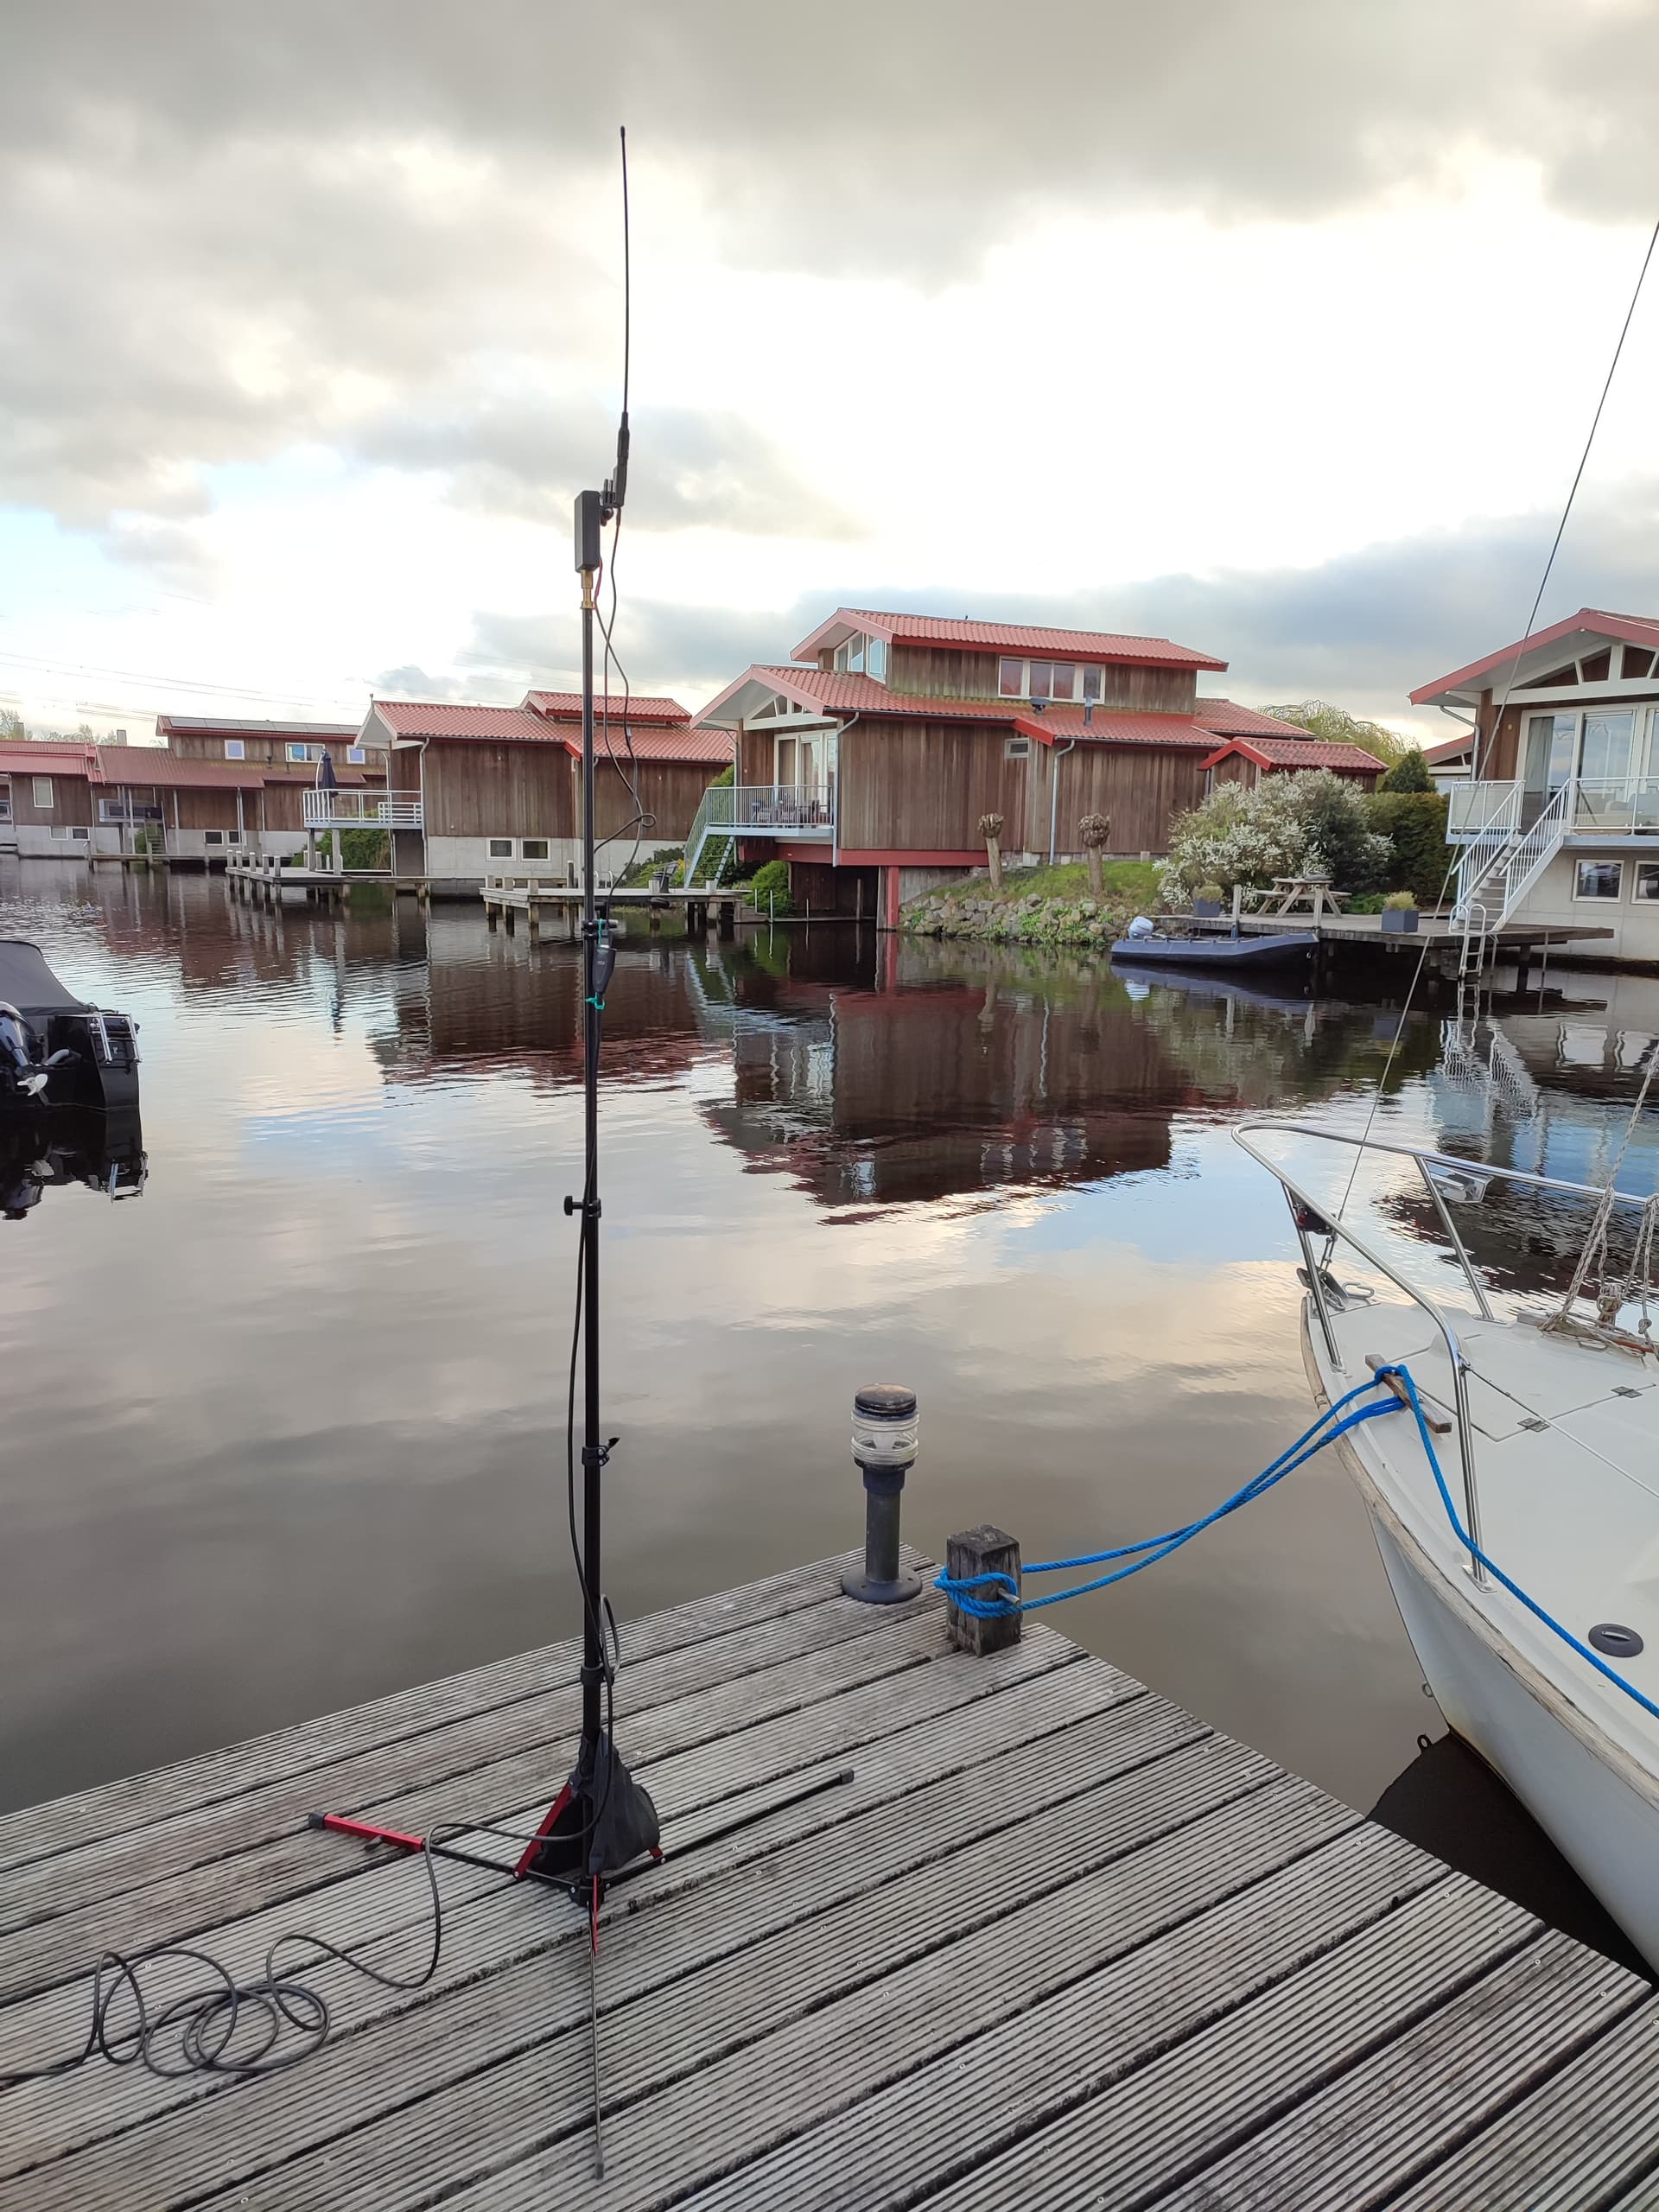
It does work but the connection is somewhat unstable read: utter shiiit. So I ordered an active 5 meter USB extension cord. The Sik radio will be mounted on a light stand and thus connected via the usb extension cord to my laptop. Edit* extension usb cable tested & declared amazing
Very first maiden went…mwoah. It was zigzagging like a dogs tail. After some googling I lowered the D value to 0 and… it worked quite well . The only weird thing is that Mission Planner thinks my boat is …drifting sideways? Although visually it tracks pretty well along the desired route. Perhaps recalibrating the compasses will fix this issue. Edit* Nope, didn’t fix the offset. Weird.
And the deck is apparently not glued well to the hull structure. At some point some (read: a lot) of water came in. Also, the shape of the hull is not the best i think. It pushes water up, instead of sideways. More epoxy is needed
My Sik radio. Connected via an USB-extension of 5 meters / 15ft. On top of the light stand is a cased 18650 battery + 5v step-up converter for some extra power. It’s not needed for reliable communication but it lowers the load on the USB-port of the laptop.