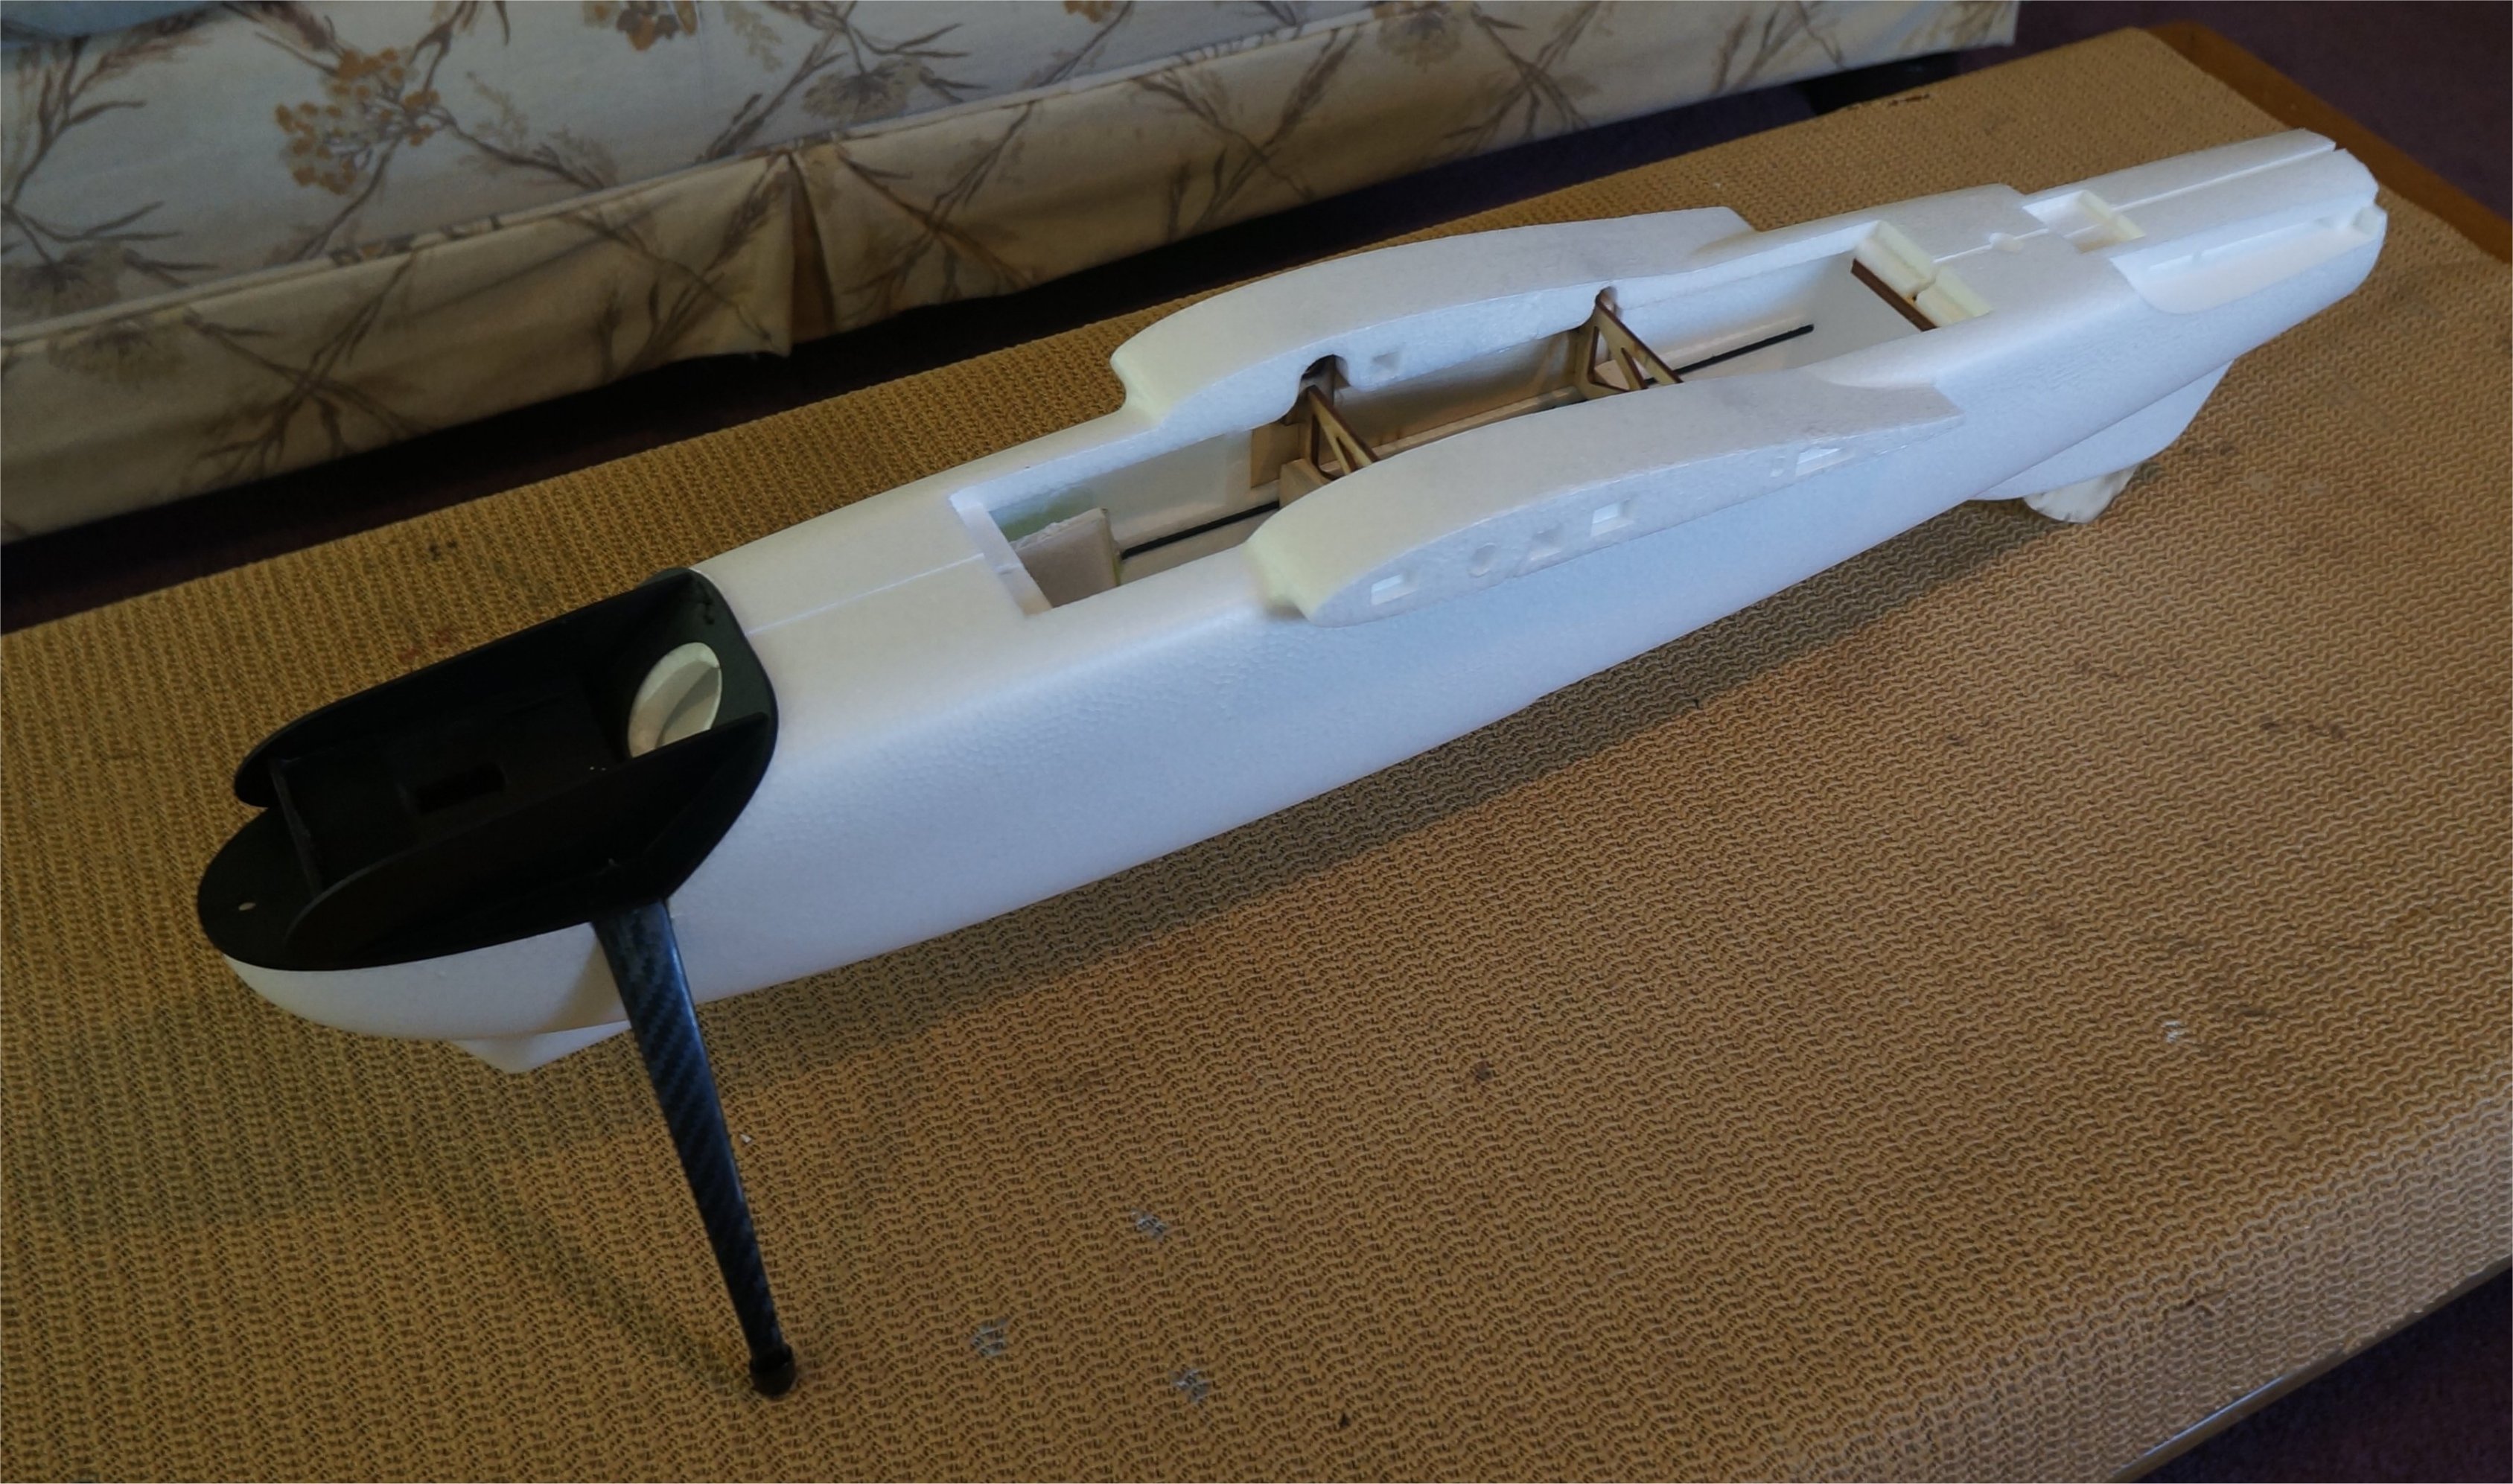
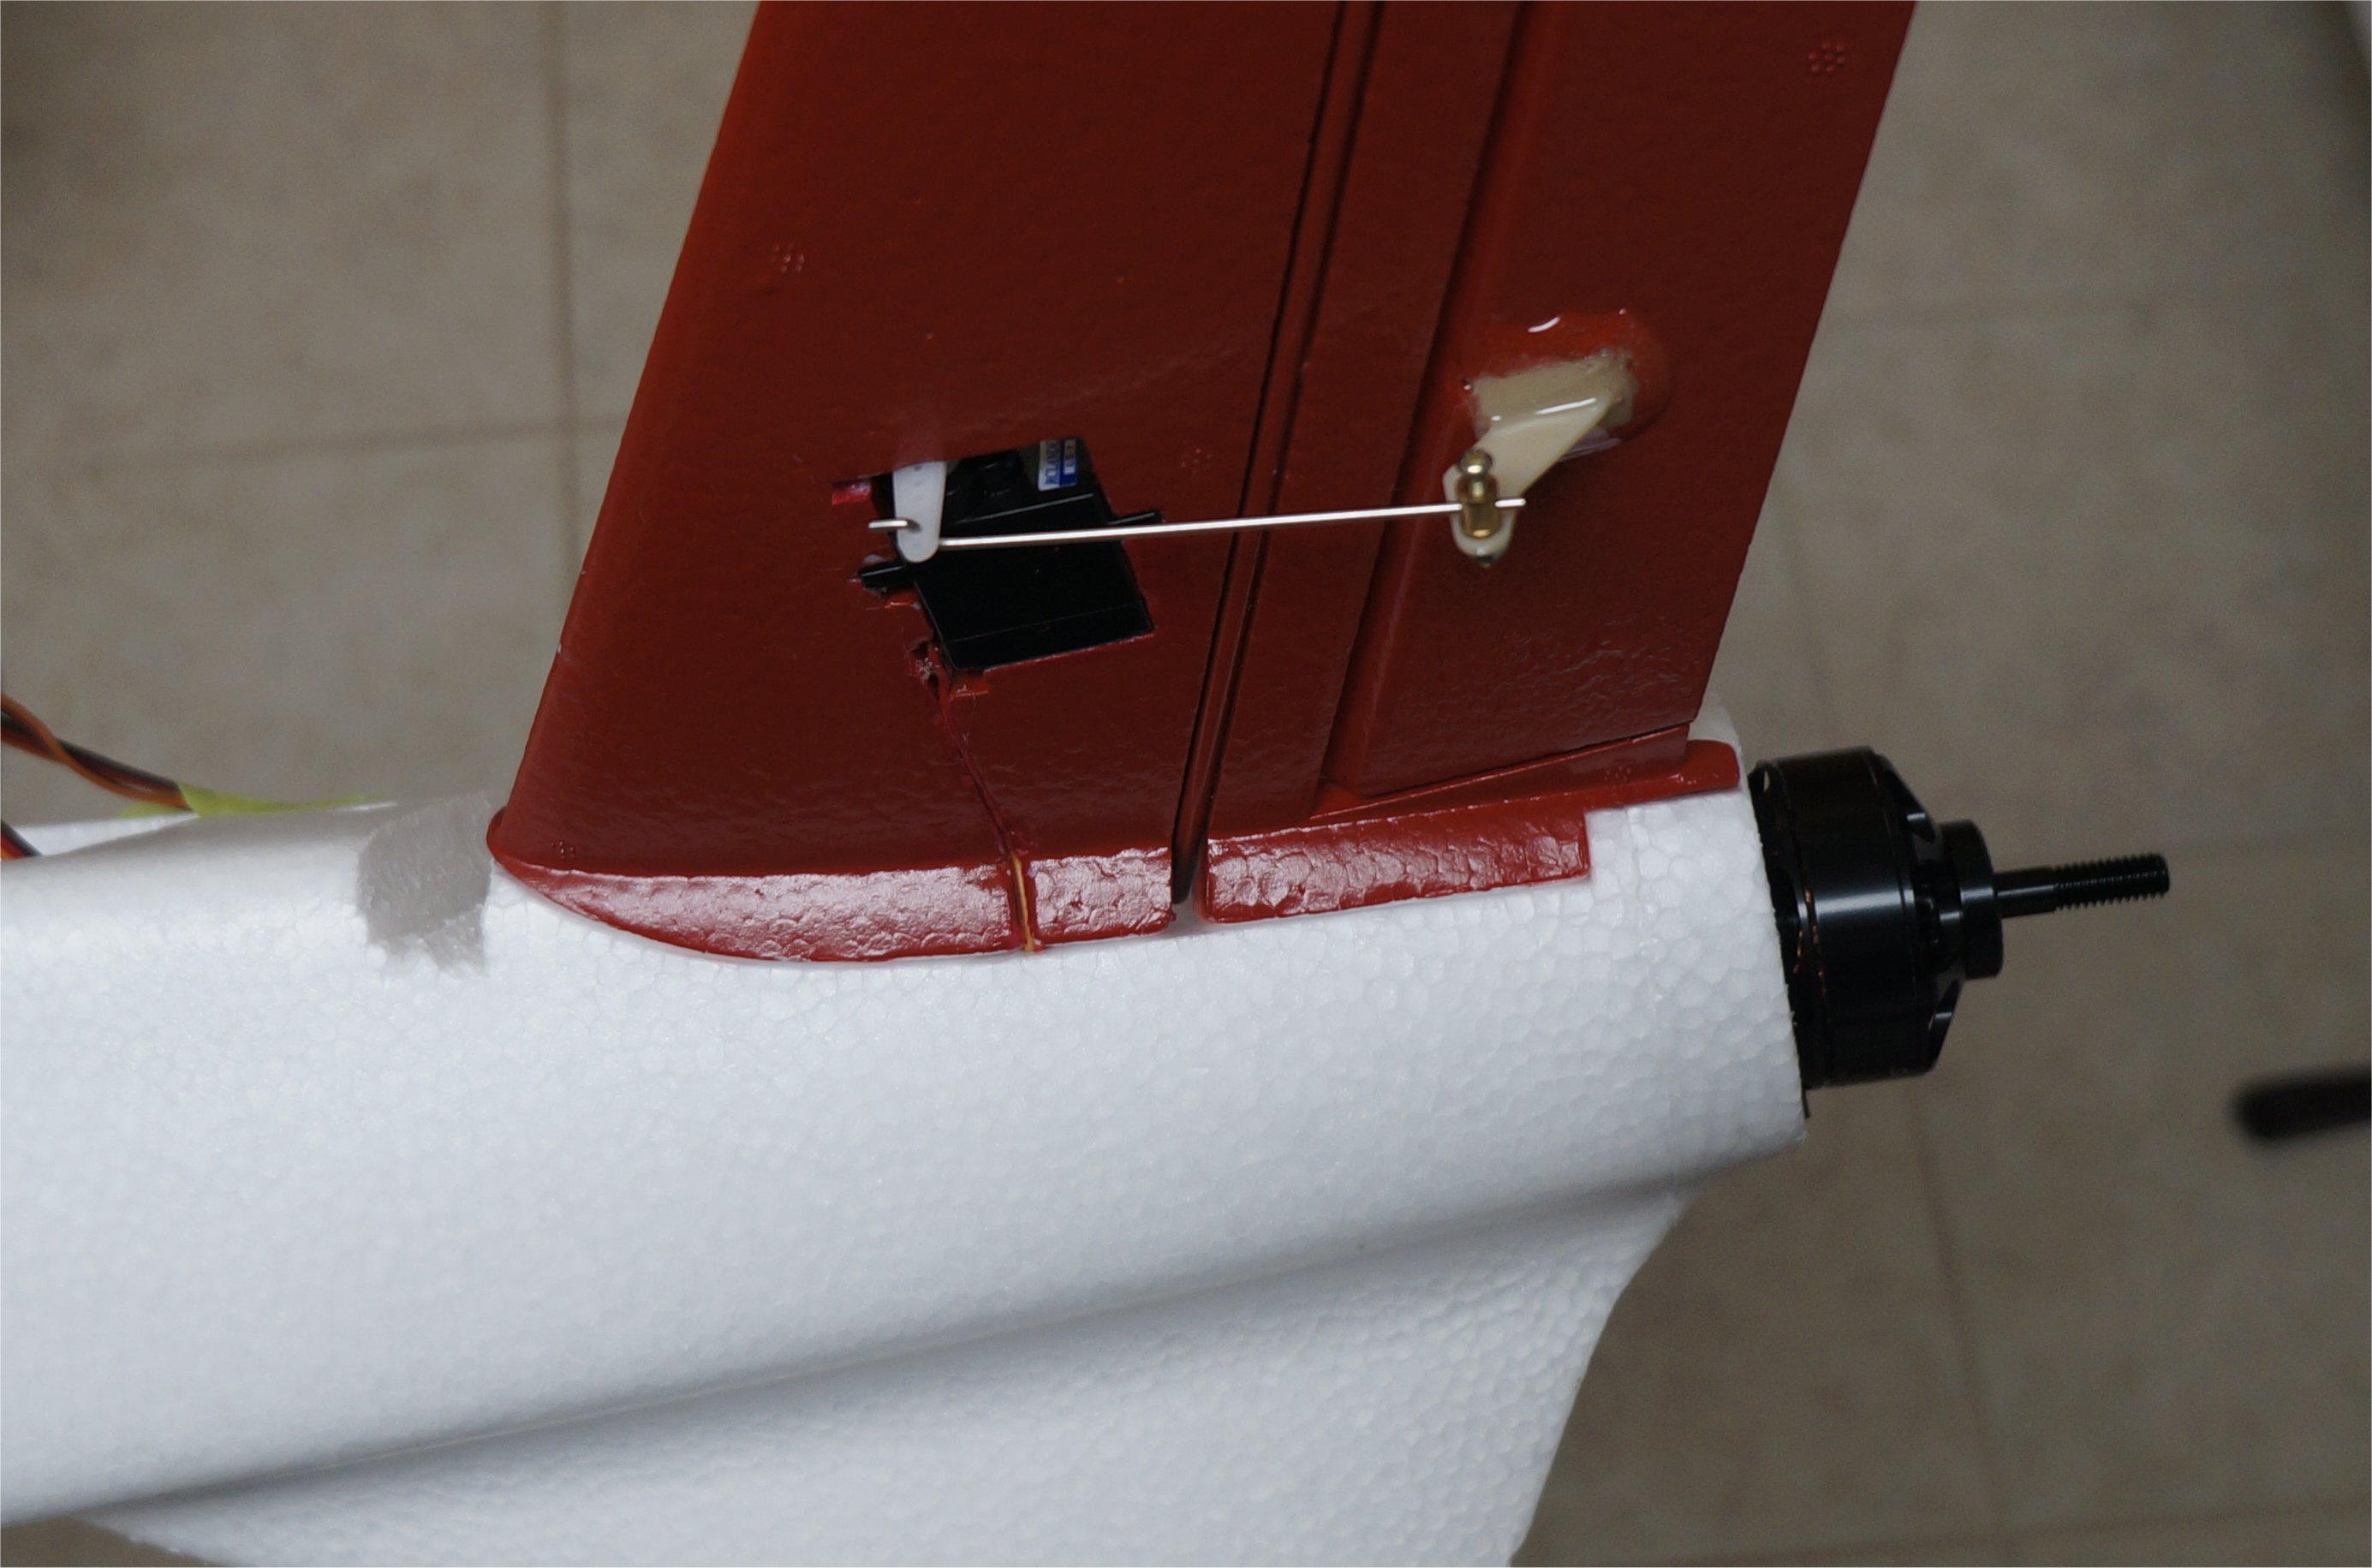
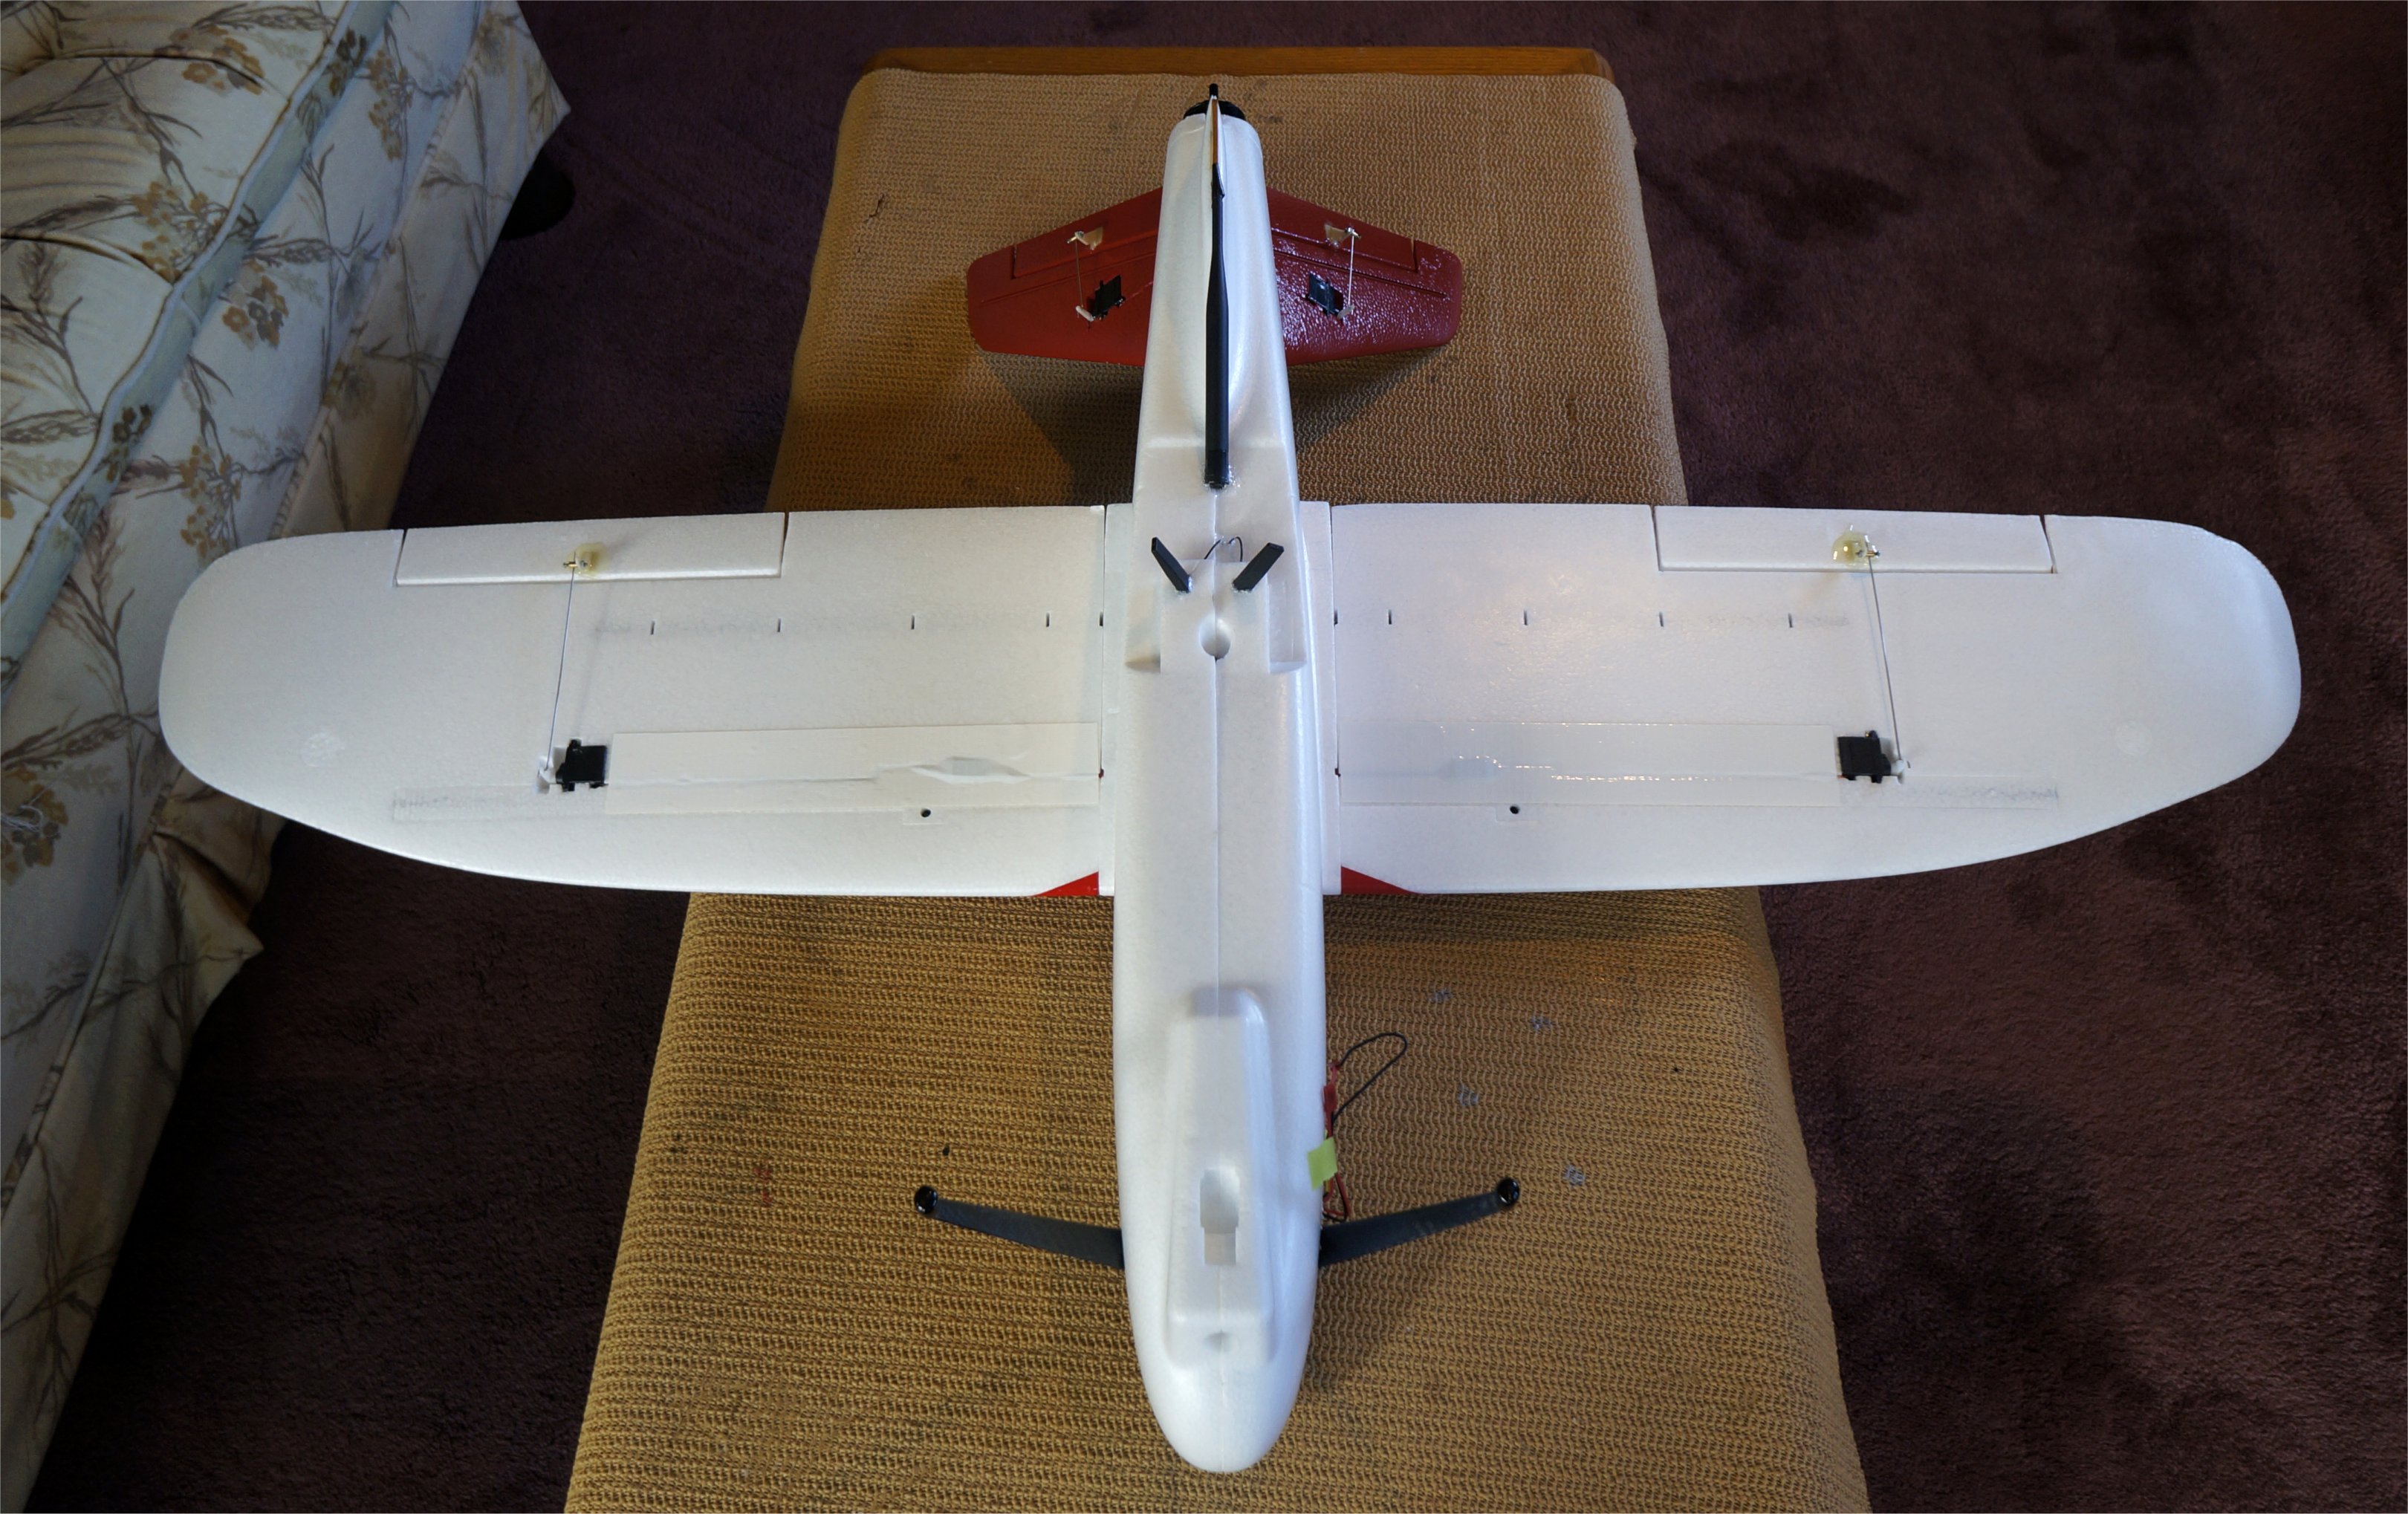
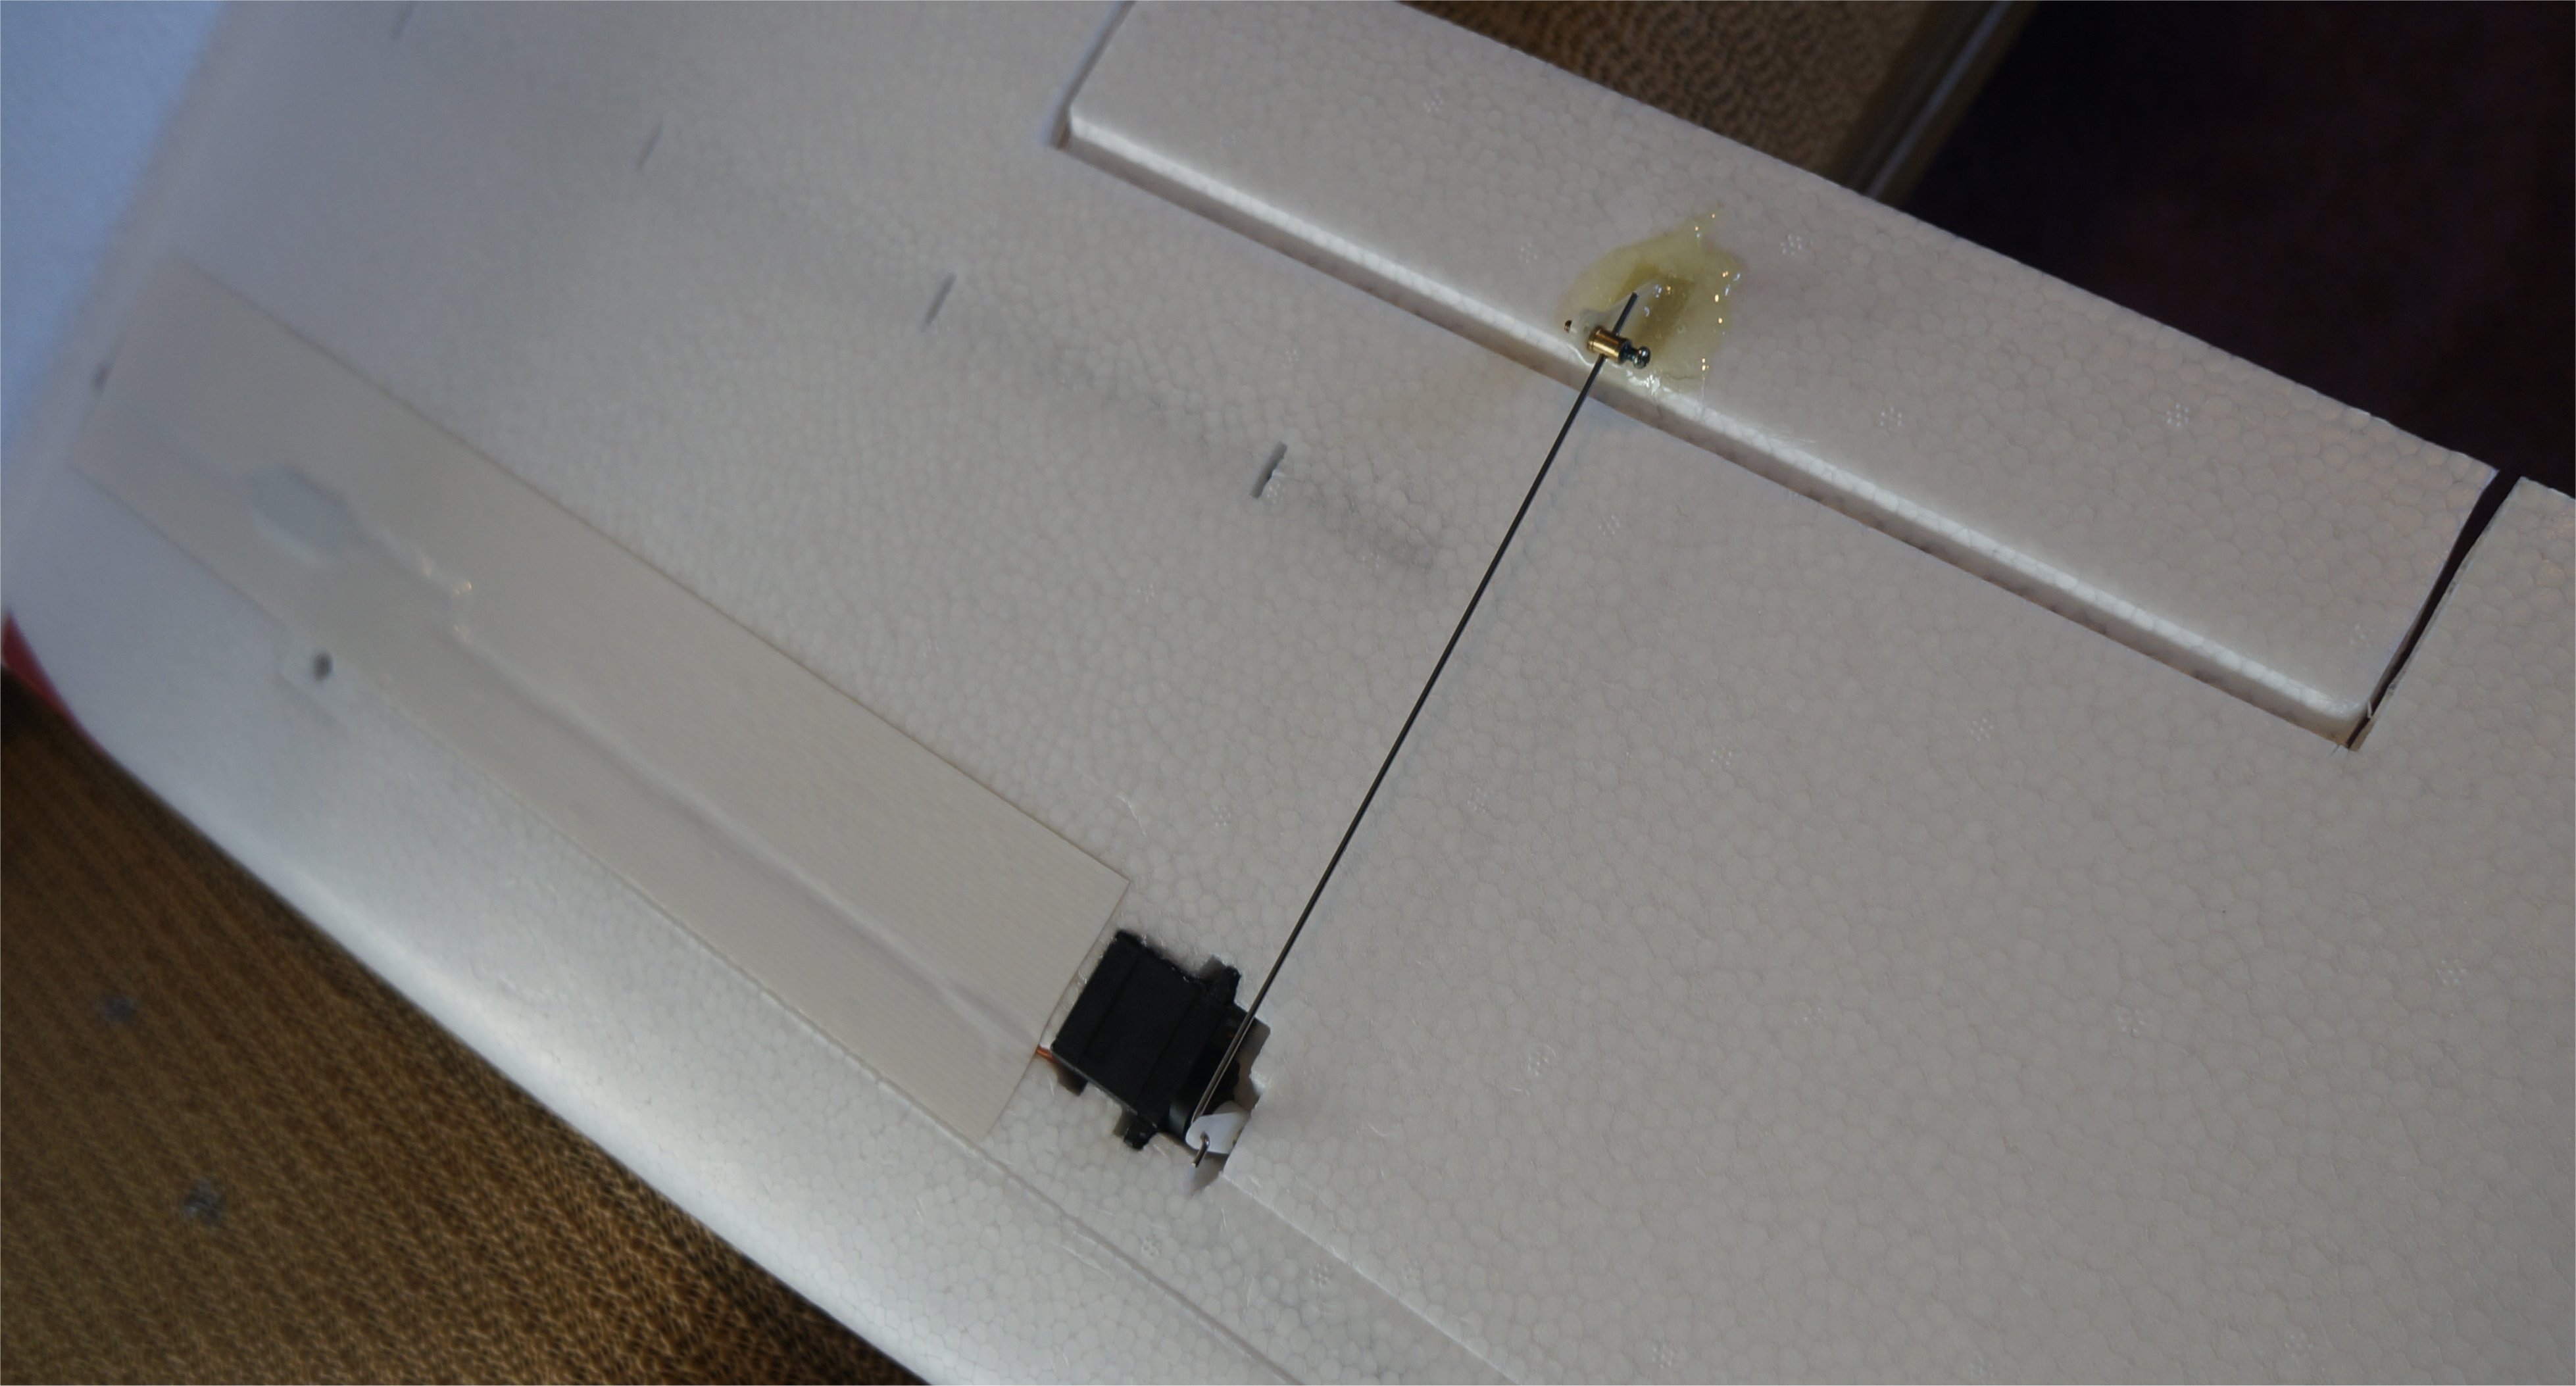
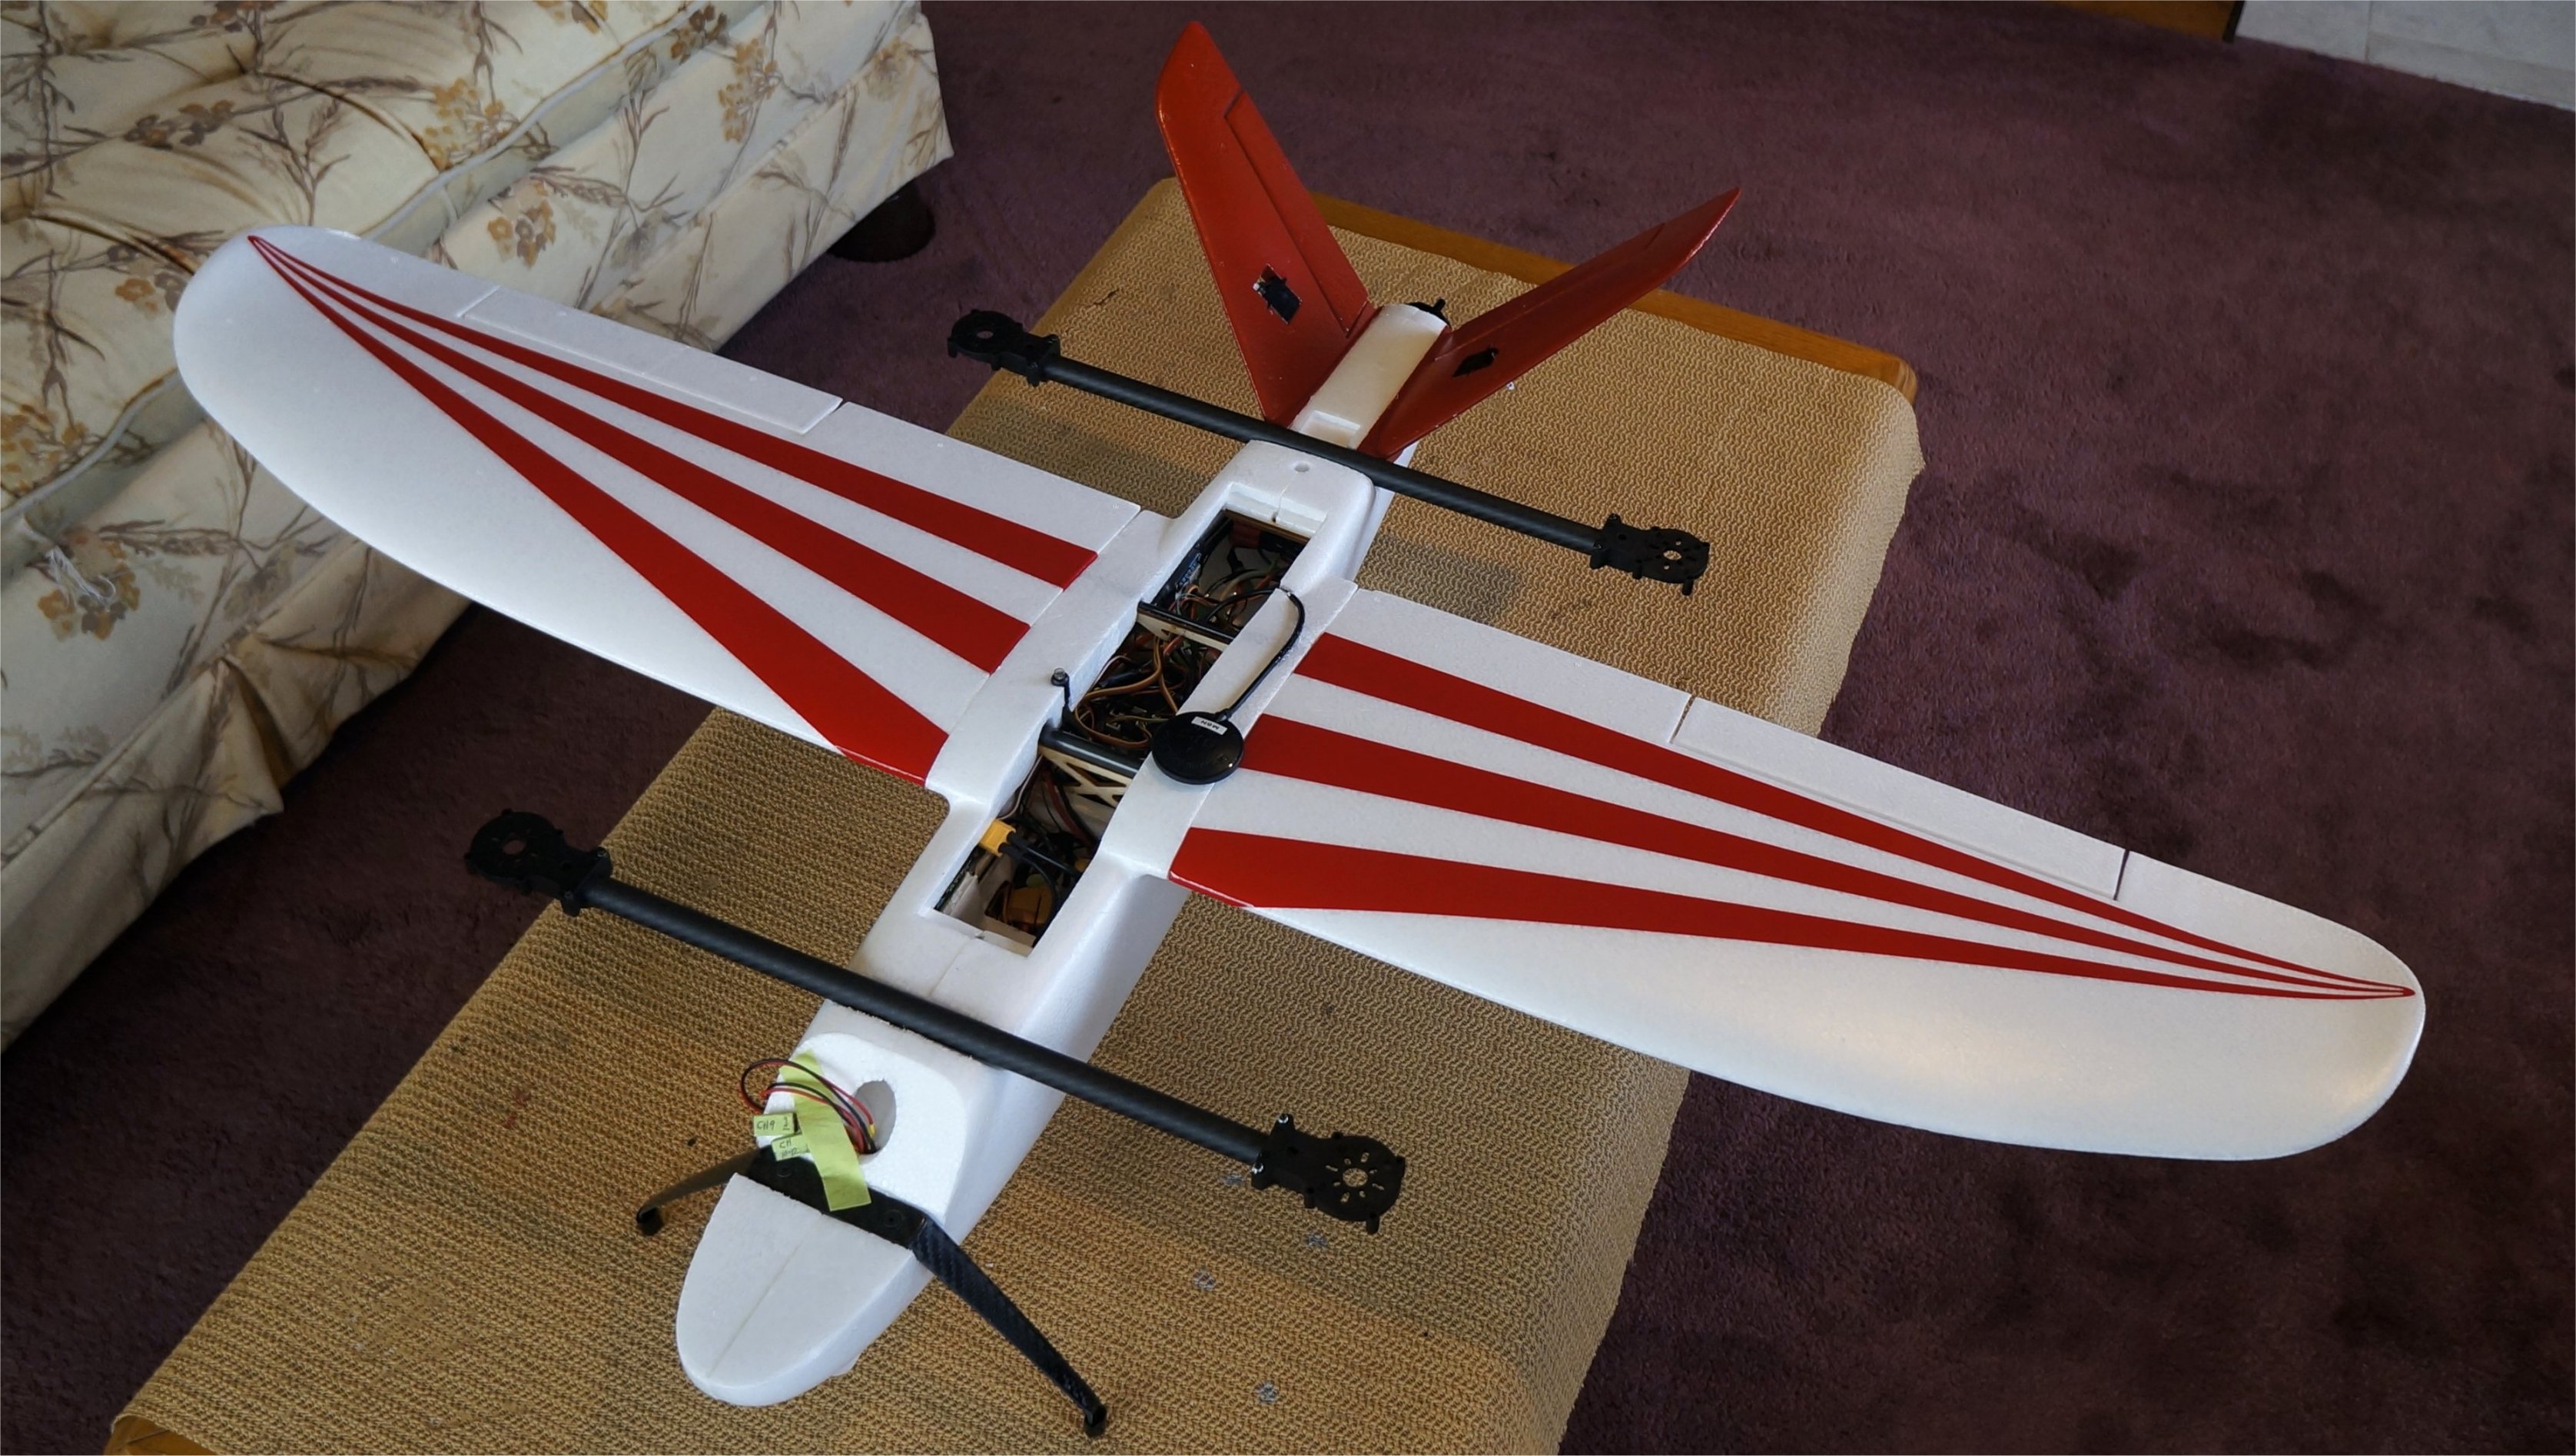
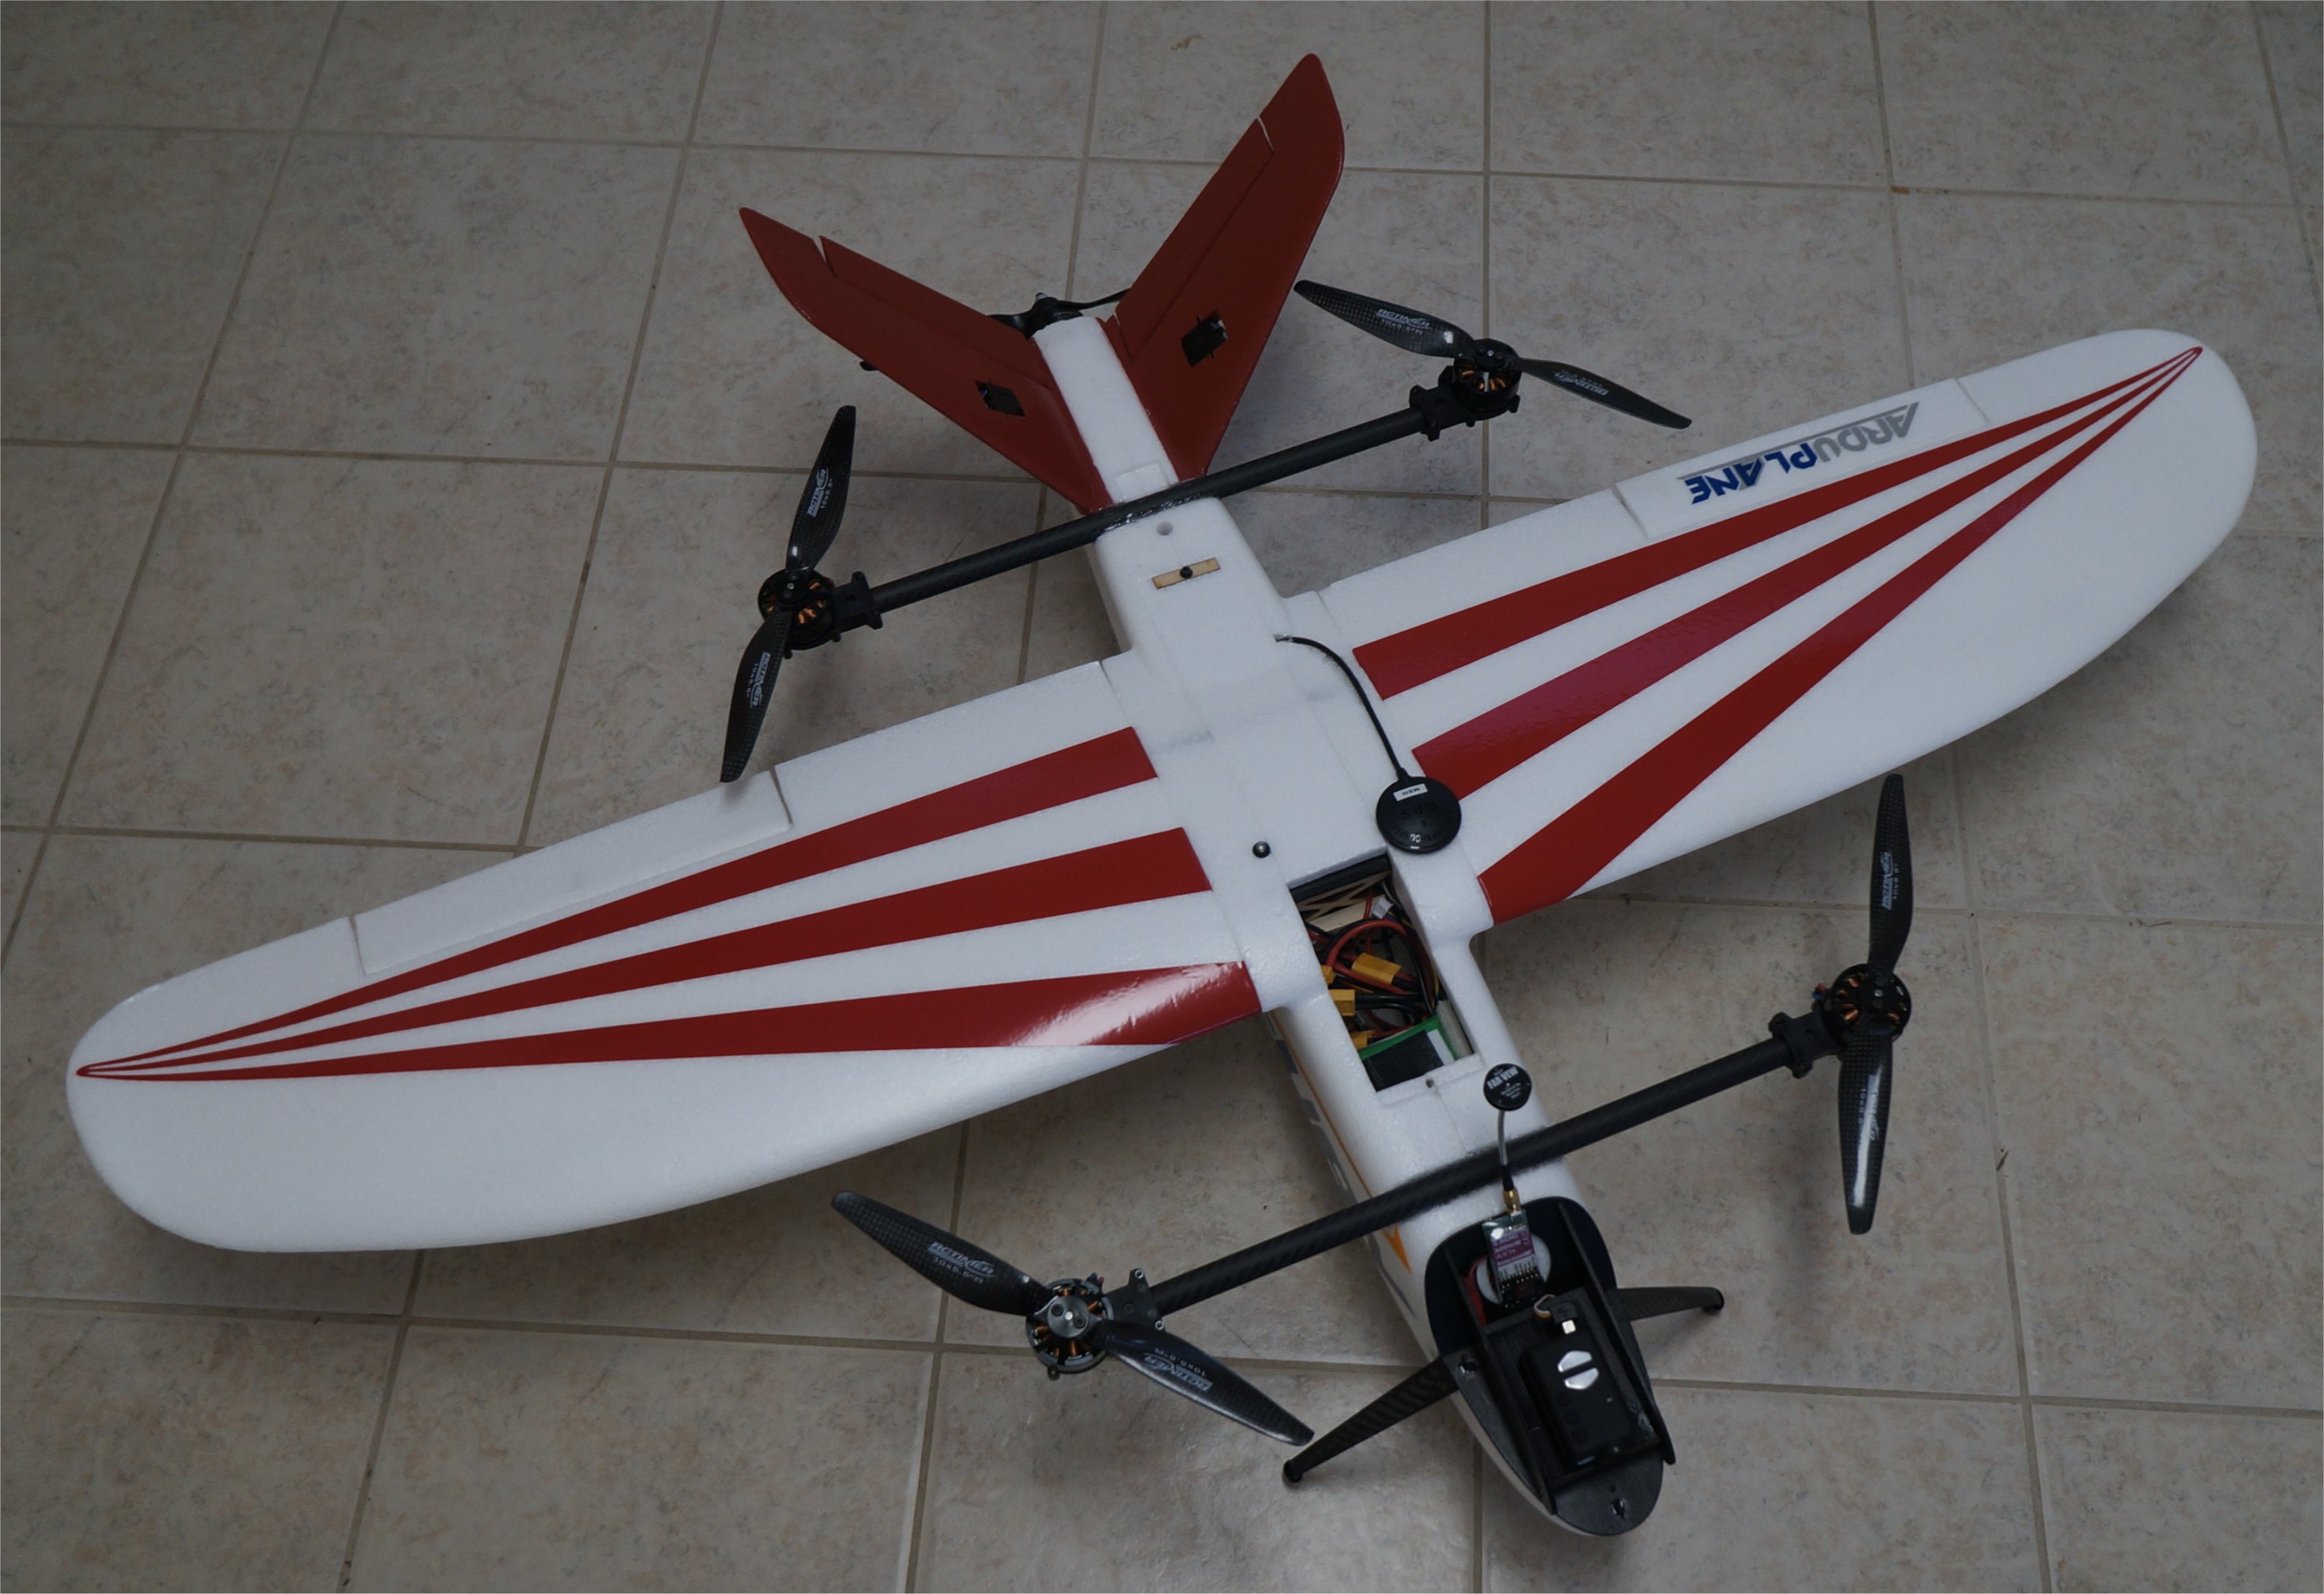
I installed the aileron servos and linkages. I used some Corona CS-929MG 12g servos that I had on hand. After testing each wing assembly, I installed the wings to the fuselage to make alignment of the quad bars easier. Of course, I forgot to apply my wing bottom decals (black strips) but I can do that later.
--------------------------- New Post --------------------------------
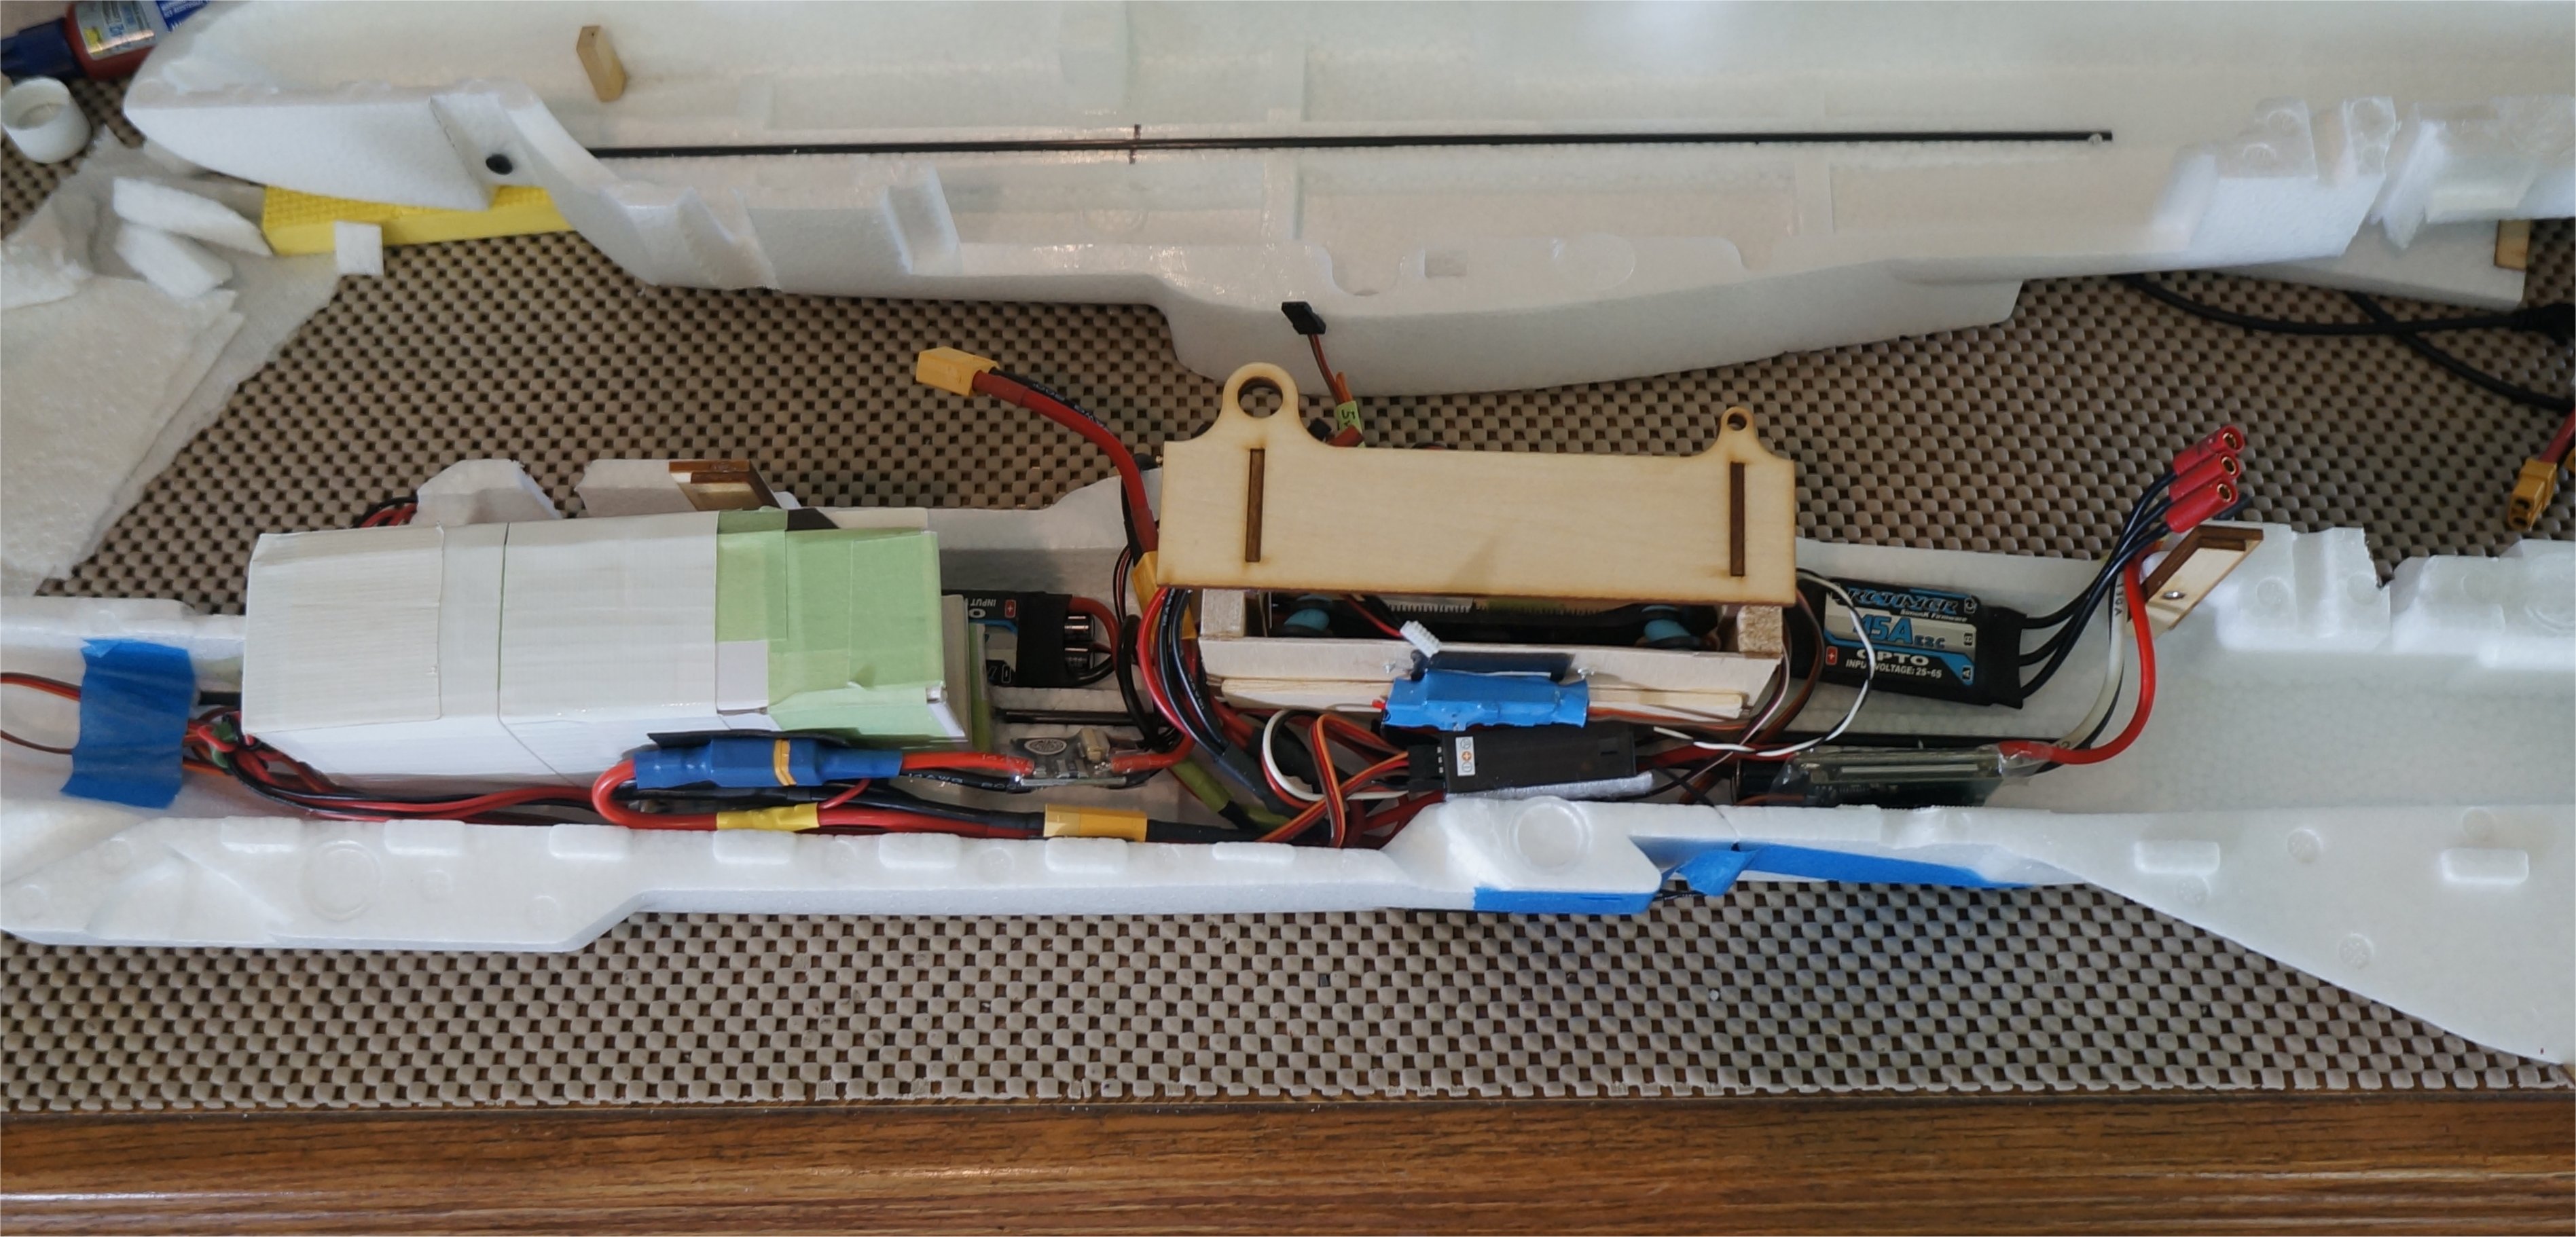
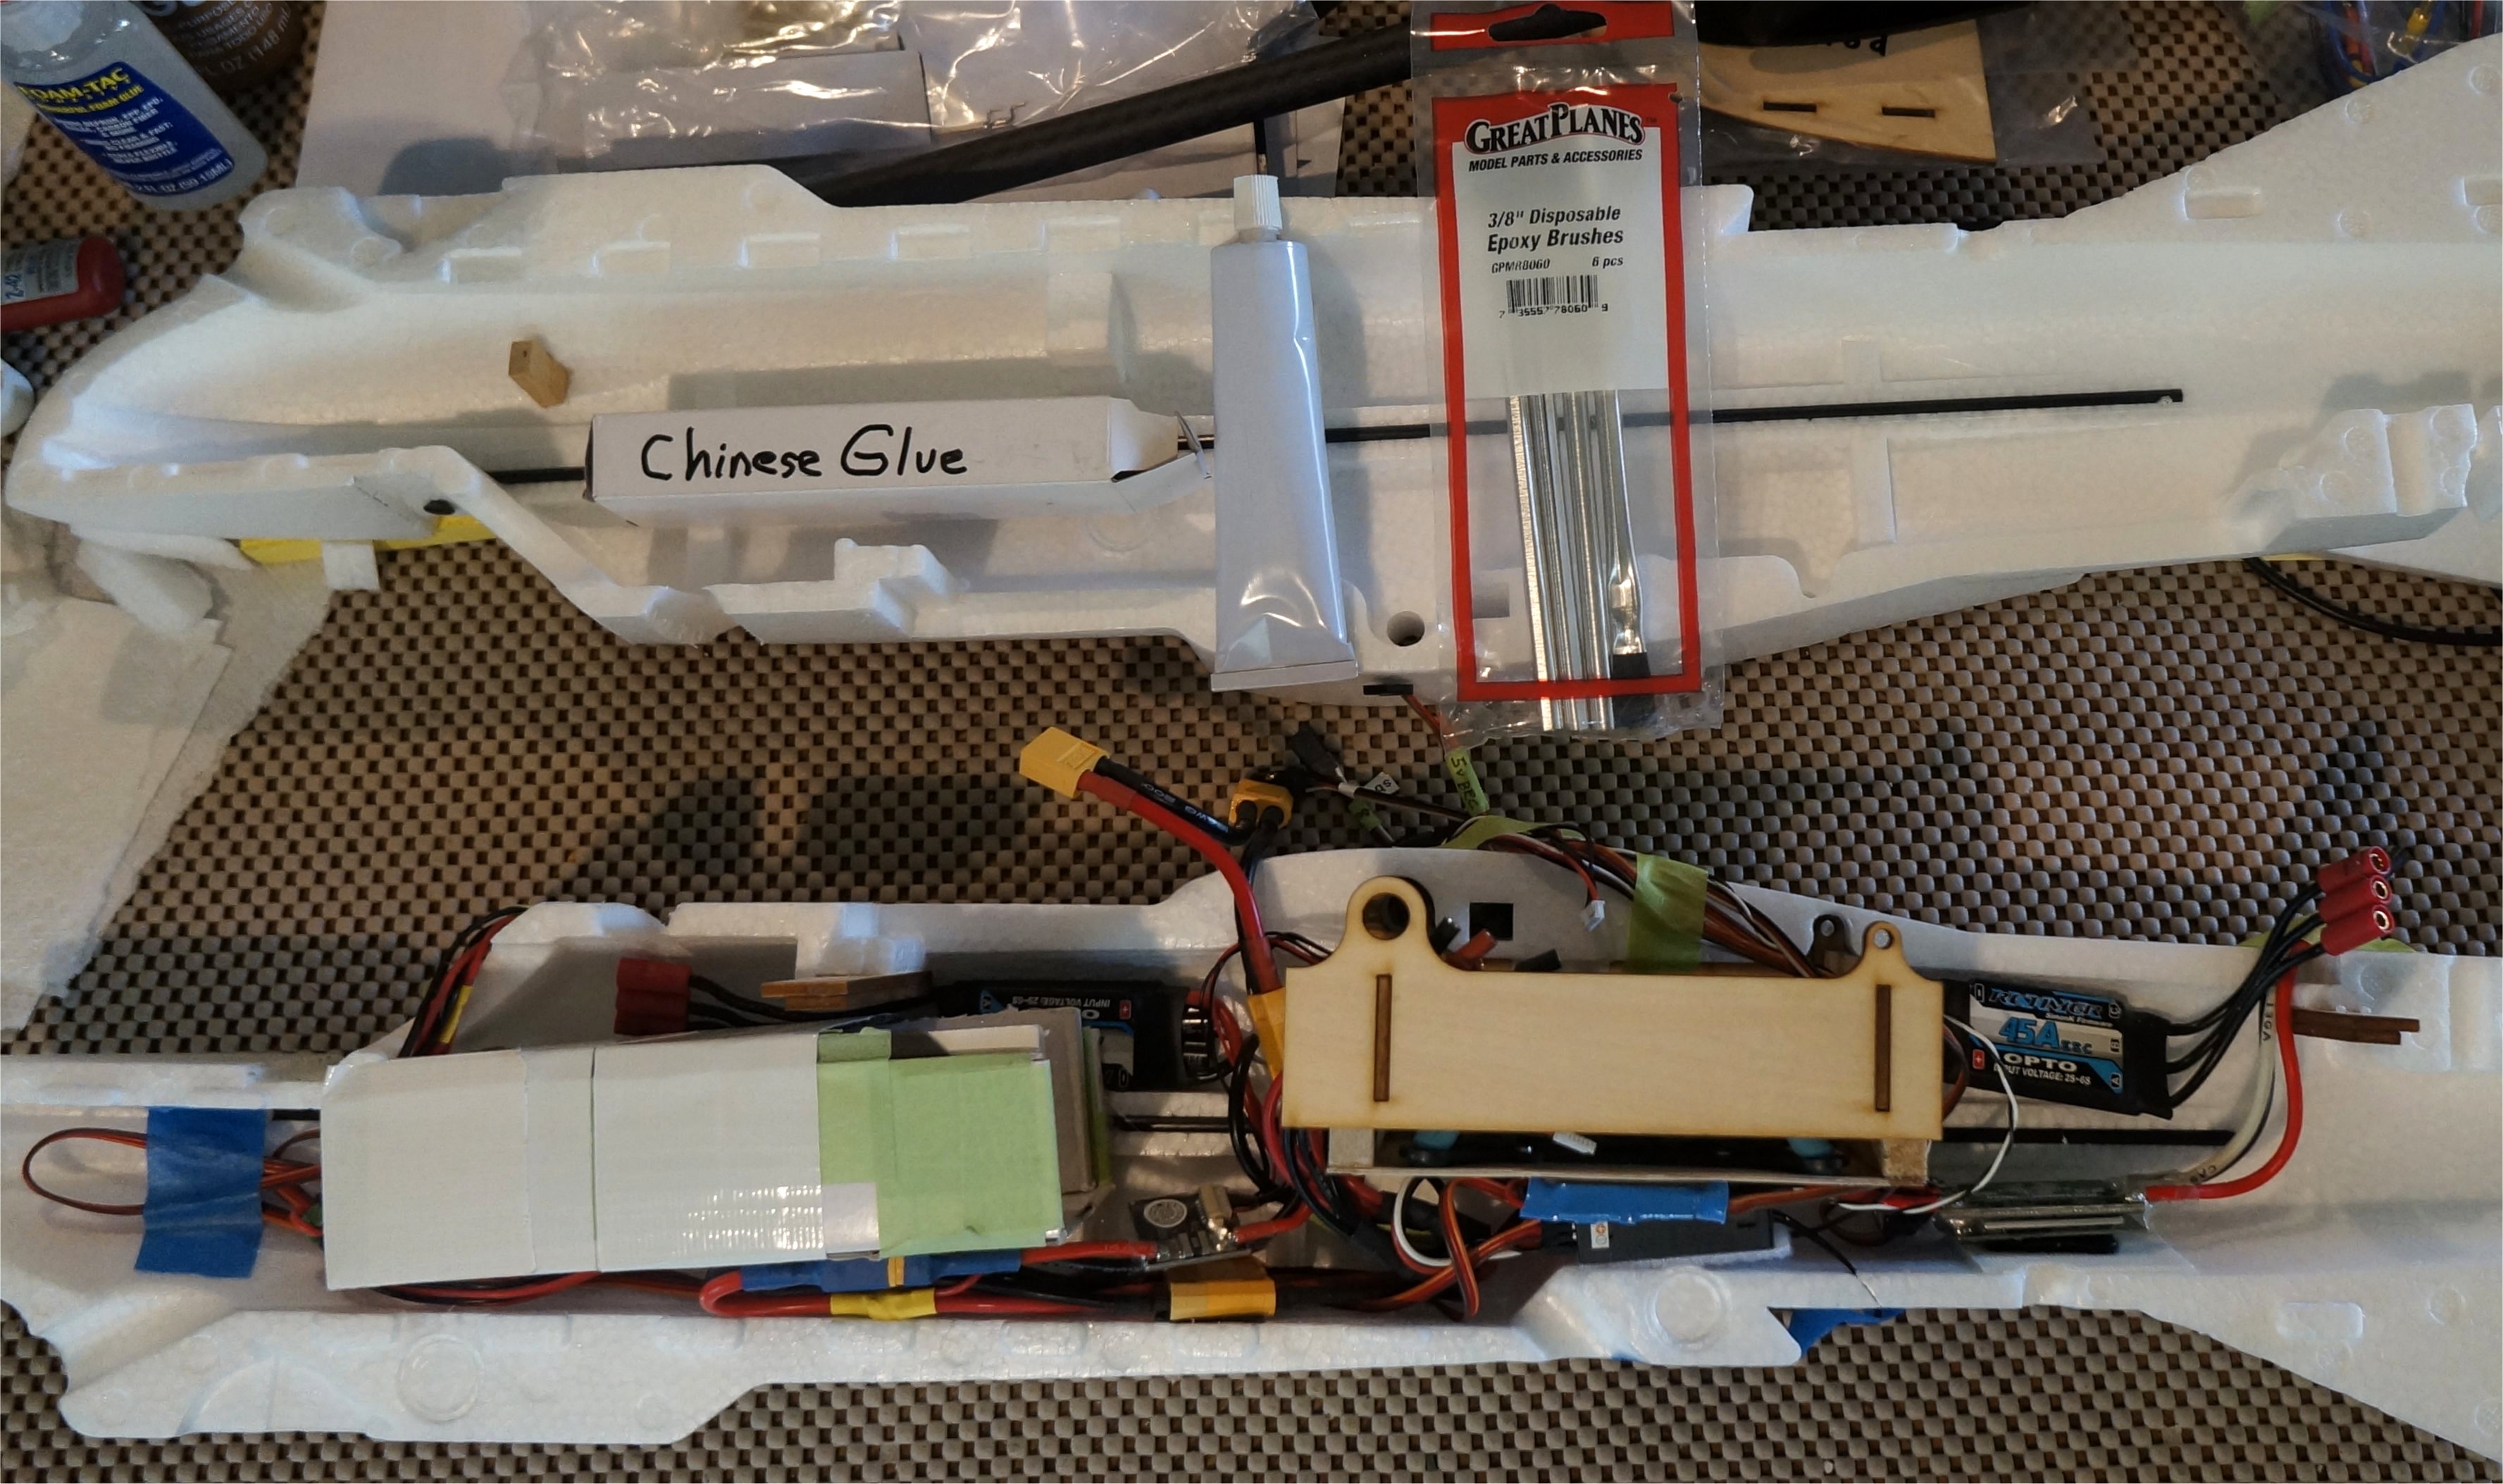
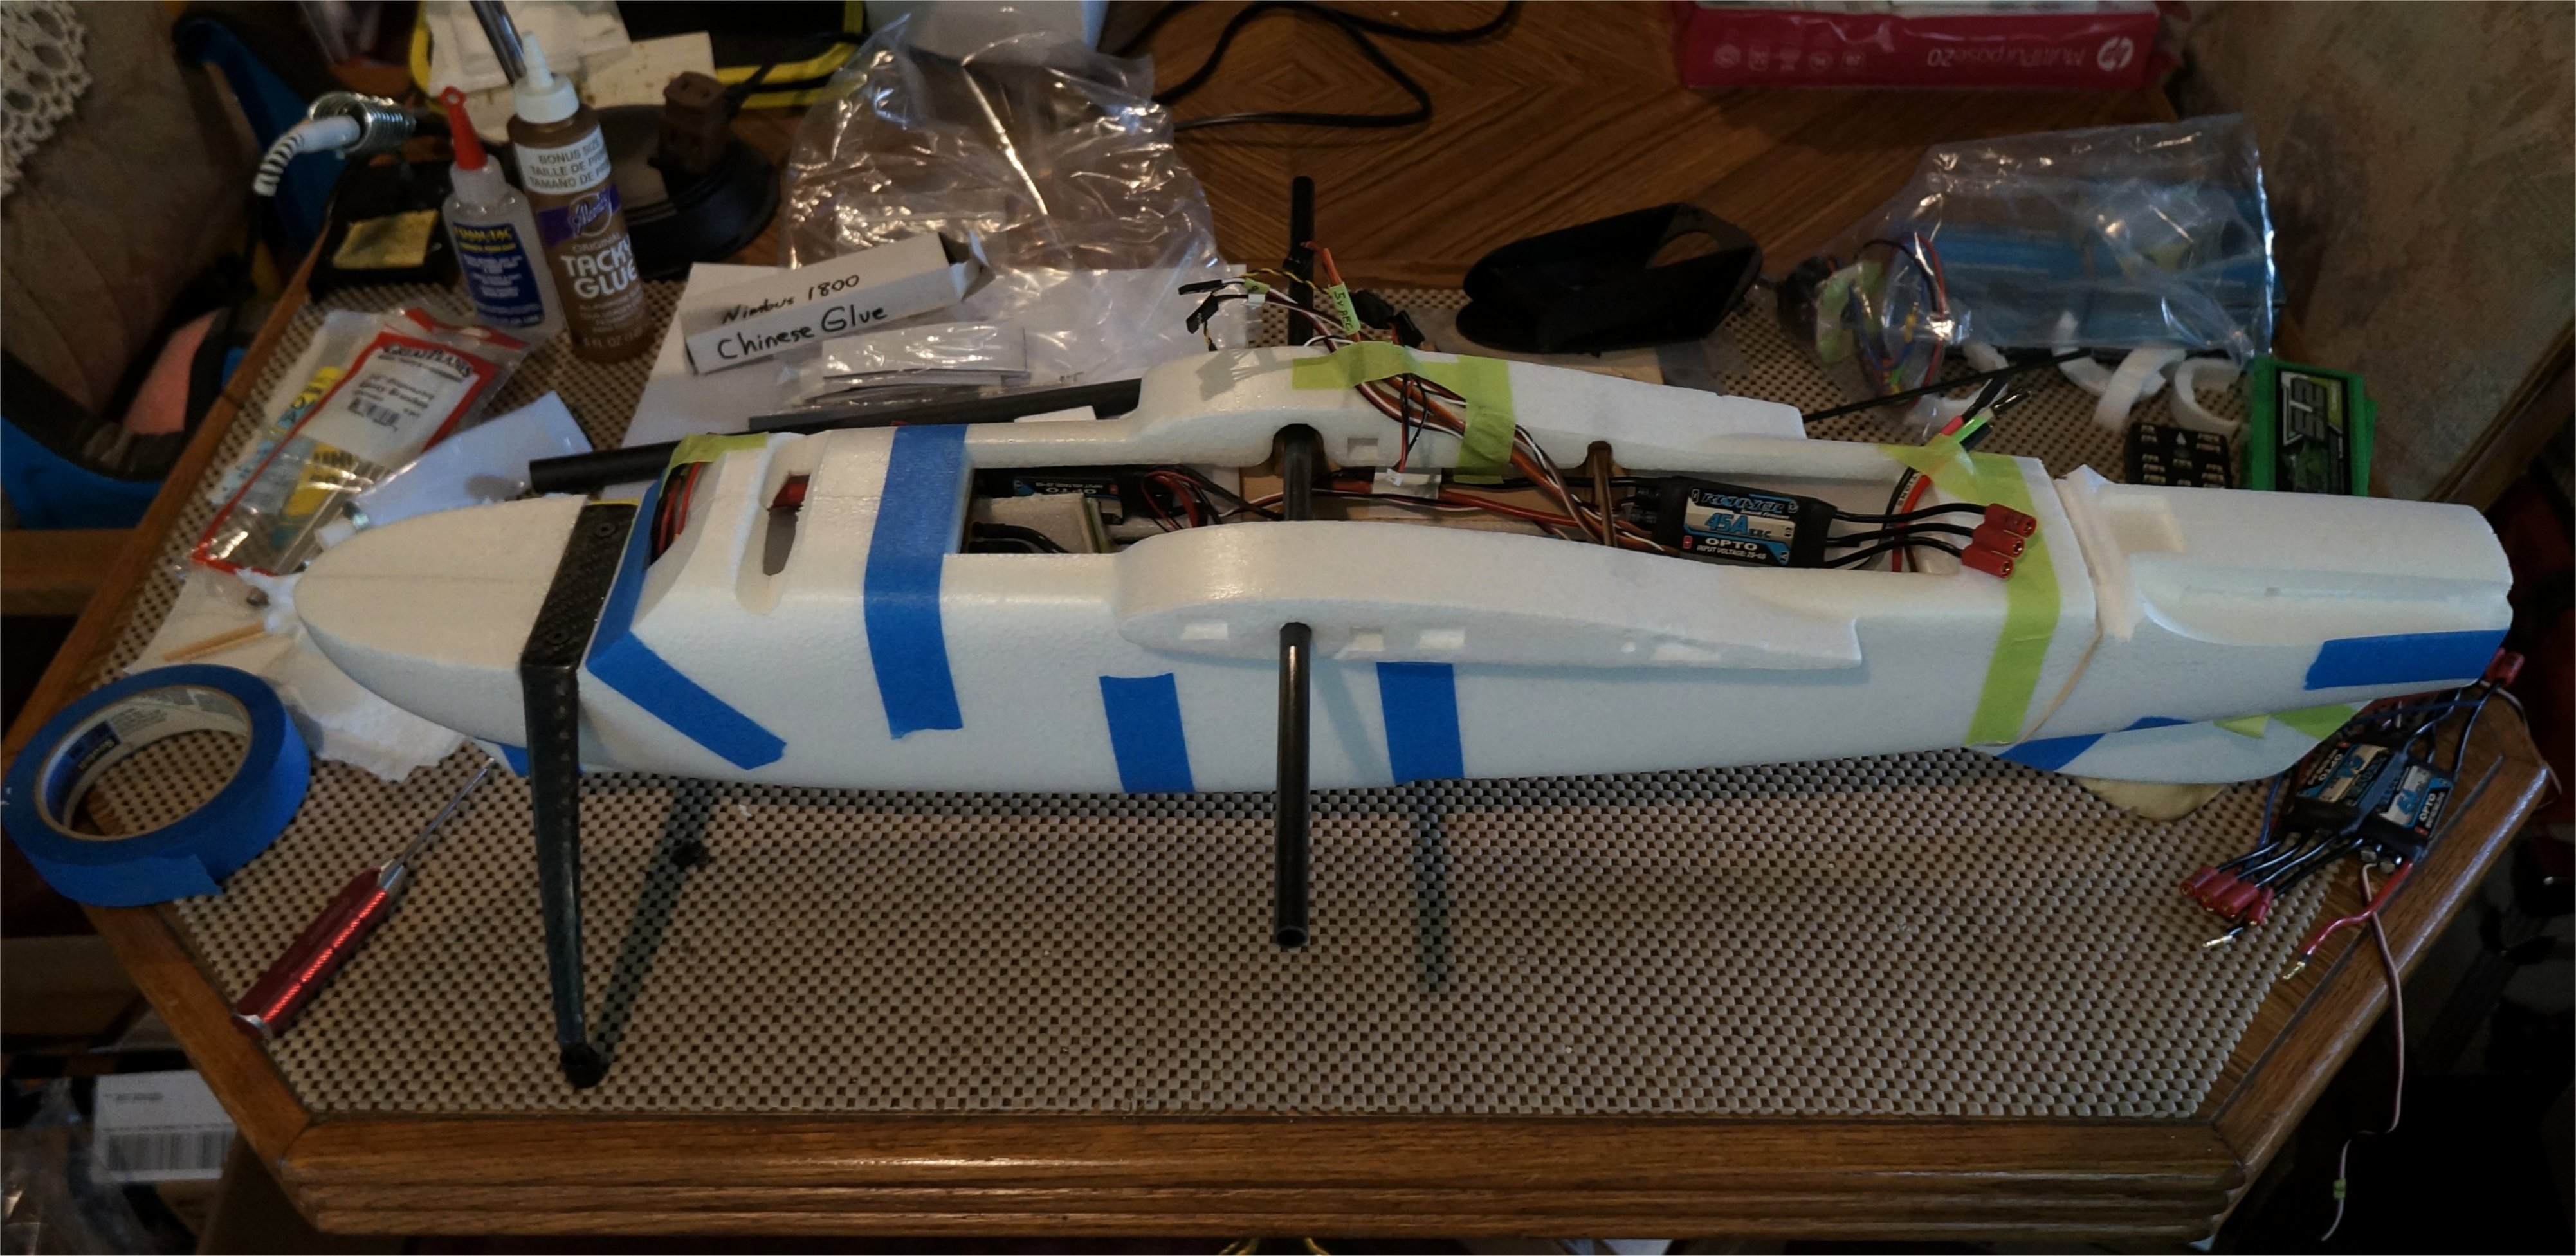
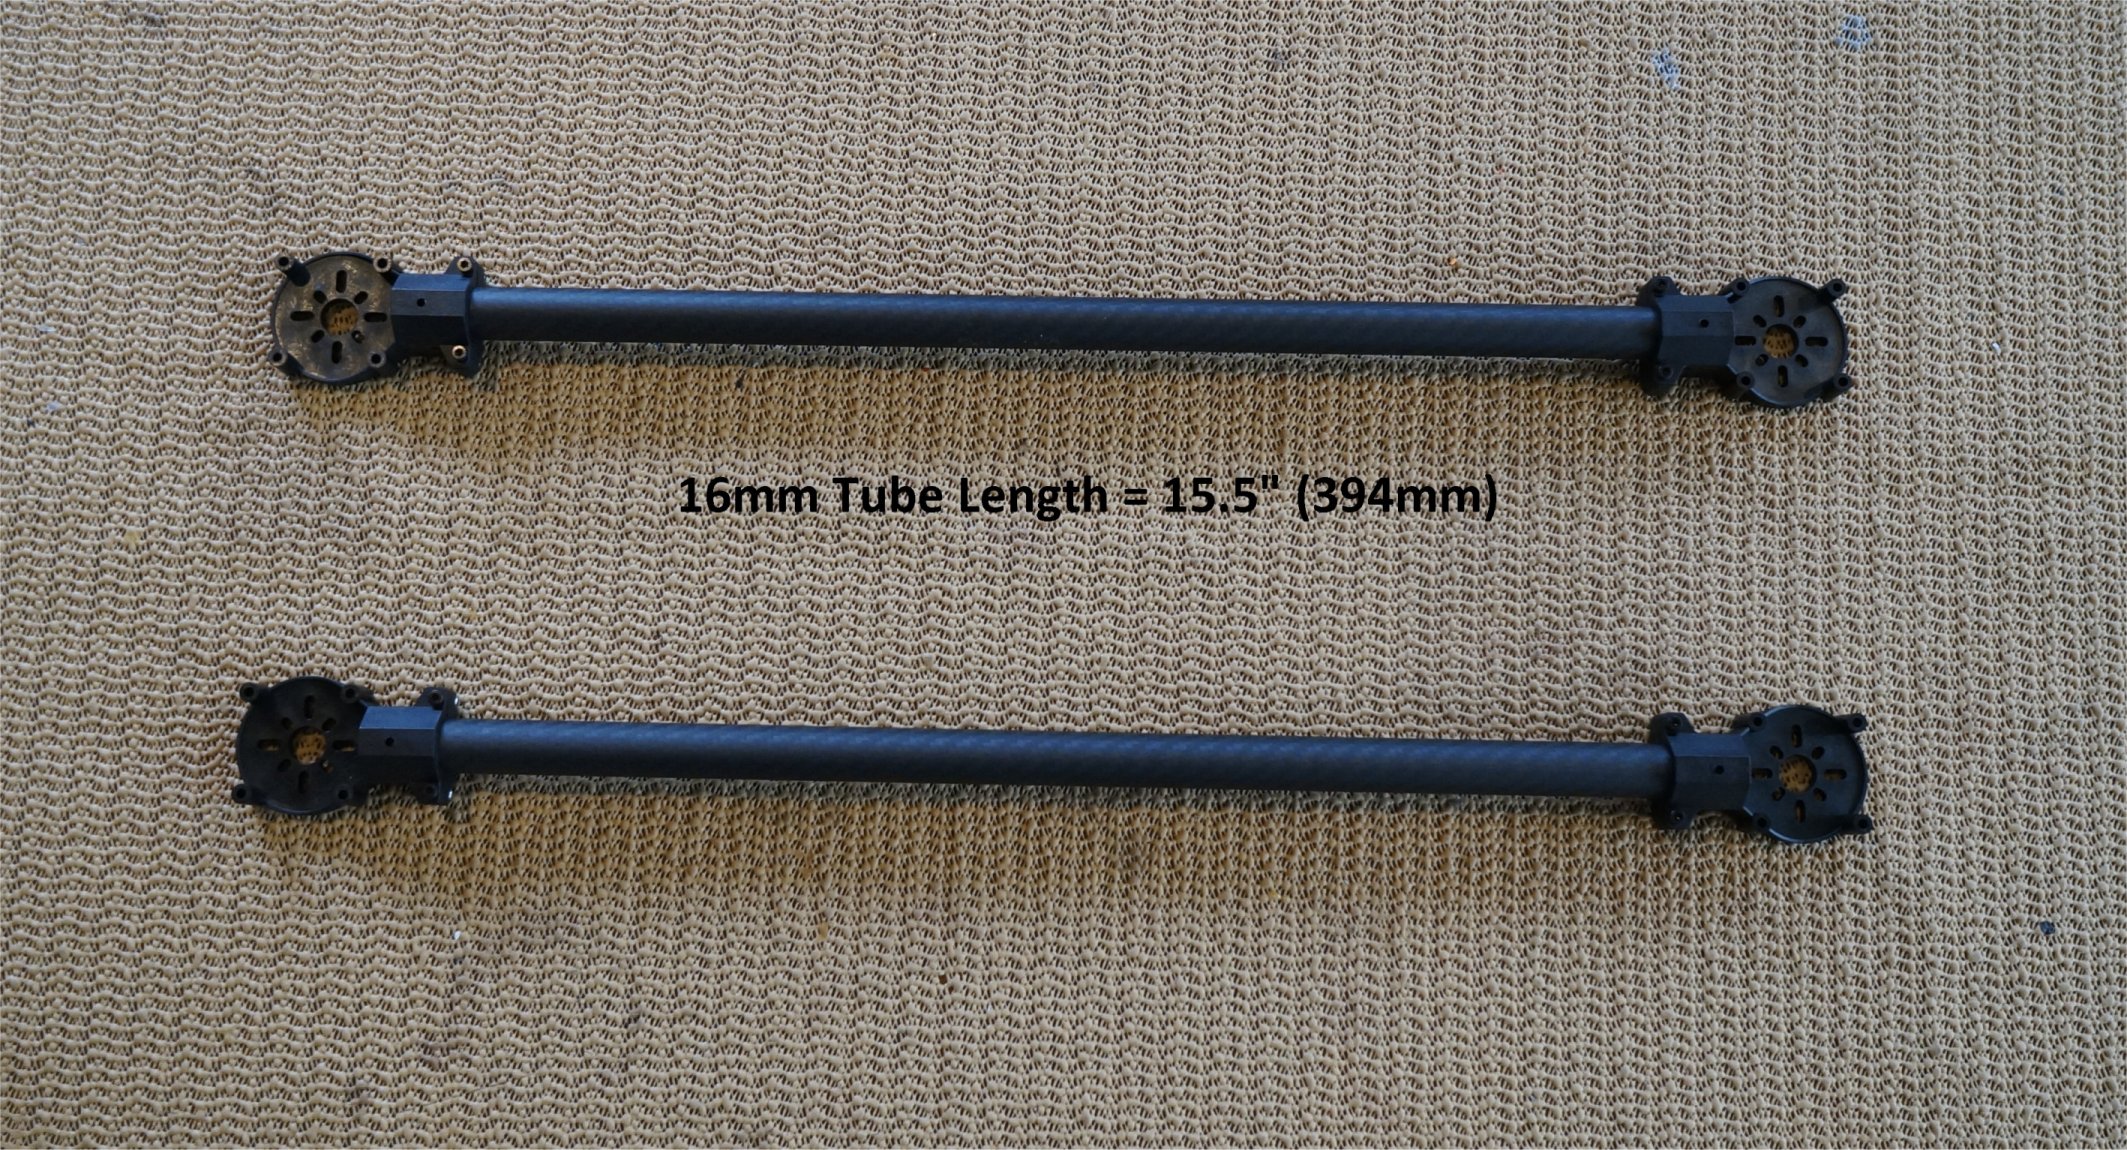
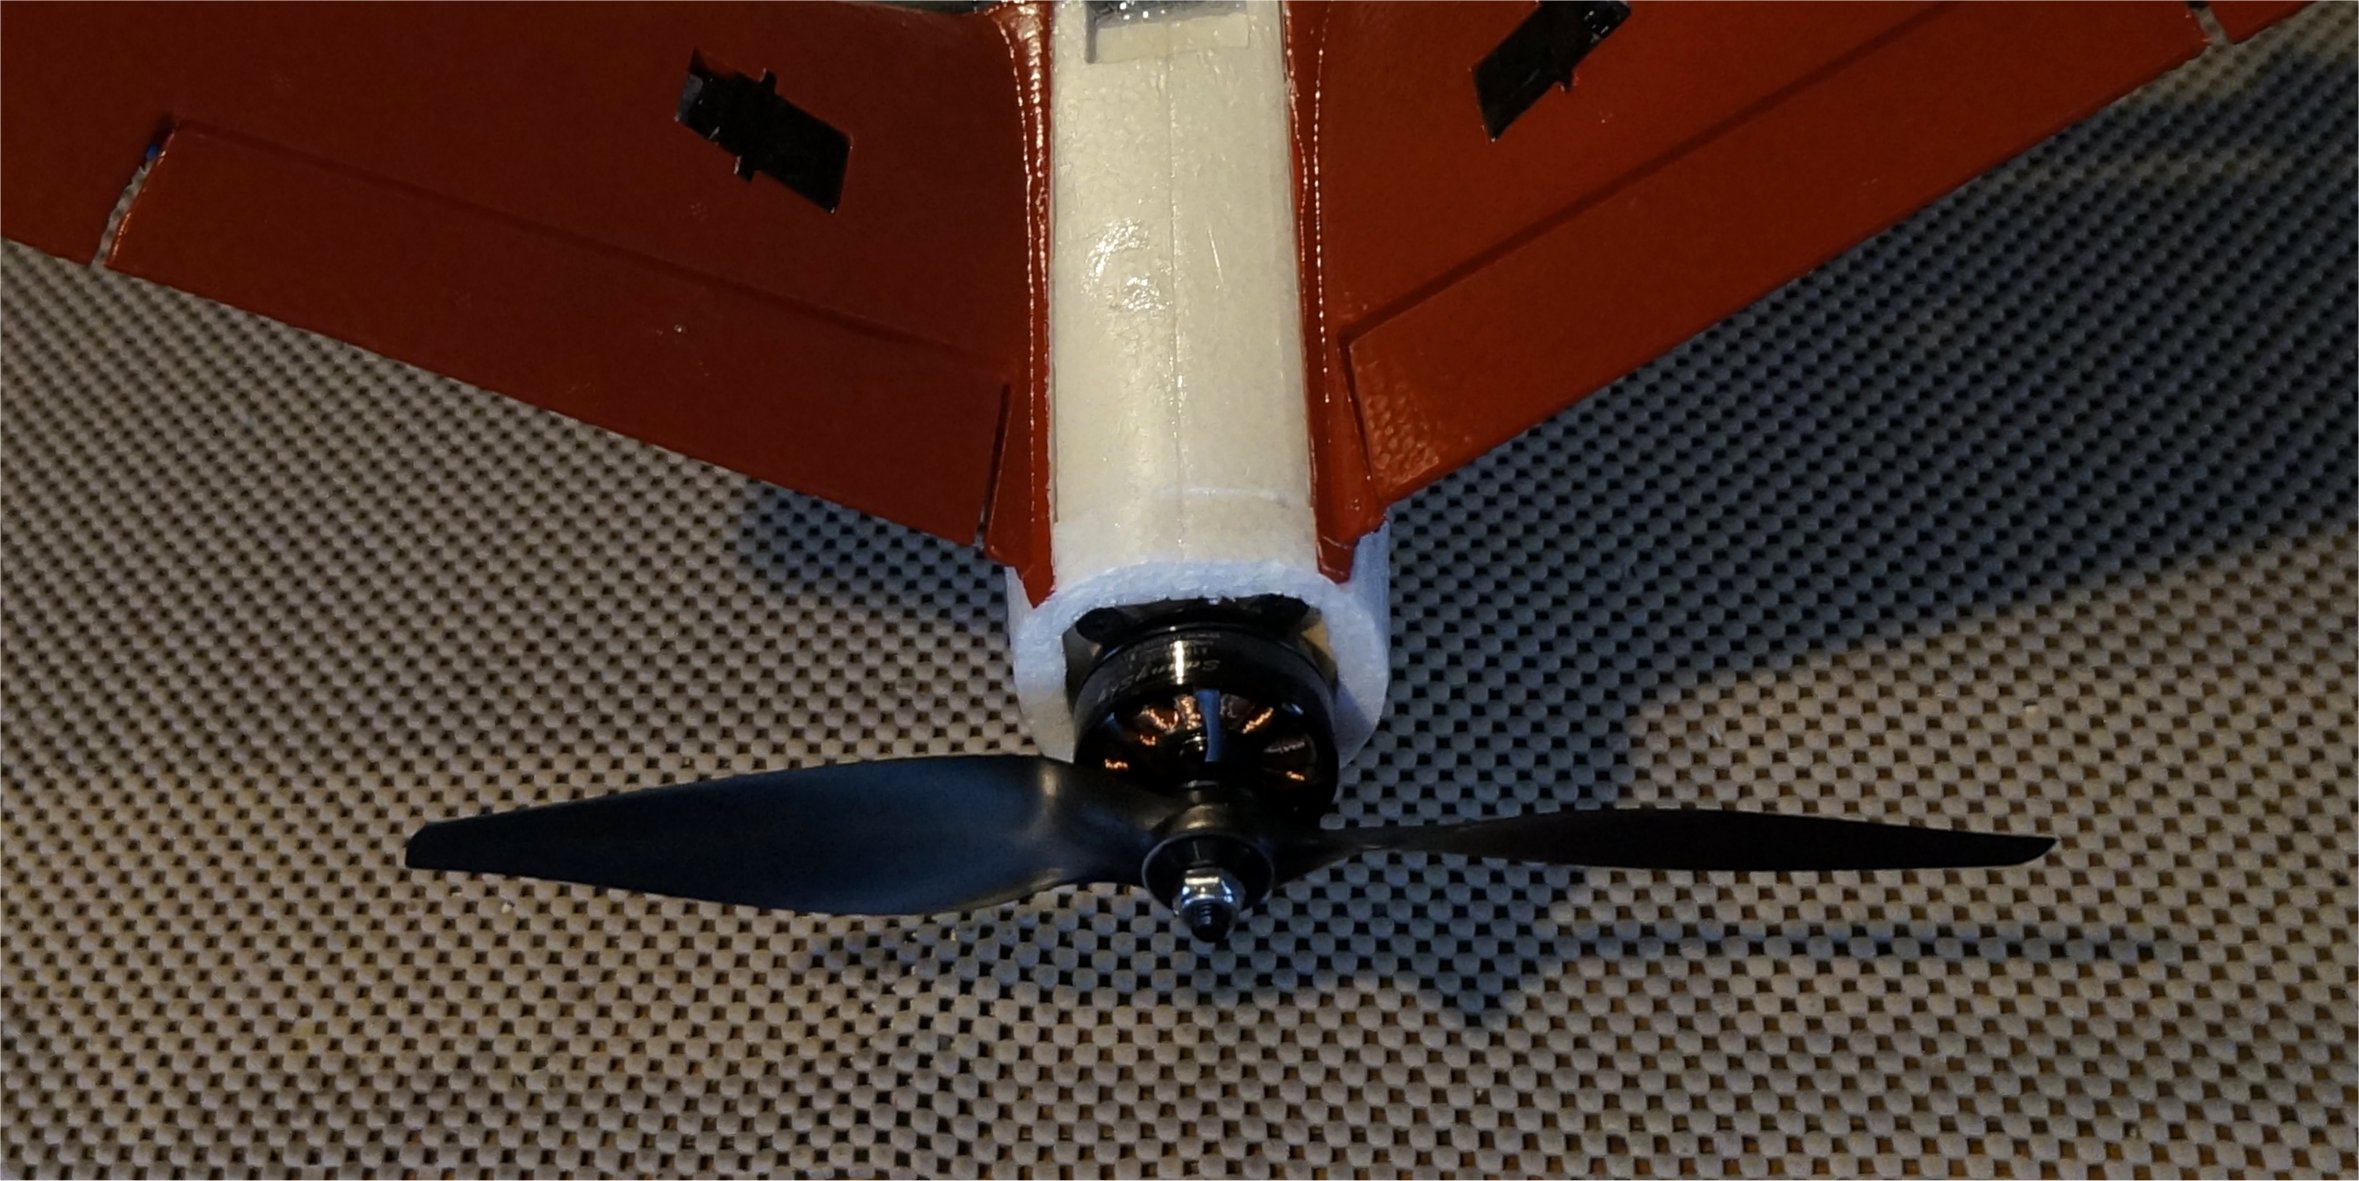
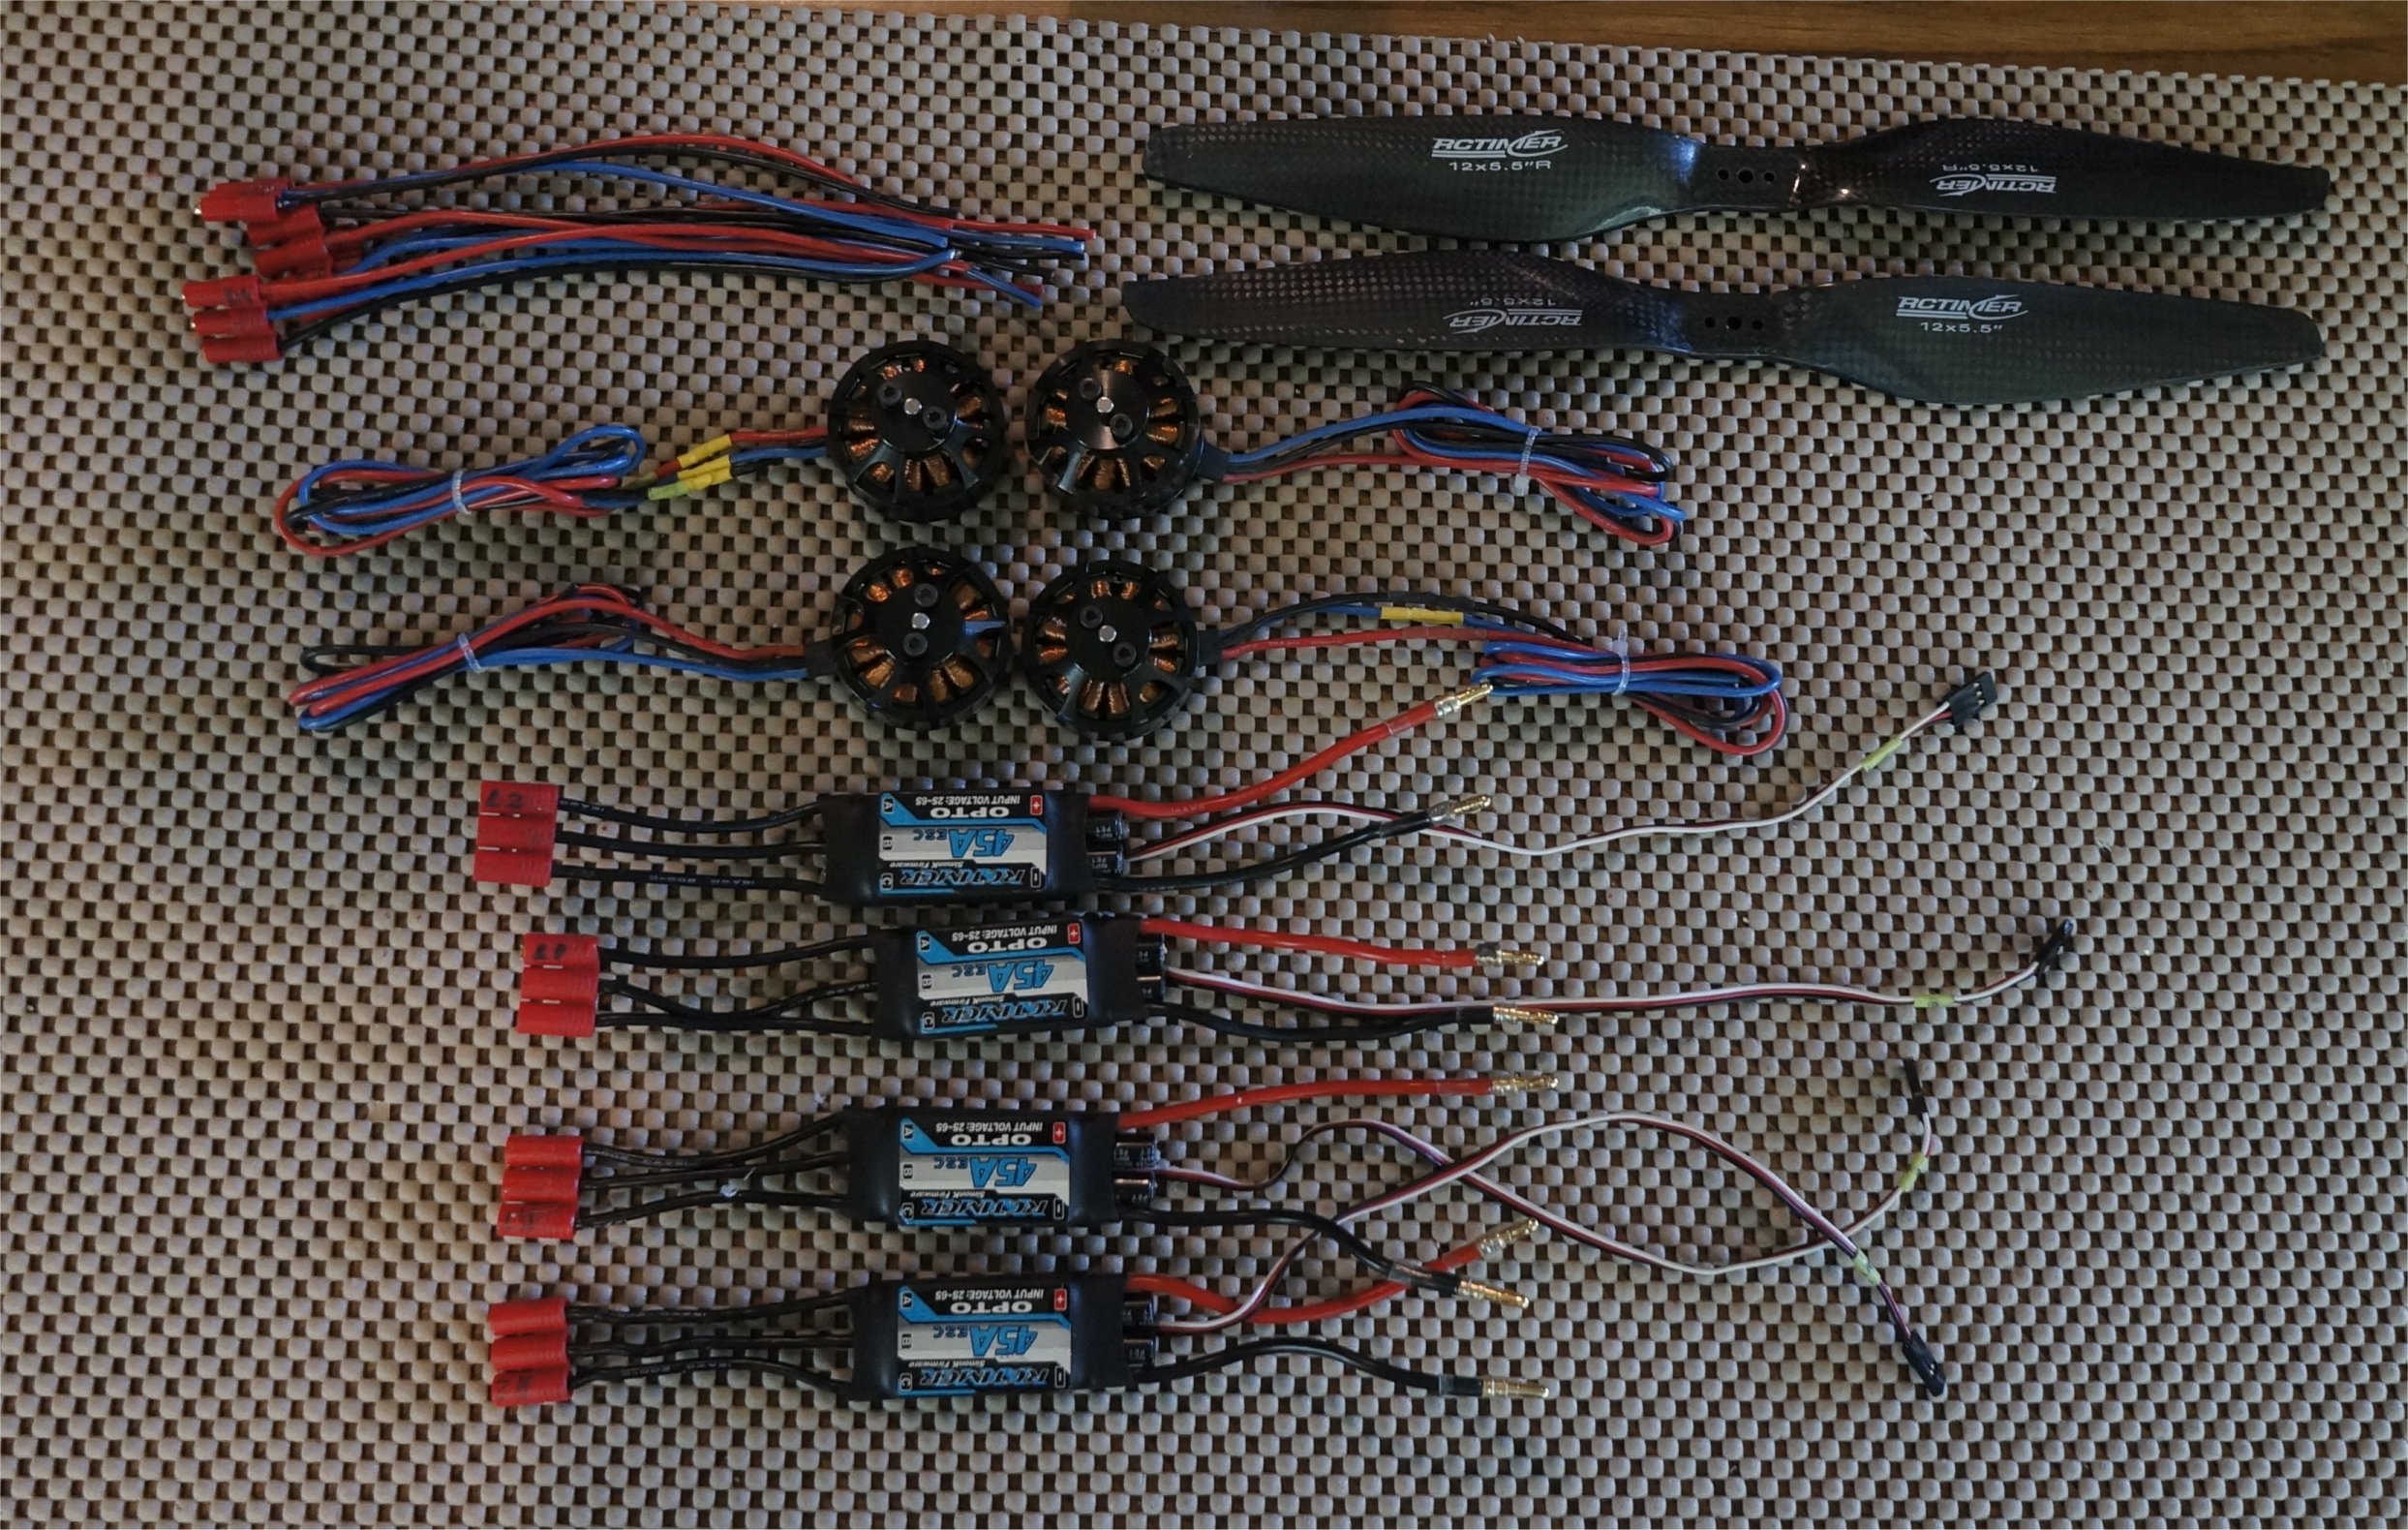
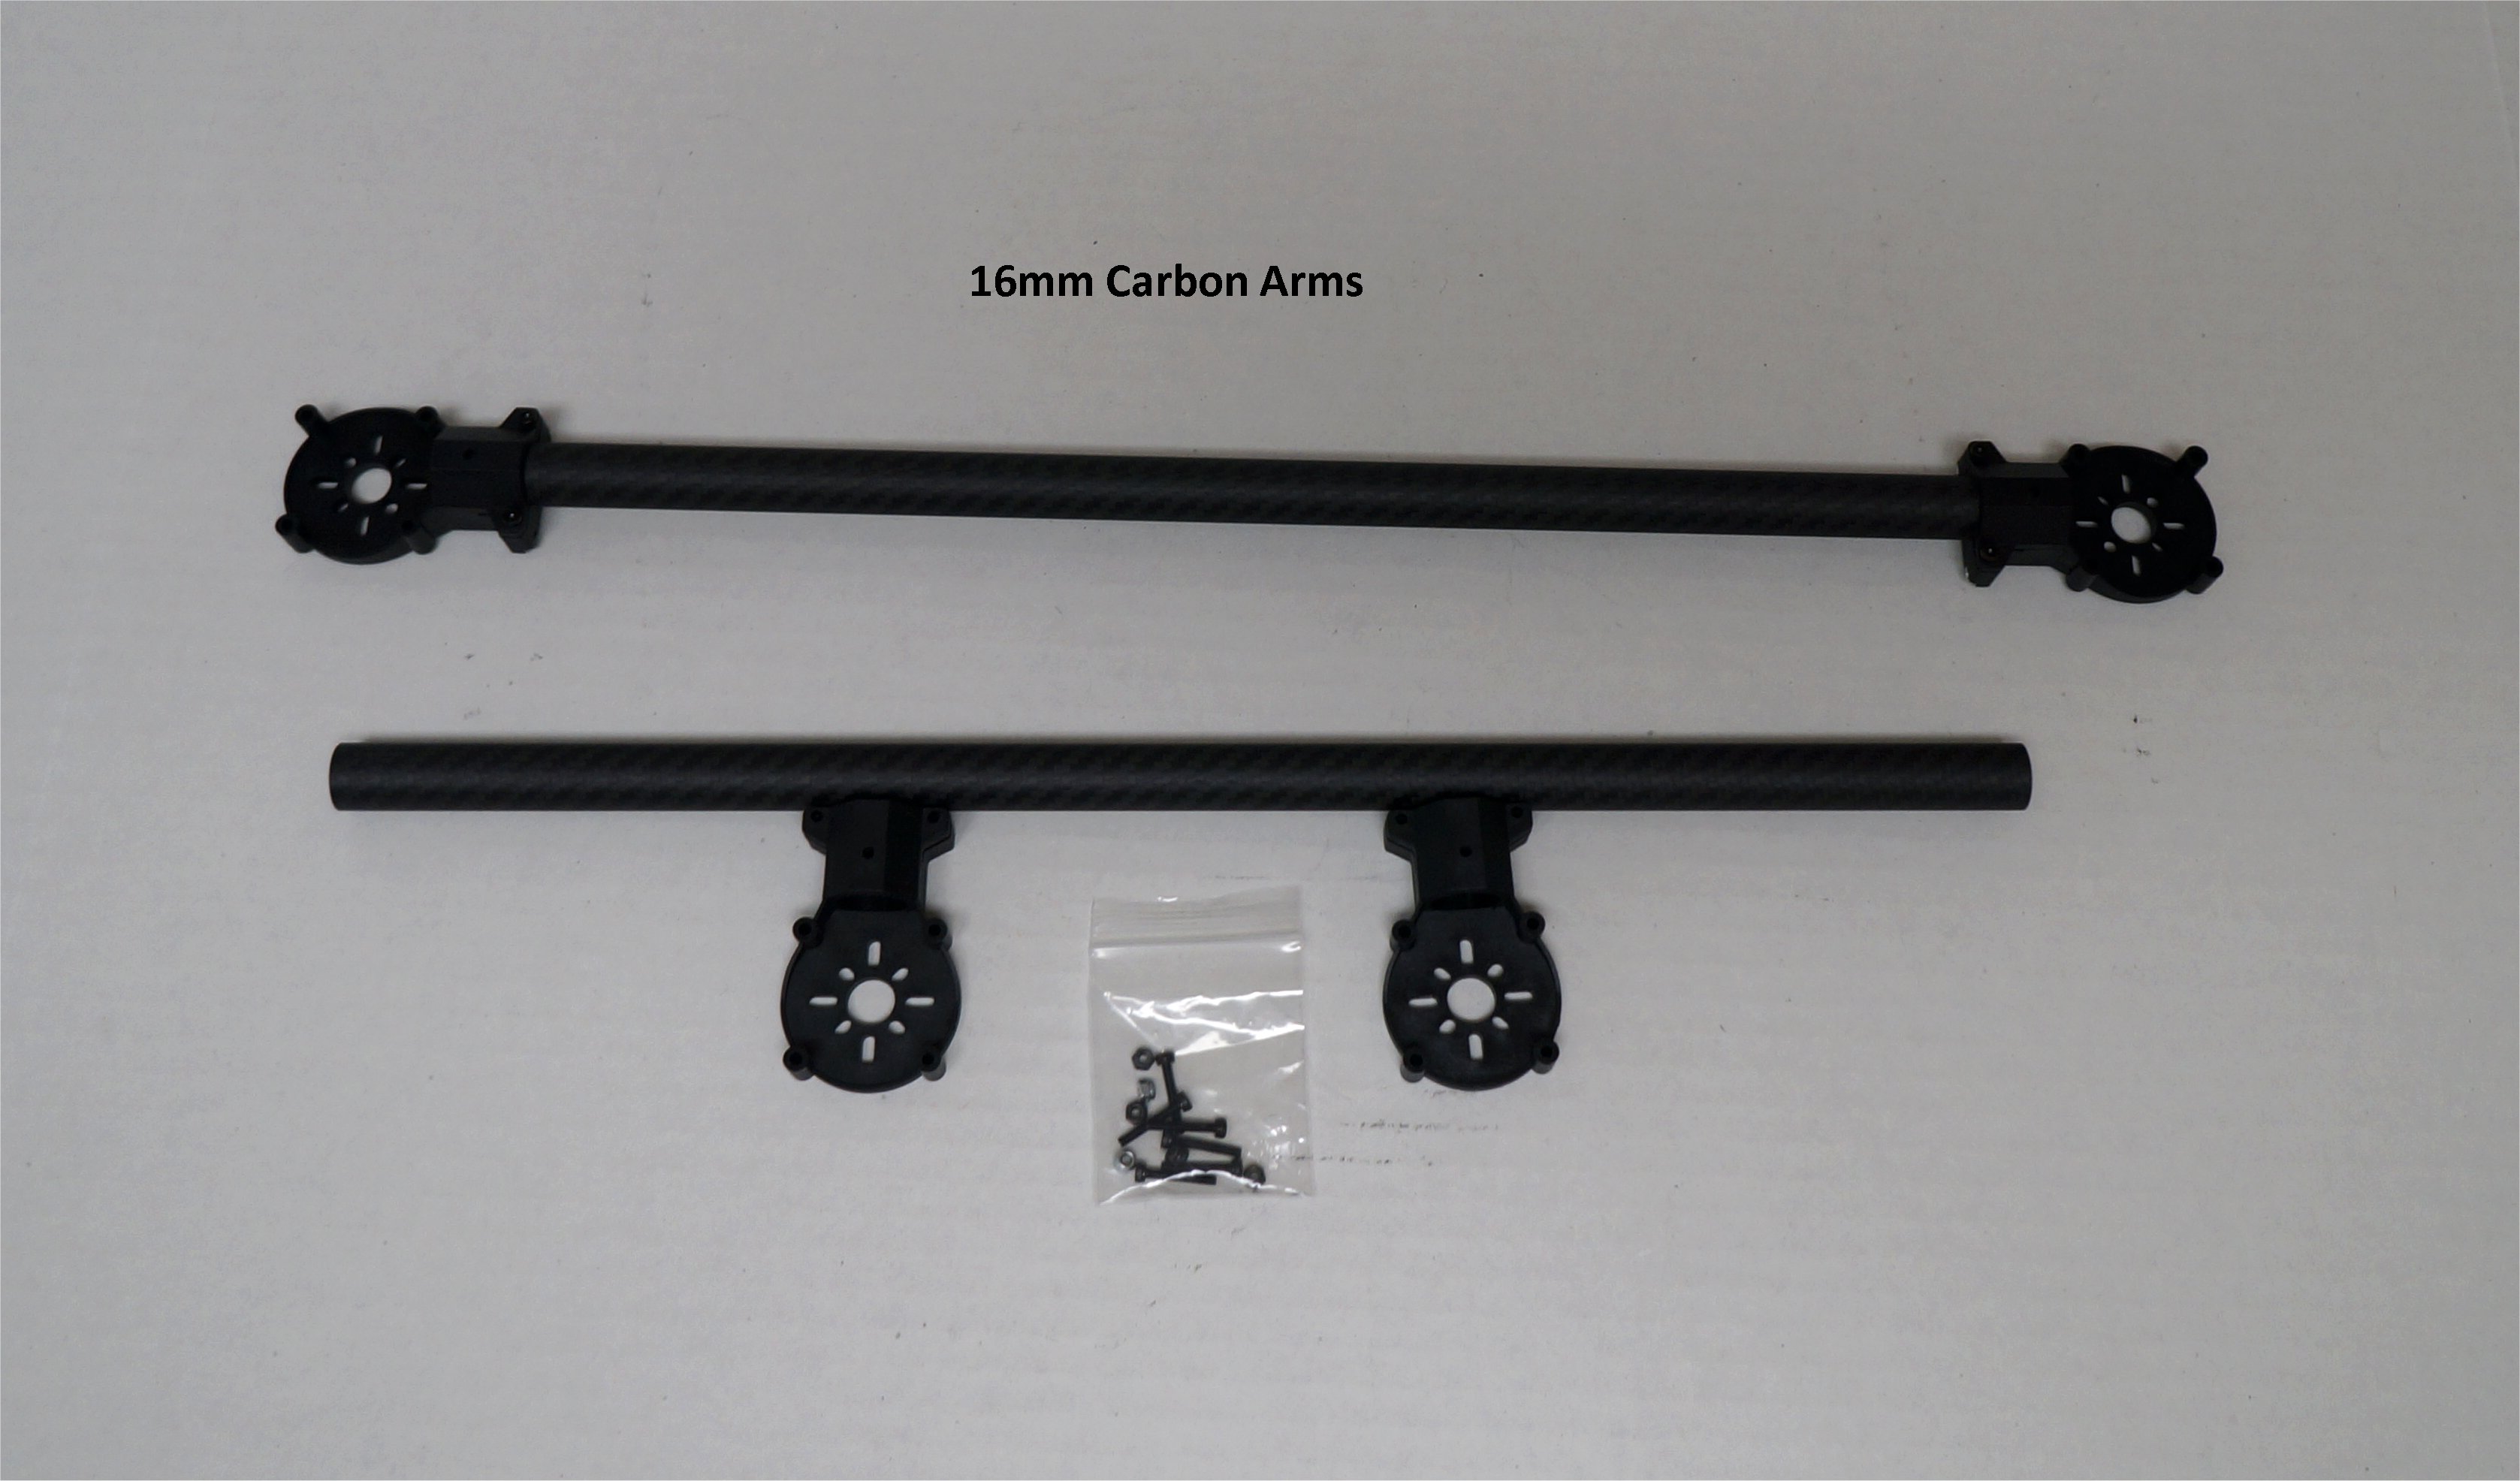
The 16mm carbon tubes measured 394mm or about 15.5". I can’t remember where I got them from other than old copter project for Tarot or DJI. They are high quality carbon and weigh almost nothing. For props, I used 10x5.5 carbon t-props from RC Timer. No chance of a spinner coming off.
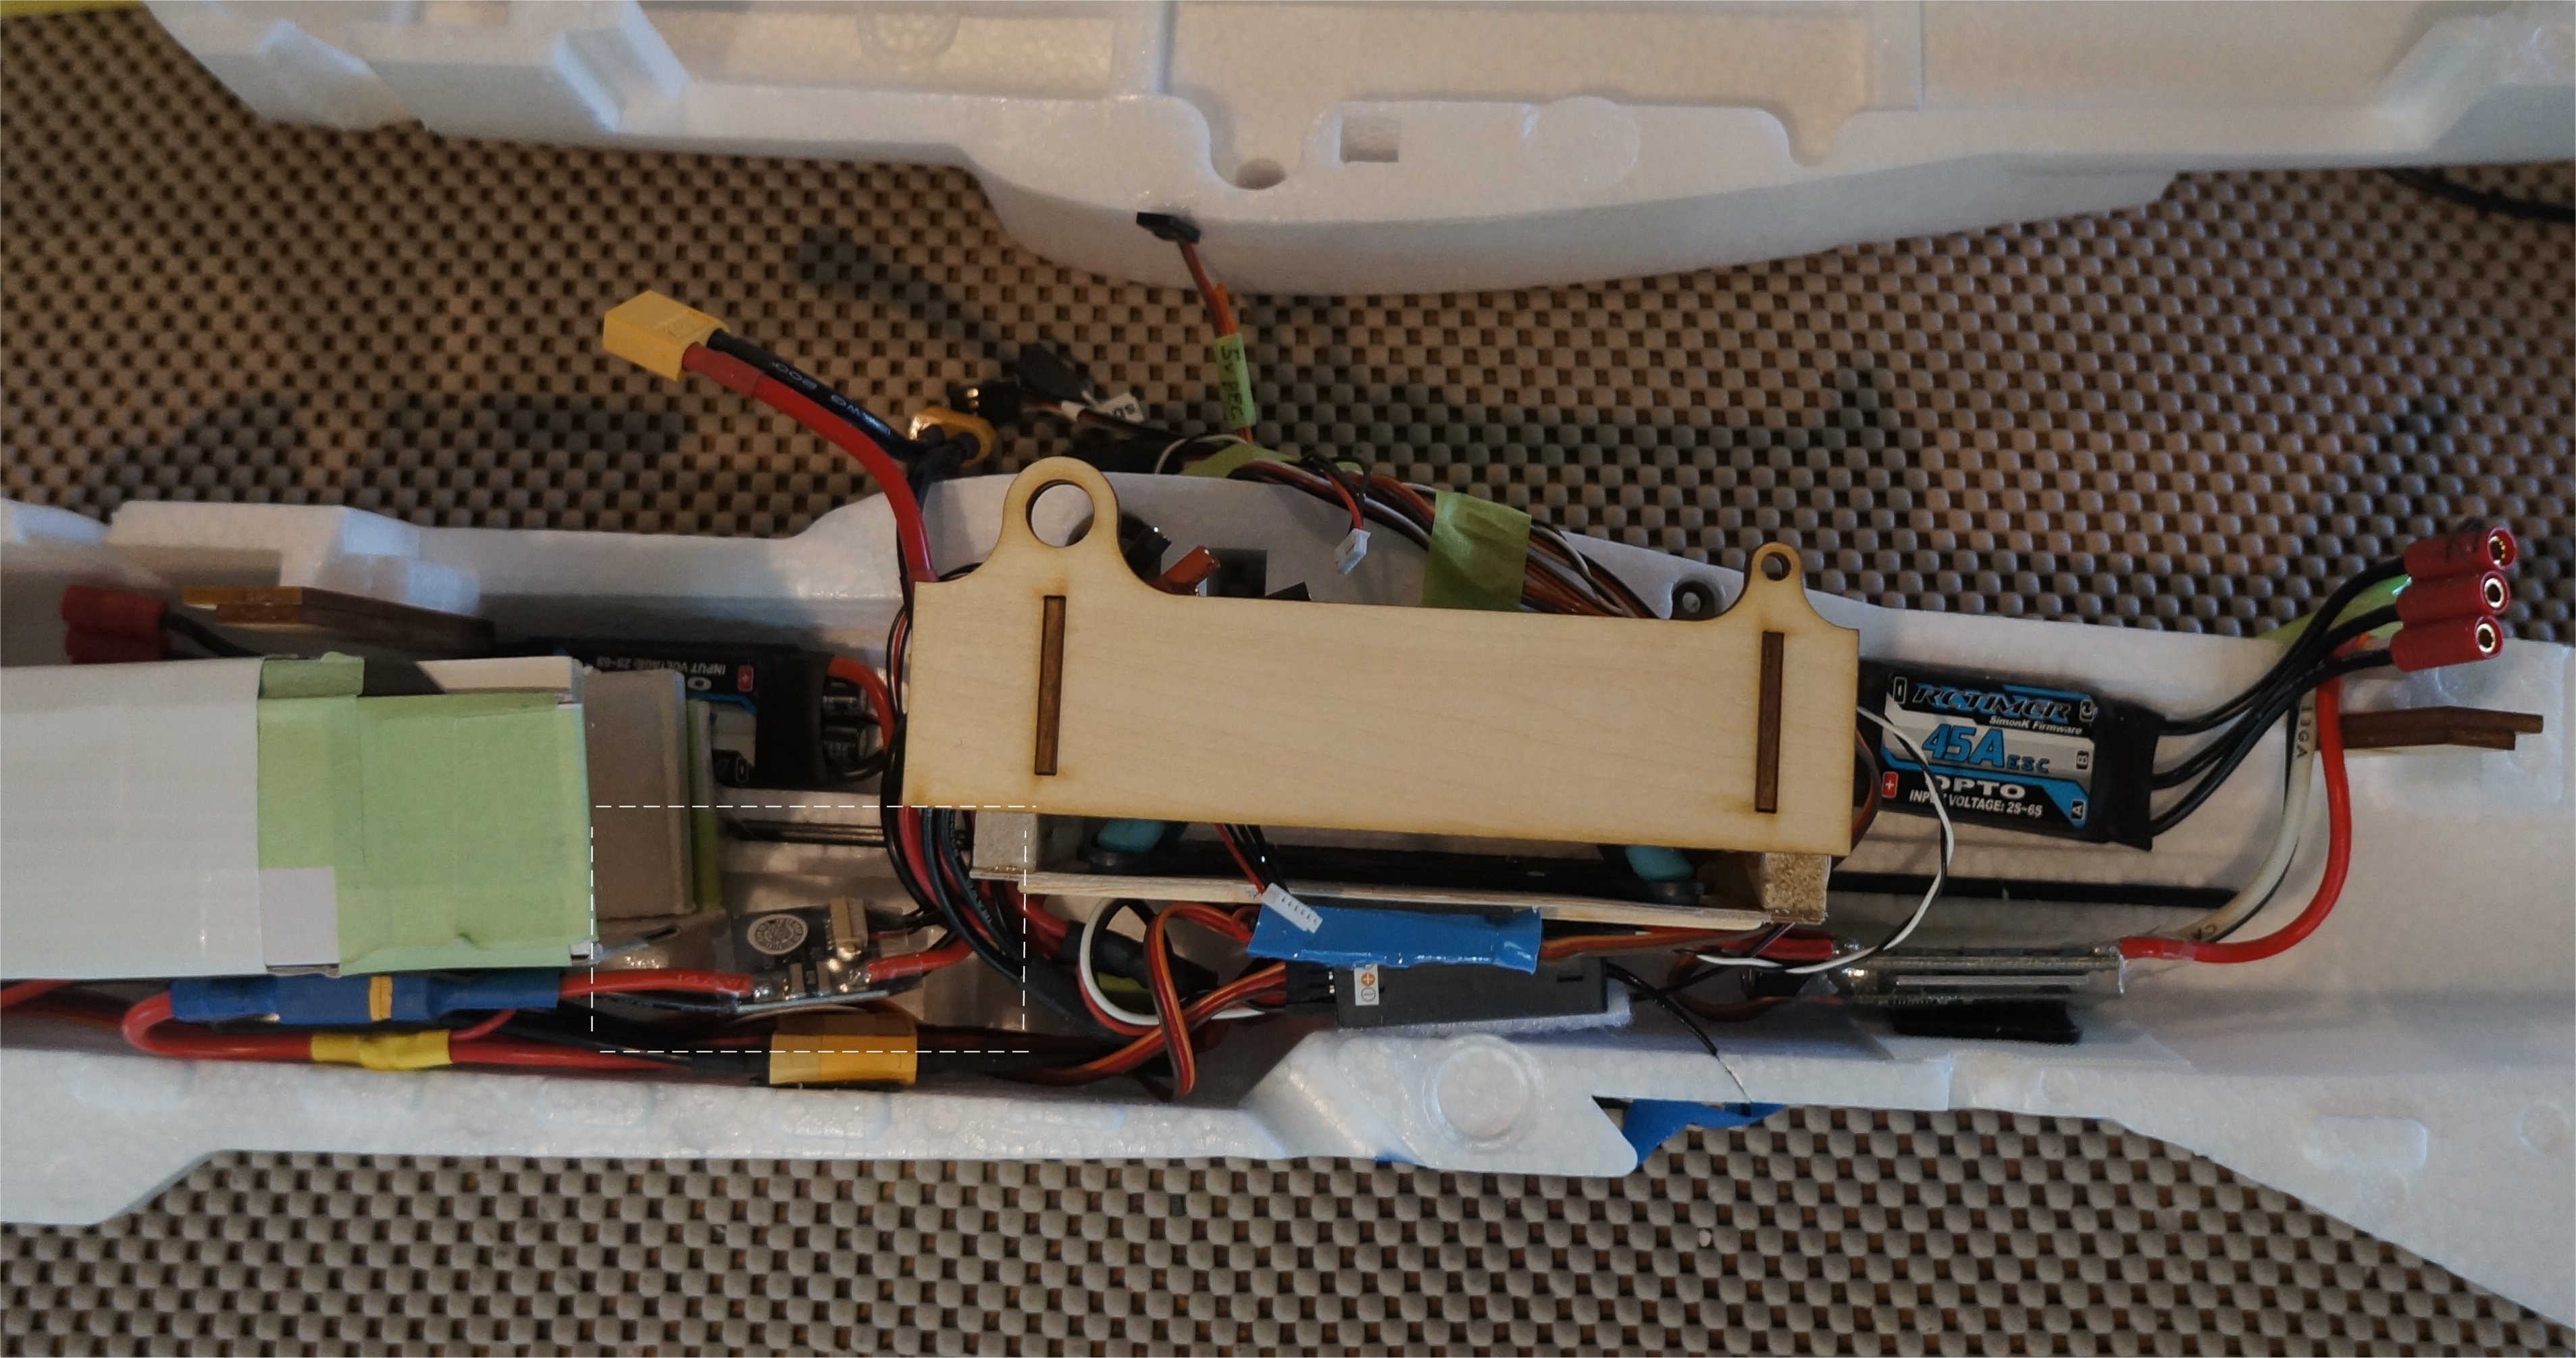
I had cut and sanded the channels in the fuselage foam earlier in the project so the tubes would simply lie in place. Having the wings and props on helped me insure the alignment when gluing the tubes with Foam Tac. Initially, I put an aggressive 5 degree tilt on the motor angle which I would later relax to about half of that. The tilt keeps the MT nose up for dip-free transitions.
The motors were installed onto the pods and the wires were fed through to a long slot in the middle of the tube. I then soldered the 3mm bullet connectors onto the motor wires. The direction of rotation was tested before gluing the tubes in place. Although I can still get to the 3-pin 3mm bullet connectors, it was definitely easier to have this all sorted before gluing the tubes to the body.
--------------------------- New Post --------------------------------
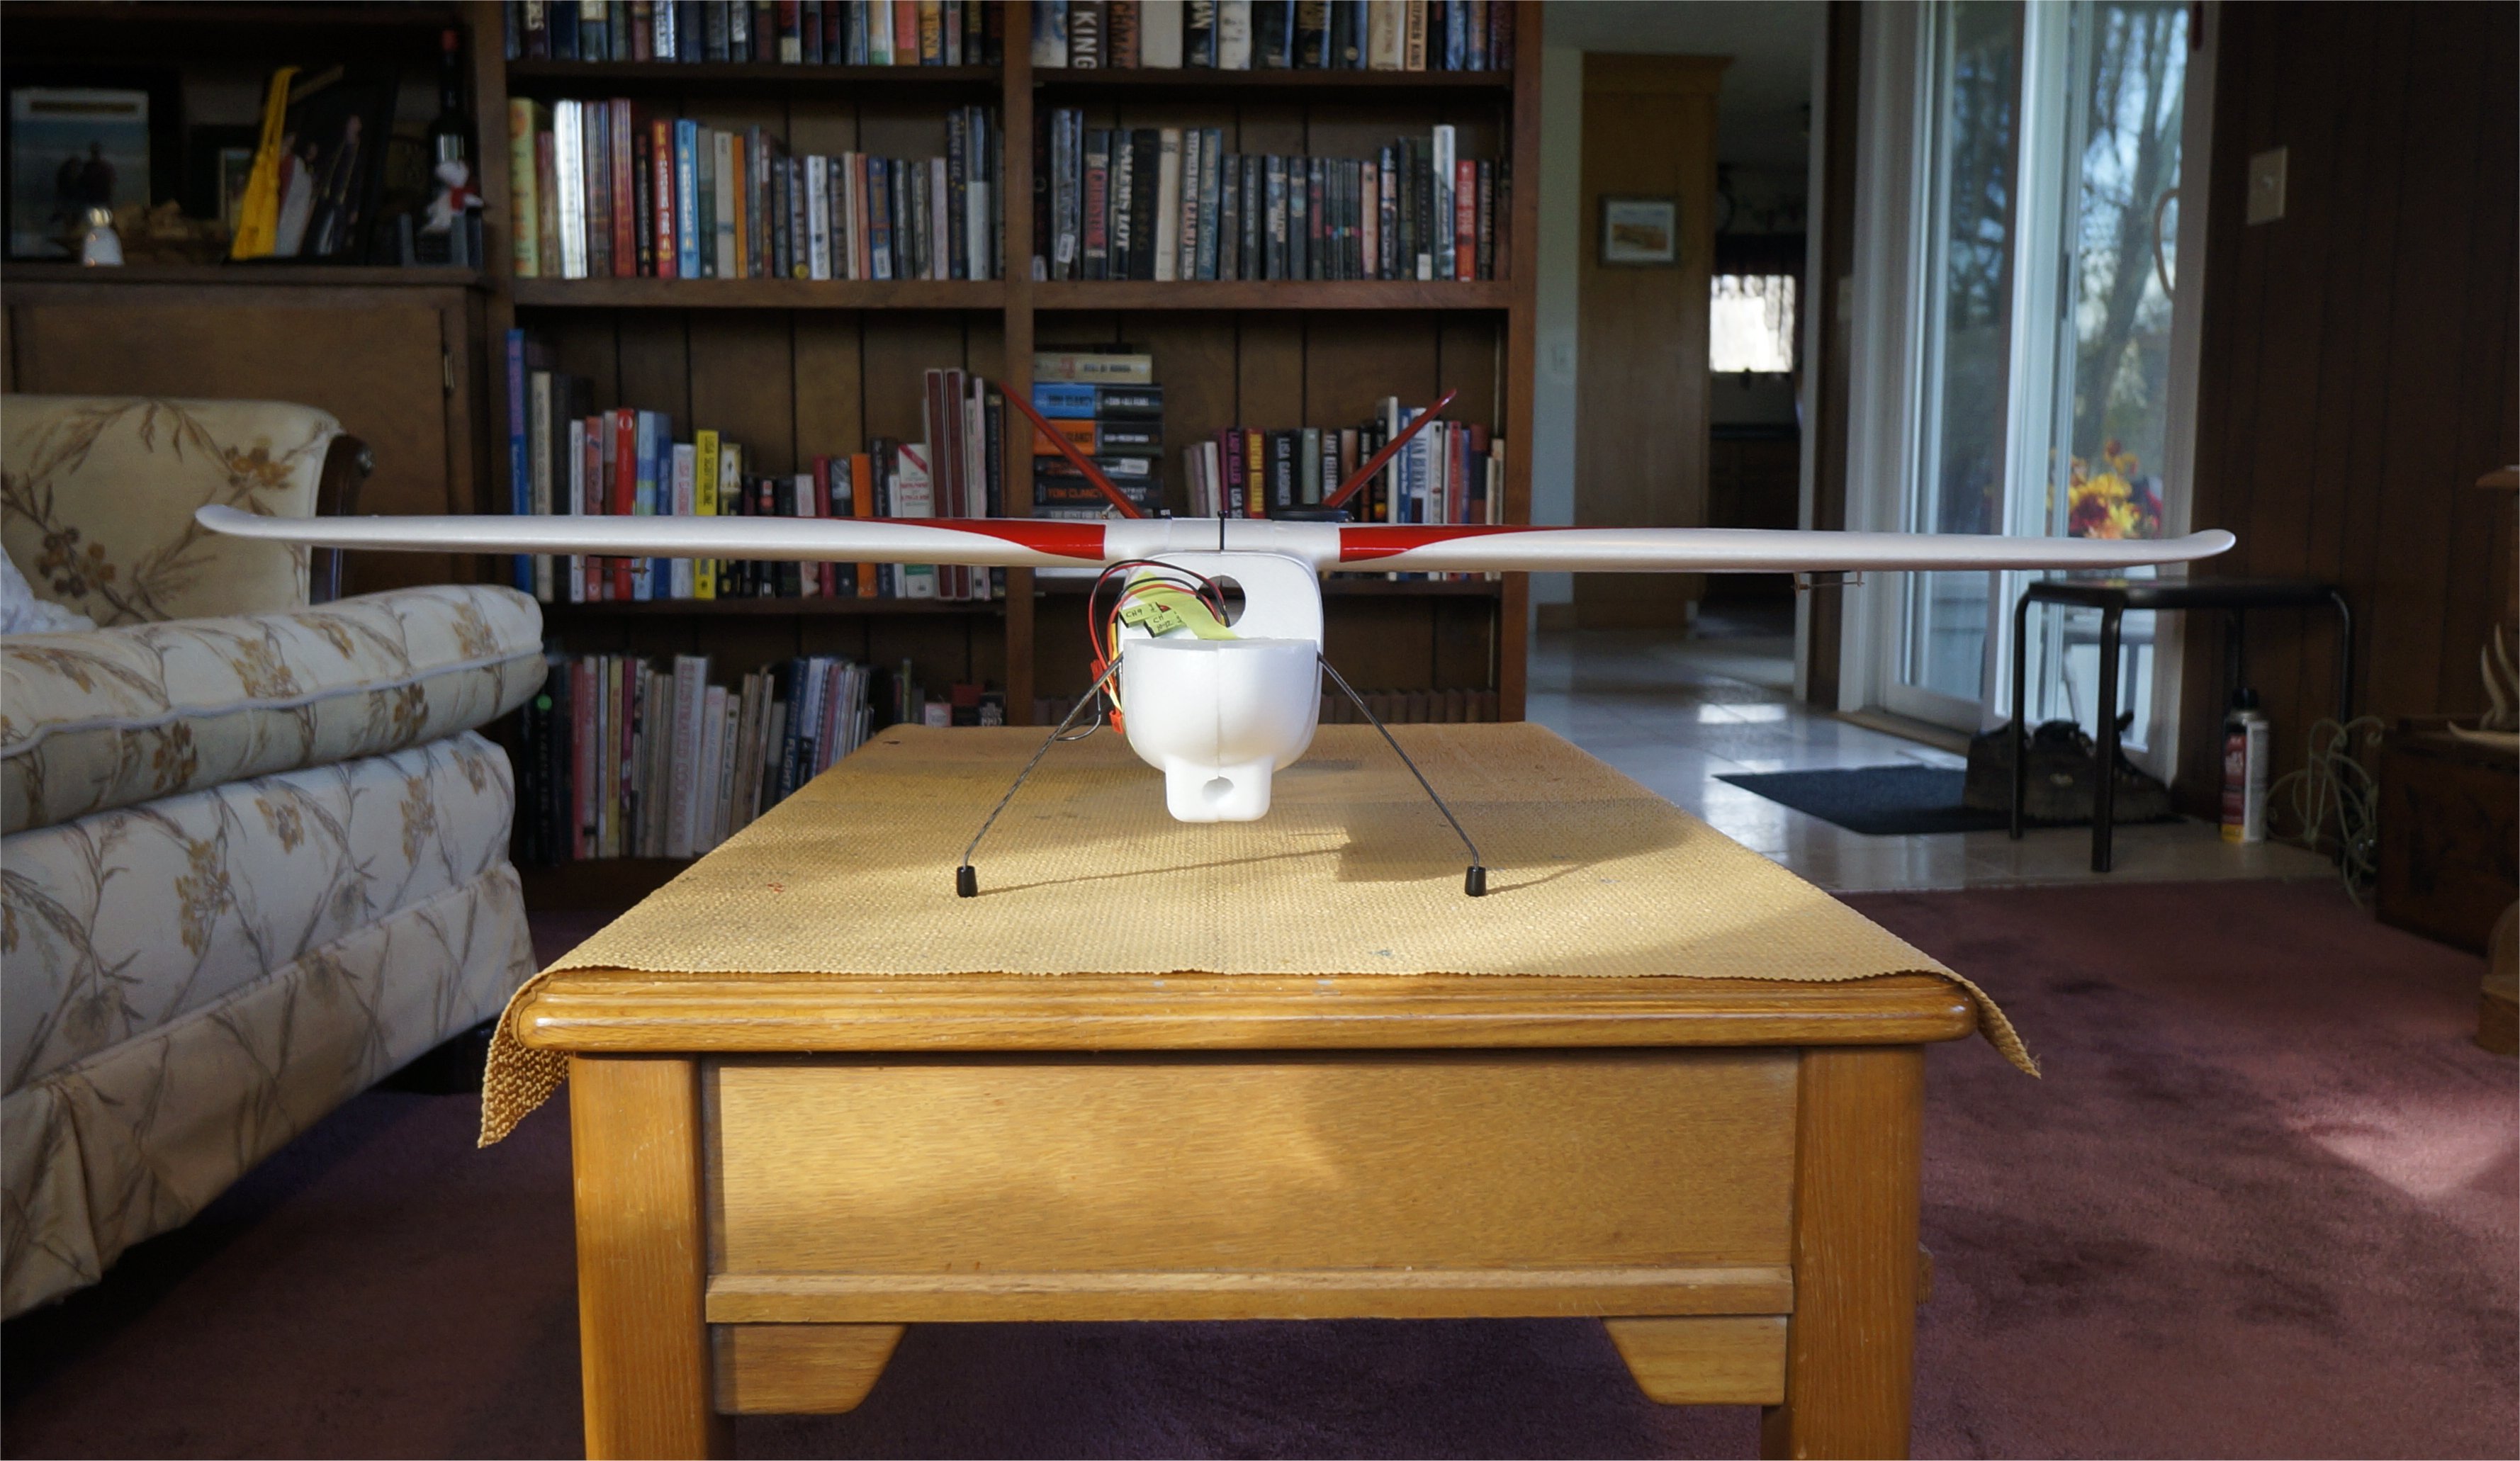
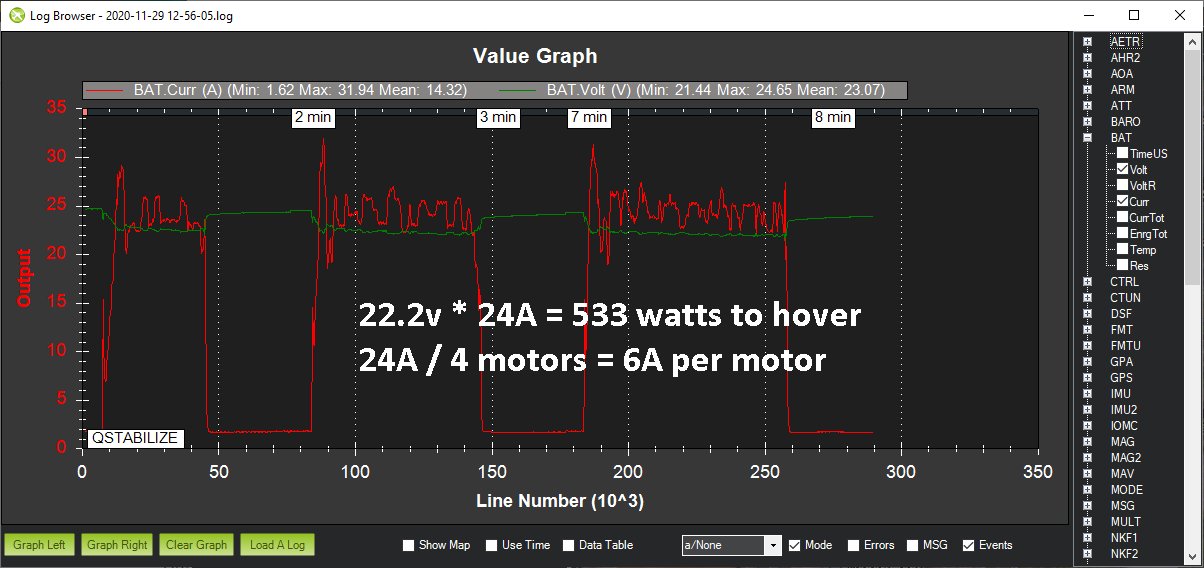
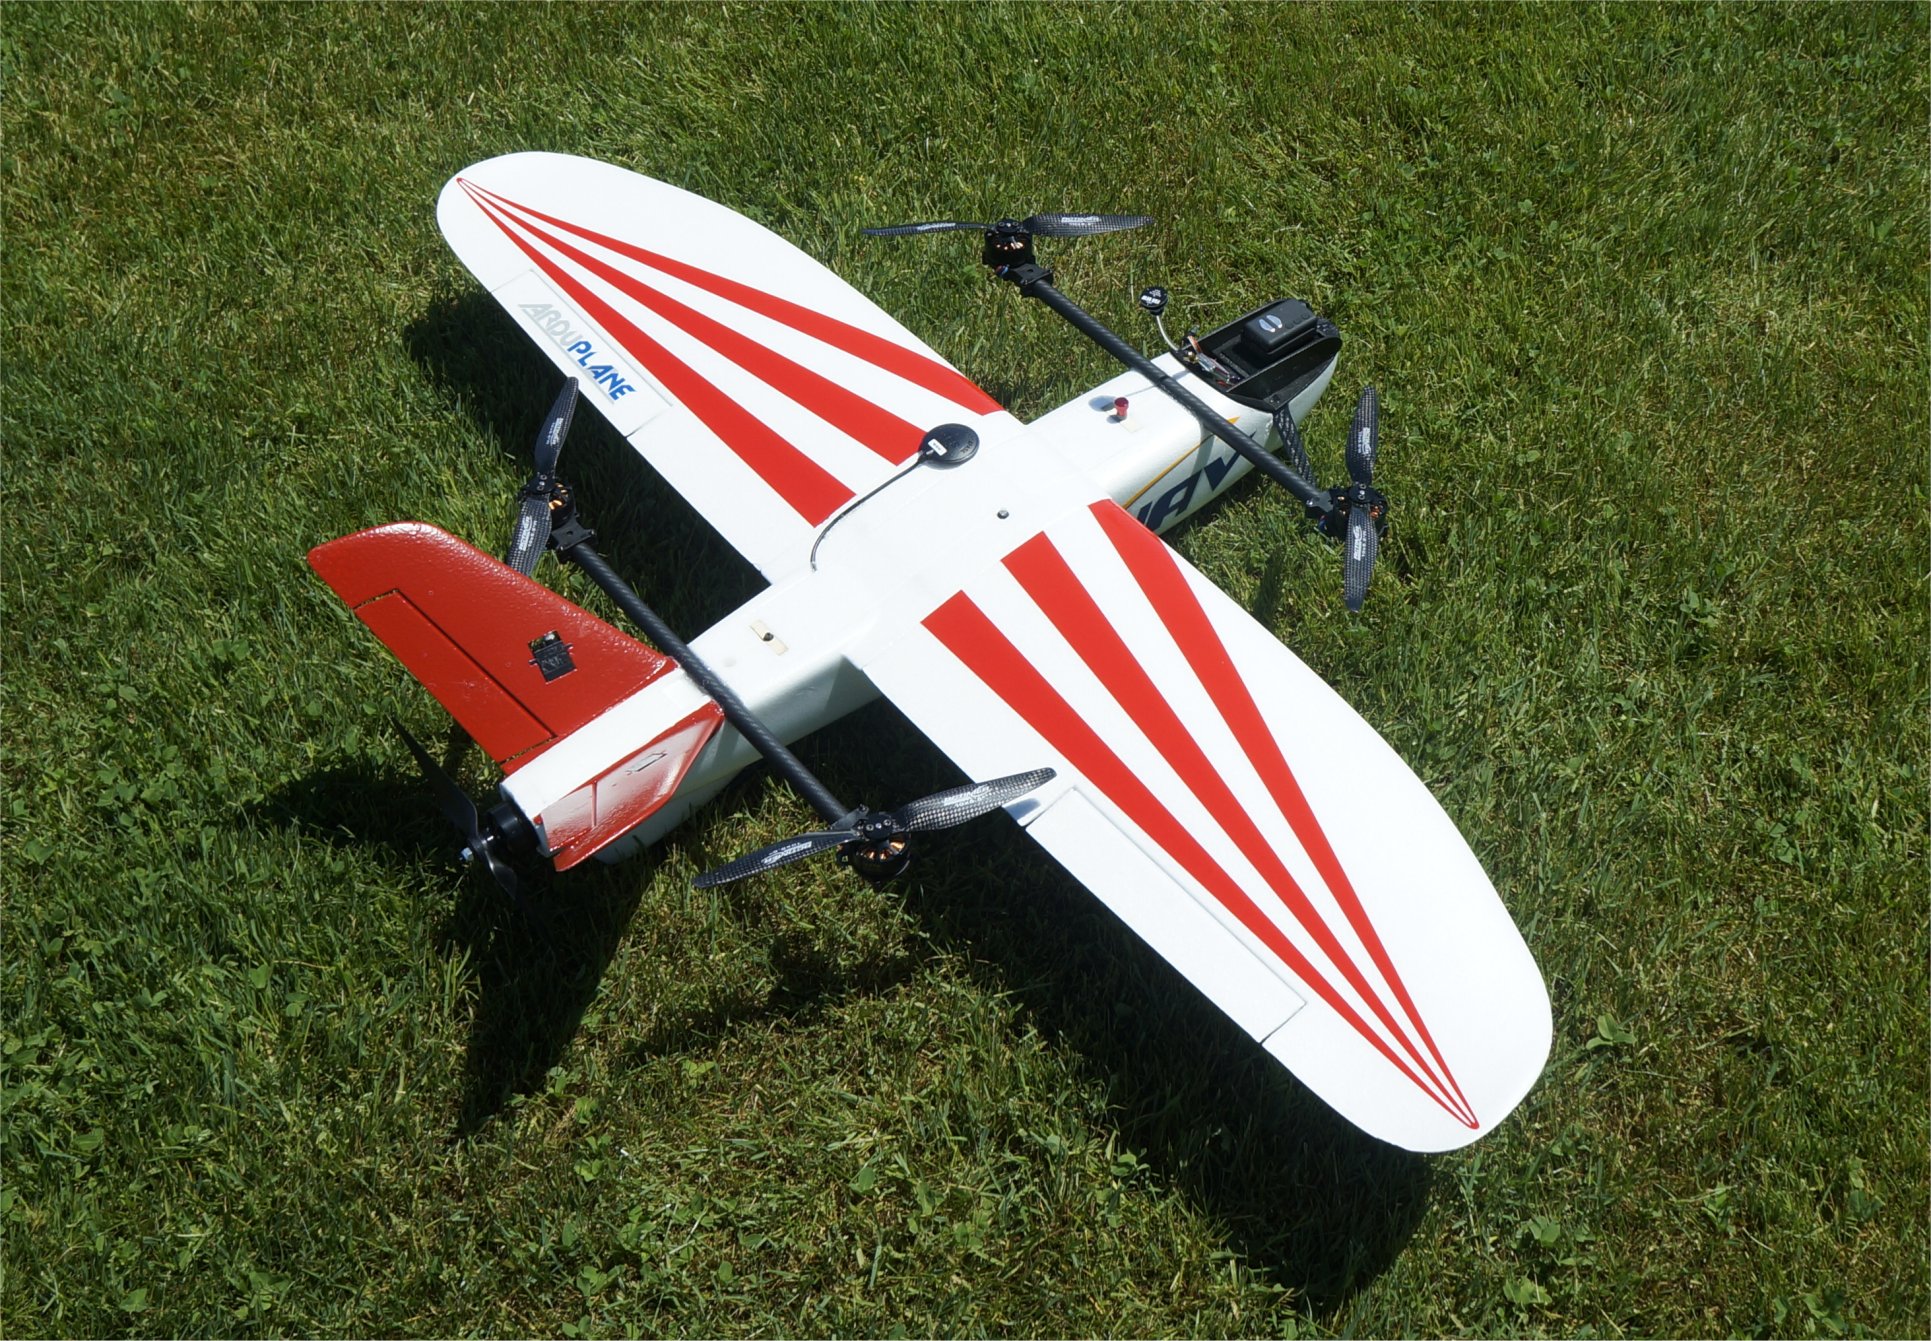
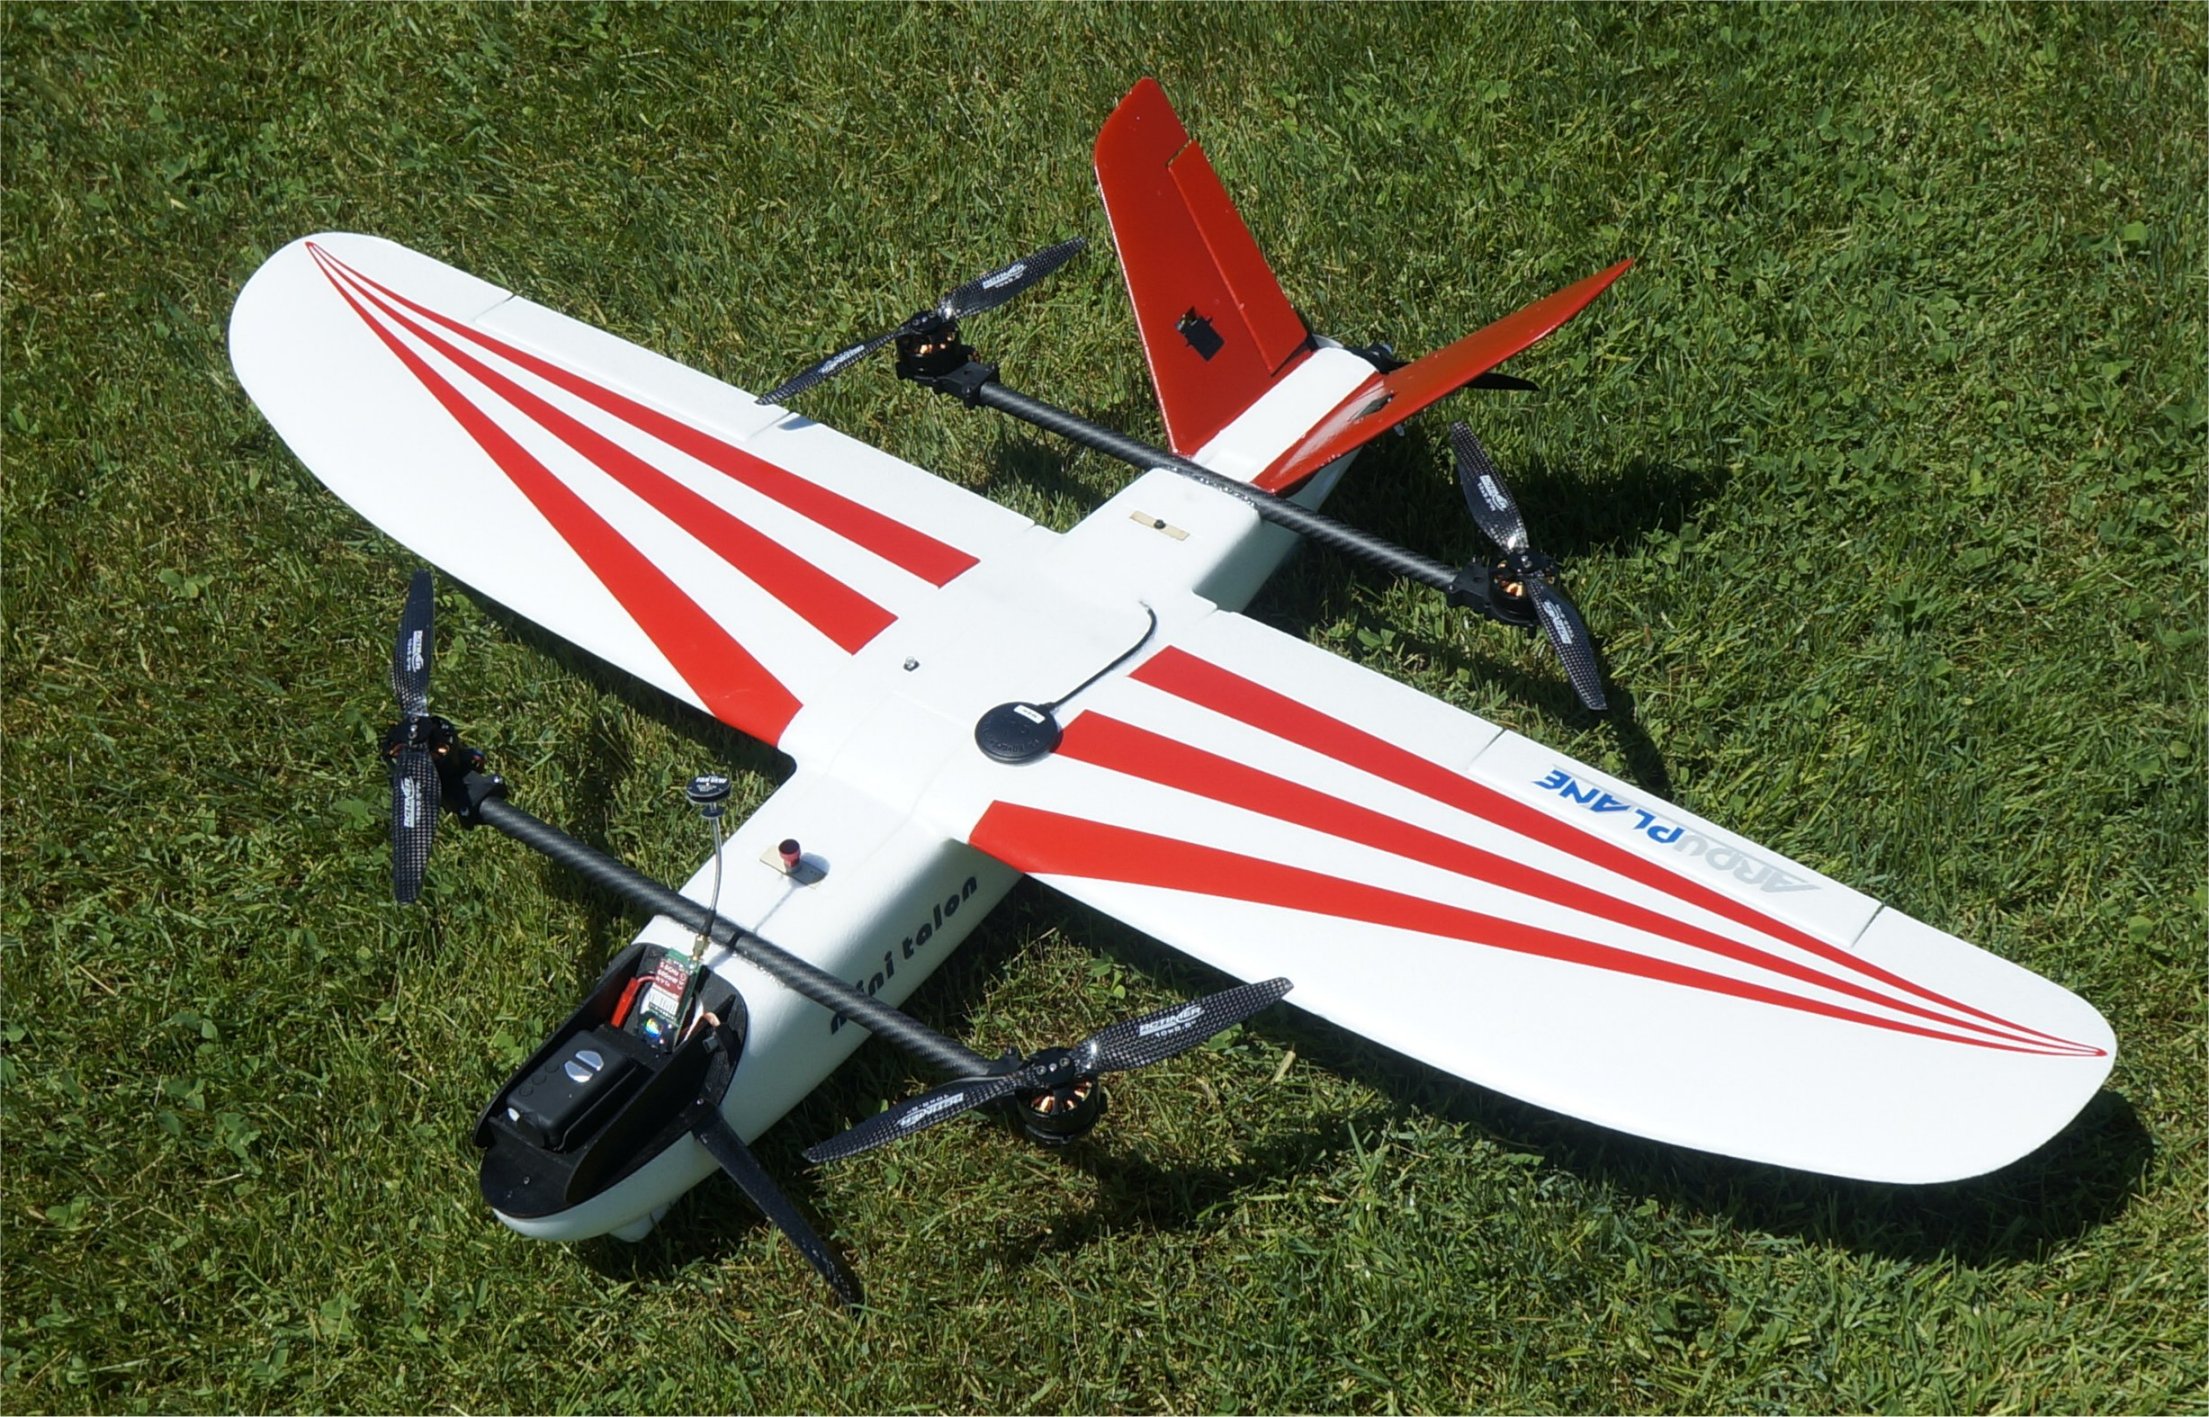
My initial hover test in QSTABILIZE mode of my new mini Talon VTOL was successful. I balanced it at 55mm from the LE. The current draw was about 24A at a voltage of 22.2v for 533 watts. This compares closely to my original mini Talon VTOL.
It took about 2oz of lead weight on the FPV pod to balance at 55mm. After the video, I added the APC 10x6 e-prop to the tail which took another 1.0oz of lead on the nose to balance. Currently, I need 3.0oz of camera weight (probably more since the lead weight is at the tip) before I need to start adding a little weight to the tail…which is much farther from the CG so less is needed.
--------------------------- New Post --------------------------------
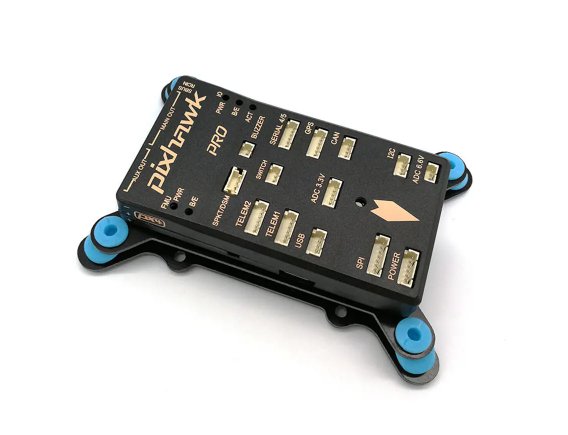
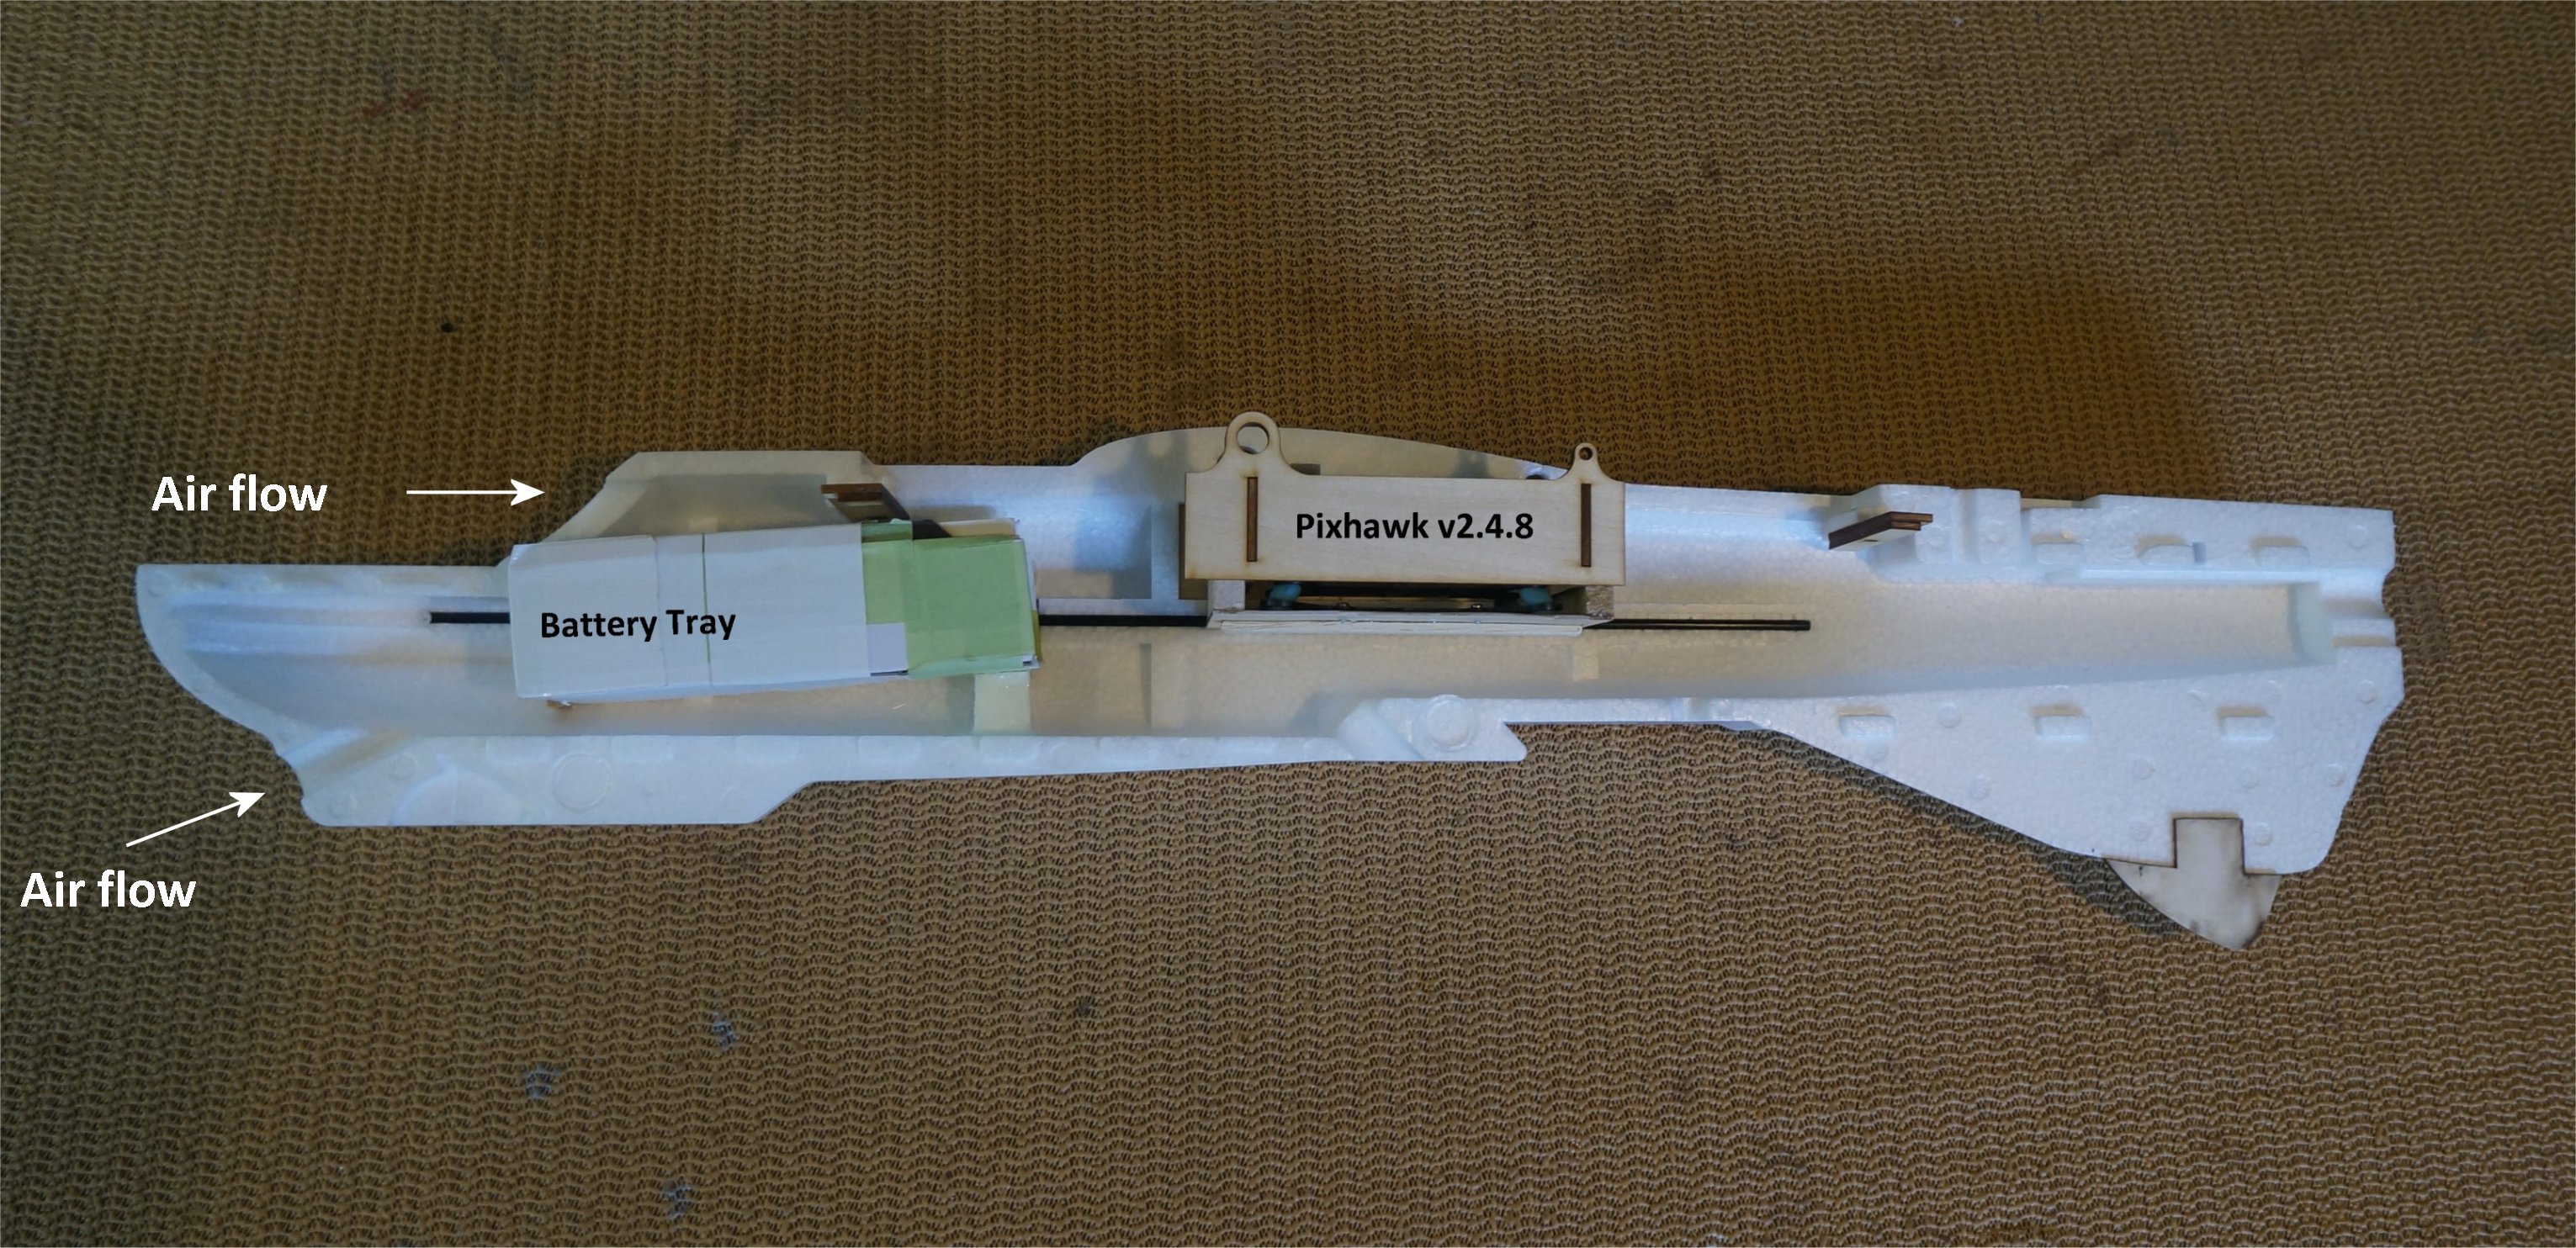
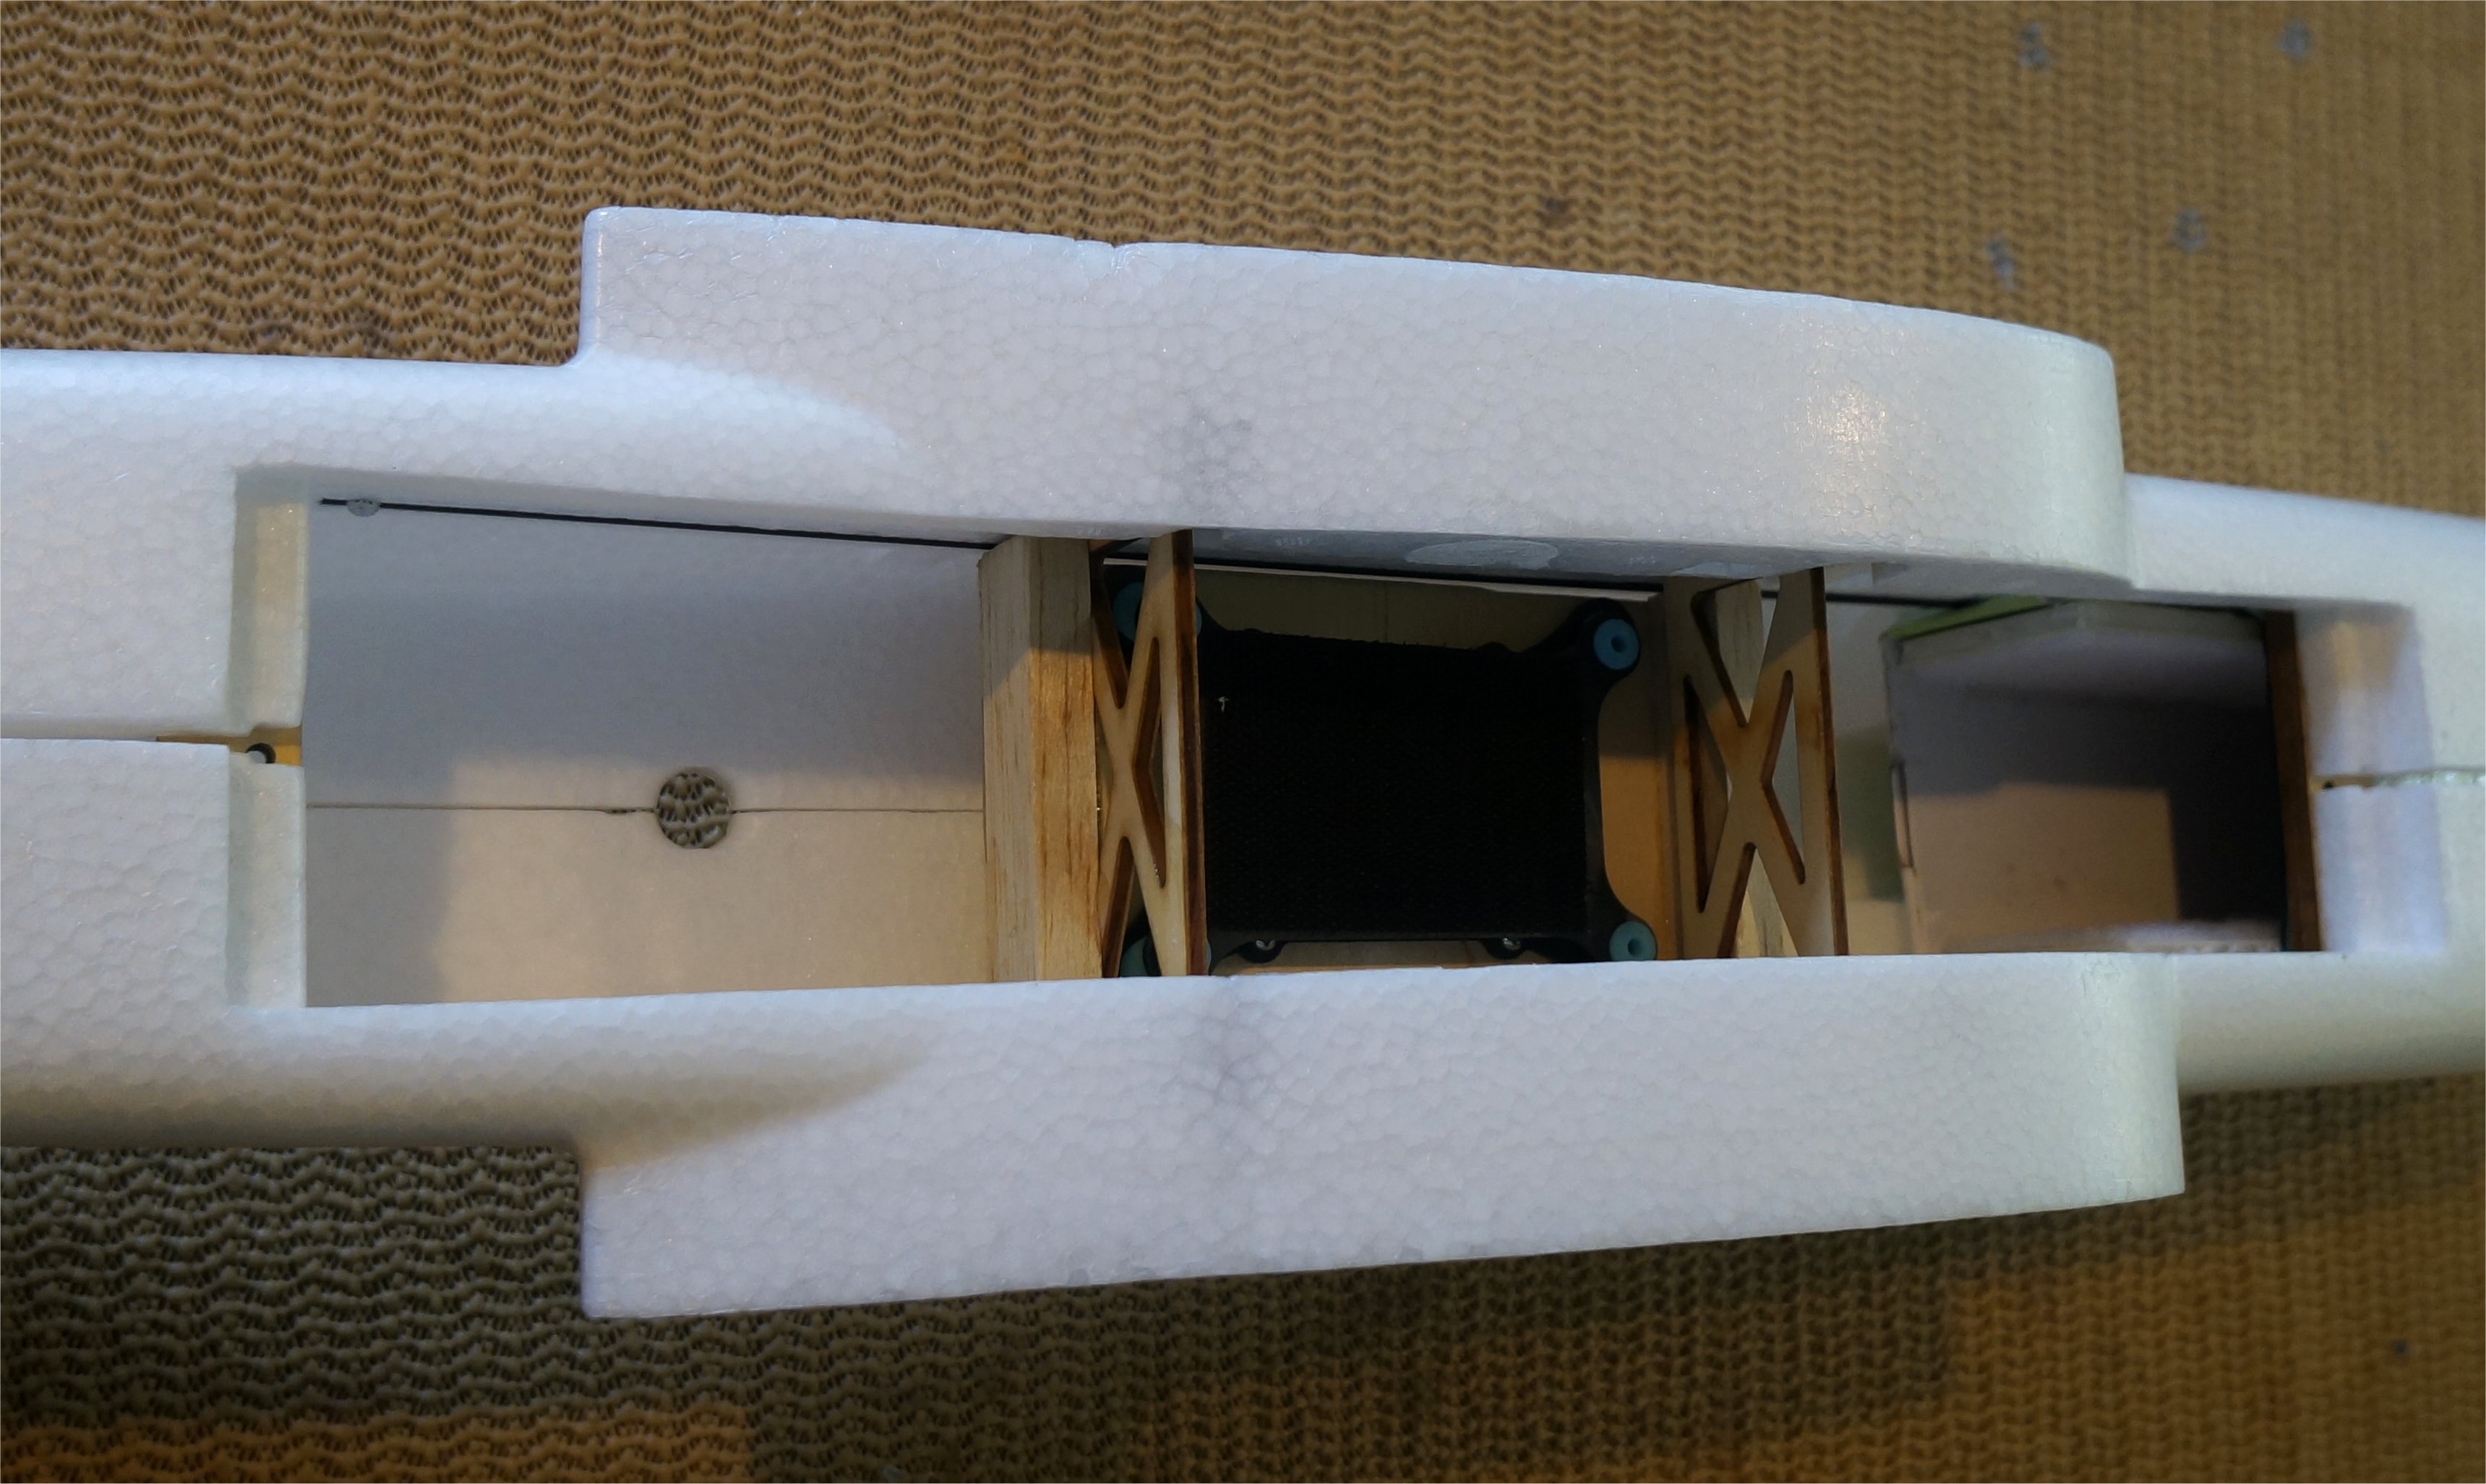
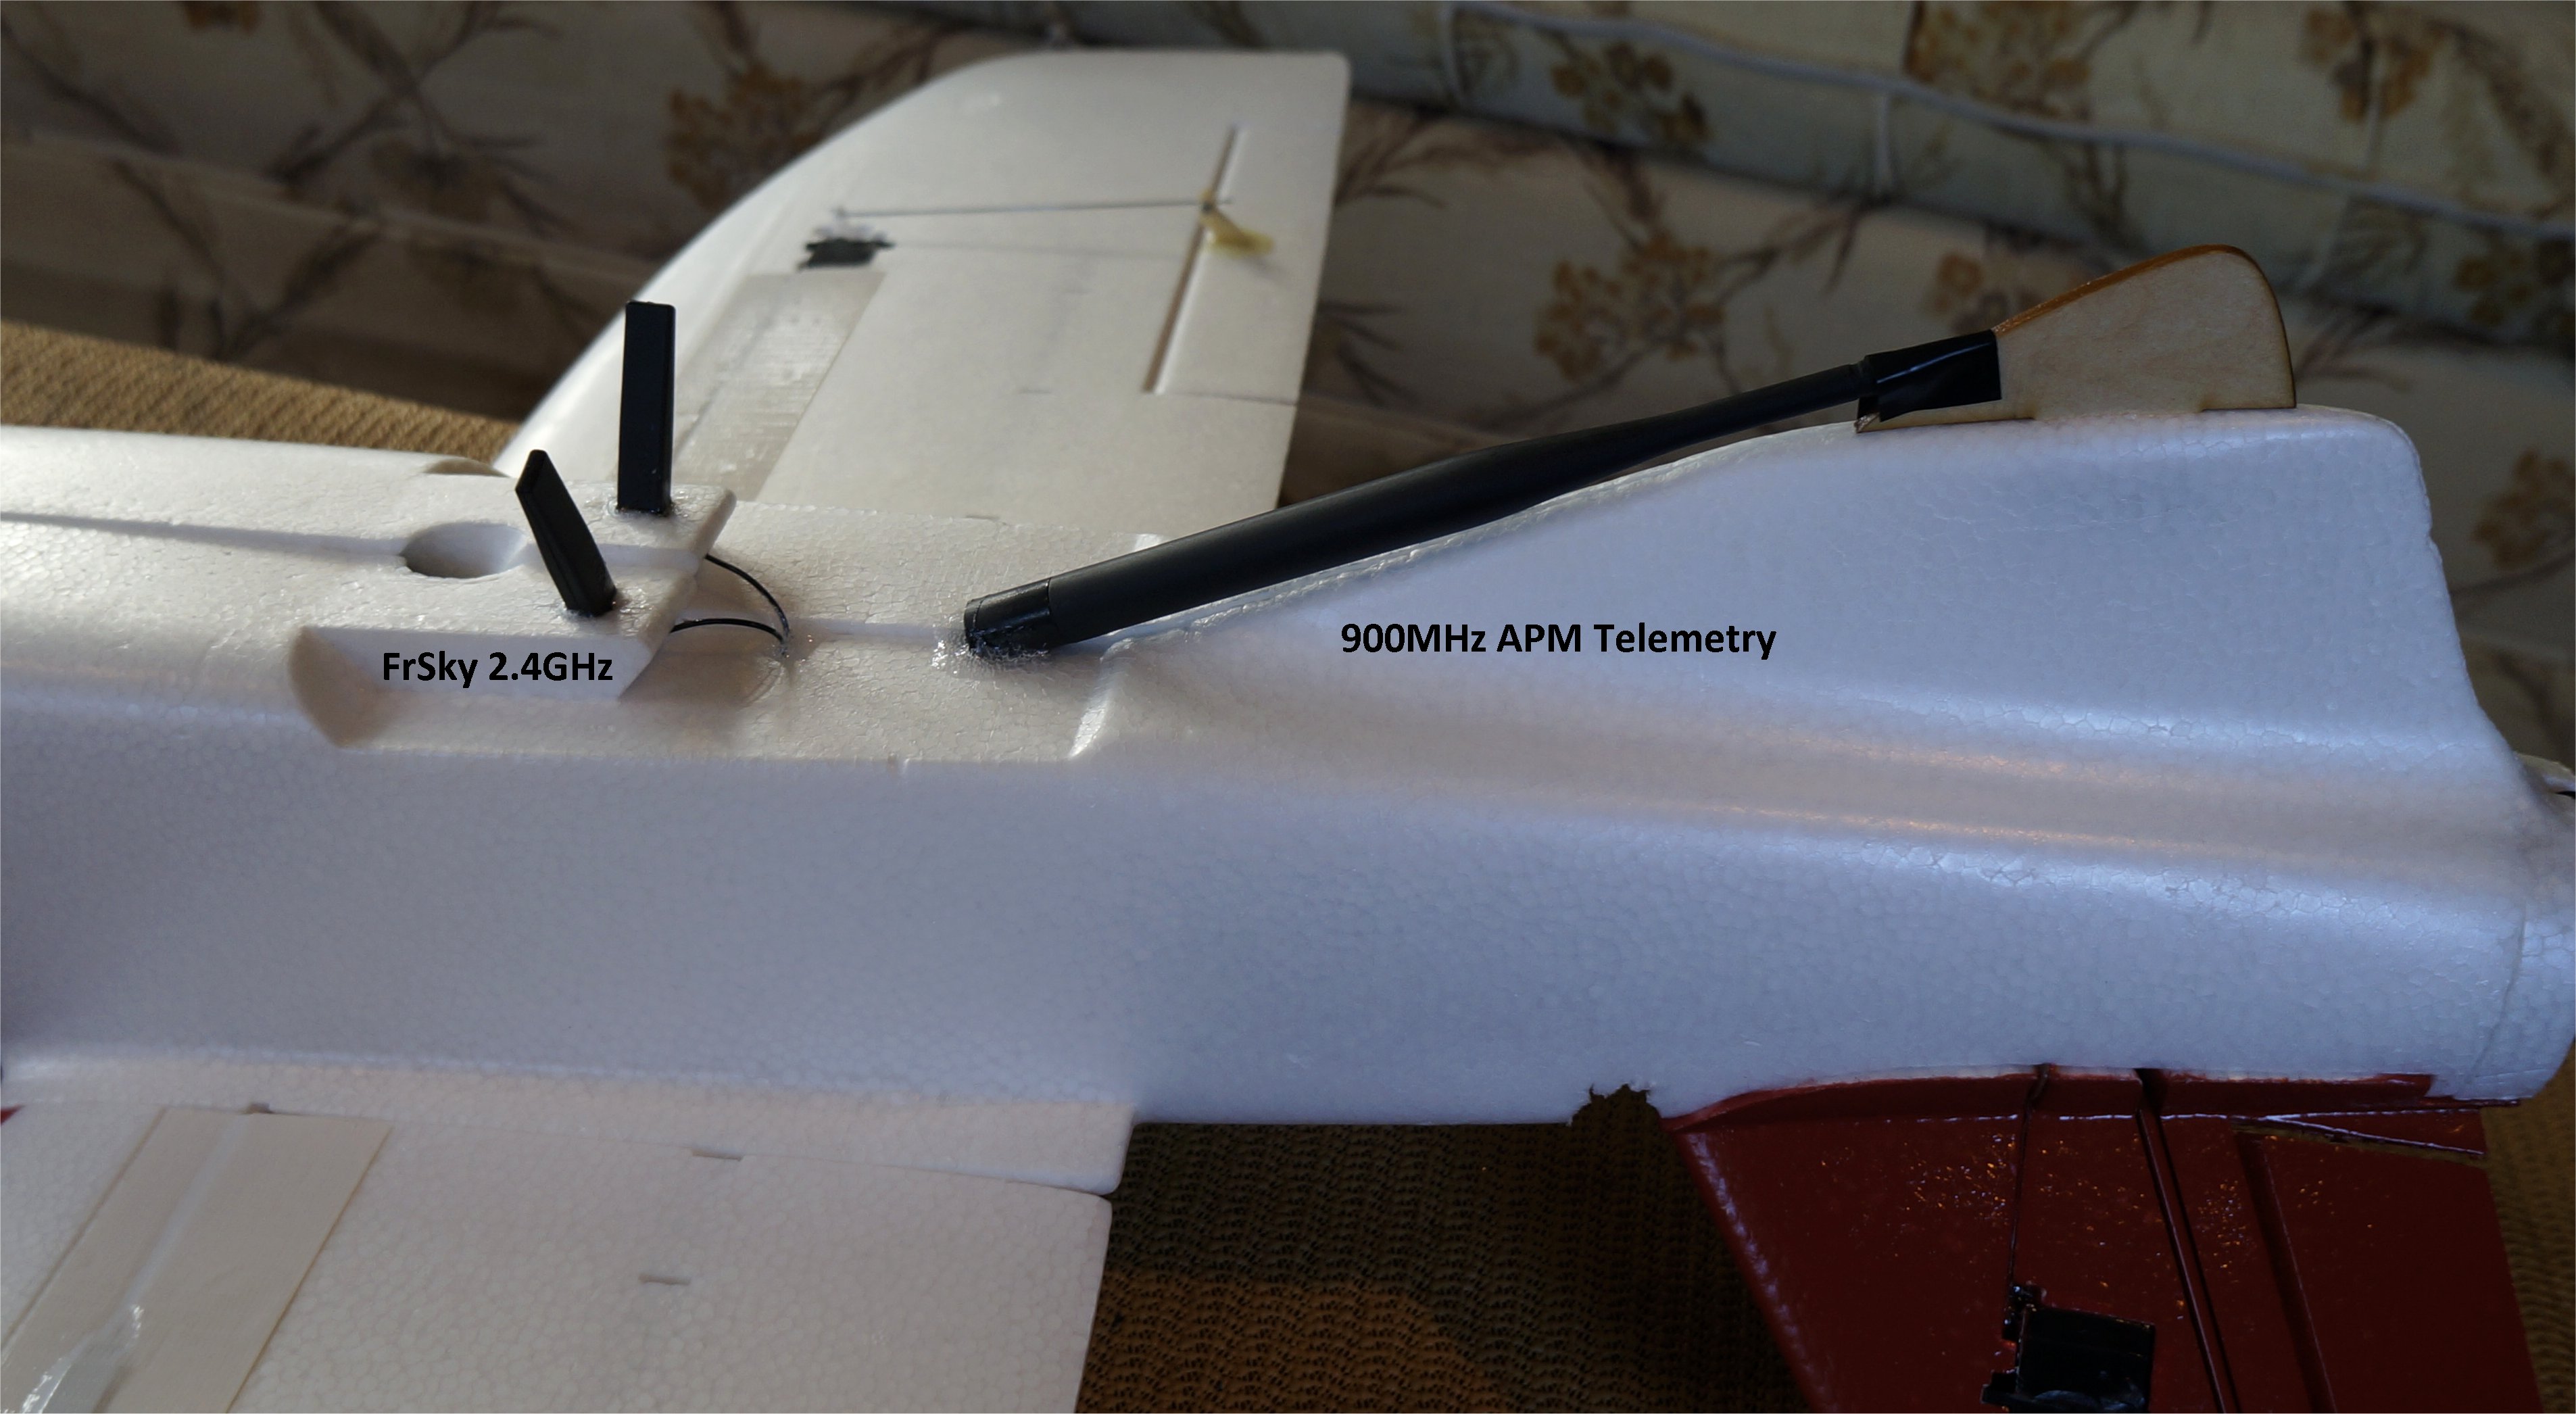
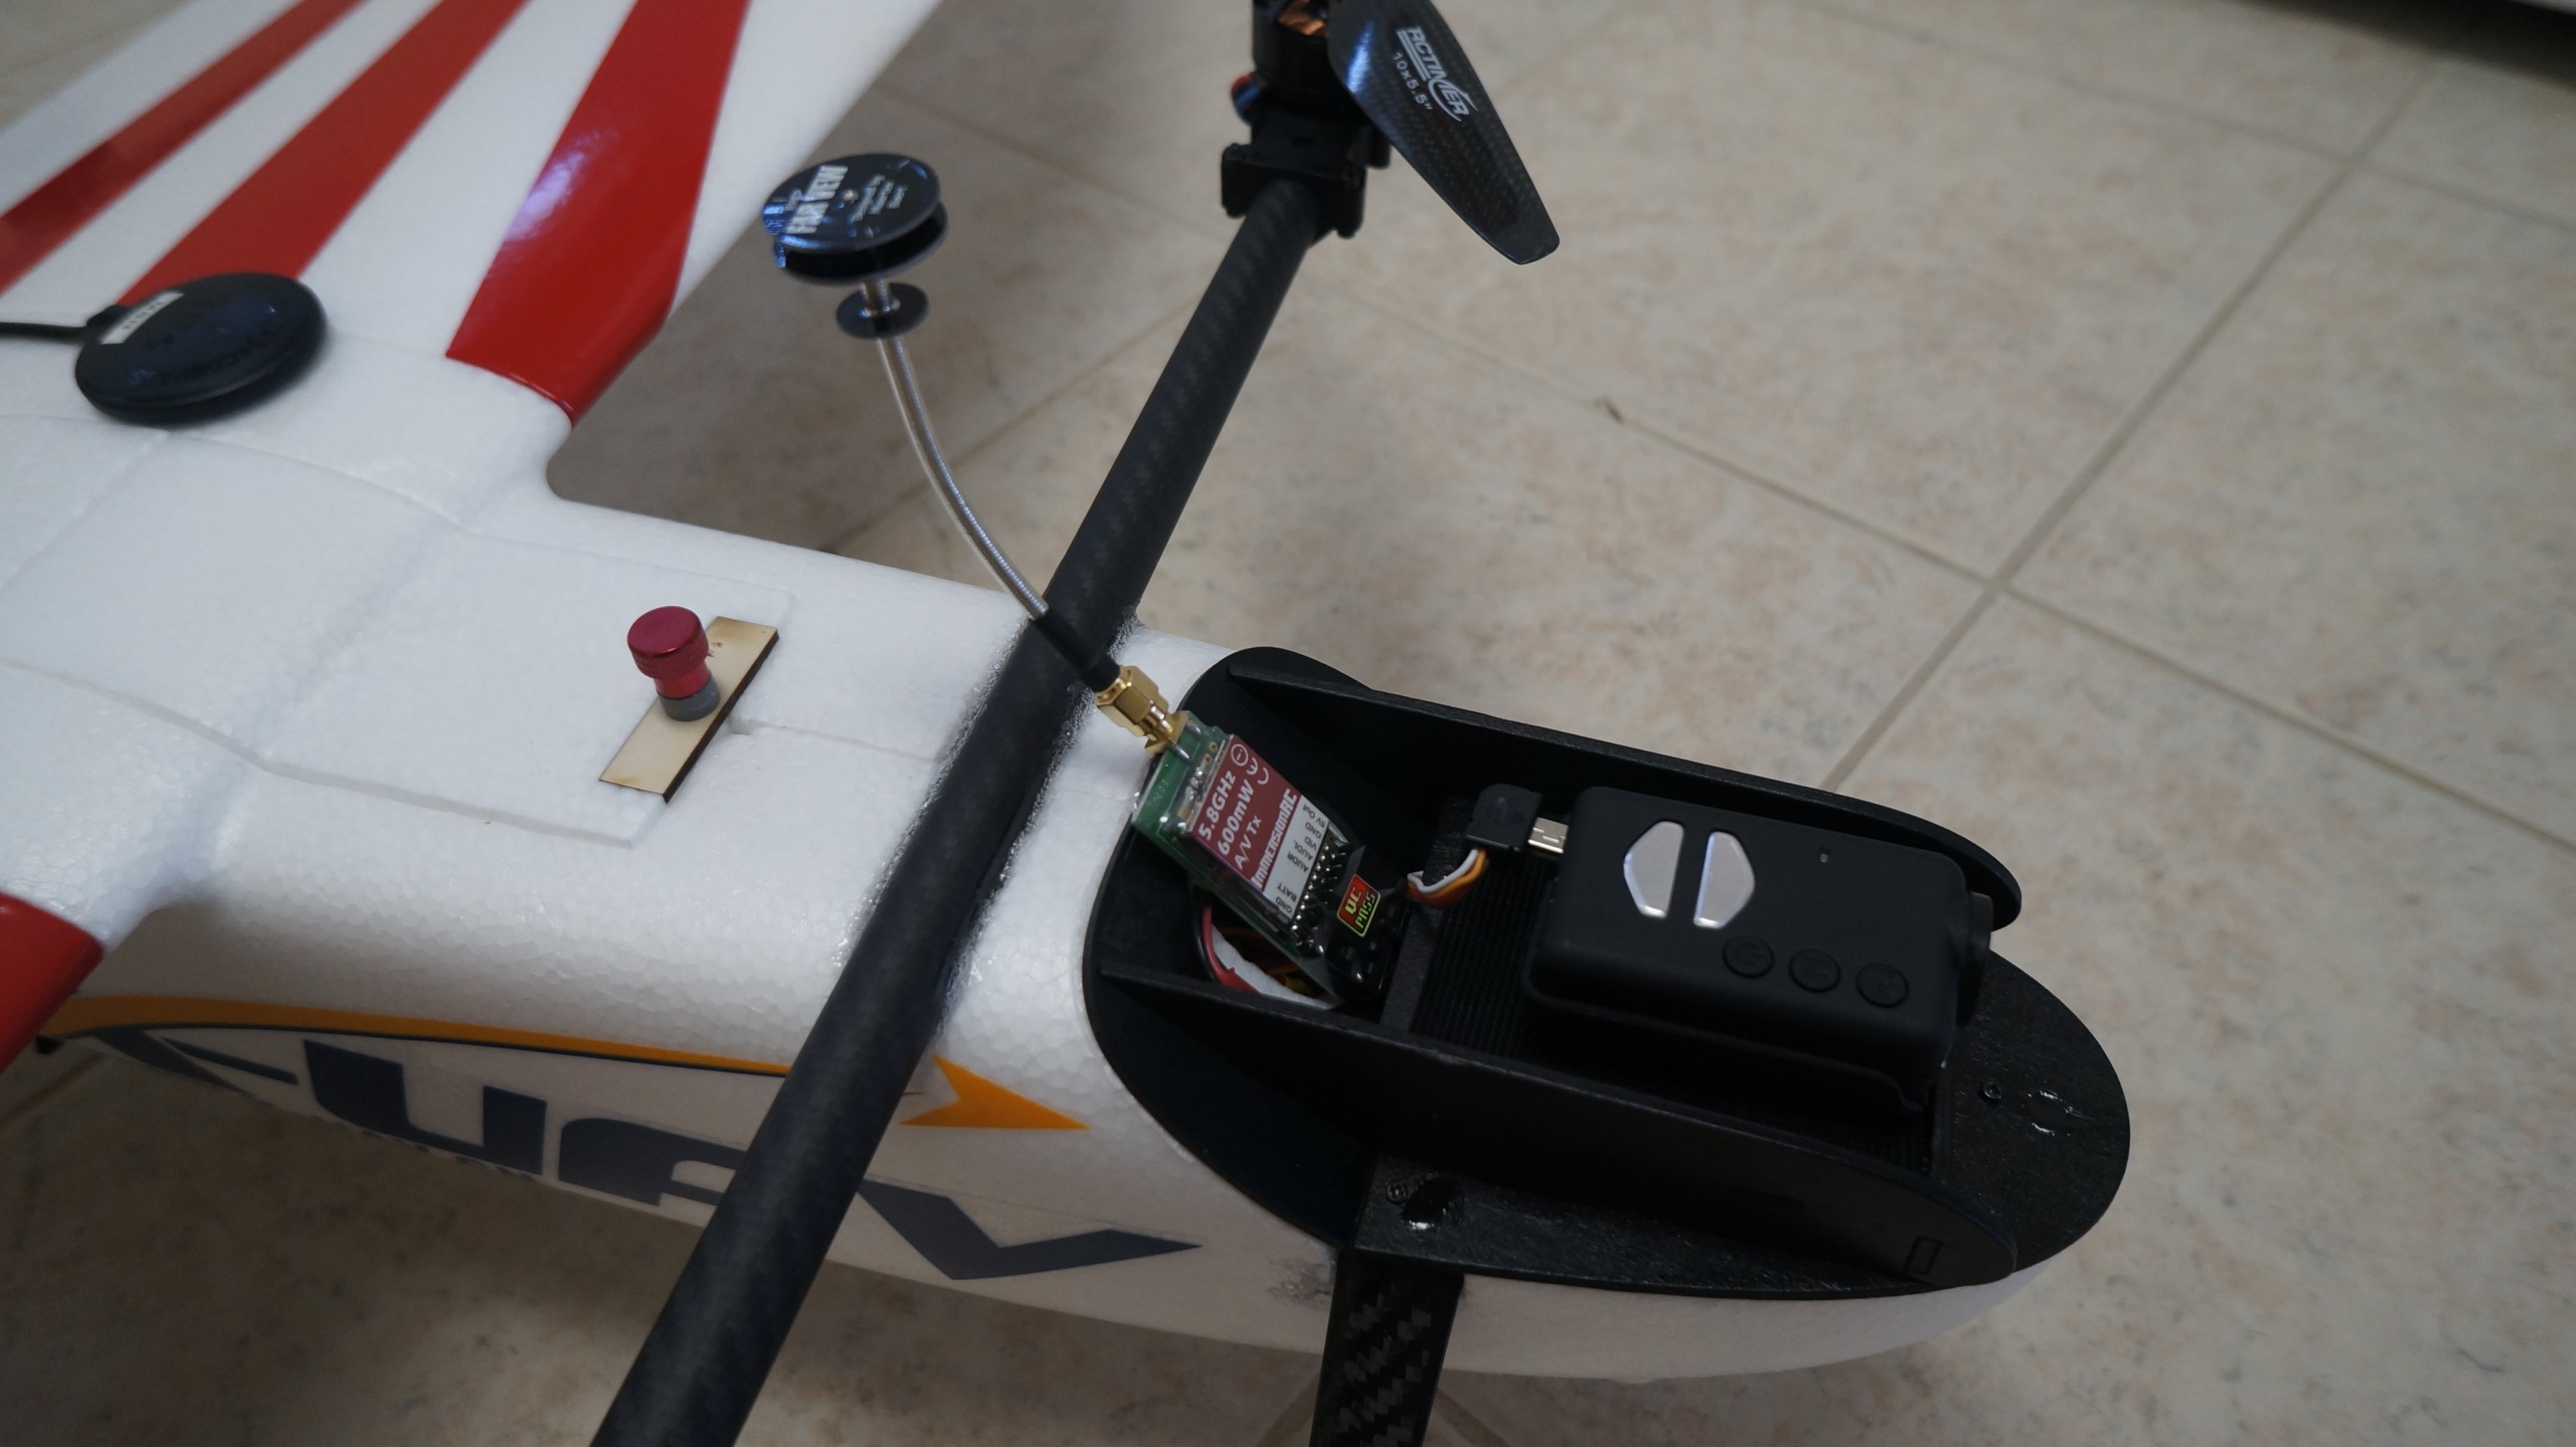
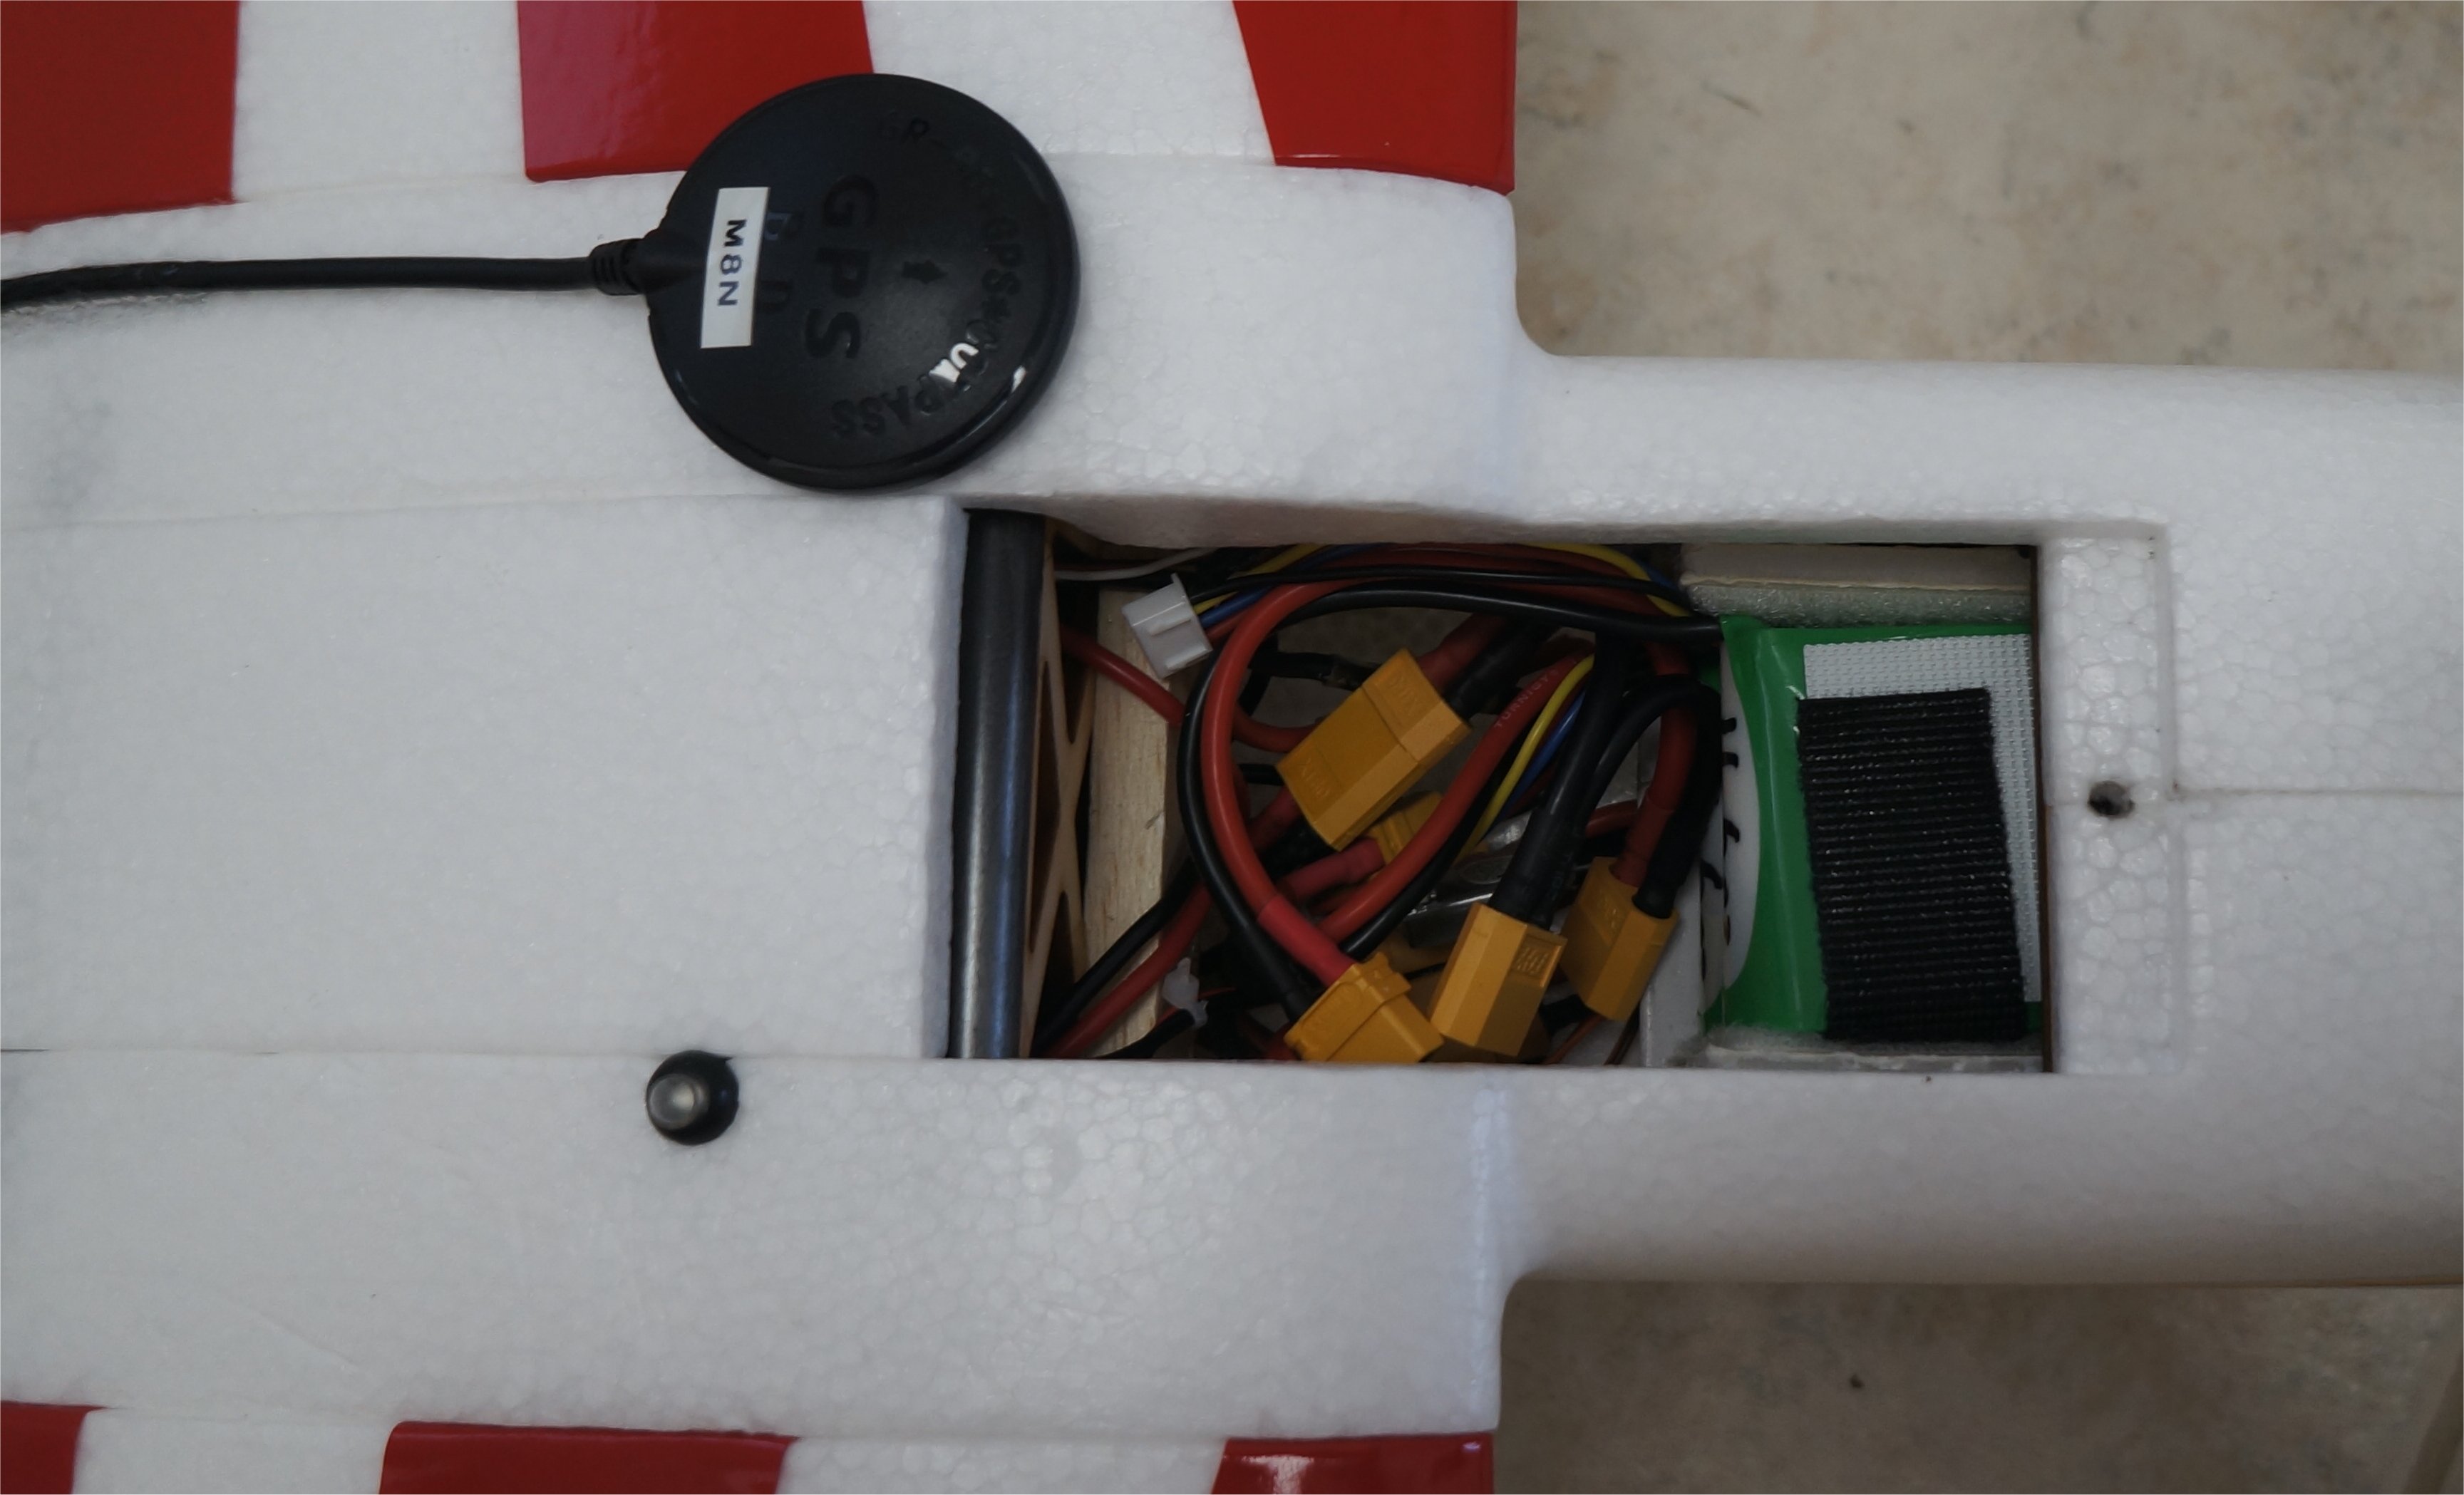
I received my Micro USB Extension from ReadyMadeRC.com and the form factor was even better than their site photo so it must have been re-designed. The extension cable really helps on projects like this one where the Pixhawk is in a tight space. I use it to update firmware or grab logs, otherwise, I use the 3DR SiK wireless telemetry.
--------------------------- New Post --------------------------------
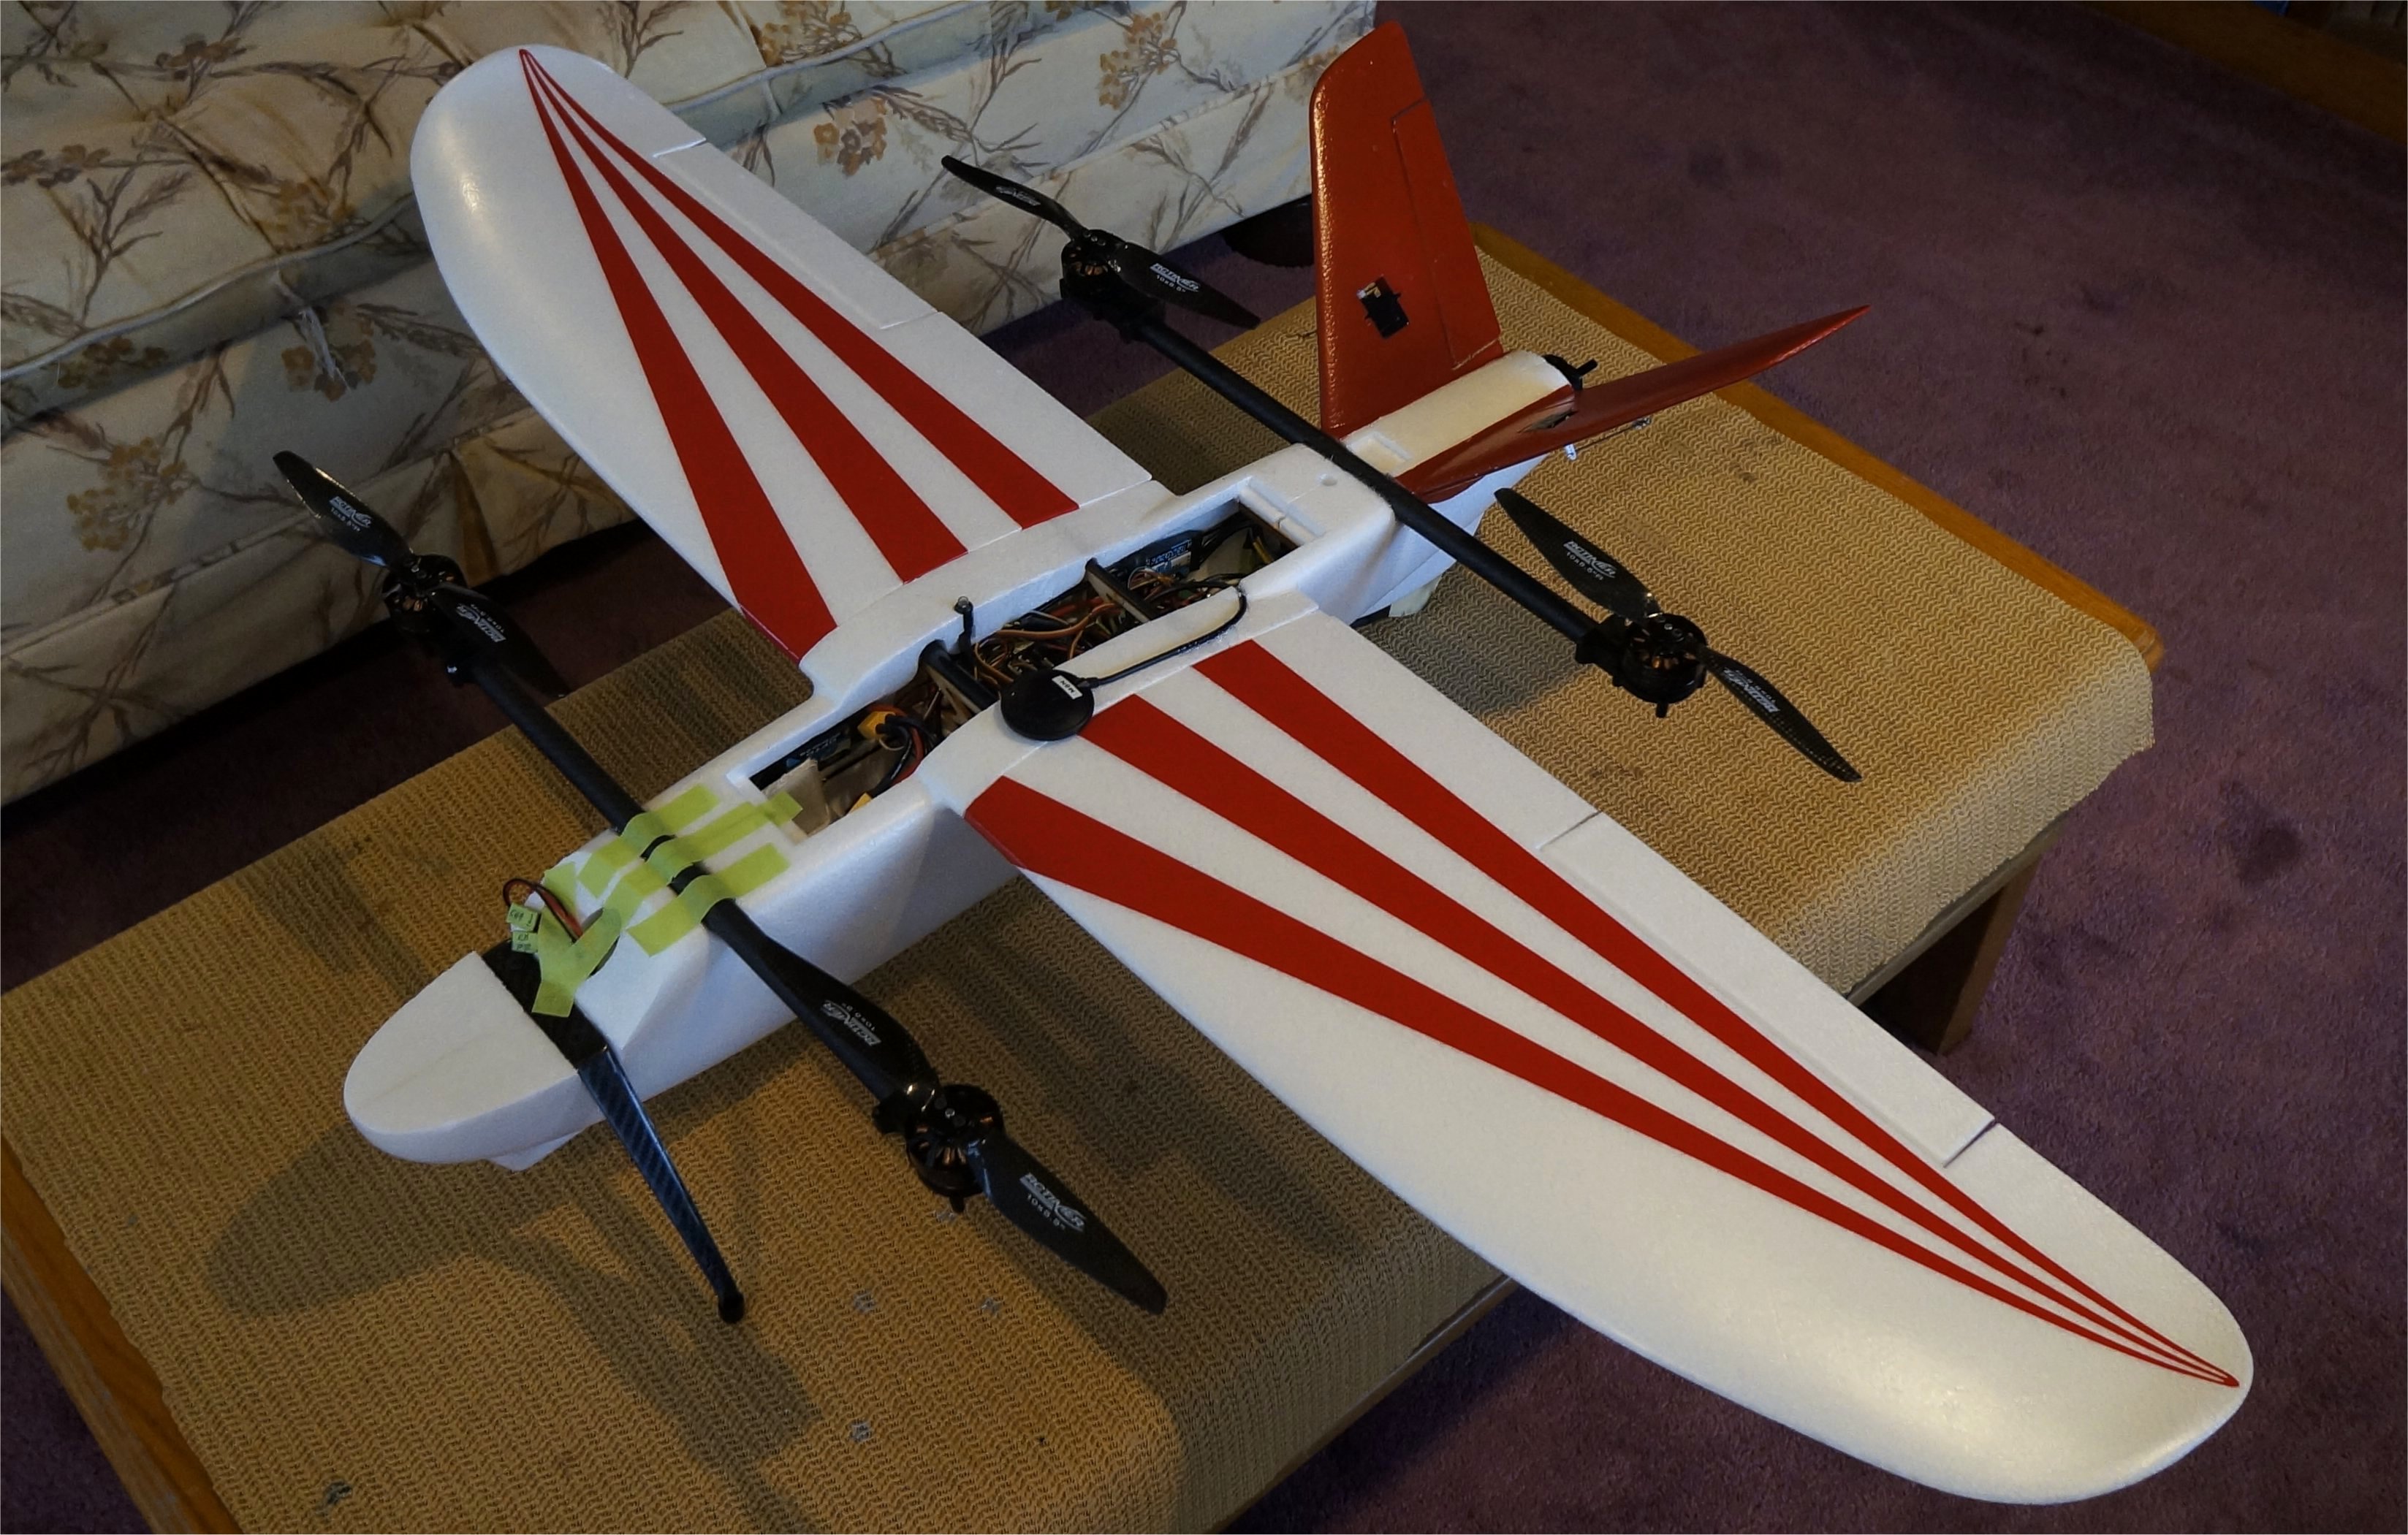
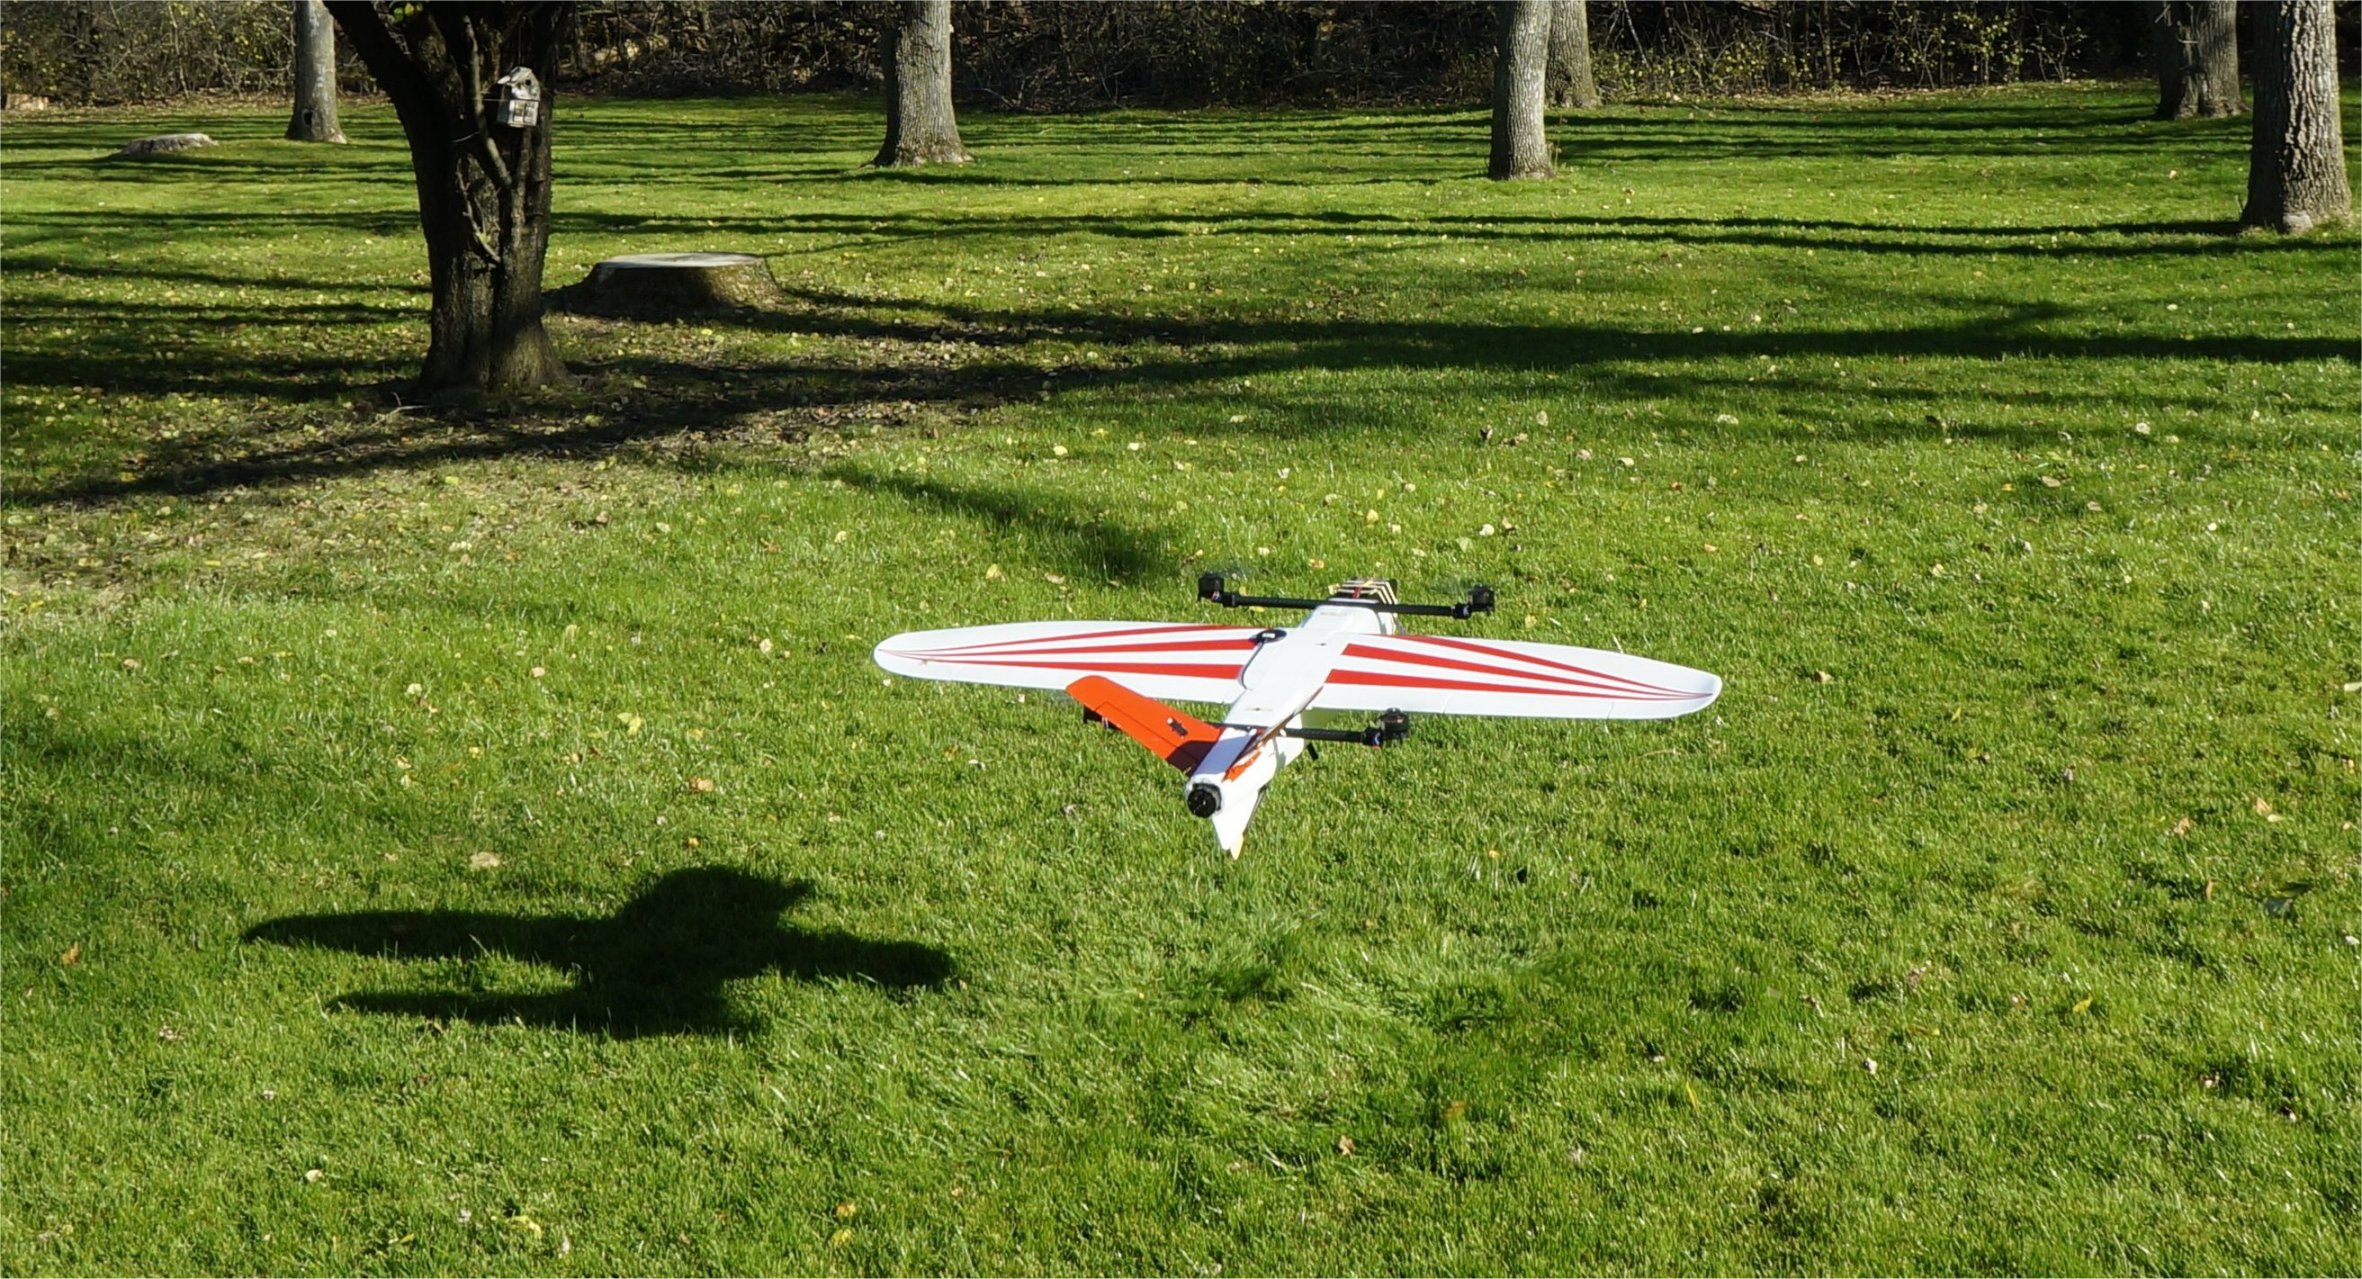
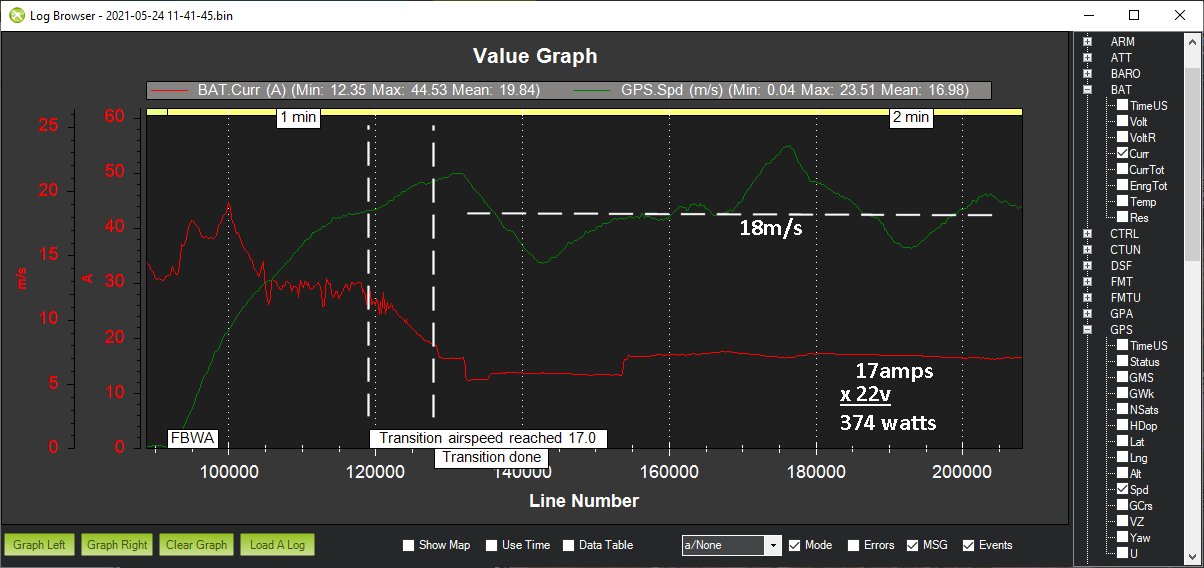
Here are some photos my wife took from additional hover testing. I also posted my Voltage/Current graph for calculating hover power. It’s time to mount the forward flight prop and look at adding some air exit vents.
 . which flight controller are you using
  ? I am waiting for your flight
  with this MT.