ArduPilot has a few ways in which it can dodge objects. For semi-autonomous modes like Loiter, there only exists one: Simple Avoidance.
Simple Avoidance comes in two variations, Stop mode and Slide mode both of which have the same goal: to make sure the vehicle is never less than AVOID_MARGIN meters away from any obstacle/fence. Stop mode will instantly stop the vehicle in front of the obstacle if the pilot tries to fly into it. In contrast, the Slide mode will try to “slide” across the barrier, in an attempt to cross it without approaching too near (this is only available in copter).
In easy terms, how this type of avoidance works is that it calculates whether or not the vehicle will breach the margin around the fence or obstacle. If it is found that with the current velocity (speed and direction) the vehicle will breach the margin, it’ll first try and limit the velocity so the vehicle slows down and then as we approach the obstacle margin, we either stop (in stop mode) or limit the component of the velocity in the direction of the obstacle to slide along the margin(slide mode).
Therefore simple avoidance mode, at best can reduce the velocity of a vehicle in a particular direction. If the obstacle was to come closer to the vehicle, as of Copter 4.0.4 and Rover 4.0.0, the vehicle will not back away from the obstacle.
This brings me to the new feature that I worked on for quite some time during my GSOC period:
The next version for Rover and Copter (when it releases) will have the capability to back away from objects, thereby maintaining a perfect margin at all times.
A small demo can be seen here:
I hope this feature will be a good addition to the current ArduPilot Obstacle Avoidance users!
A small guide and documentation on how this feature will work will be available soon.
More details specific to the methodology used, and the development process is given below:
For simplicity, I will discuss how this feature would work in stop mode (which is similar to slide mode), but feel free to ask me in comments if you need an explanation for slide mode as well.
Stop mode works by calculating an estimated stopping position from the current velocity. We have a problem if the distance from this stopping position to the fence/obstacle is less than the margin that the user wants it to be. Therefore, as soon as we predict that the vehicle is going to breach the margin, we limit the velocity to slow down. Ultimately, the vehicle reaches the margin where it is told to completely halt (i.e 0 velocity, hence the name “stop” mode). Now if due to inertia/strong winds/poorly tuned vehicle/the obstacle itself was to come near, the vehicle would breach the margin and could even lead to a bad crash.
The methodology used to fix this issue is:
- Calculate the distance the vehicle has breached the margin with
- Figure out the direction we need to go back in
- We then compute the speed such that the stopping distance of the vehicle will be precisely the input distance using a square root controller. A square root controller is one that has a linear response close to the target and a weaker, square root, response further from the target.
- Now that we have speed and direction to back up with, we calculate the exact vector the vehicle should traverse in.
Even though we have found the backing up vector, this is just half the solution. ArduPilot provides avoidance from circular fences, inclusion & exclusion circular/polygon fences, multiple proximity obstacles, beacon fences. Therefore we can have various types of obstacles approaching from random directions, and we might need to back up from all of them (or stay exactly in the middle, if being enclosed by all directions).
Therefore it was decided that all the potential back away velocities will be divided into four quadrants, and each quadrant will store the maximum of all the back away velocities found in that direction. This can be visualized in the following manner:
Imagine these were the calculated back away velocities from various obstacles, fences, etc.:

This will be approximated to only four vectors which can be seen here:

These four velocities are then added up to get the final desired back away velocity which will be obeyed by the autopilot!
Development process:
In this section, I wish to explain how this feature, like most other features, is finally merged to master at ArduPilot. It’s an interesting procedure that I got acquainted with very recently and would like to share it with the community!
Step 1: A basic idea of how this feature can be implemented is thought and discussed. Then the idea is broadly coded and all the algorithms tested in SITL (a 2-D simulator).
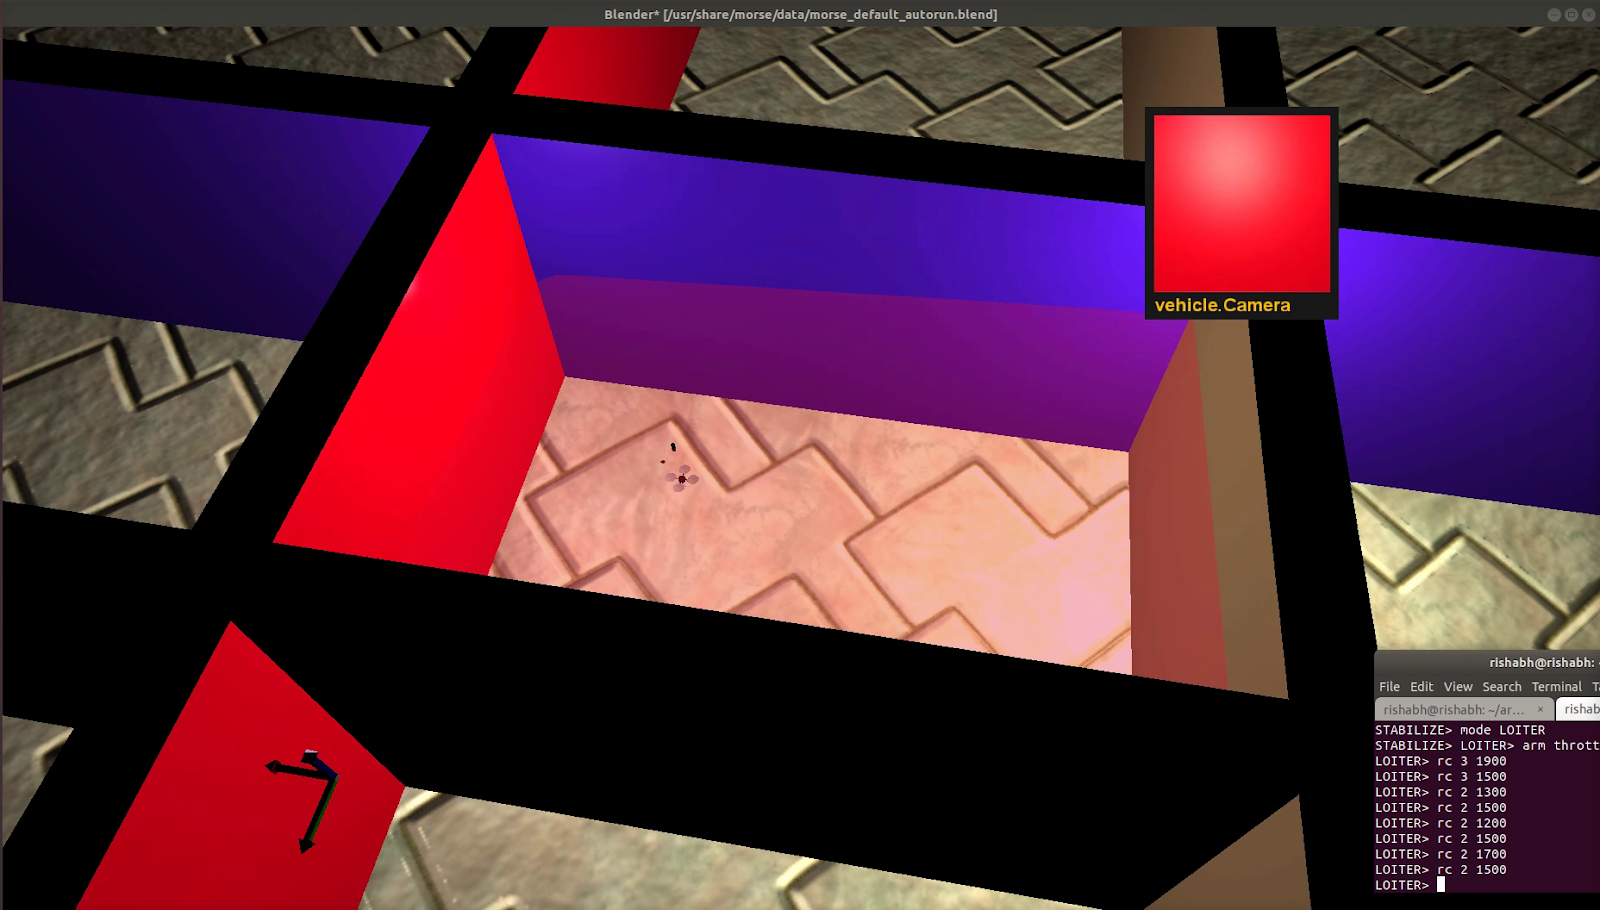
Step 2: After a while of debugging and success in SITL, it is time to move to a 3-D simulator with features such as the ability to simulate 360-degree lidars, rangefinders, etc.
This can be seen here:
Step 3: Now a PR at https://github.com/ArduPilot/ardupilot/ can be raised so that other, more experienced developers, go through line by line of your work, and give valuable feedback on how it can be improved. Often one ends up realizing that the feature could be hazardous if it were released as it is. For this PR, @rmackay9 , @khancyr and @iampete spent quite some time reviewing my work and helping me out in any doubts that I had. Many thanks to them for their support!
Step 4: All the reviewed issues are fixed, and over several iterations, we inch closer to the final version. At this point, the feature is heavily tested for all possible edge cases, both in the simulator (where crazy scenarios are simulated) and real-life testing (where breaking a propellor or two is not very uncommon)
Some examples can be seen here:
Sandwiching the vehicle from all direction:
Other tough scenarios:
Step 5: When the PR meets the coding standards that ArduPilot maintains, sufficient proof of working is provided, and after a lot of effort from both the reviewer and the author, a maintainer will merge your feature into Master and hope that it works well on the several thousand different hardware that ArduPilot supports.
Step 6: The feature will get published as part of a Beta version when a new version is about to be released, and be tested by several people. If all is well, in the end, it’ll make it to a publicly released safe version to be used by everyone!
For the exact code regarding this feature and the entire review process, you can have a look here: