If the installation of Apsync is completed and everything work , connect to the WiFi network Apsync
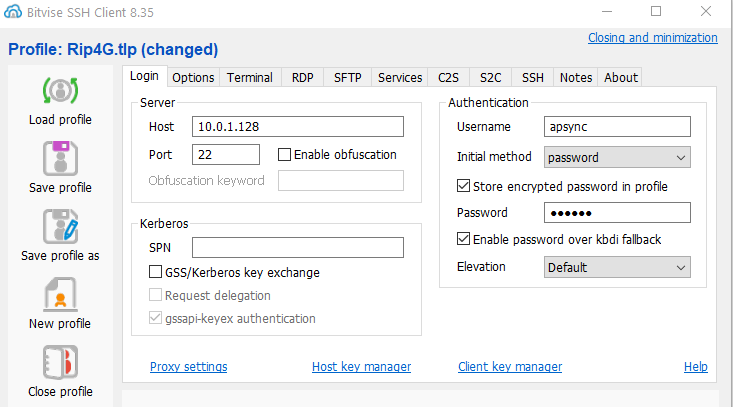
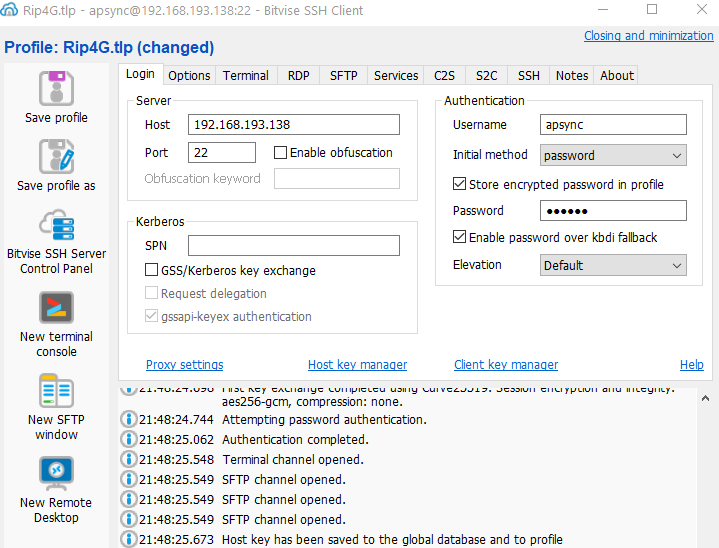
Open Bitvise
Username /Password : apsync
Press log-in and enter in termimal mode , we need to know the name of ethernet device

Add static IP address on Ethernet port
sudo nmcli con add type ethernet con-name ‘eth0’ ifname enxb827eb249e28 ip4 192.168.99.55/24
LTE MODEM
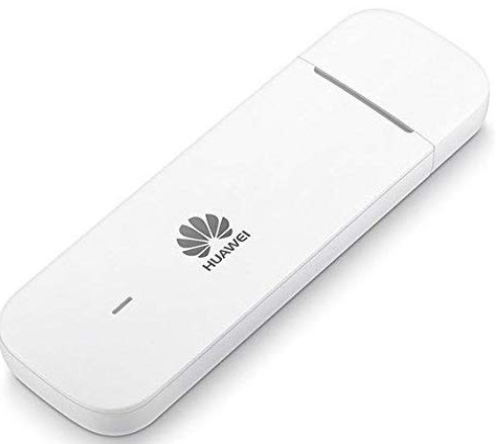
The USB LTE E3372 modem is detected as a virtual network device.This makes the initial setup easy.
I previous tested the internet connection on my notebook.
I will not write how to configure the USB dongle , in my case the APN were already configured
The command nnmcli device will show ithe new device "Wired connection 2 "

Try ping to google
apsync@apsync:~ $ ping www.google.com
PING www.google.com (216.58.198.4) 56(84) bytes of data.
64 bytes from mil04s03-in-f4.1e100.net (216.58.198.4): icmp_seq=1 ttl=51 time=78.3 ms
Now RPI is connected on internet
ZERO-TIER
Go to https://my.zerotier.com/
Create an account and network
Copy your private ID , will be necessary to write it when the client will join your network
Install your client in your PC /Tablet/Smartphone
Join the client and your network
Now we can install zero-tier on RP
curl -s https://install.zerotier.com | sudo bash
Launch service
sudo zerotier-cli join xxxxxxxxxxxxxxxx ( YOUR ID )
200 join OK
Now you are registerd on your VLAN
Go to your account , the list will be show your device online
Write name and IP Address , check to enable
Check from console
apsync@apsync:~ $ ping 192.168.193.138
PING 192.168.193.138 (192.168.193.138) 56(84) bytes of data.
64 bytes from 192.168.193.138: icmp_seq=1 ttl=64 time=0.154 ms
Now Apsync have a static IP address on ZeroTier network
Reboot raspberry and try to connect with VPN address
Well at this step you can reach Apsync everywhere
GROUND STATION
In SFTP Window go on /home/apsync/start_cmavnode
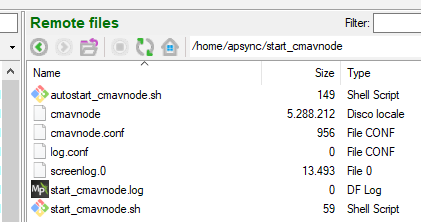
Edit cmavnode.conf
Go to section and add [to_pc]
[to_14550]
    type=udpbcast
    sim_enable=false
    bcastport=14550
    bcastip=10.0.1.255
    bcastlock=1


[to_pc]
    type=udp
    targetip=192.168.193.131
    targetport=14550
    sim_enable=false
Targetip is CLIENT STATIC IP ADDRESS PC or TABLET …
TEST VIDEO
Go to home/apsync/start_cherrypy
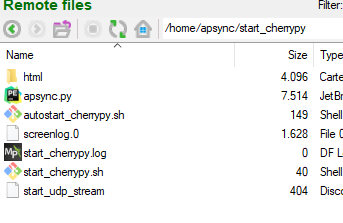
Edit start_udp_stream
Comment section raspivid
 #raspivid -t 0 -h 720 -w 1024 -fps 25 -hf -b 2000000 -o - | \
    #    gst-launch-1.0 -v fdsrc ! \
    #		   h264parse ! \
    #		   rtph264pay config-interval=1 pt=96 ! \
    #		   udpsink host=$STREAM_TO_IP port=$STREAM_TO_PORT
Add function test_video
 function test_video {

gst-launch-1.0 videotestsrc is-live=true ! \
 video/x-raw,framerate=30/1 ! videoconvert ! \
 x264enc ! h264parse ! rtph264pay pt=96 ! \
 udpsink host=$STREAM_TO_IP port=$STREAM_TO_PORT

}

test_video
Go to your client browser to RPI IP address port 8000
Start streaming
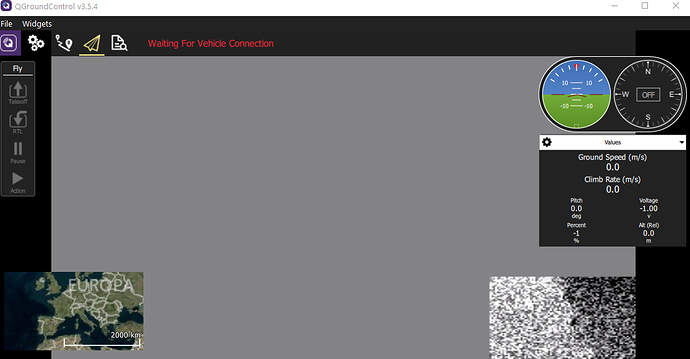
Open QCG
The gray glitches can be solved with rtpjitterbuffer
Try Gstreamer pipeline in your PC , in my case example:
d:\gstreamer\1.0\x86_64\bin\gst-launch-1.0 -v udpsrc port=5600 caps="application/x-rtp, media=(string)video, clock-rate=(int)90000, encoding-name=(string)H264" ! rtpjitterbuffer ! rtph264depay ! avdec_h264 ! videoconvert ! autovideosink sync=false
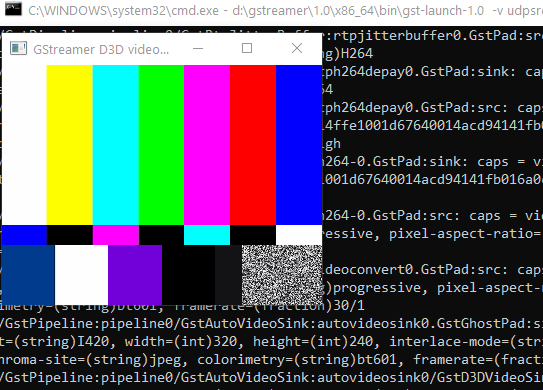
At this point the system is ready to connect FlighController over interner and send video
Next step i will try to explain how to use and V4L2 or Encoder H.264
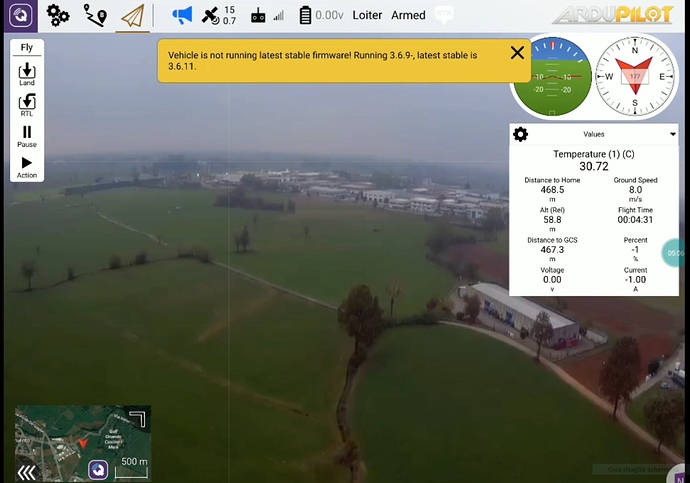
Video first outdoor test
