Nearly every year I compete in the Japan Innovation Challenge as part of the TAP-J team and this year we had great success finding 5 of 6 dummies and also successfully completely the delivery challenge on the 3rd day. Only one other team found a single dummy so we took home nearly all of the 8 million yen prize money (about 53K USD) which will cover our expenses and also allow us to invest more for next year’s challenge!
It was a fantastic experience with all the emotional ups and downs that a really difficult but meaningful challenge provides. Certainly an experience that my team mates and I will never forget.
For those not familiar with JIC there are some details on my blog post from 2022 but in short there are three stages:
- Stage1: Search. The organisers hide two heated mannequins in a 1km^2 area of the total competition area. Teams are given 80min to find them starting from around 6pm. Vehicle are setup at 2pm and are operated from a remote location and cannot be touched until after all teams have completed the stage
- Stage2: Delivery. The organisers provide the lat, lon location of a mannequin and the teams are given 30min to deliver a 3kg rescue package to between 3m and 8m (too close is also a fail!). This takes place between 10pm and 12am but again the vehicles must be setup by 2pm
- Stage3: Rescue. The organisers provide the lat,lon location of a 50kg mannequin and teams have 5 hours to retrieve it and bring it back to the start area. The mannequin must be handled gently so that onboard IMUs do not receive more than 1G of shock. This takes place between 11am and 4pm
We competed in all three stages but no team successfully completed stage 3. I suspect next year someone will win this stage too.
The reason we were so successful in Stages 1 and 2 this year comes down to a few innovations:
-
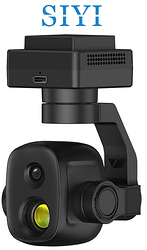
We used the Siyi ZT6 camera which allows us to get the absolute temperatures both in real-time and from the pictures taken during the search. Most thermal cameras only provide relative temperatures and adjust the brightness in real-time so that the hottest visible pixel is black (for example) and coolest is white. This may be good for human beings trying to navigate in the dark but it is not helpful if you’re instead searching for a person (or something else) that is significantly warmer than the surrounding environment.
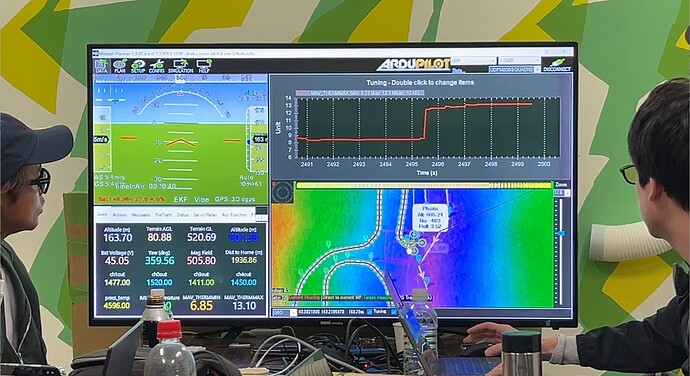
The Siyi’s min and max temperature can be streamed to the ground station (a new feature in AP4.6) which meant that although we couldn’t get the live video from the camera (an issue that should be resolved with the next Siyi firmware release) we could graph the maximum temperature and see jumps when the vehicle passed over a mannequin. Below is a pic of one of those moments
-
We developed a new MAV Pic Viewer application to allow us to quickly review the hundreds of images we collected on each flight. Below is a video of the tool as it was being developed. It’s been improved greatly since then and will be released as part of the next MAVProxy release. The final version supports sorting the images by maximum temperature which made finding the mannequins relatively easy because they normally appeared within the first 10 images.
- Instead of using a winch we used a payload slung 40m below the delivery drone. AP4.6’s payload oscillation suppression allowed us to delivery the payload with exceptional accuracy. Here’s a video from a test done a couple of weeks before the competition. We also demonstrated this feature at the AP developer conference and so hopefully more videos of that will appear shortly
-
Both search and delivery vehicles used semi-solid state batteries from Tattu and FoxTech. This greatly improved their flight time. The downside of these batteries is their low C rating means you need to be careful the vehicle does not draw too much current but in any case, they worked very well for us and I highly recommend people try them.
-
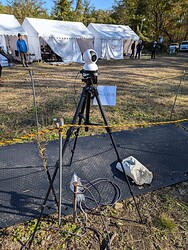
Two fixed web cameras on tripods with remote control gimbals pointing at the landing pads. One was placed North of the pads and the other East. This is hardly rocket science but it saved us when the search copter twice landed next to the designed landing area. With the cameras in place it was relatively easy to use Guided and Auto mode to re-do the landing
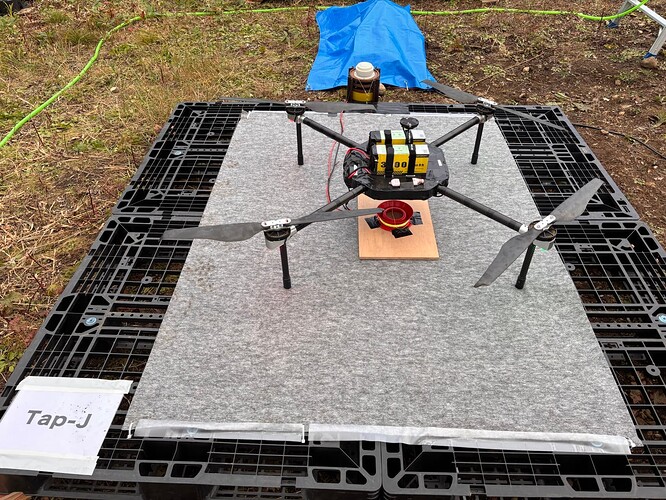
When it comes to the multicopter hardware we used, here’s our delivery copter which is AttracLab quadcopter using CubeOrangePlus autopilot, Here4 GPS and FoxTech semi-solid-state batteries
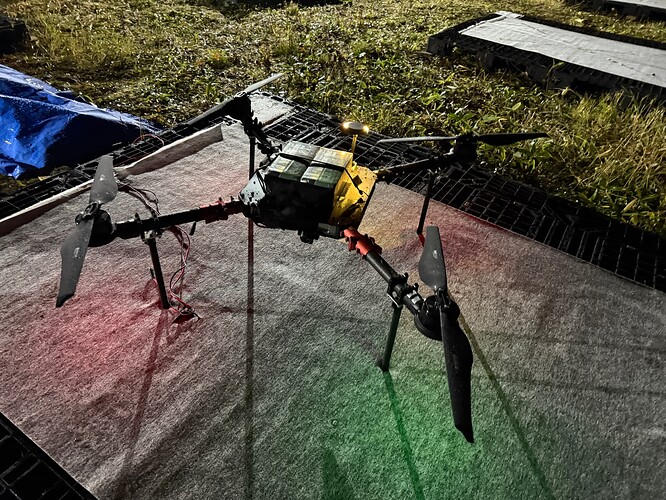
Here’s the search copter after returning from a mission. This is a QuKai quadcopter with CubeOrangePlus autopilot, Here4 GPS, Siyi ZT6 and Tattu semi-solid-state batteries
Here’s a video from the fixed camera next to the takeoff/landing pad
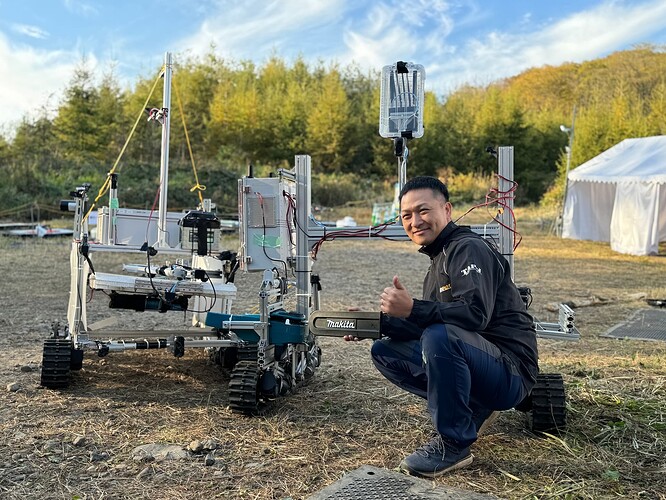
Here’s a picture of Kawamura-san with our two rescue rovers. I wasn’t heavily involved in the Rover part of the competition but I can tell you one of the rovers has an electric chainsaw attached!
I’d like to thank these organisations for their support
- City of Kamishihoro Hokkaido for organising the Japan Innovation Challenge each year. I’m sure it takes a lot of effort and we really appreciate them giving us the opportunity to compete
- Siyi for working closely with the ArduPilot dev team on the ZT6 and ZT30 drivers. They added new features we needed and prompty resolved any issues we found
- AttracLab for providing the delivery drone and one of the two search vehicles
- QuKai for providing one of the search vehicles
- Xacti for providing the CX-GB250 backup thermal camera. We did not use this camera in the competition but AP supports it and I have used Xacti cameras for other applications

Thanks also to the AP dev team in particular @Leonardthall who worked with me adding the payload oscillation suppression feature and @tridge for his advice re the absolute thermal cameras.
Finally thanks very much to my TAP-J team mates including Kawasaki-san, Yamaguchi-san, Wagata-san, Komiya-san, Kawamura-san, Kitaoka-san, Fujikawa-san, Iizuka-san and Shibuya-san and Koujimaru-san! We did it!!

