Hi guys, I am using a Pixracer R15 to build my own drone but I ran into this issue when uploading a custom firmware with waf (the command was: ./waf --targets bin/arducopter --upload). The upload froze and I had to stop everything with CTRL + C, it don’t work since.
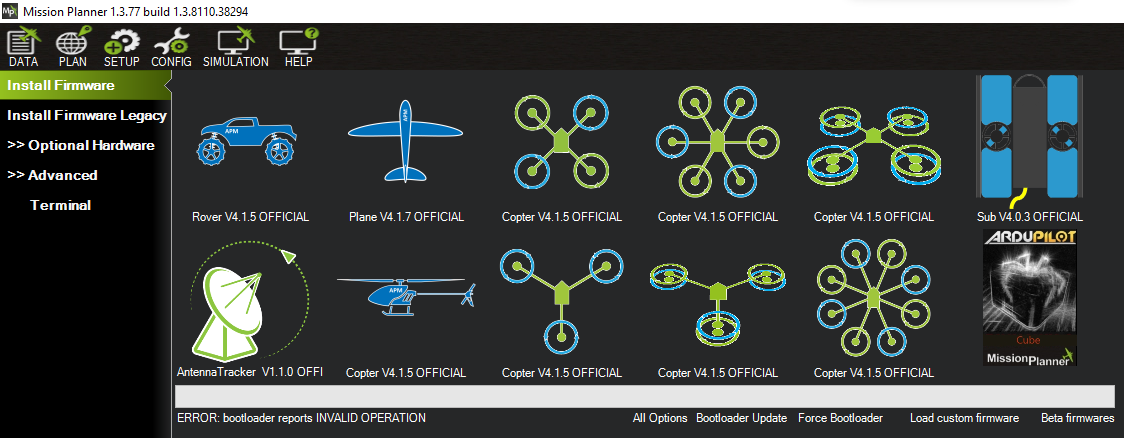
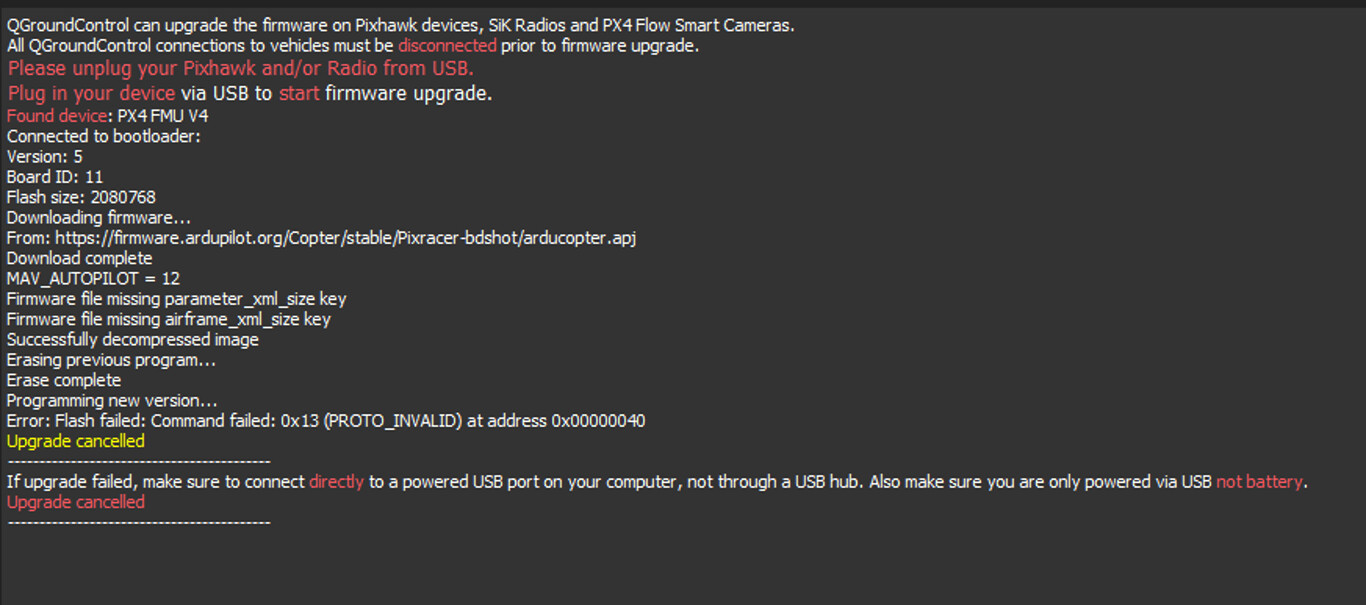
When i connect the Pixracer to my PC a yellow LED starts flashing non-stop. Usually when this happens I can upload another firmware using Mission Planner, but this time it always threw the same error (I tried with different versions of Copter, Rover and Plane) :
The connection via mavelink is also not working: “No Heartbeat Packets recieved”
I’ve seen other discussions about this and generally the problem is solved by upgrading the bootloader, but I am not sure of how to do it in the Pixracer. Usually the board is set to DFU mode and then an app is used to upload it, but the documentation of the Pixracer does not mention anything about this mode (or at least I have not found it).
How can I solve this? Is it really a problem with the bootloader or is it something else? If the bootloader is the problem, how can I reflash it in the Pixracer?
Just in case, PixRacer can be forced to enter DFU, but this really requires nasty actions (shorting two known pins of the STM chip itself). I had to do that once, when I flashed a broken firmware that I compiled myself, which apparently segfaulted early in the boot.
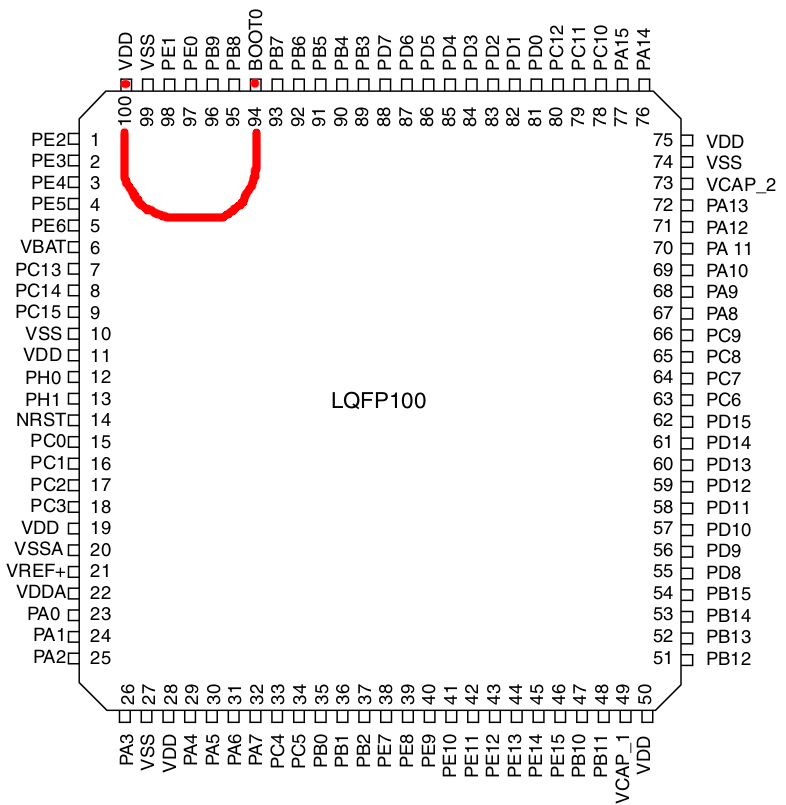
Could you give me more details? I checked and the chip used in the Pixracer is the STM32F427 VIT6. according to the datasheet, the bootloader is in the system memory, and in the boot configuration section it says that the pins (Boot1, Boot0) must be (0 , 1) in order to select the system memory as the boot space. Is this what you did? I really want to be sure what I am doing as this looks really risky and is hard for me to get another Pixracer at the moment.
[EDIT]
After re-reading the previous post once again, I kind of confirm that. The only side note is that BOOT1 does not seem to be exposed on this particular chip, so you don’t have to do anything with it. So go only for BOOT0. This is safe if your hands are not shaky. I did it several times because I was not using the STM32CubeProgrammer on my first attempts. Good sharp-ended tweezers work like a charm.
[Original answer]
You need to short the pin named BOOT0 and one of the VCC pins.
Here is the picture of the 100-pin version of the F427 chip which PixRacer has, with the red line indicating what may be the easiest way to be shorted (with fine tweezers, for instance).
It worked. Although I had to keep the twezeers on the whole process, if I lifted them up the pixracer would block again. But once I loaded the firmware with STM32CubeProgrammer and rebooted it, it was fully functional.
Thank you very much!