Recent improvements on ArduPilot changed a little the process of setting up a battery/batteries and the failsafe actions.
Let’s have a quick overview:
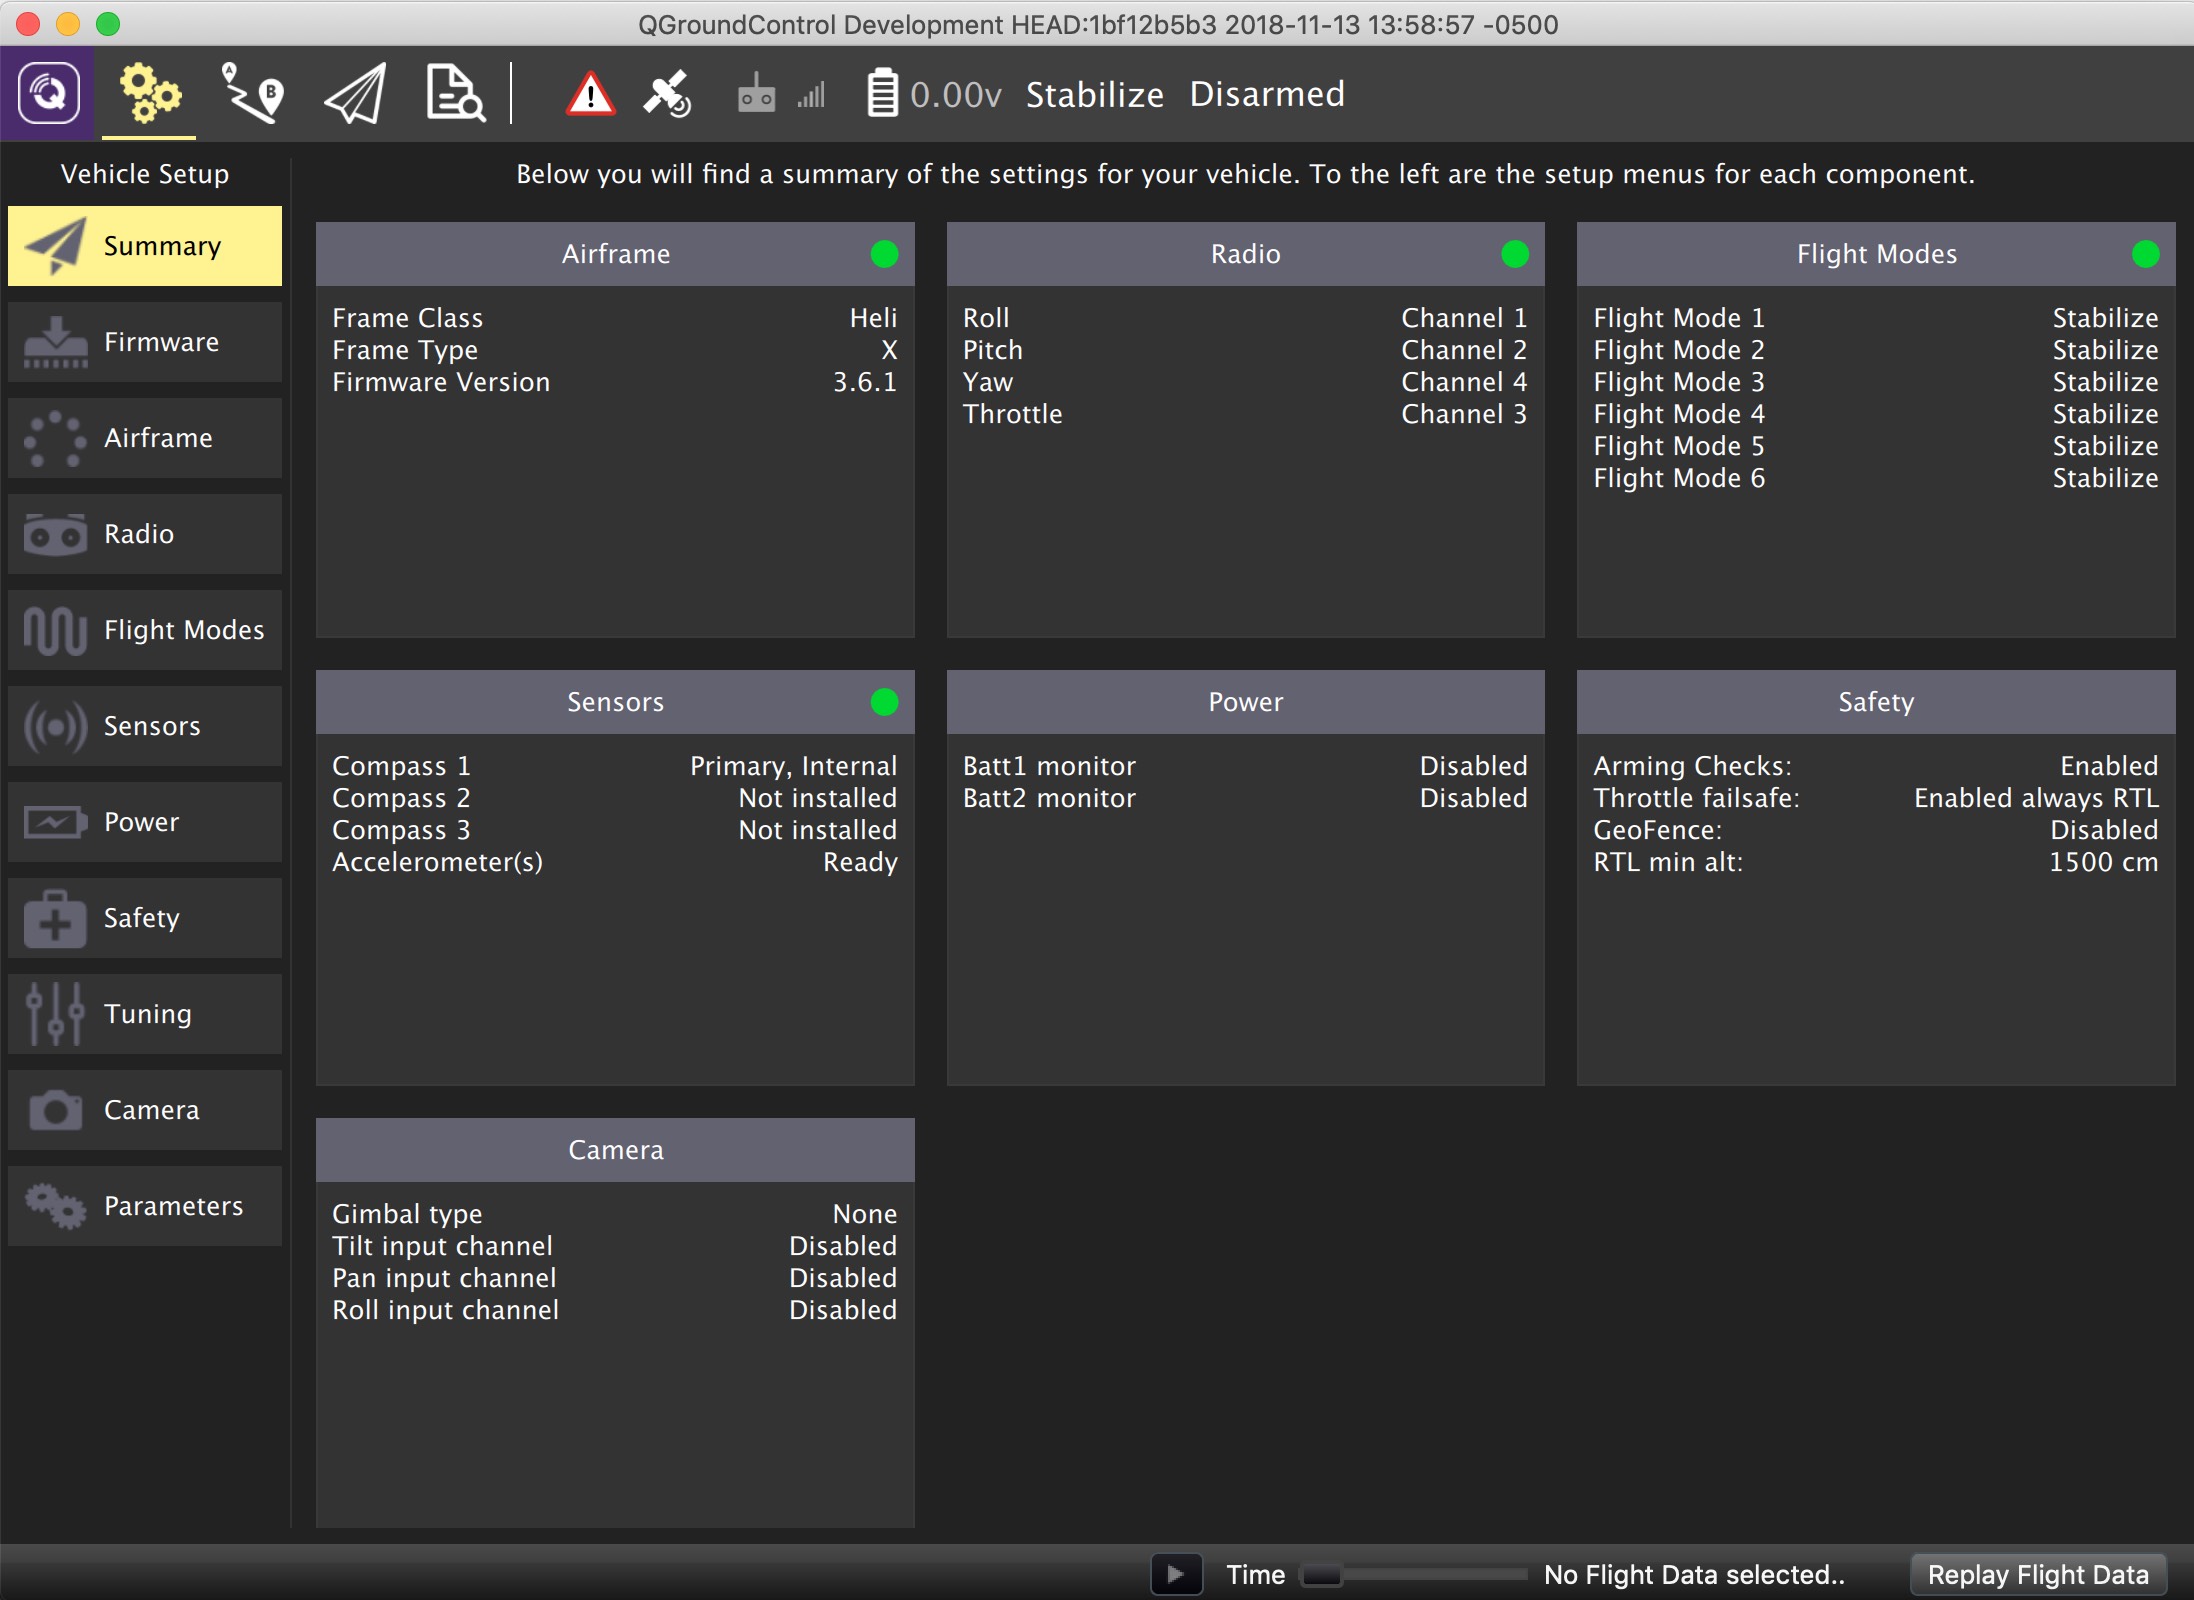
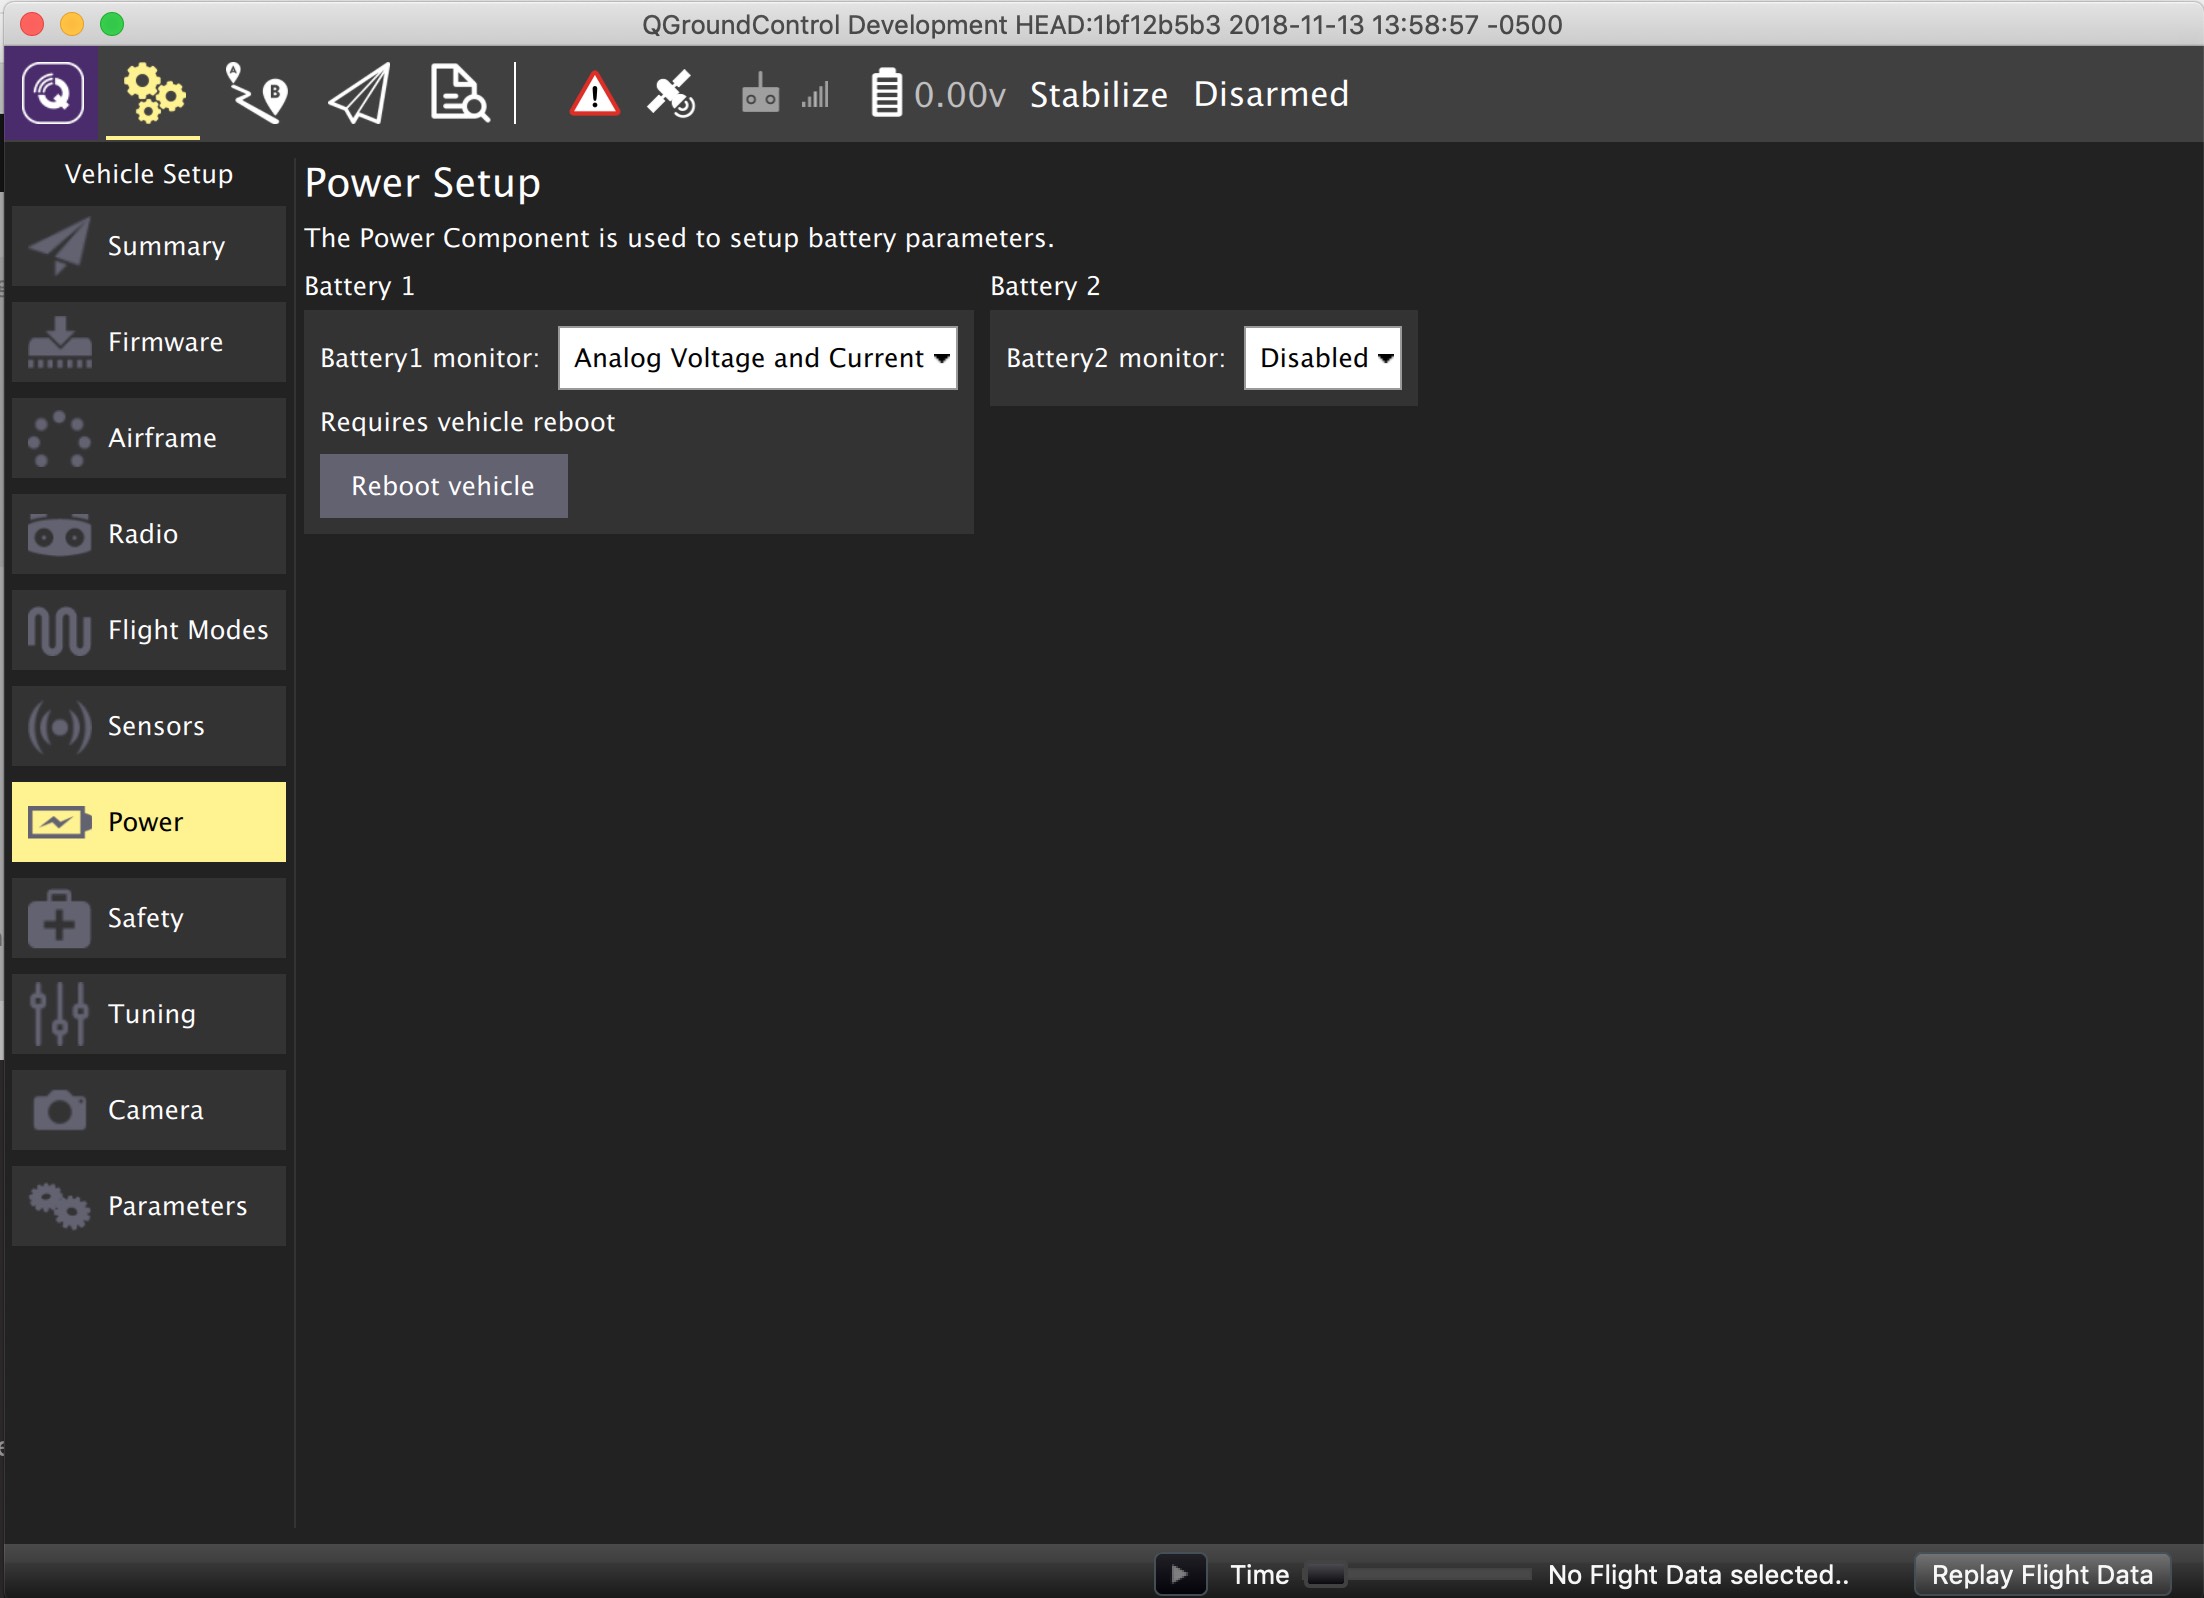
I’ll be using a recent version of QGroundControl, which shows up like this:

Don’t worry with the messages on the screen for now. I’m setting the flight controller on the bench inside home, so no GPS coverage, and for this article I didn’t bother to switch on the RC Radio.
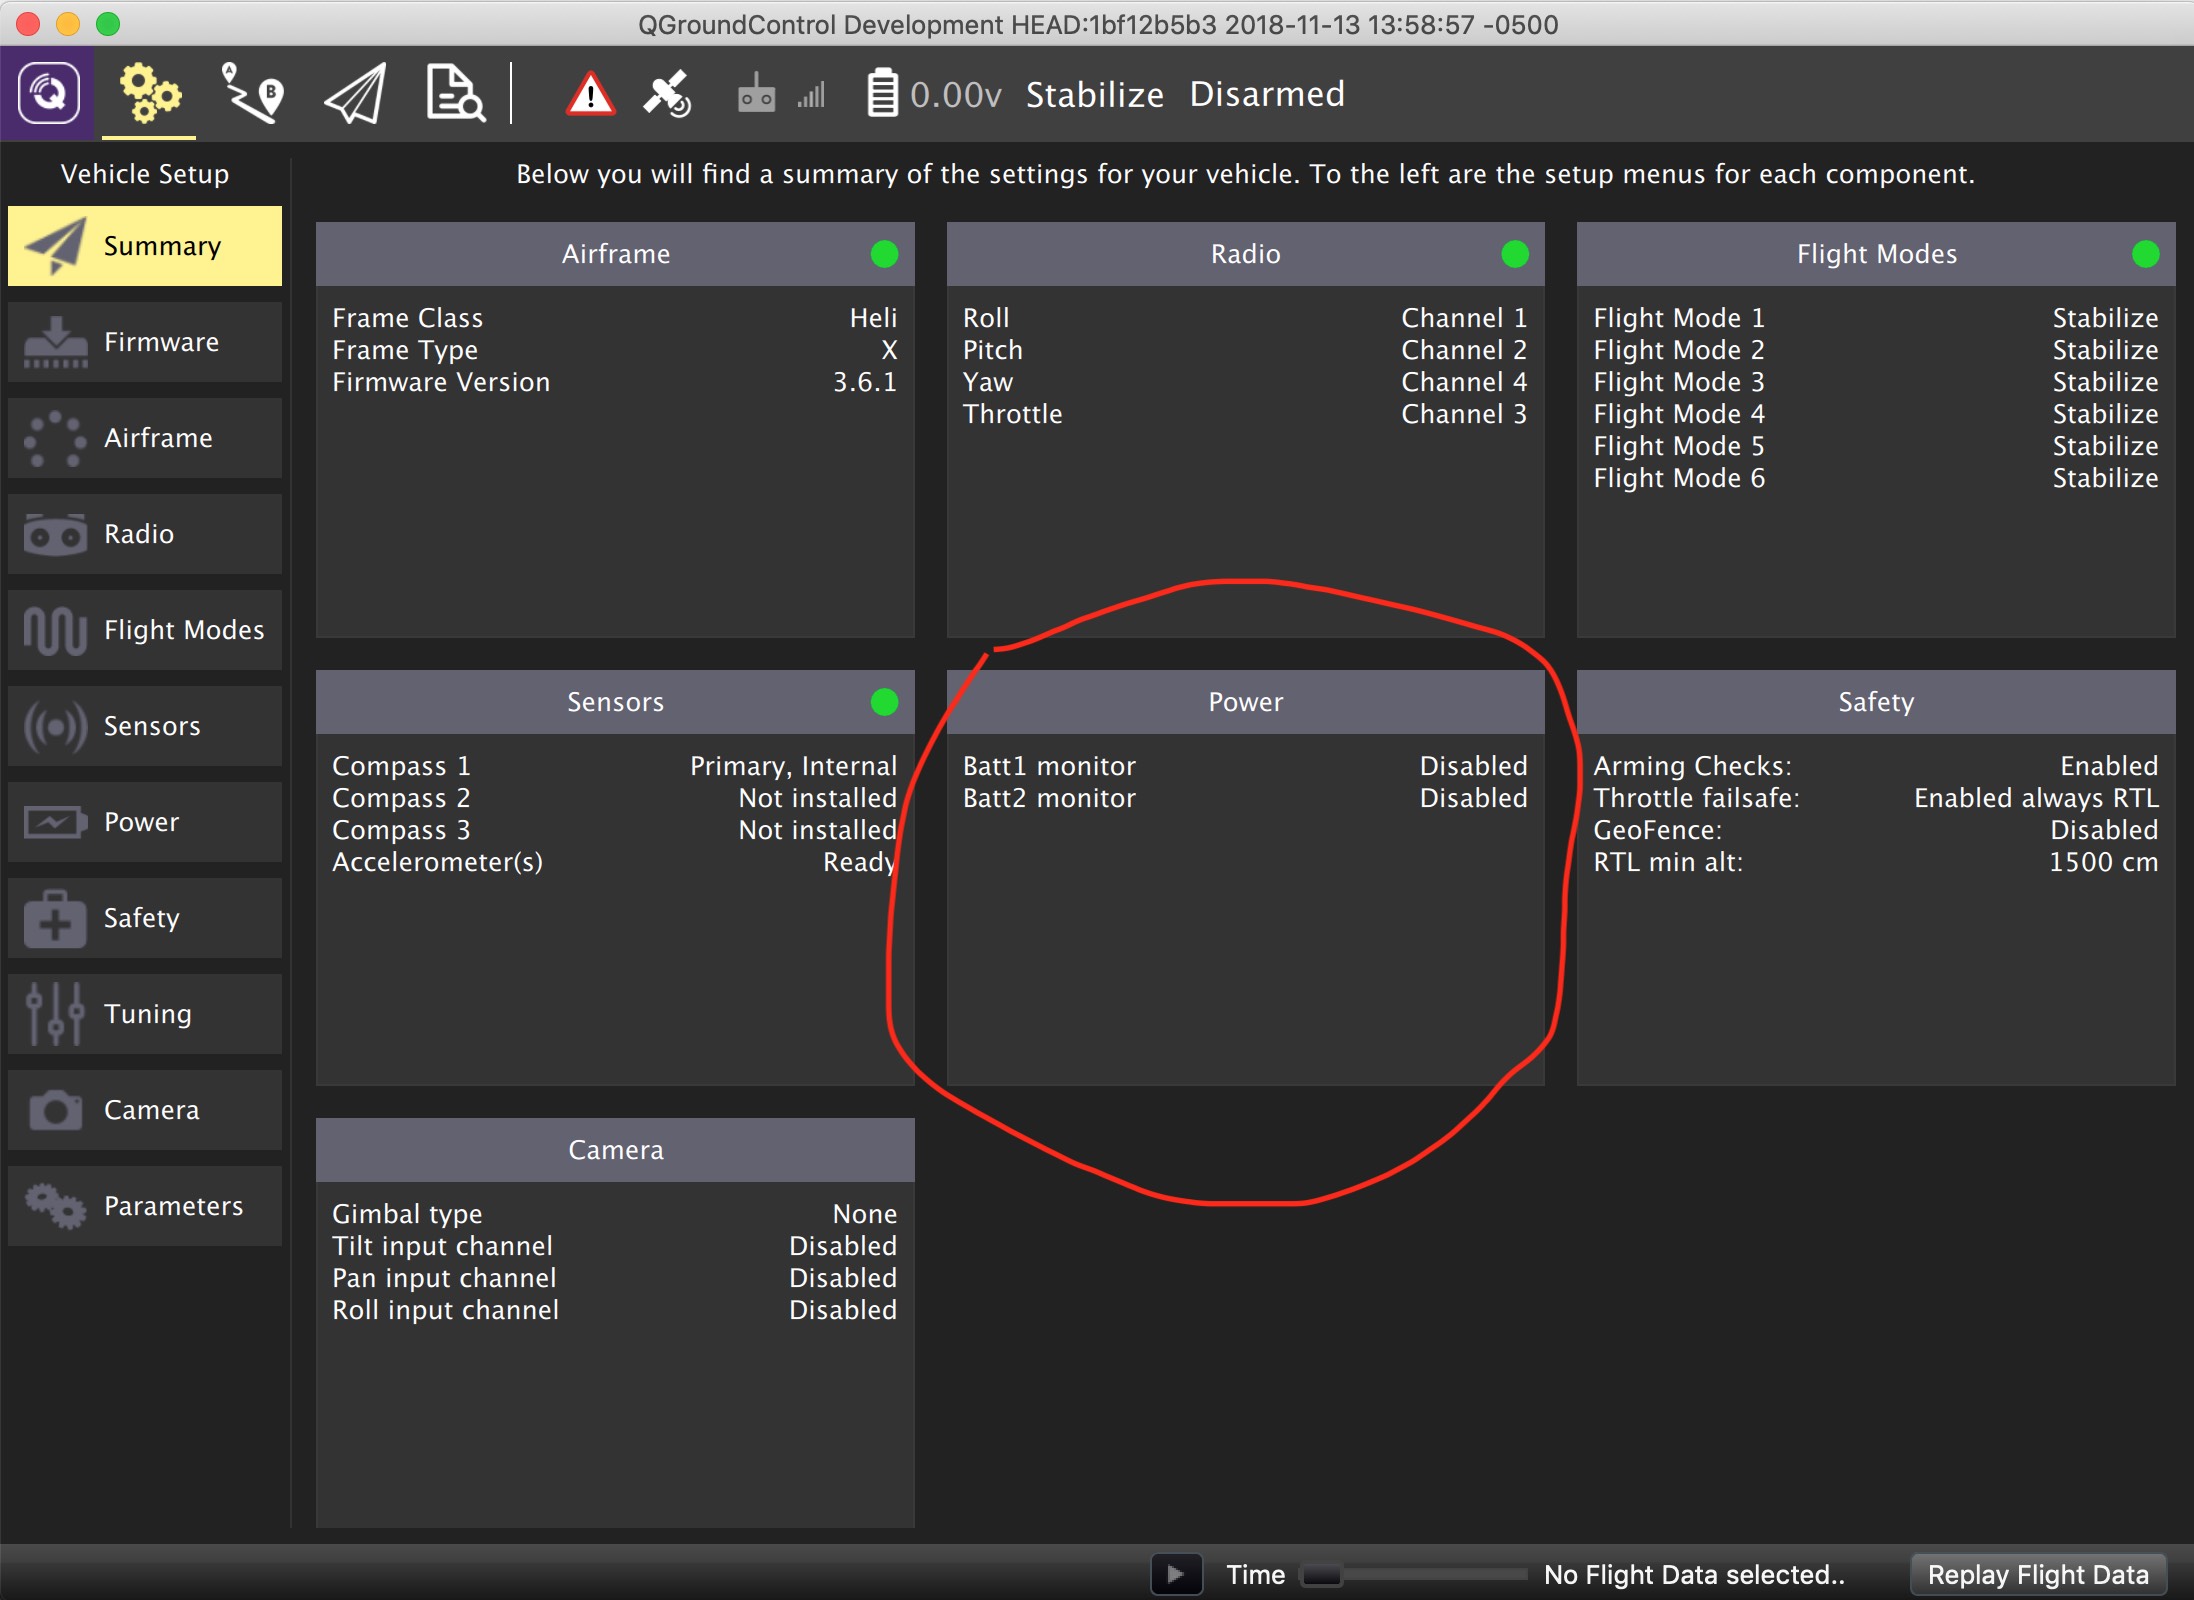
Let’s move to the setup screen now:
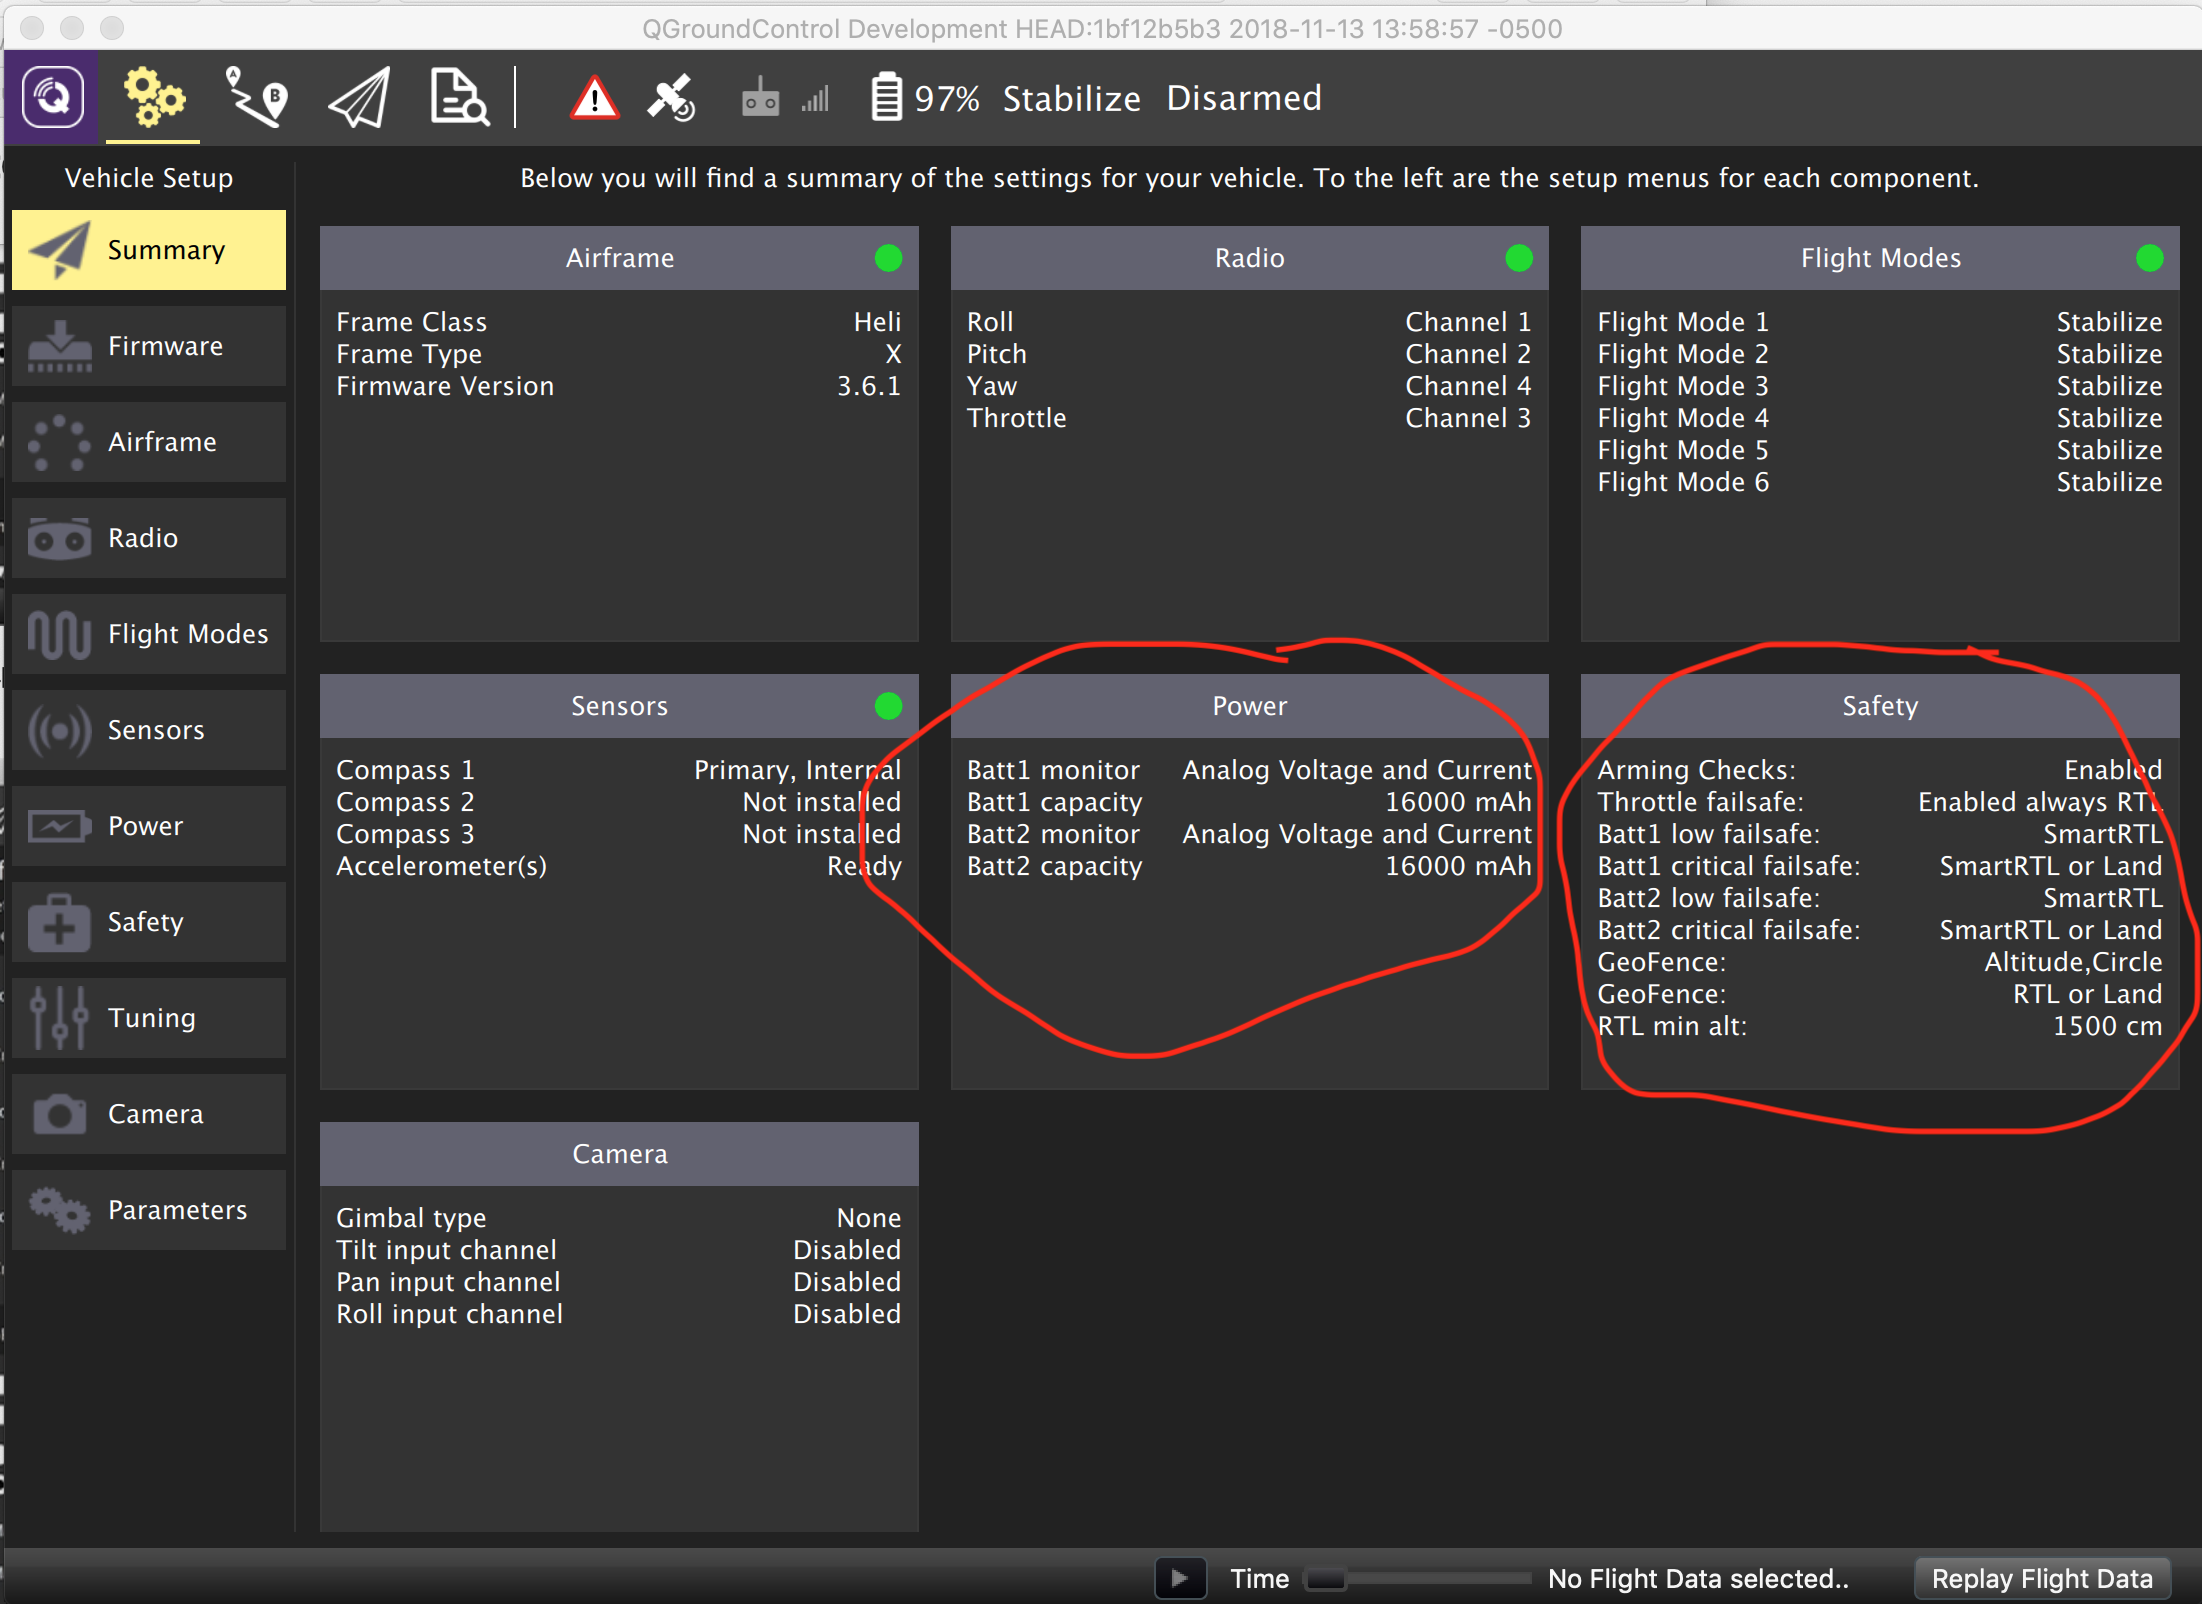
This flight controller has already been set, so we’ll just have to setup the battery, so we’ll choose the Power Tab. Please note that from the main screen is very easy to check that both battery monitors are disabled:
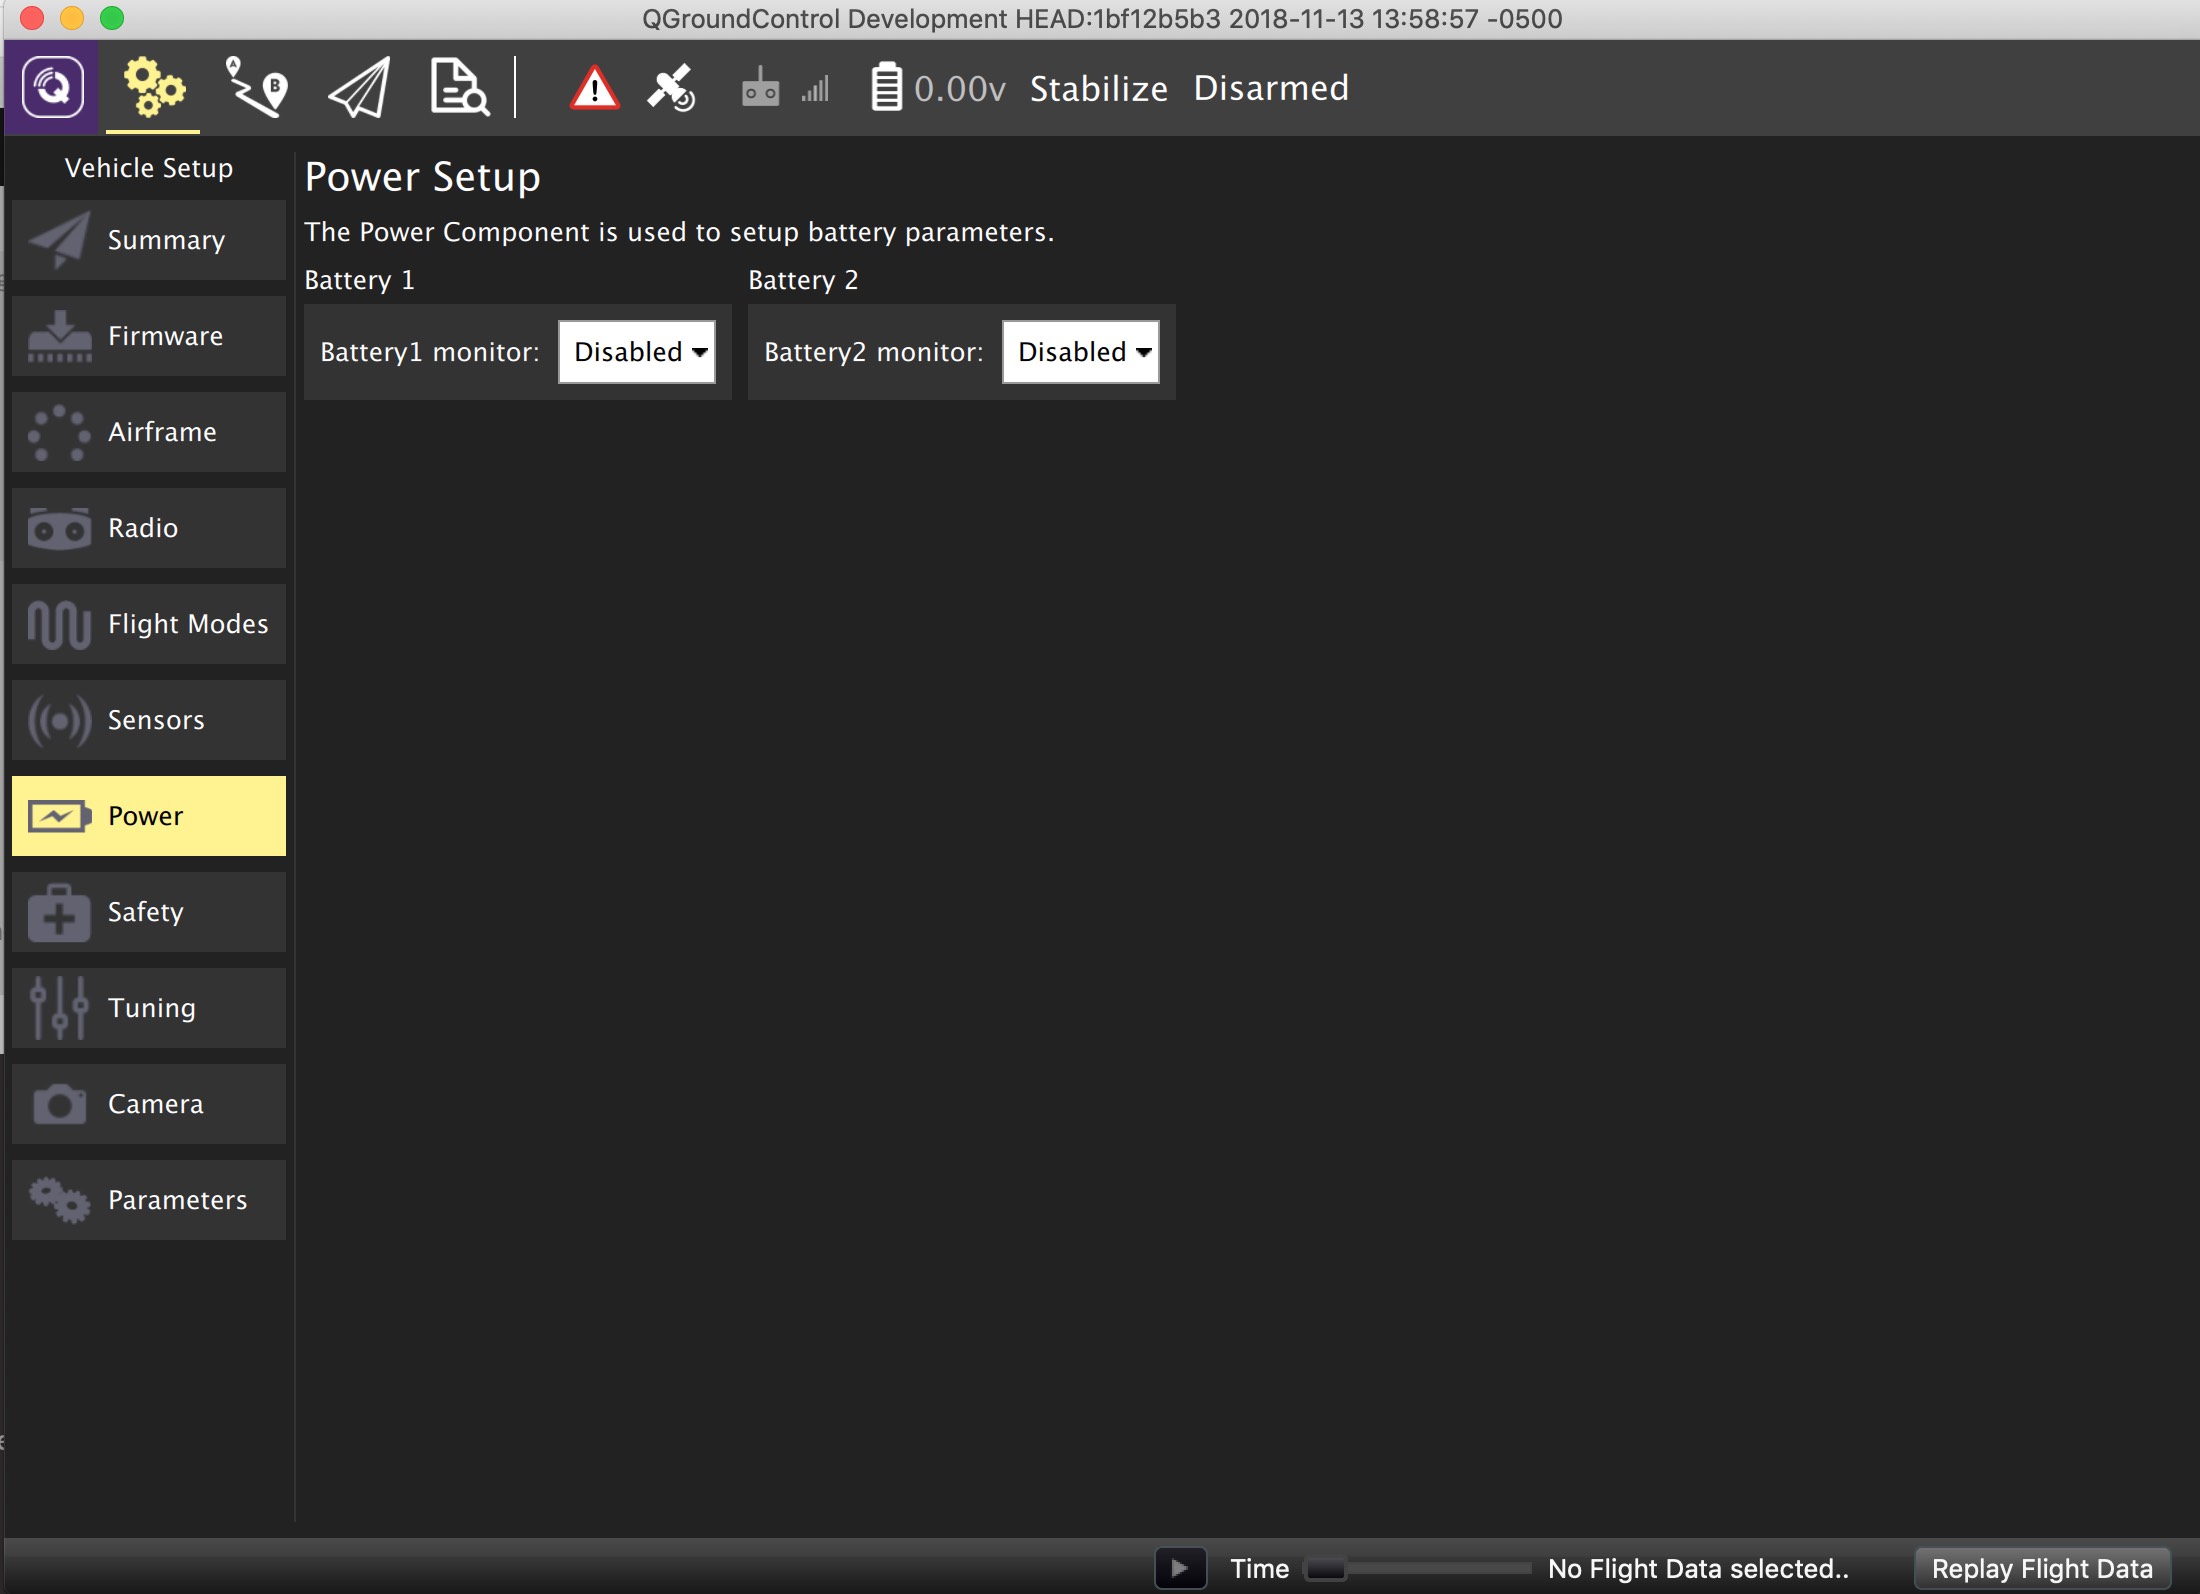
So, let’s start configuring the Power settings. Like we’ve seen on the summary screen both monitors are disabled, but there is a drop down,
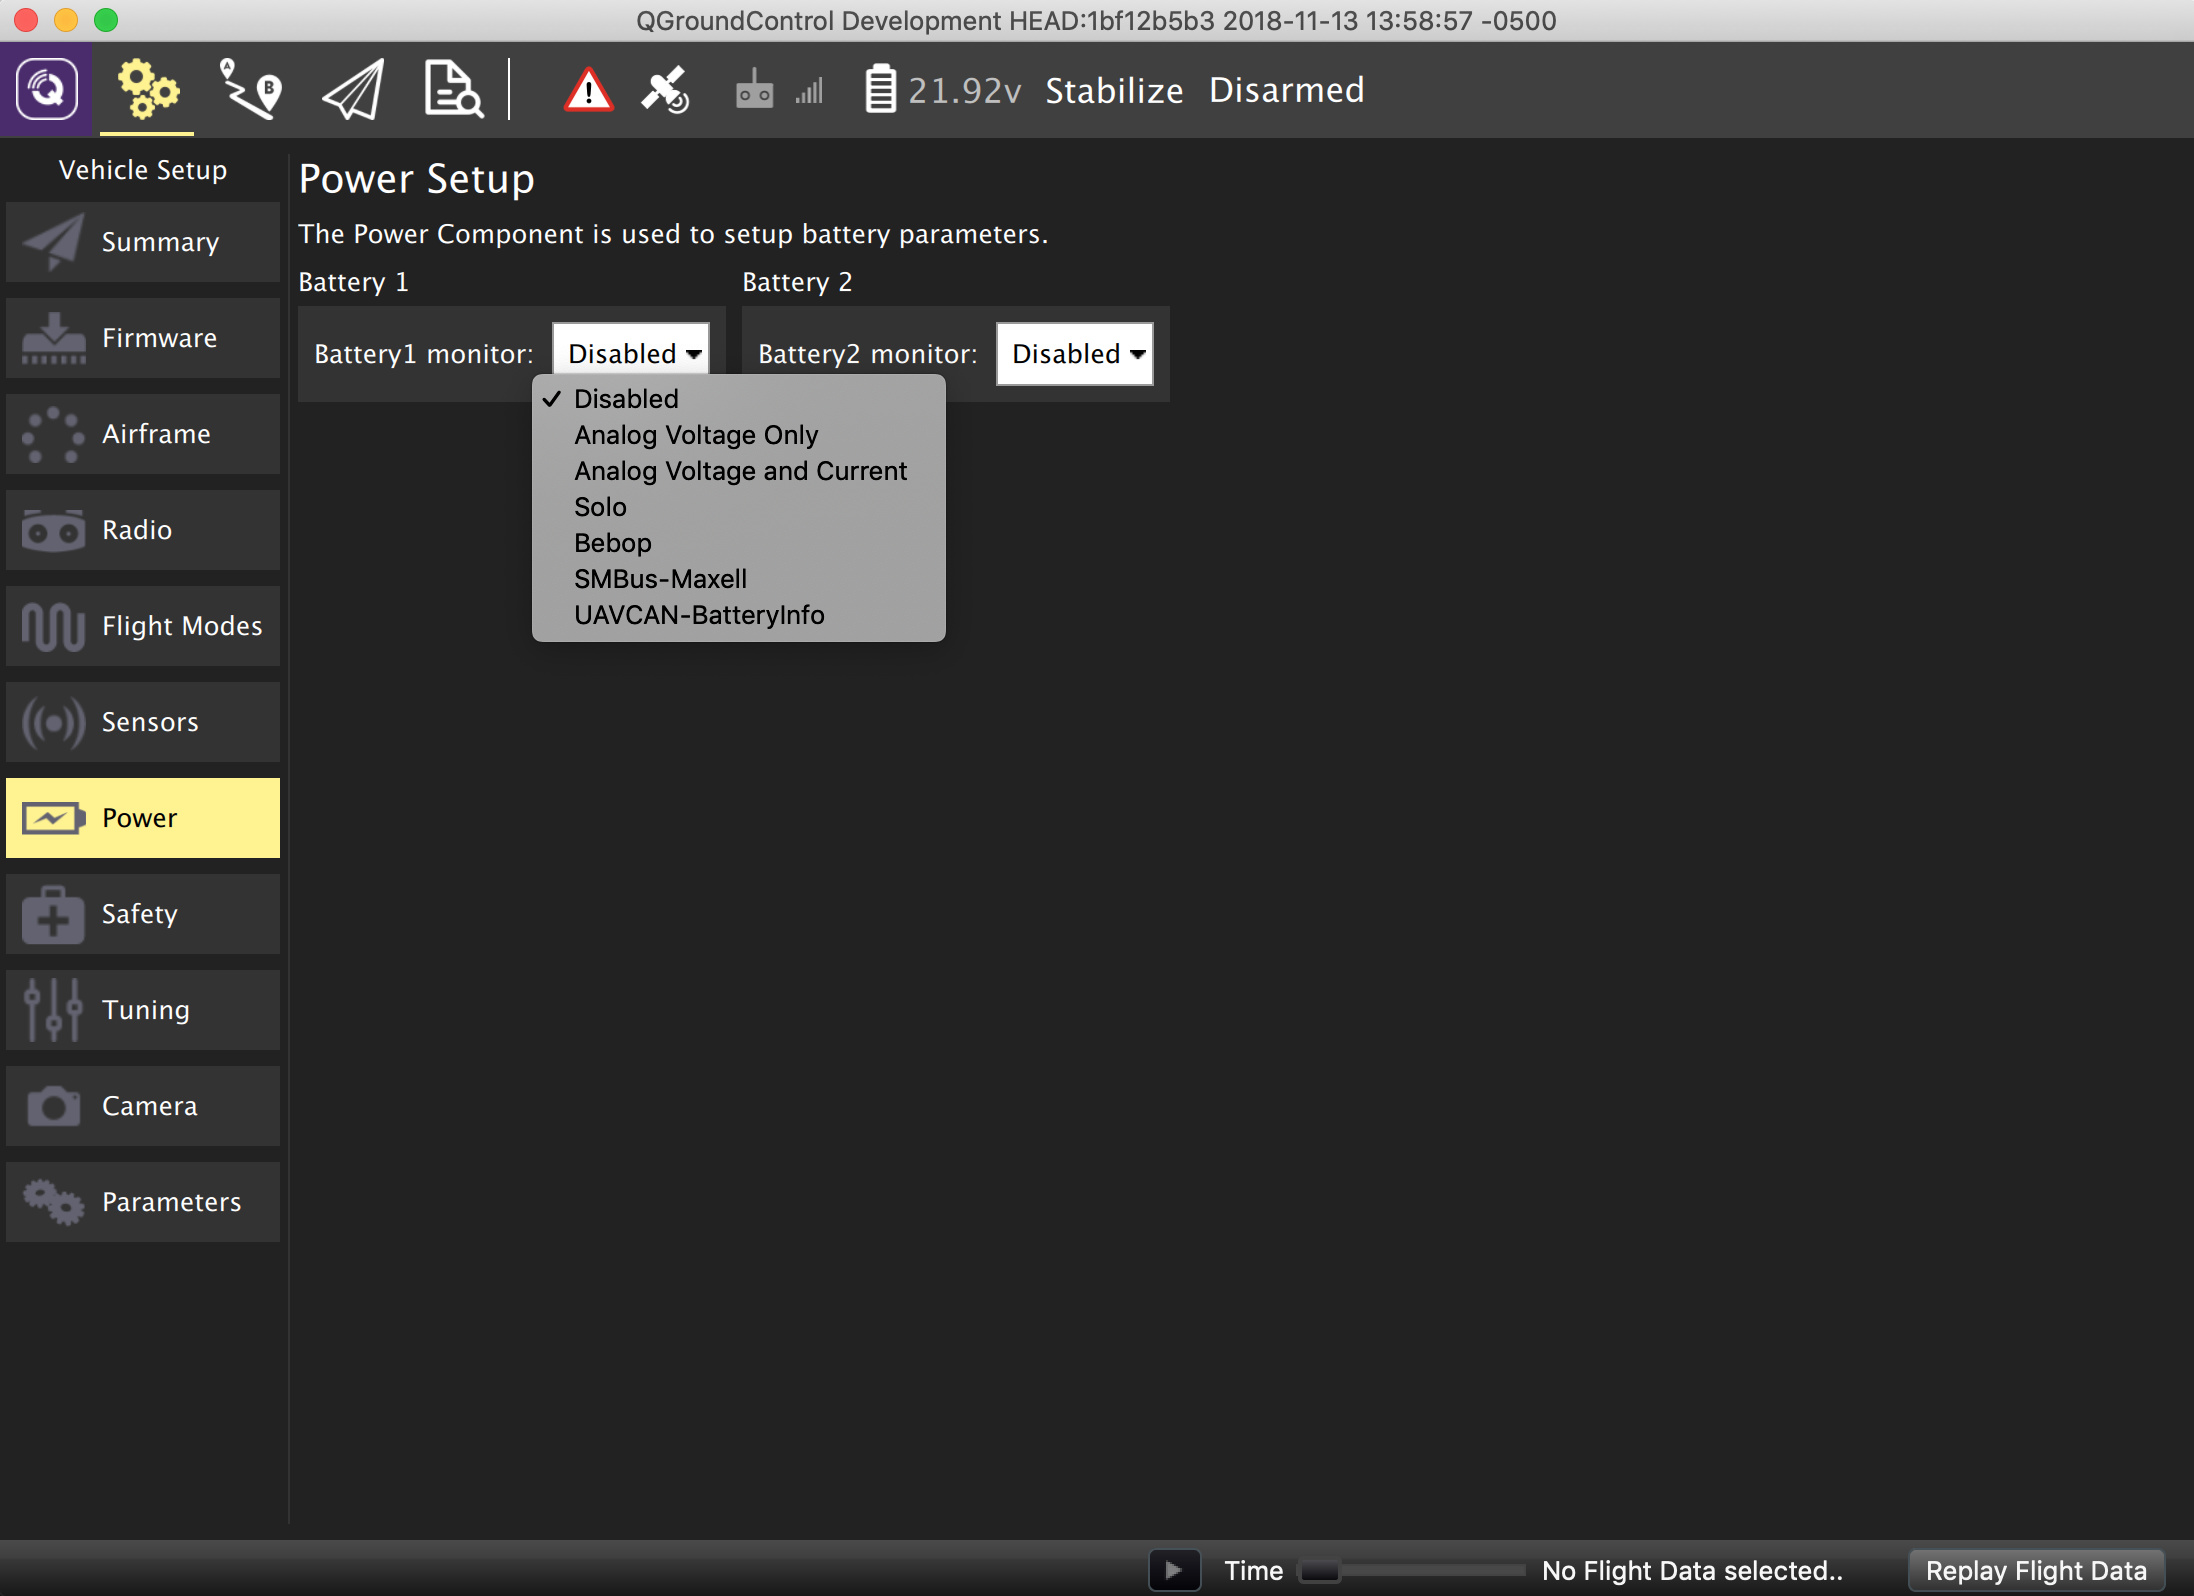
On this drop down, let’s choose the type according to our Power Monitor module
Please note that after choosing the Power monitor type, QGC alerts you that we need to reboot the flight controller
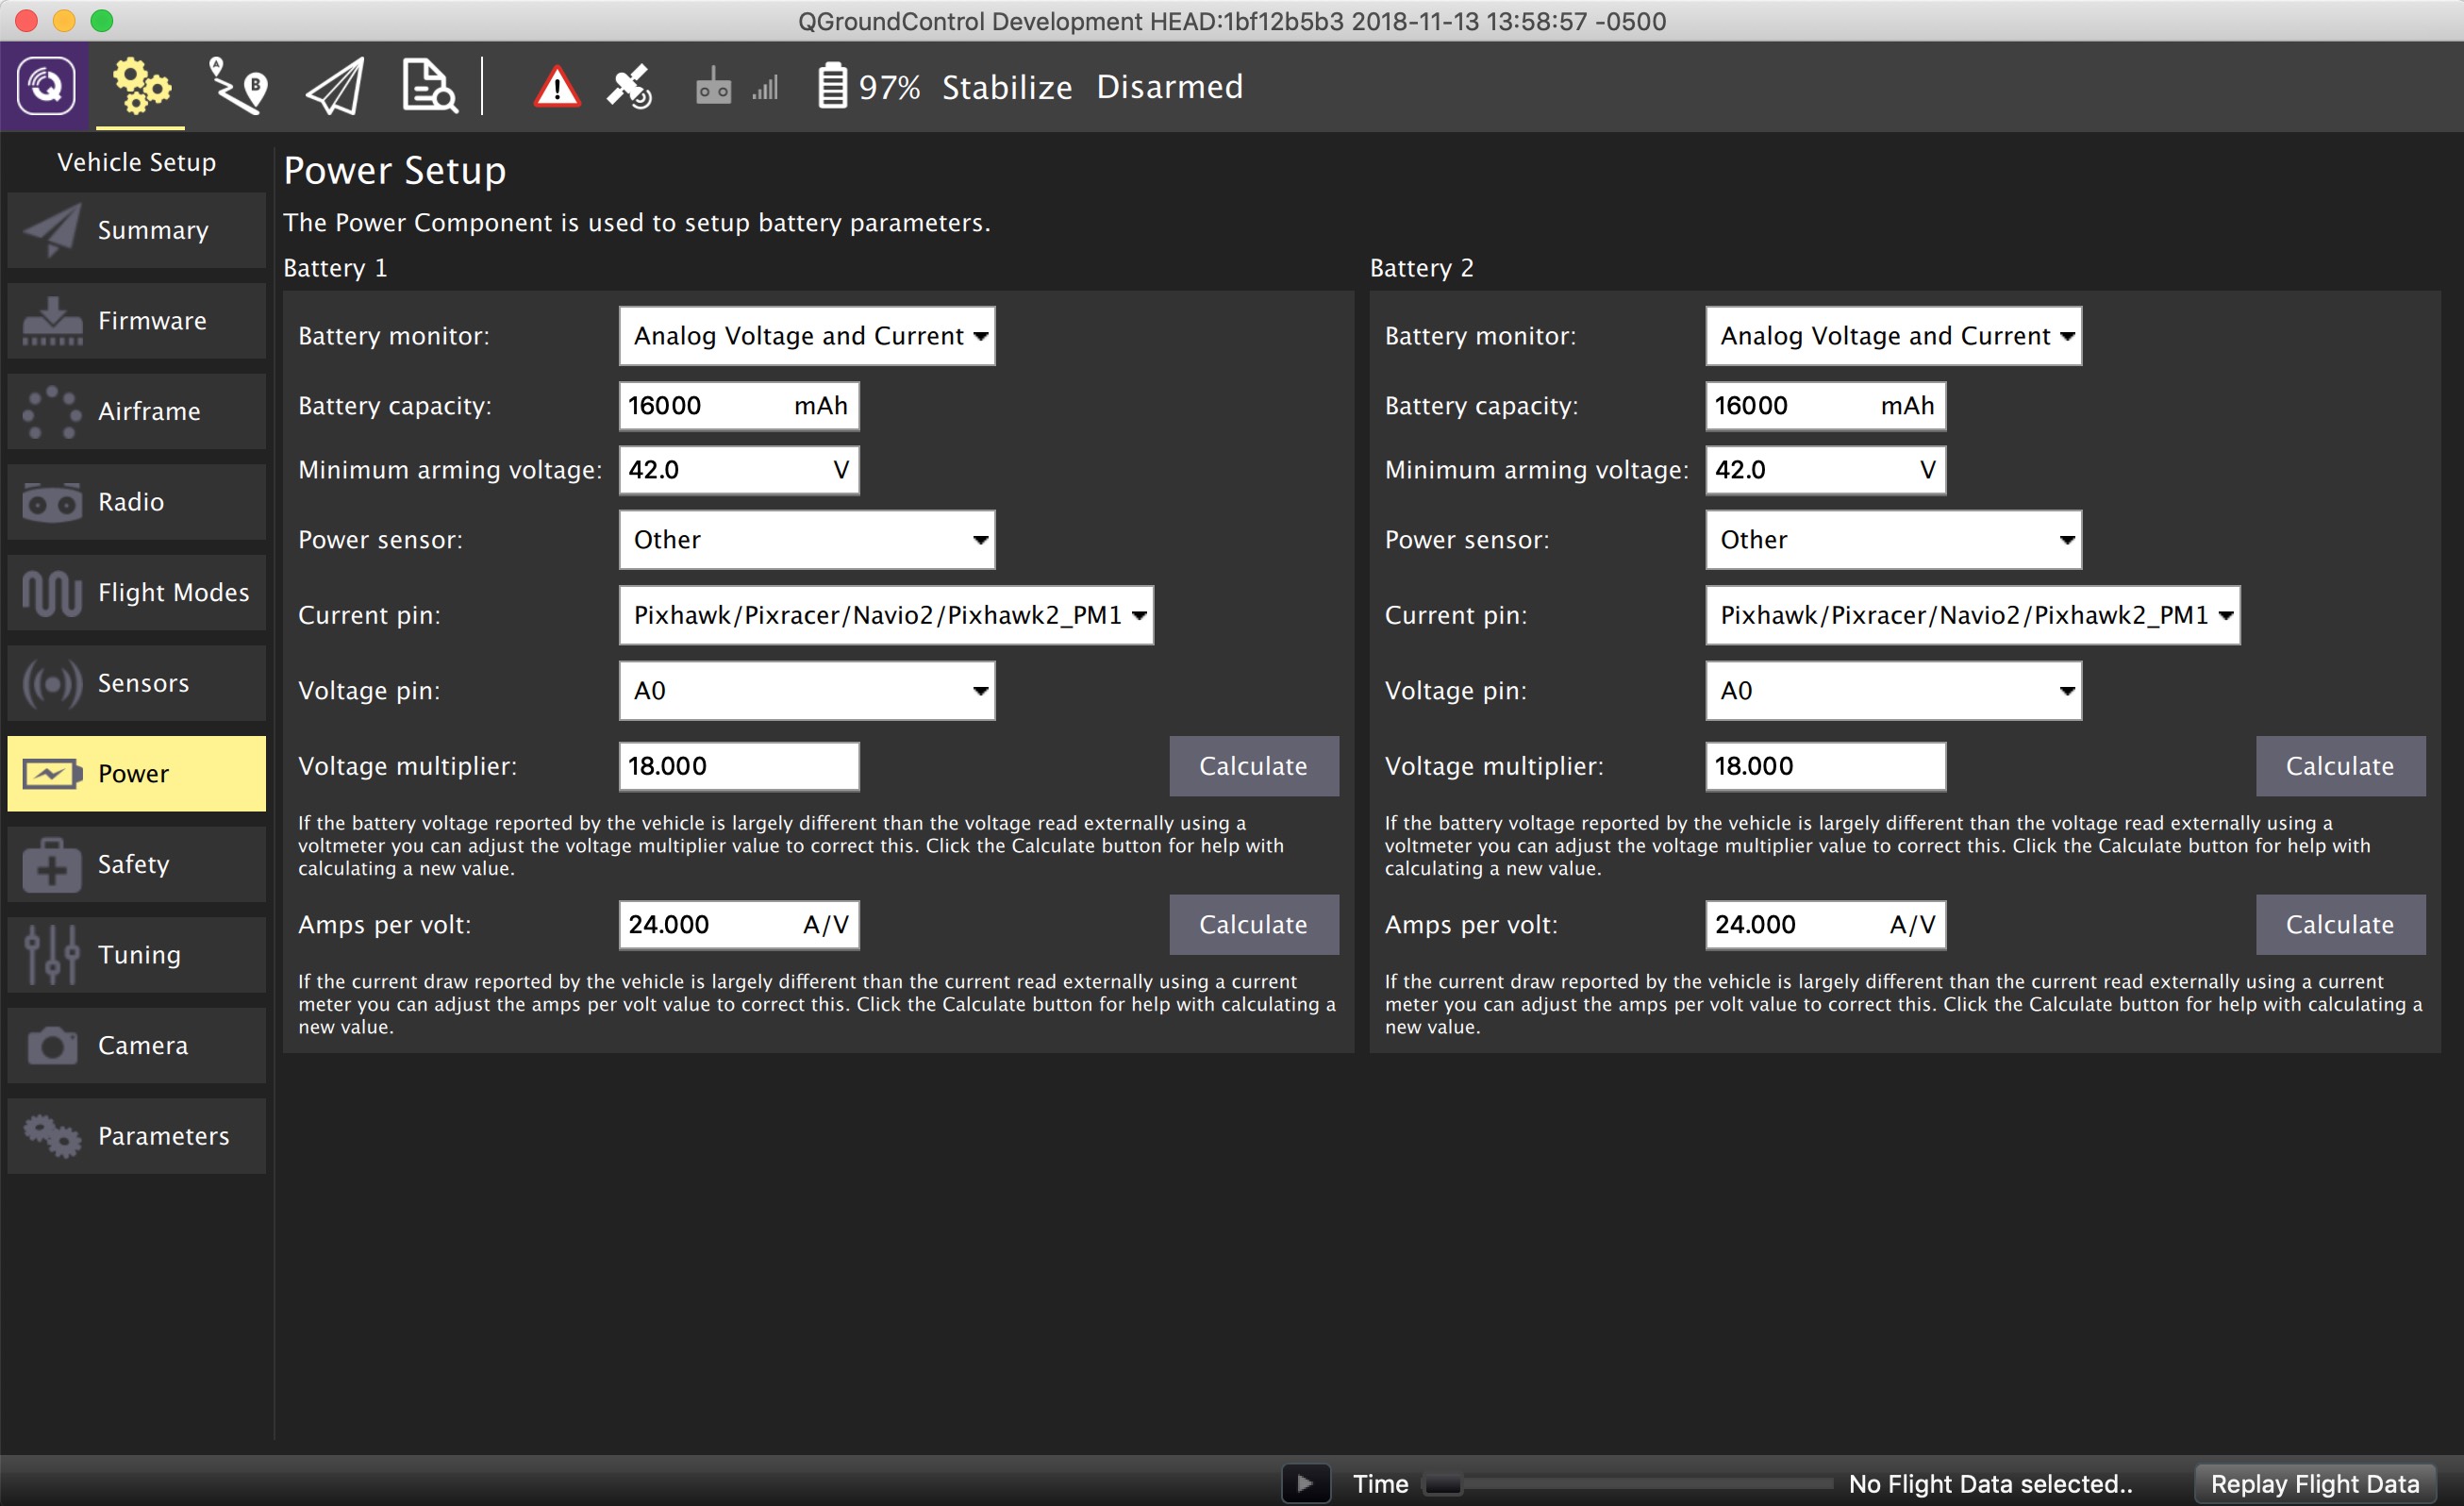
So, go ahead, reboot the flight controller, and return to this screen, and now you have all the parameters relevant to the flight controller available
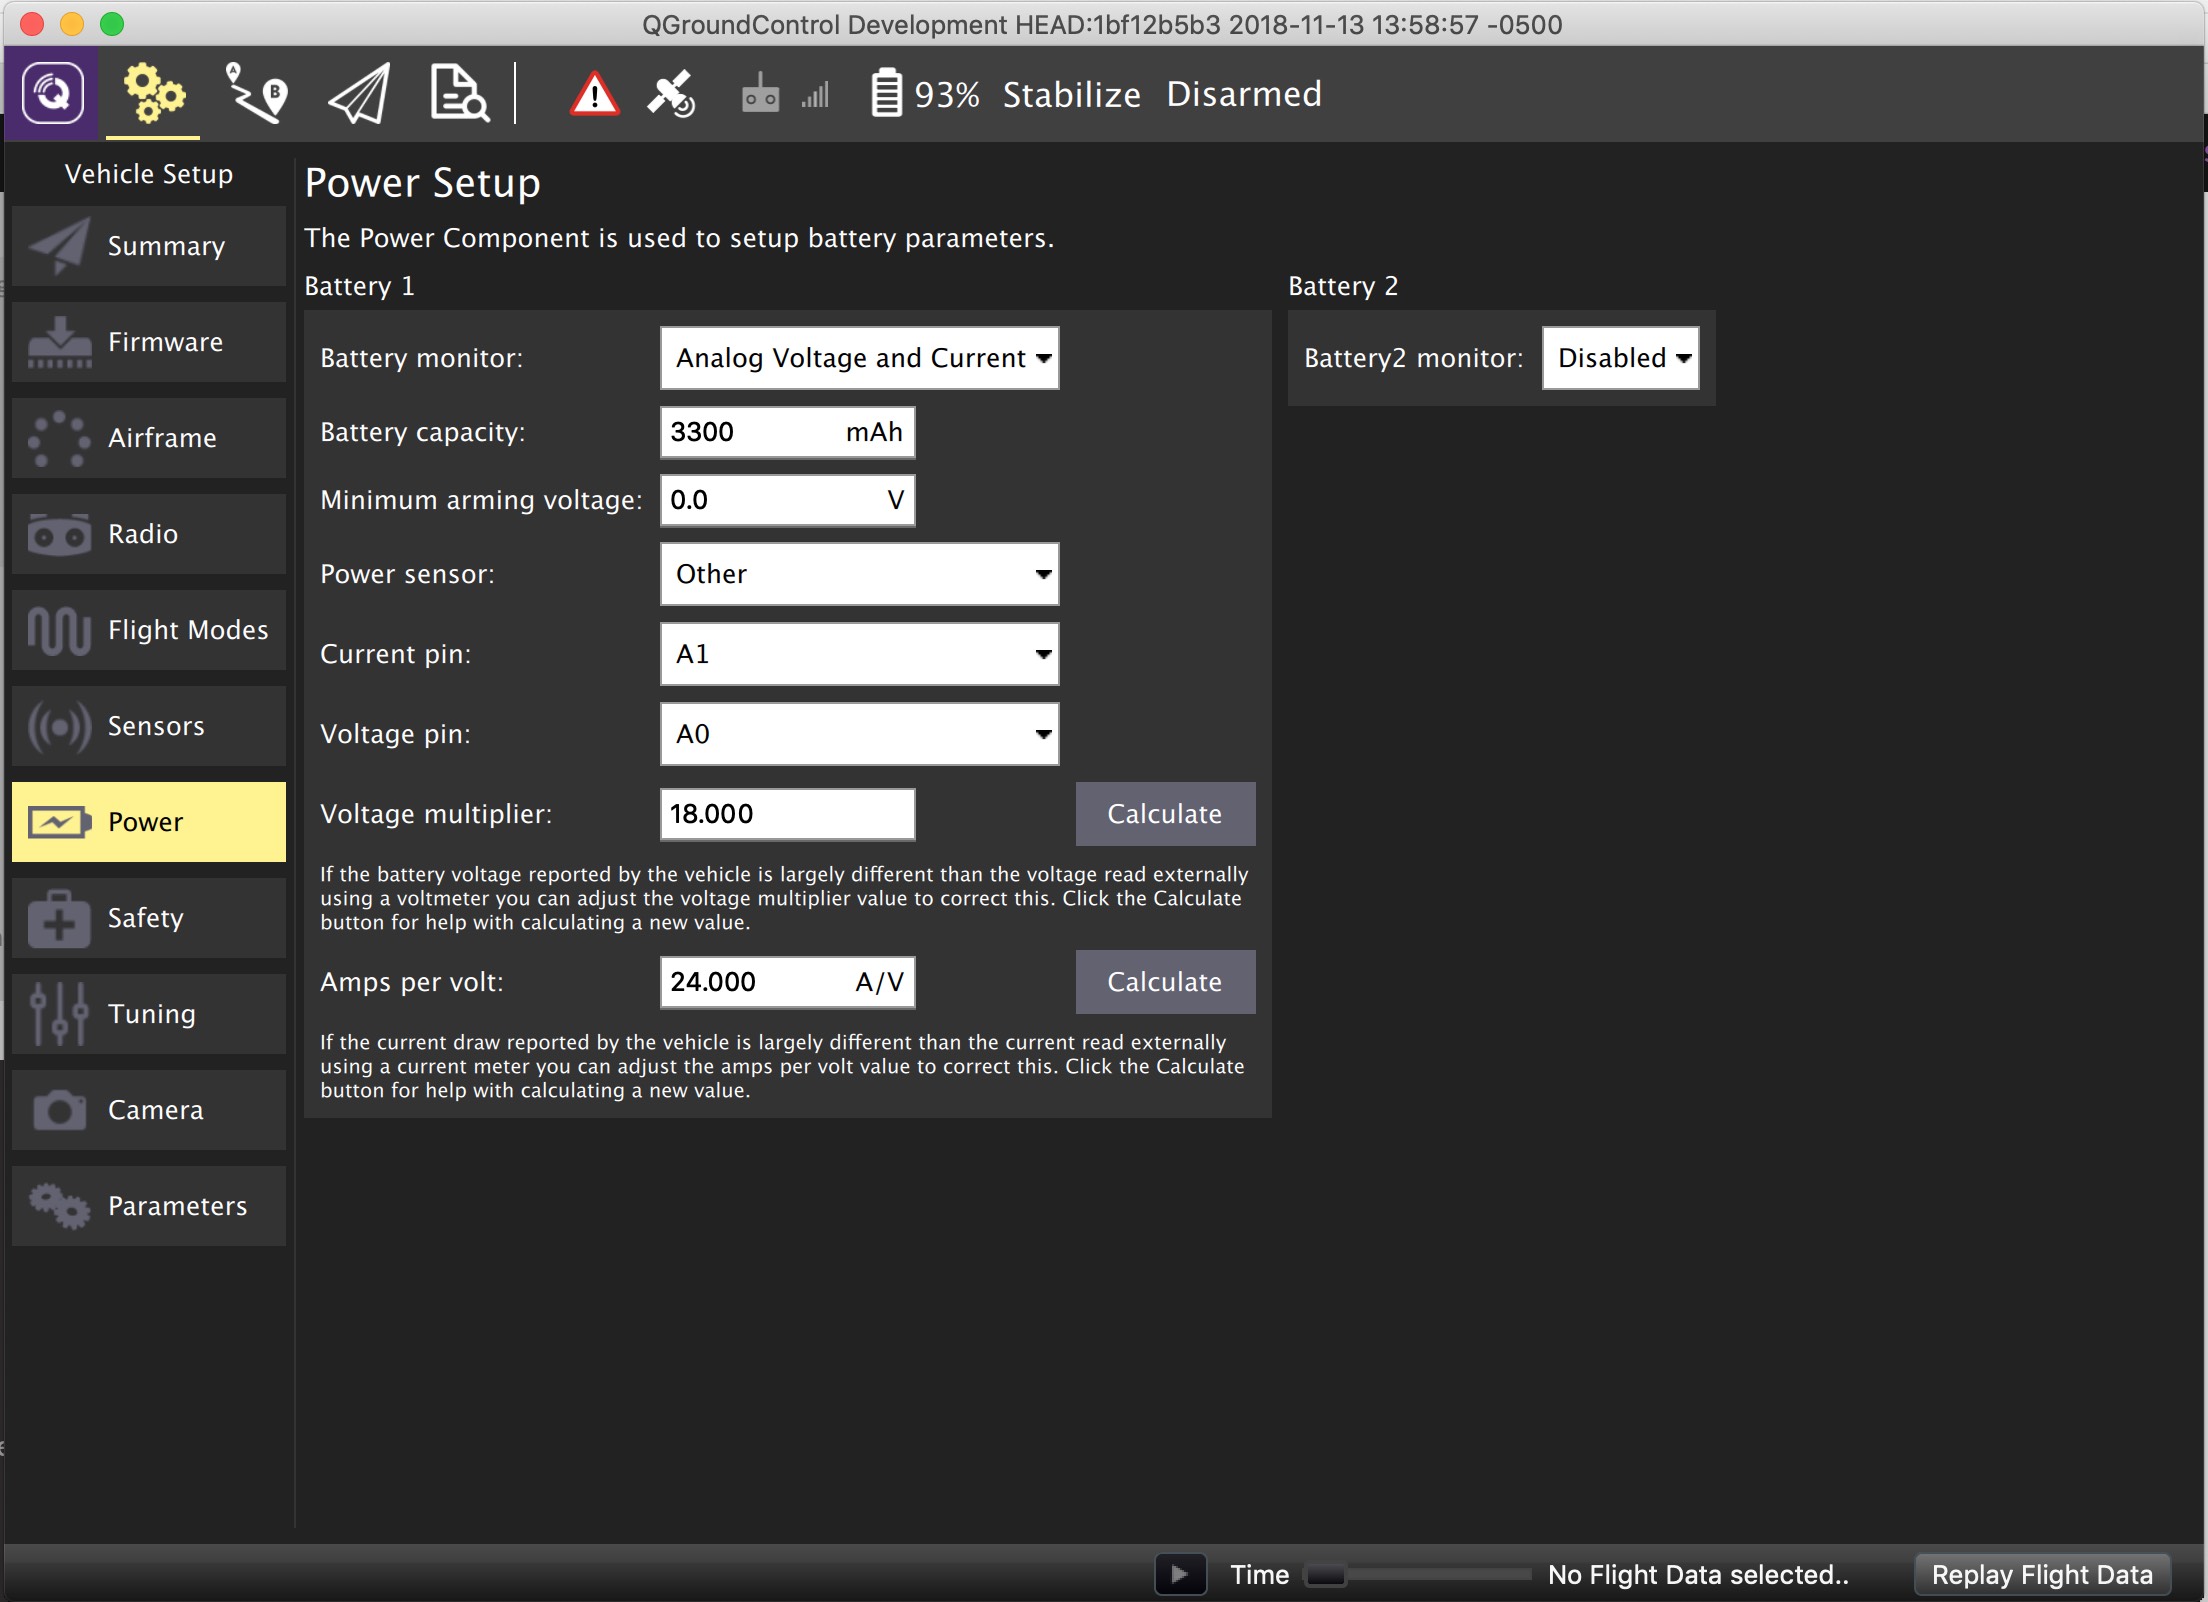
Now input the parameters appropriate to the characteristics of the Power Module and your battery.
On QGC if you click on the dialog box you get a nice explanation of what the specific input does

On this case I’m setting up with a 16000 mAh 12S battery, so the Minimum Arming Voltage value set to 3.5V per cell and connected to the Port 1 on a CUAV V5 board that has 2 power inputs.
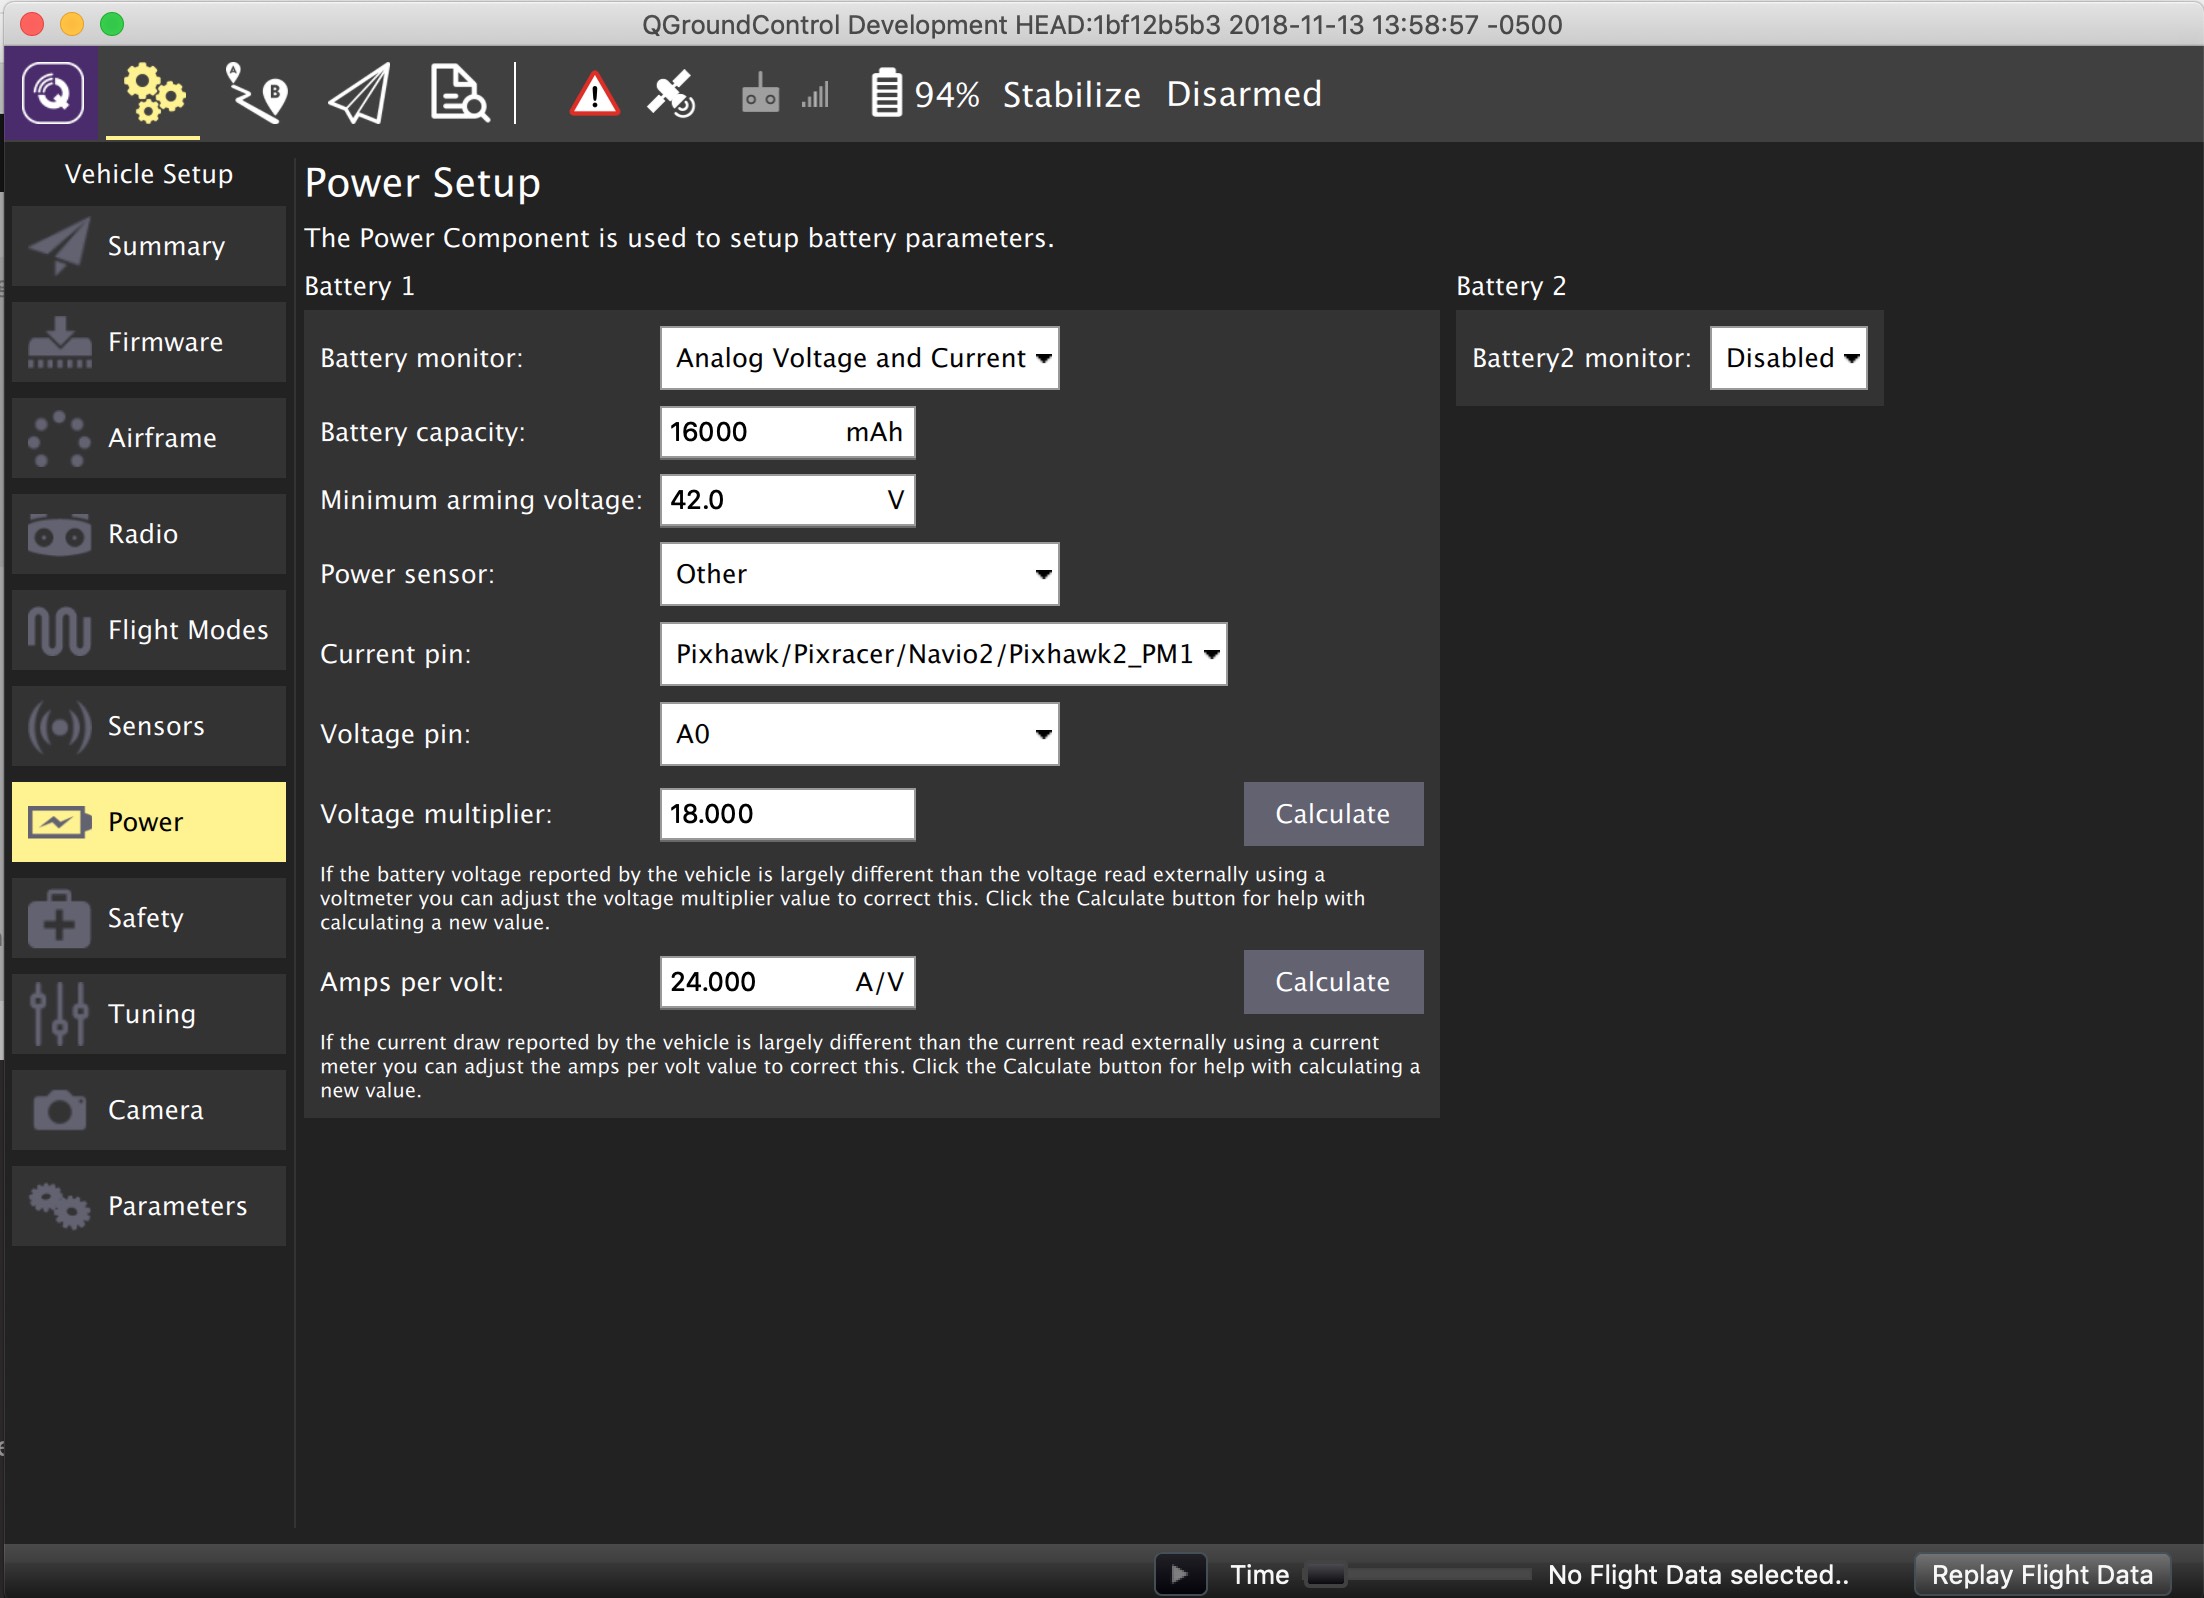
The values from the Voltage Multiplier and Amps per Volt are supplied by the manufacturer of the Mauch Power Module otherwise you’ll have to determine that manually.
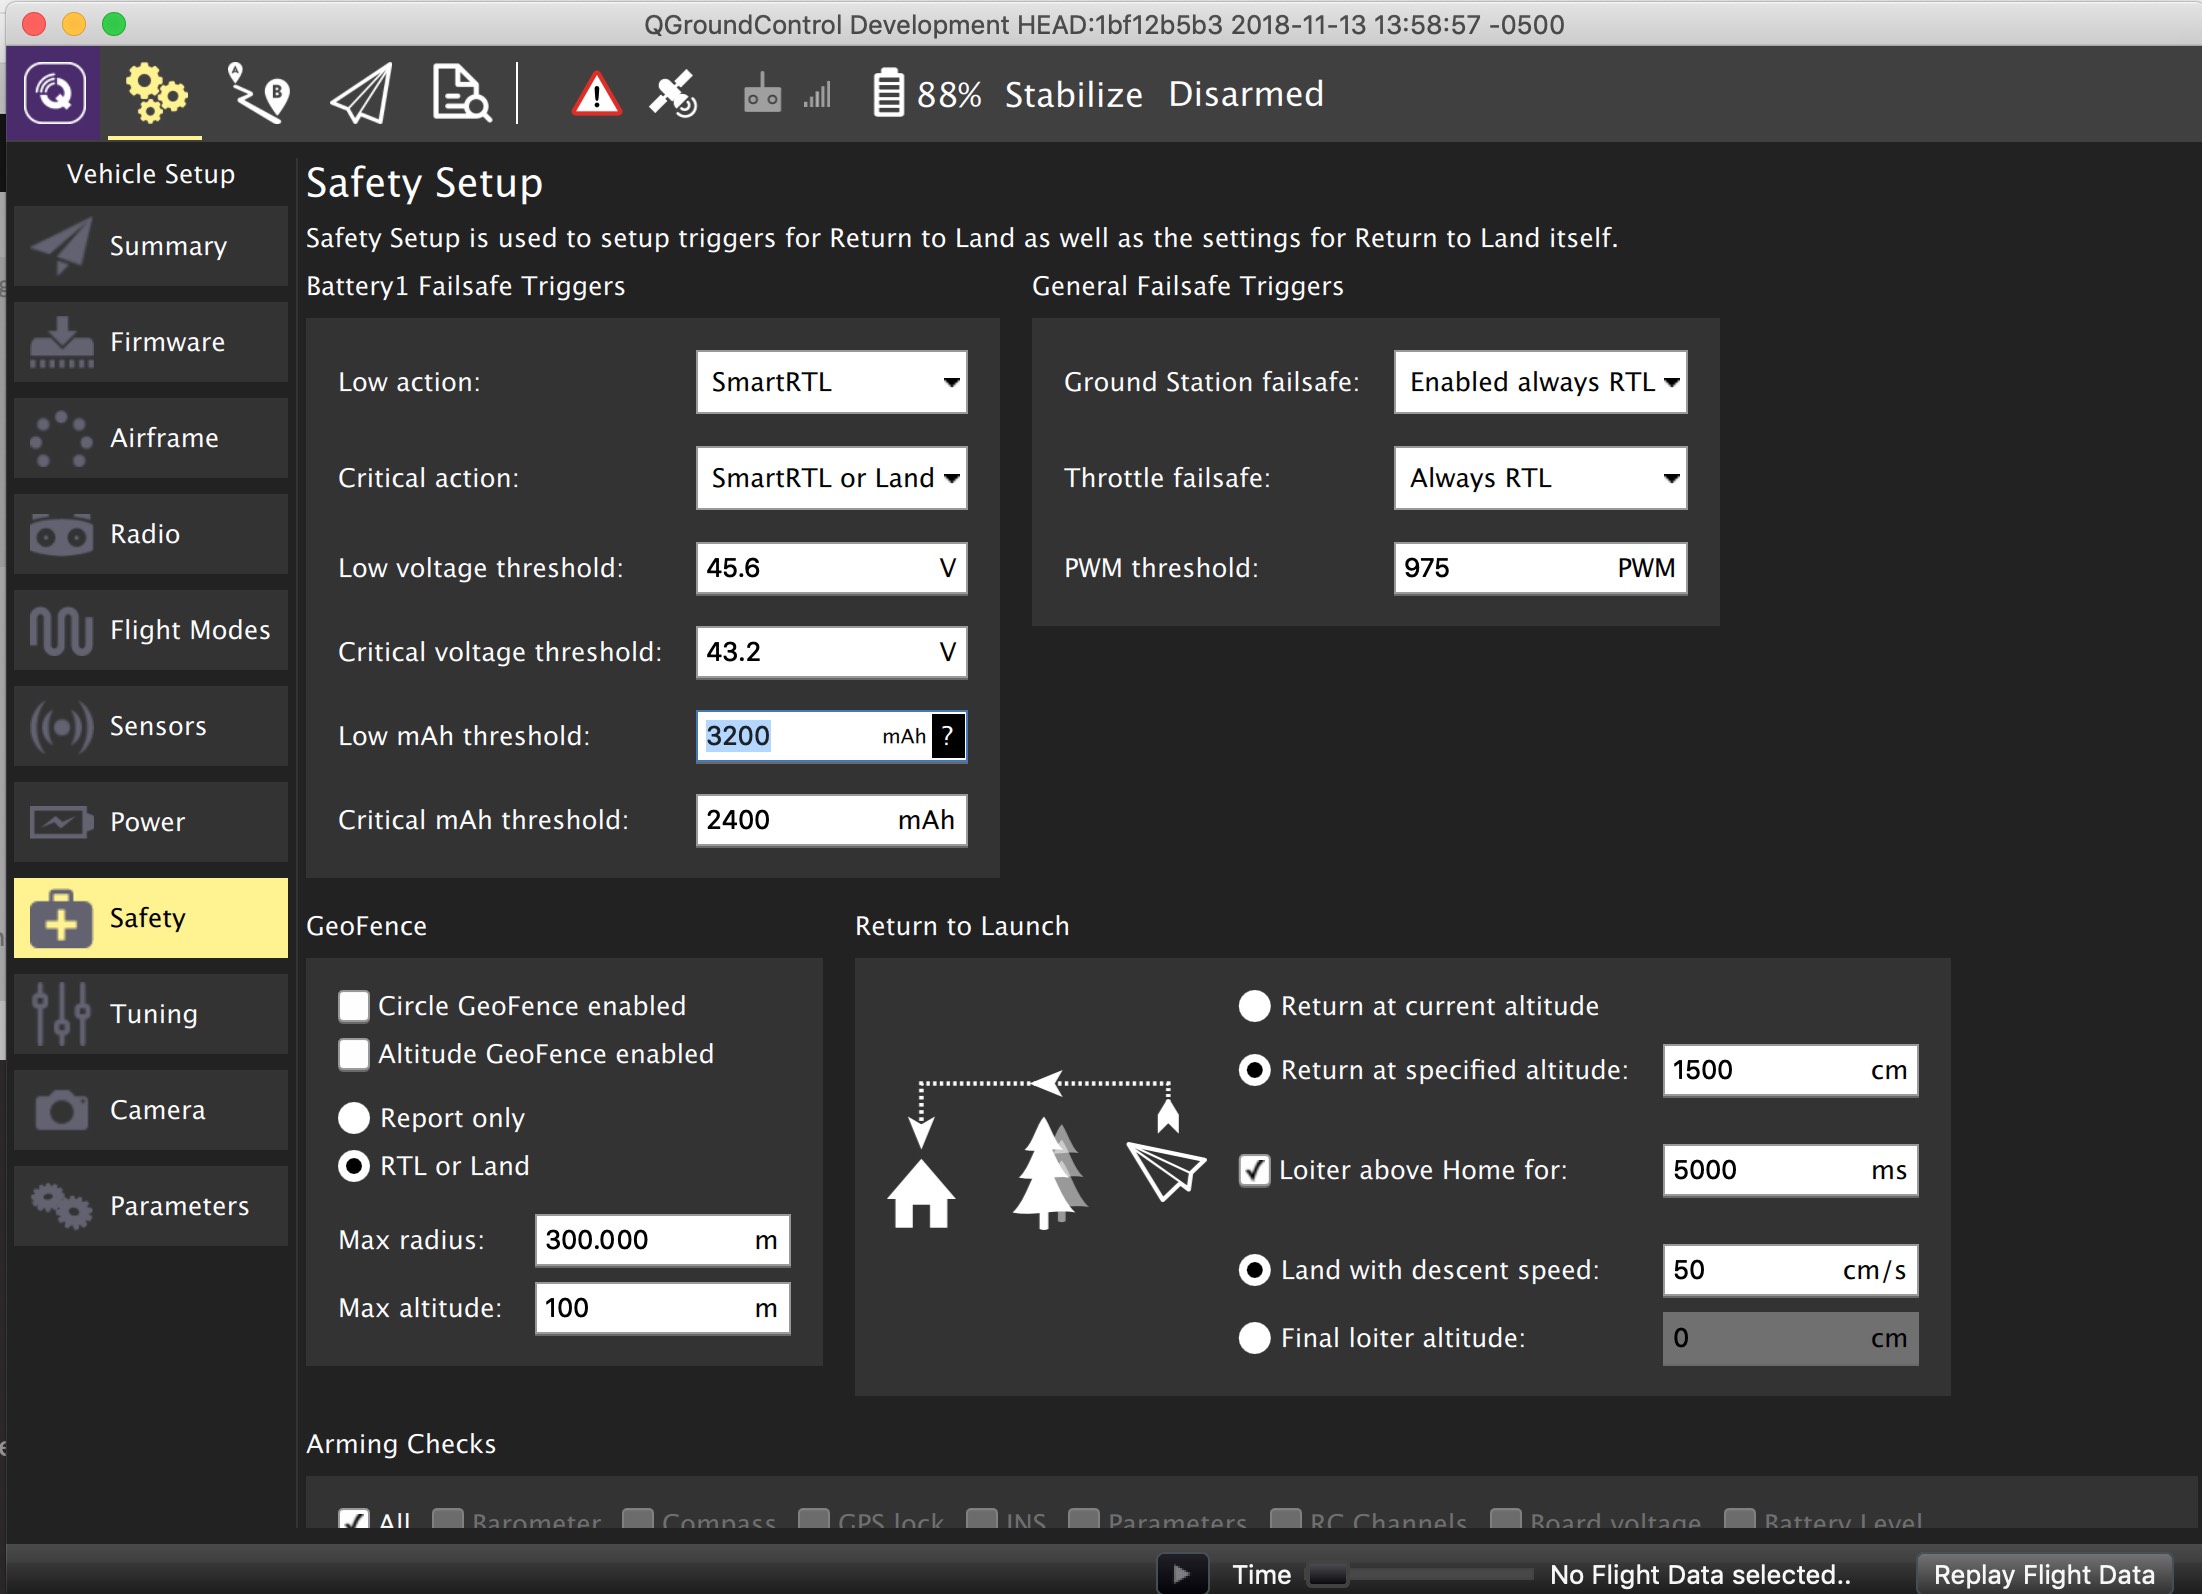
Now that we’ve set how ArduPilot monitors the power condition, let’s move to the Safety tab on QGC and set the battery failsafes. Please note that we can only set the Battery Failsafe triggers for the Battery 1, because we haven’t the battery 2 enabled (yet)
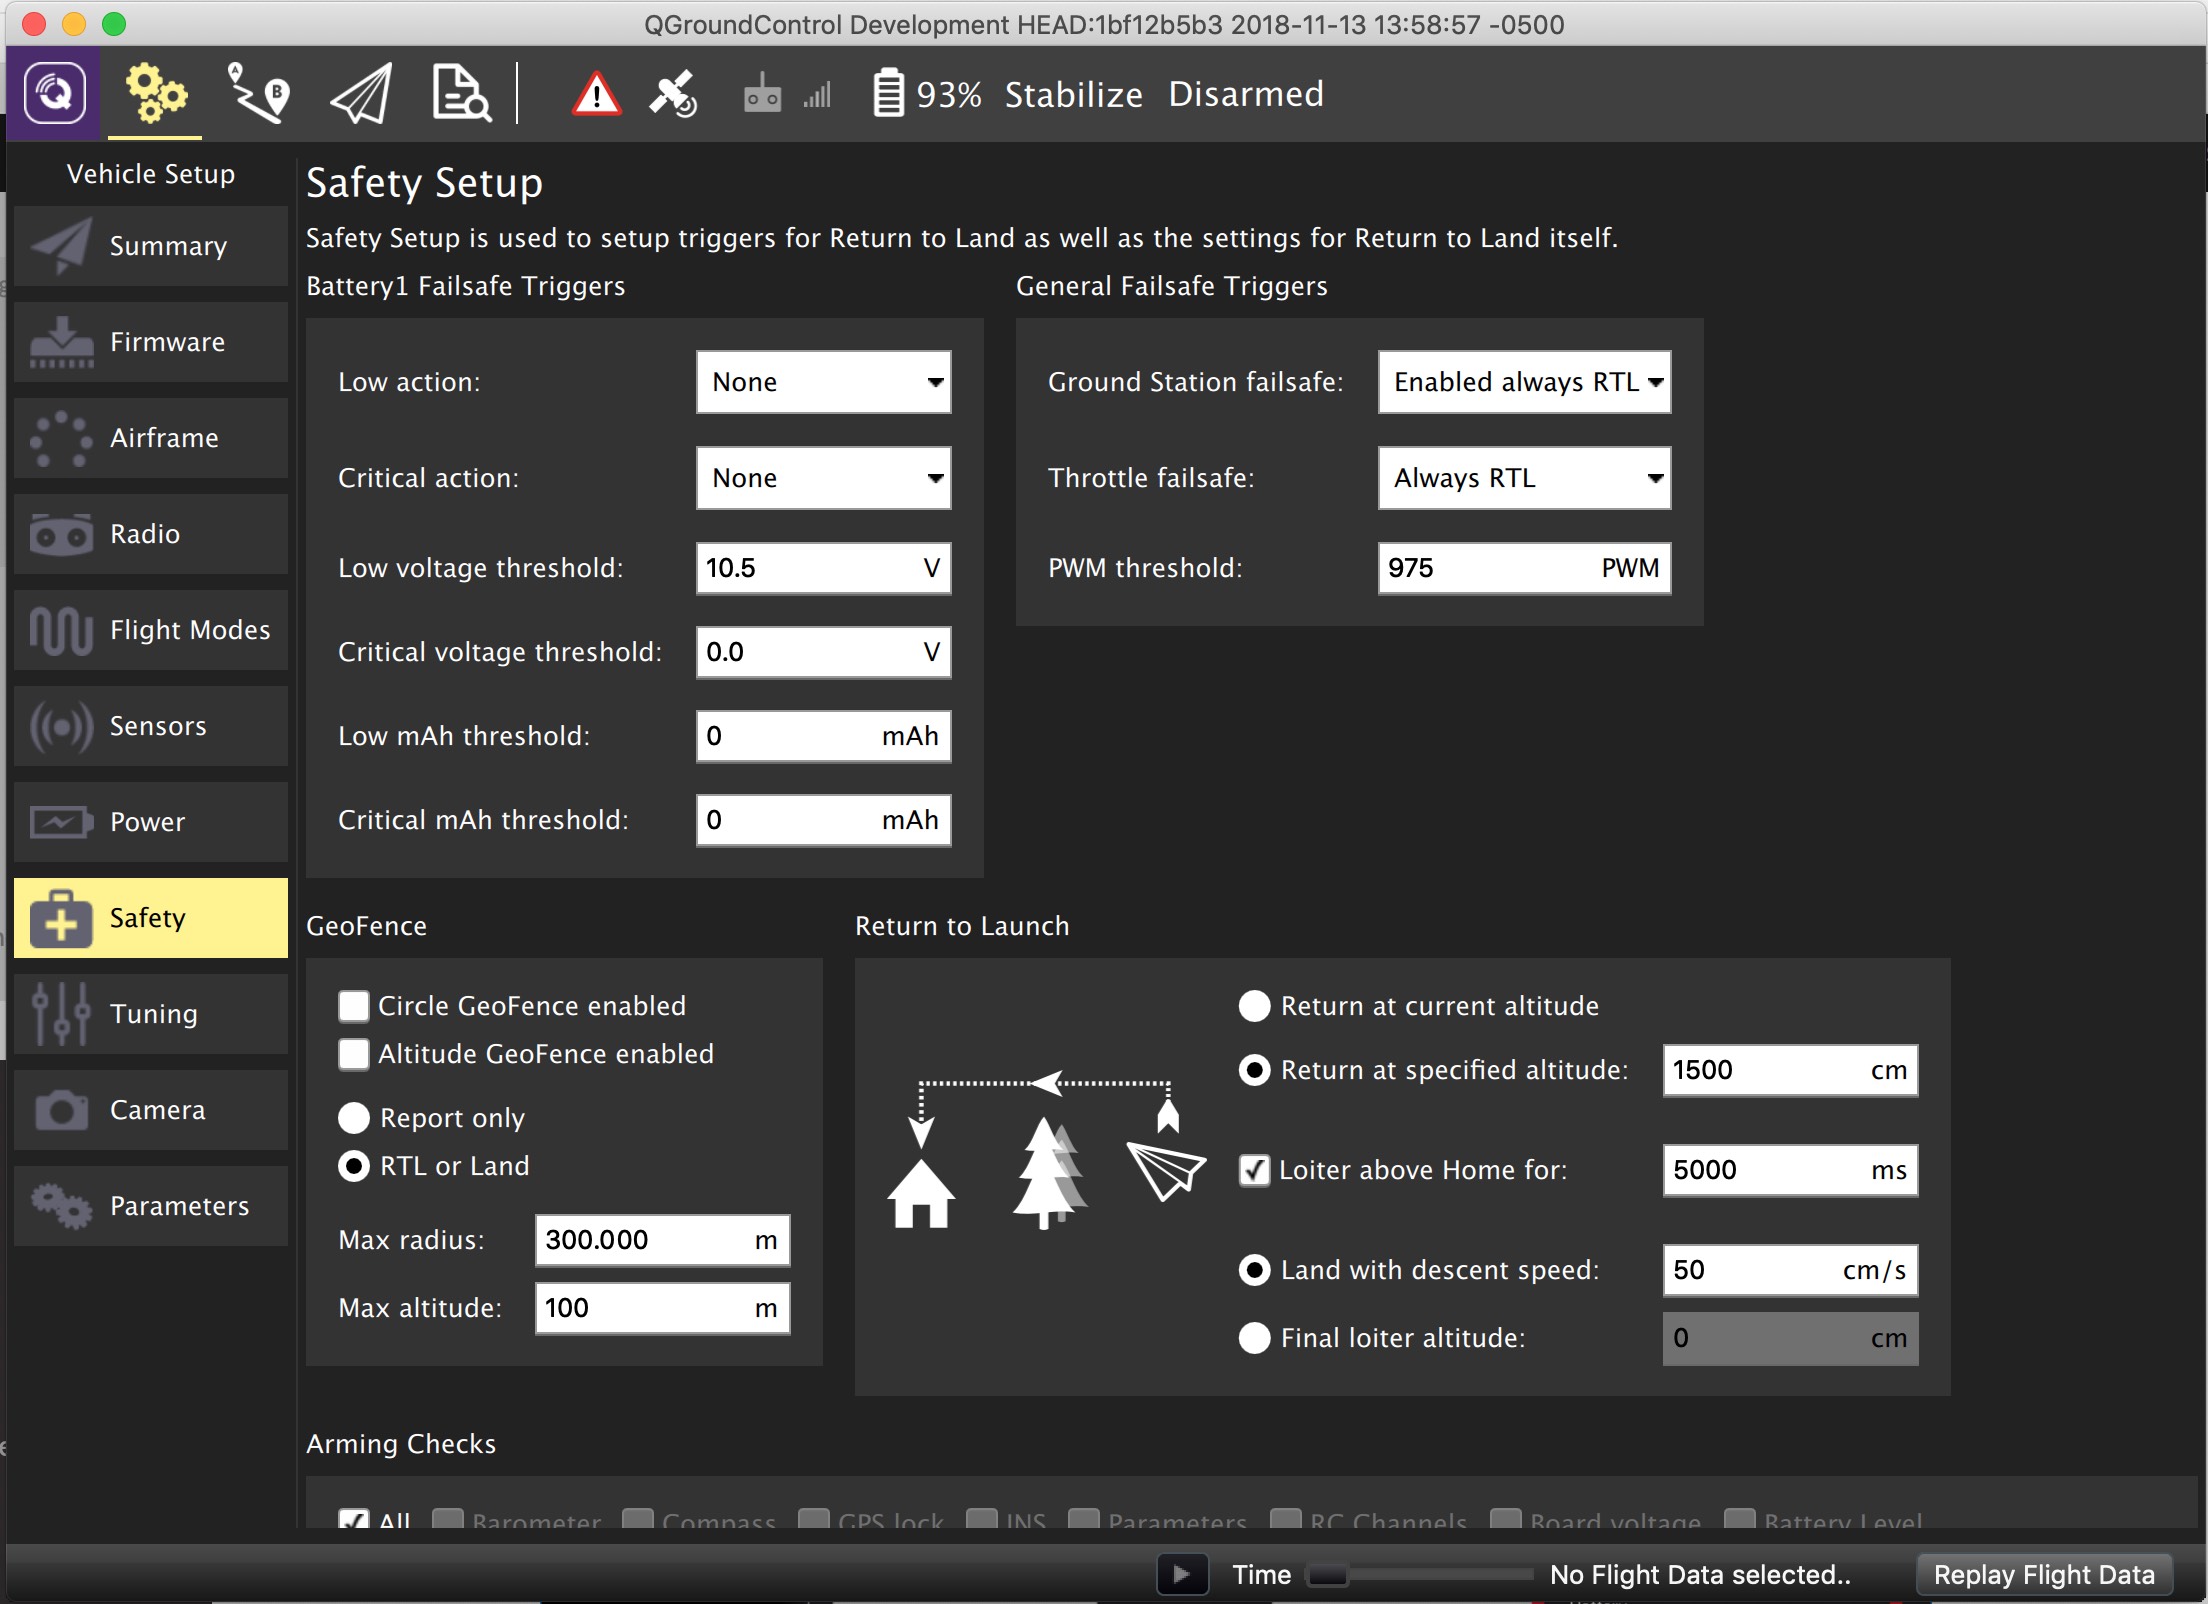
Just choose the appropriate actions on each dropdown box, and set the voltage and amperage triggers as you see appropriate.

I tend to use some conservative values here so, I use around 20% and 15% of the battery capacity as low and critical thresholds, and 3.8V per cell and 3.6V per cell as low and critical voltage thresholds.
Now you’ve setup your battery and its failsafe actions.
On the case that you need to use 2 parallel battery systems the setup is very similar and you can even define different failsafe actions per Power Monitor attached and used
Note that when you enable the second Power Monitor, QGC displays now the failsafe actions related to it.

Now on the summary screen we can easily check what and how our batteries are set and the failsafe status…
So, now go out and happy flying 
ps-if only the wiki was easier I would have done it at the wiki…