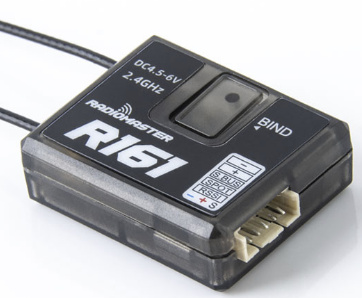
I have ordered some grimped cables and these JT-GH connectors, but the R161, has a different connector.
Do you build your own cables? How? Get different connector types with cables dangling off and then solder different connectors together, heat-shrink it?
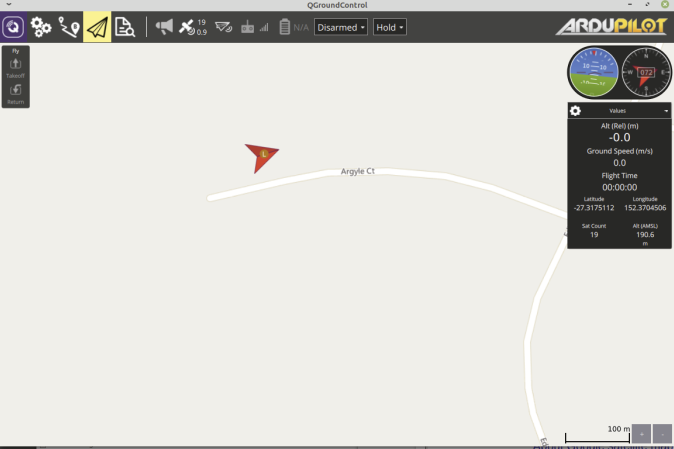
I put ArduPilot on the pixhawk 4 (ArduRover)
… using QGroundControl on Linux Mint.
The connection from the Telemetry radio to the pixhawk 4 seemed straight forward. However, connecting the two results in the Telemetry radio to blink (2 red 1 green).
I thought the radio would be auto-discovered… and show in QGC.
[edit1]Just came across this post: TELEMETRY CONNECTION - 915mhz 3dr radio which made it clear that the second radio needs to be powered up as well. The green LED is now on, while the red blinks synchronous with the other radio. So I believe this is working now as it should. (at least form a radio perspective).[/edit1]
I have to add that I haven’t added the radio in the QGC software yet (the TX16S came w/o batteries; just ordered these).
I literally bought this stuff, and am now putting it together w/o any prior knowledge; imagine this learning curve… and hence, grateful for any response.
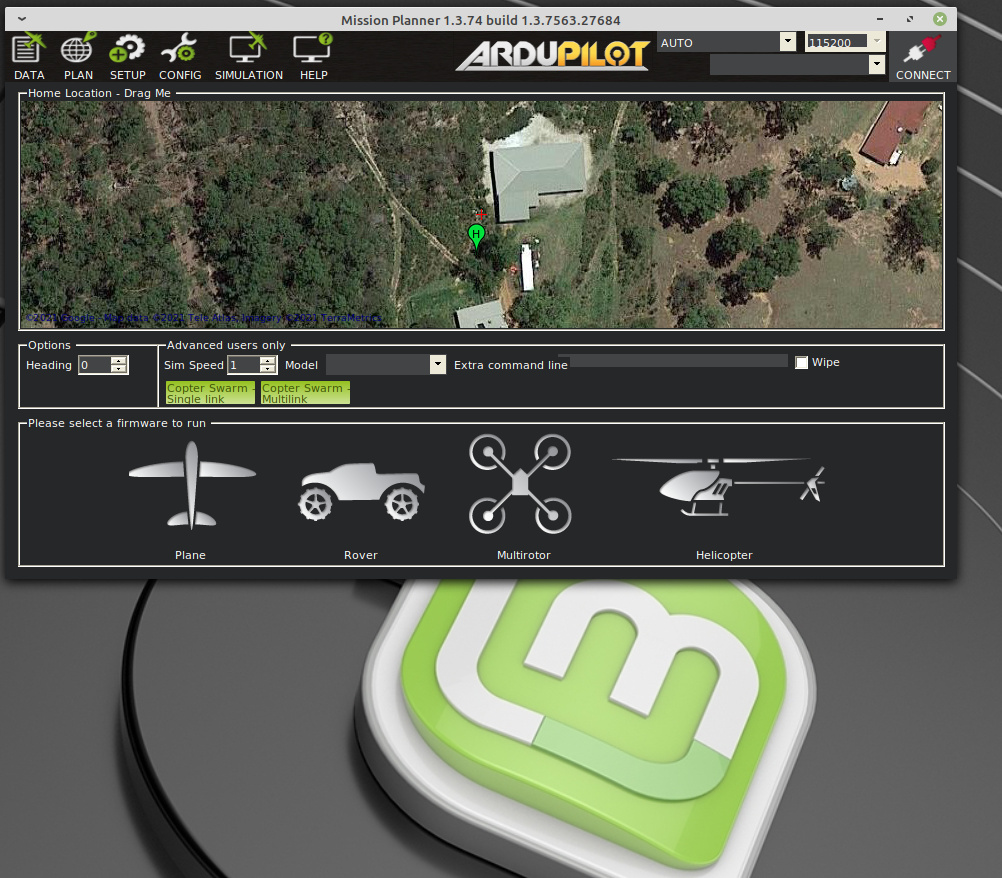
As for Mission Planner (MP), I am running Linux and thought MP only runs on Windows?!
Also another question:
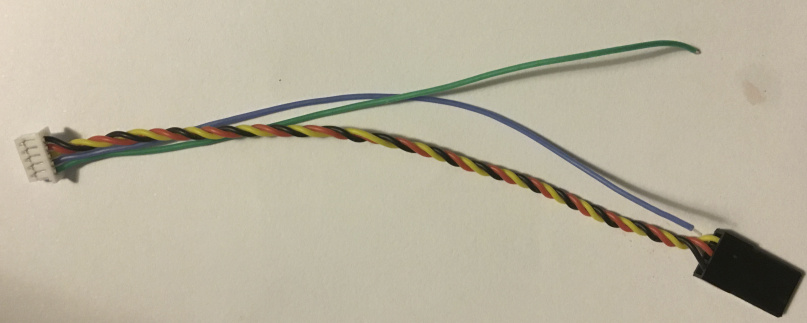
There are two cables not connected to a connector.
The little manual says: Telemetry: Supports flight control TELEMETRY & RSSI output
RSSI — I understand that, and it is available on the pixhawk’s SBUS connector.
The other says SPOT (no idea what it stands for) but indicates telemetry. What kind of telemetry? It is only a receiver. Who or what would send telemetry data to it?
I reckon I do not need it, as I have dedicated telemetry radios.
Yes, Windows and Beta on Android. It will be easier with Mission Planner for config and tuning.
And if you haven’t already done so get the following:
~60W soldering iron
Brass wire tip cleaner
Flux pen
63/37 .031" solder
Multimeter (doesn’t have to be fancy)
Variety of shrink tubing.
Yes, thanks… I get the electronics part, which gave me a head start on this technology.
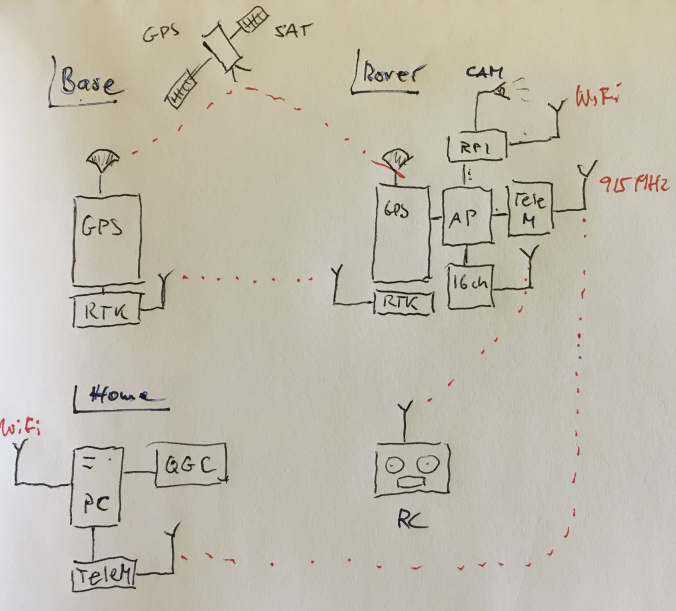
I drew up what I needed in a block diagram, but I have no domain knowledge in this whole gamut of remote controlled or more so autonomous vehicle business.
That’s S-port. It has 3 functions. You can update the Rx’s firmware thru it, connect external sensors made by Frsky, and (most important) as an input from the Flight controller to send telemetry down to the transmitter. It’s connected to a serial port.
Google about Yaapu telemetry, it’s awesome on the Radiomaster.
As I see it, and for the time being, I do not need the SPOT connections.
The R161 has a USB connector, which I assume, can be used for firmware updates.
ATM I think they should be OK, in the state these were delivered.
Again, I am assuming, having bought both, the TX16S and R161 from RadioMaster, that they work out of the box.
What I’d like to achieve is the block diagram (w/o the Raspberry Pi, cam and WiFi) just to get this “basic” system to function.
I also think I need to be patient and wait for the battery for the TX16S (I so blatantly overlooked buying )
If you want to add to the learning curve: You can run Missionplanner on Linux (some distros seem to run it better than others) with mono.
QGC and APMplanner are missing a lot of the
tools and features that make tuning easier.