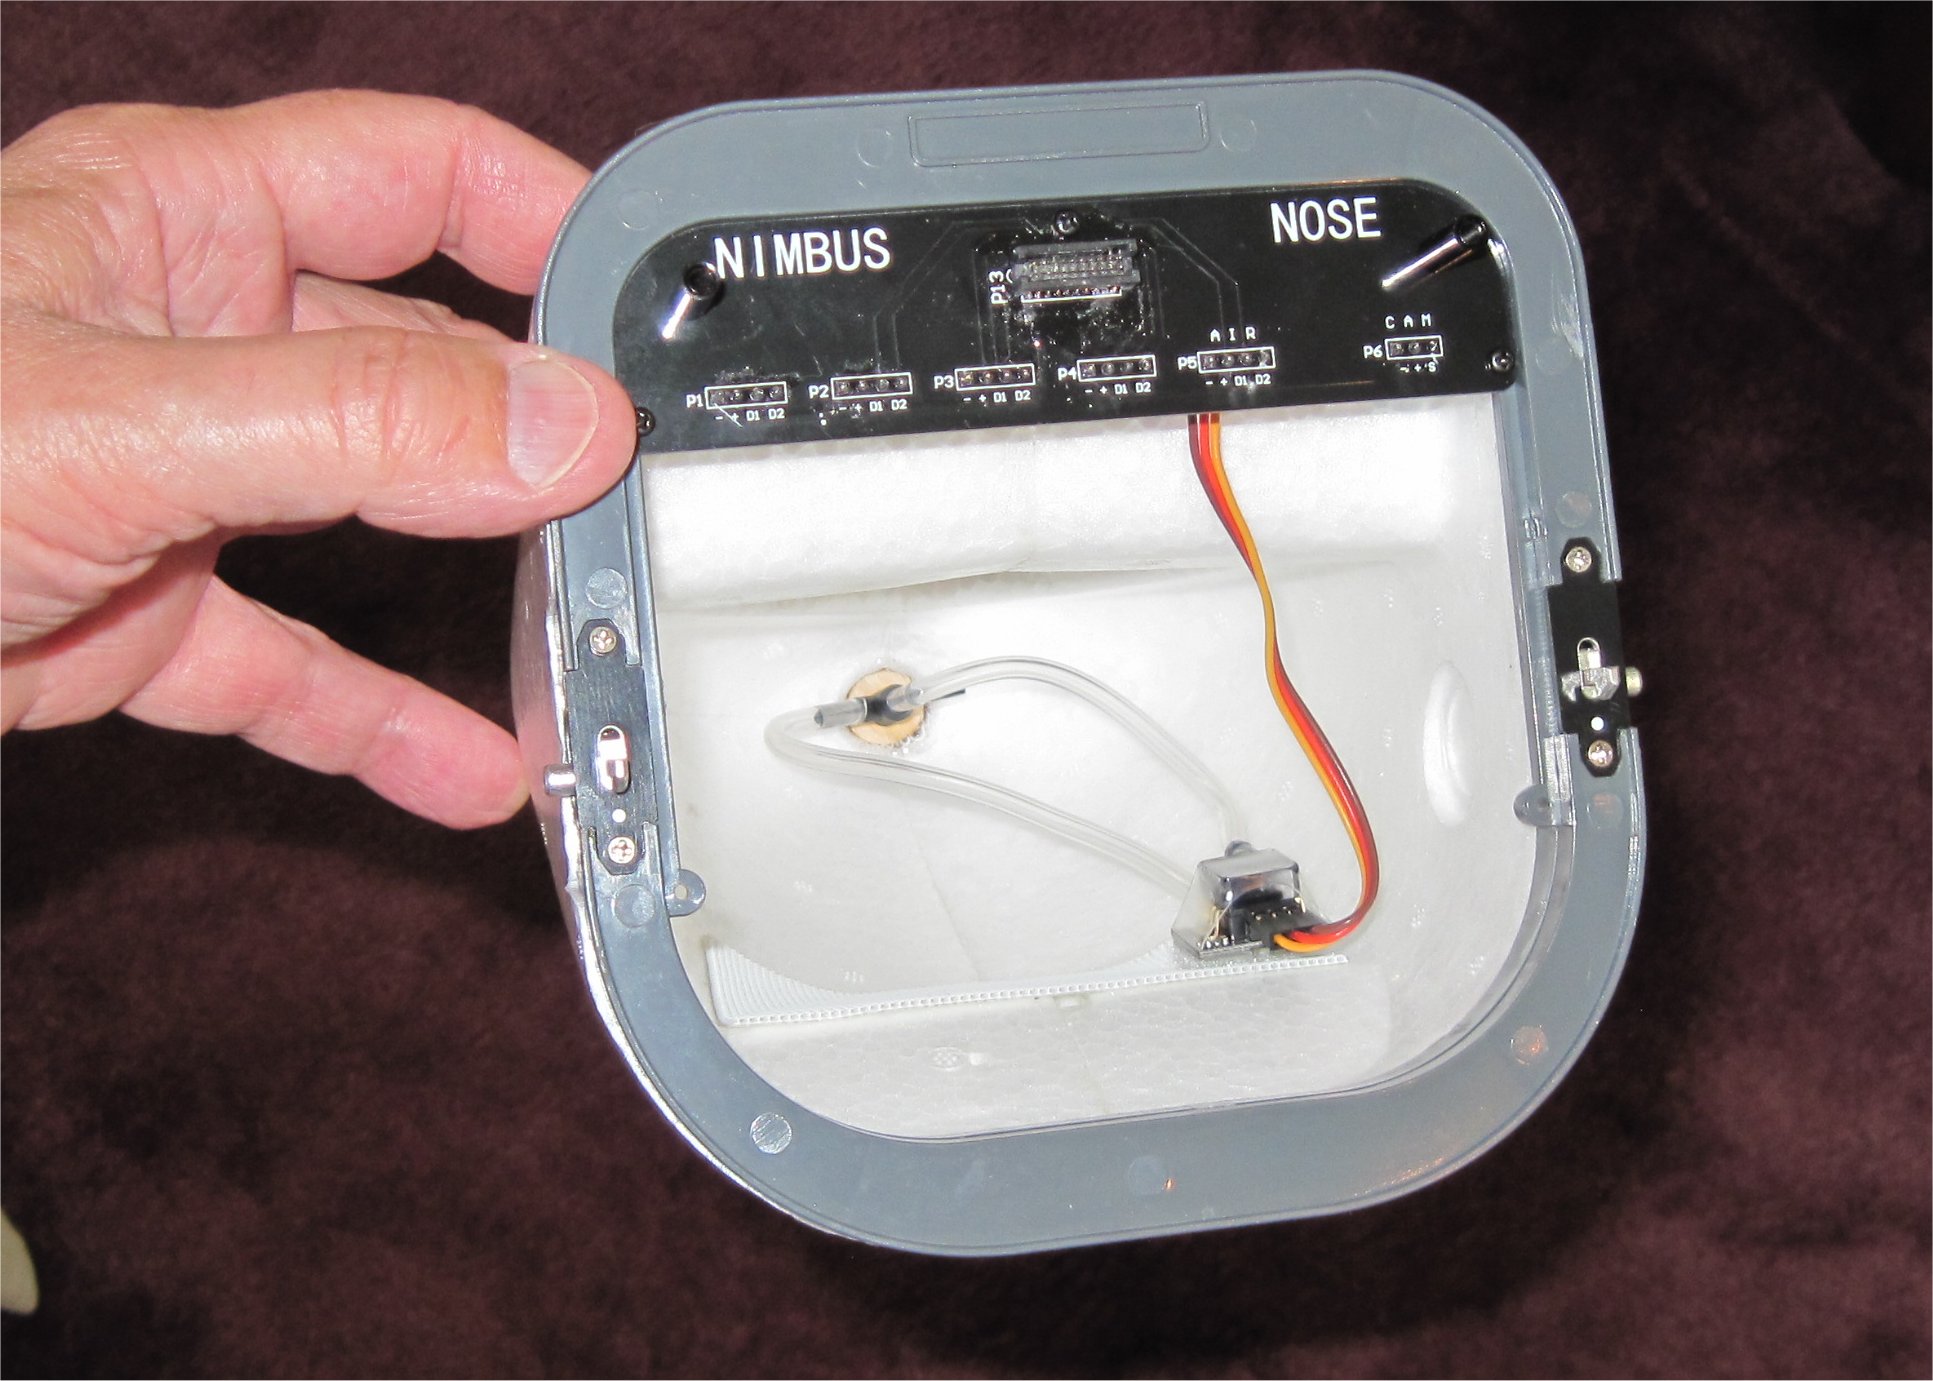
Initially, I thought about mounting the air speed pitot tube in the nose of the Nimbus but see that you cannot connect it via the built-in nose connector because it needs to be connected on power up. Where have others been mounting the pitot tube? On the main fuselage somewhere?
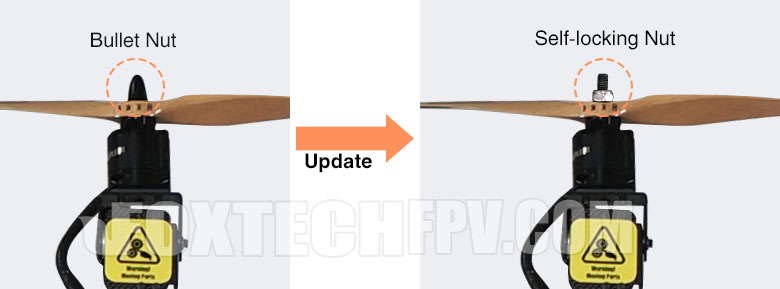
I see that FoxTechFPV has also started using a tube connector but it seems simpler to have it always hooked up.
Just connect it via the nose connectors and once you powered up and reattached the nosecone, do a FC reset from Mission planner, it is also good for ensure that gyro init happens when the plane is not moving…
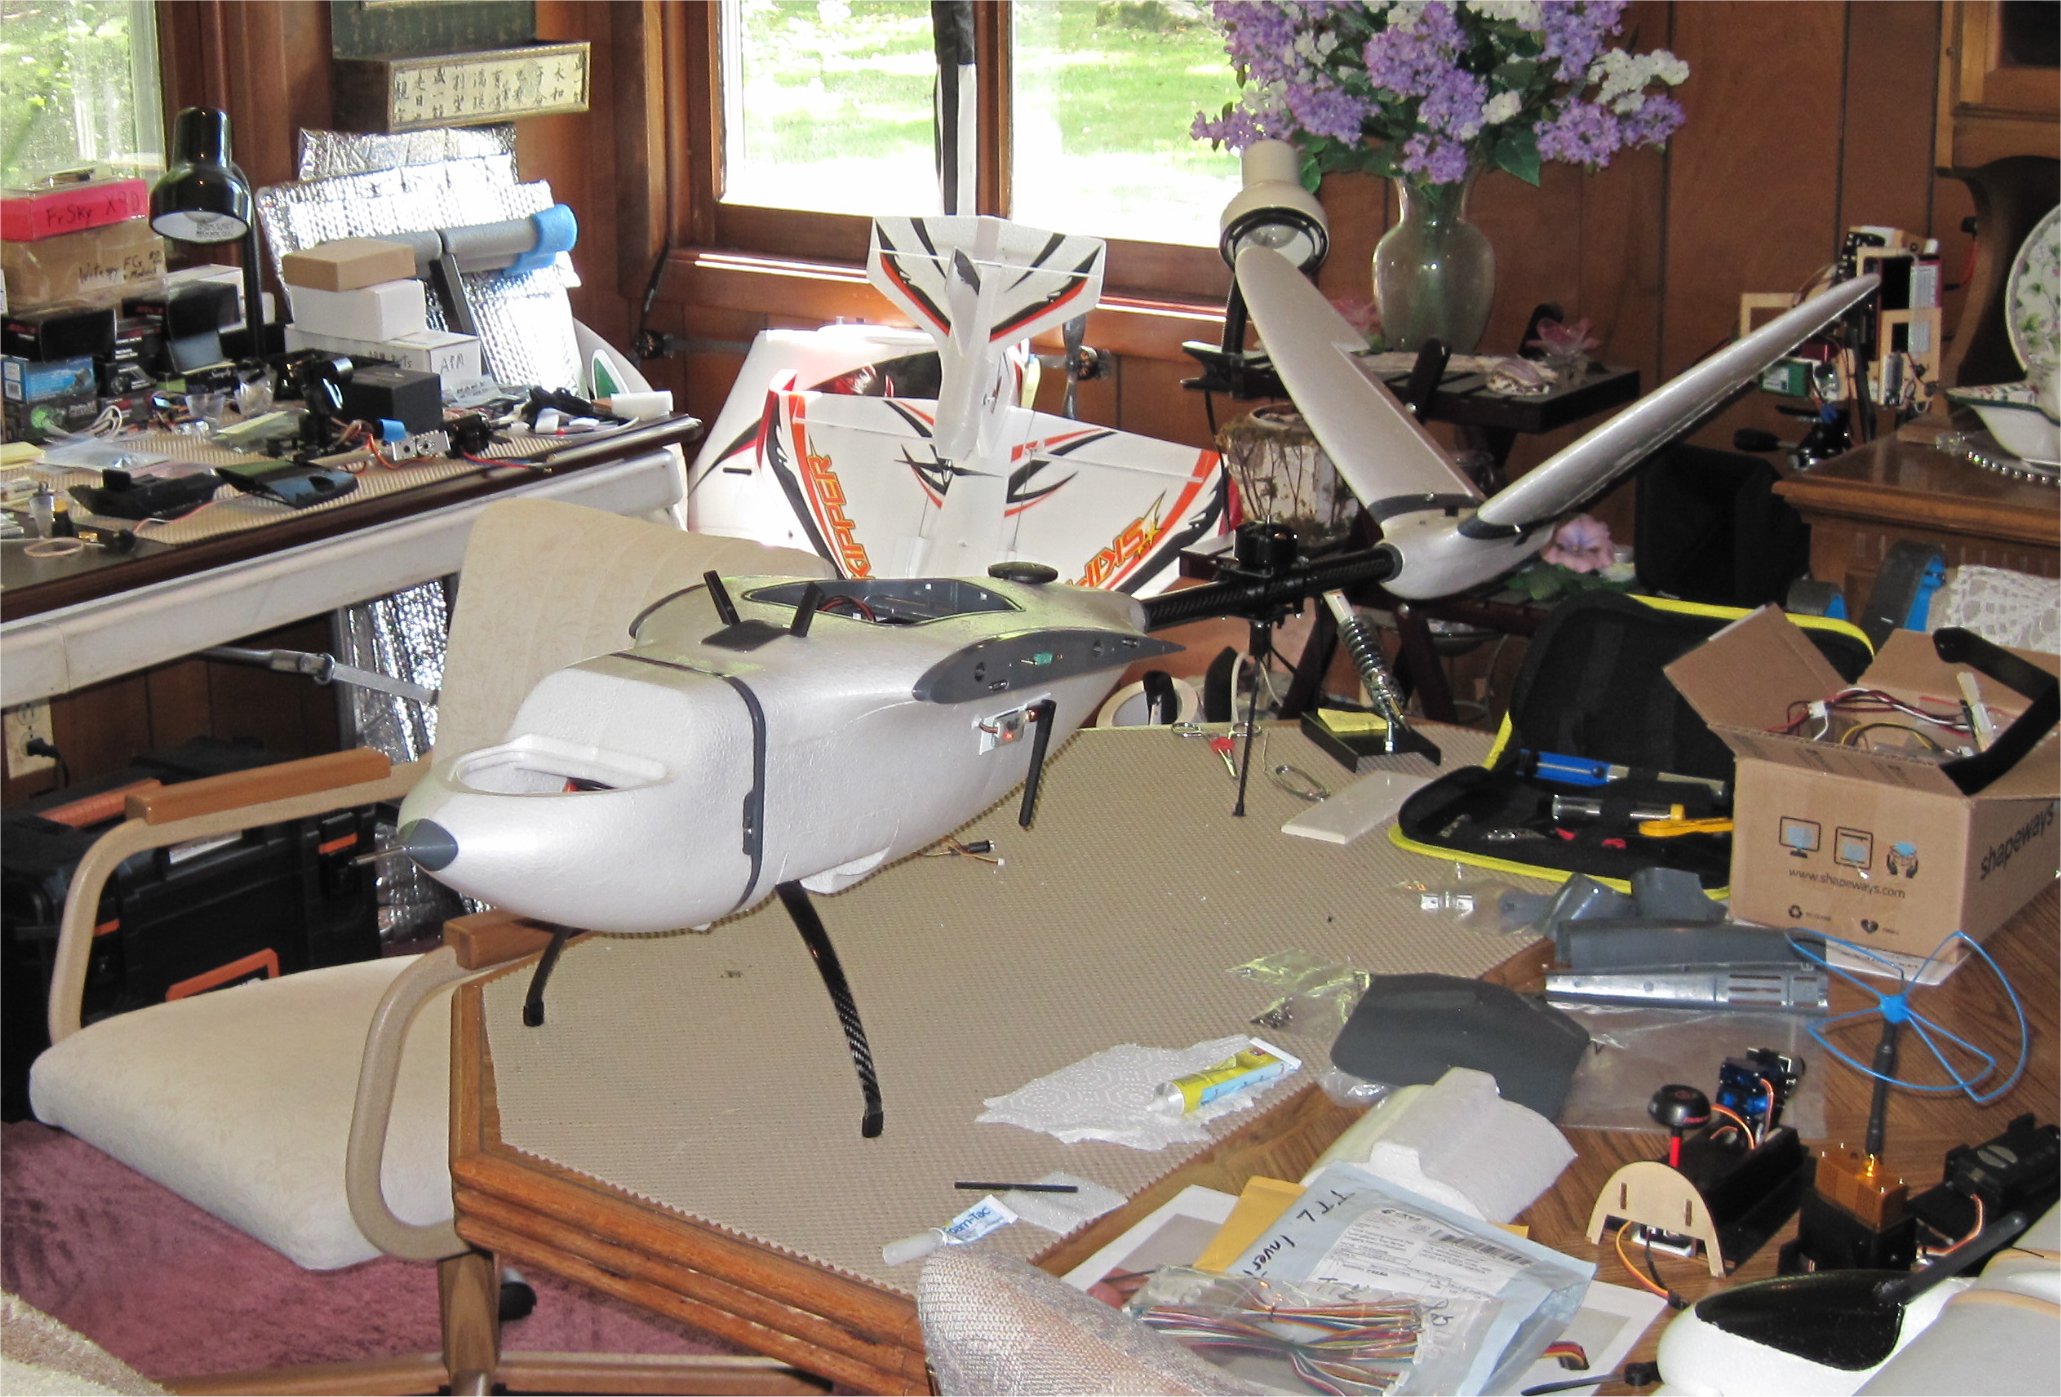
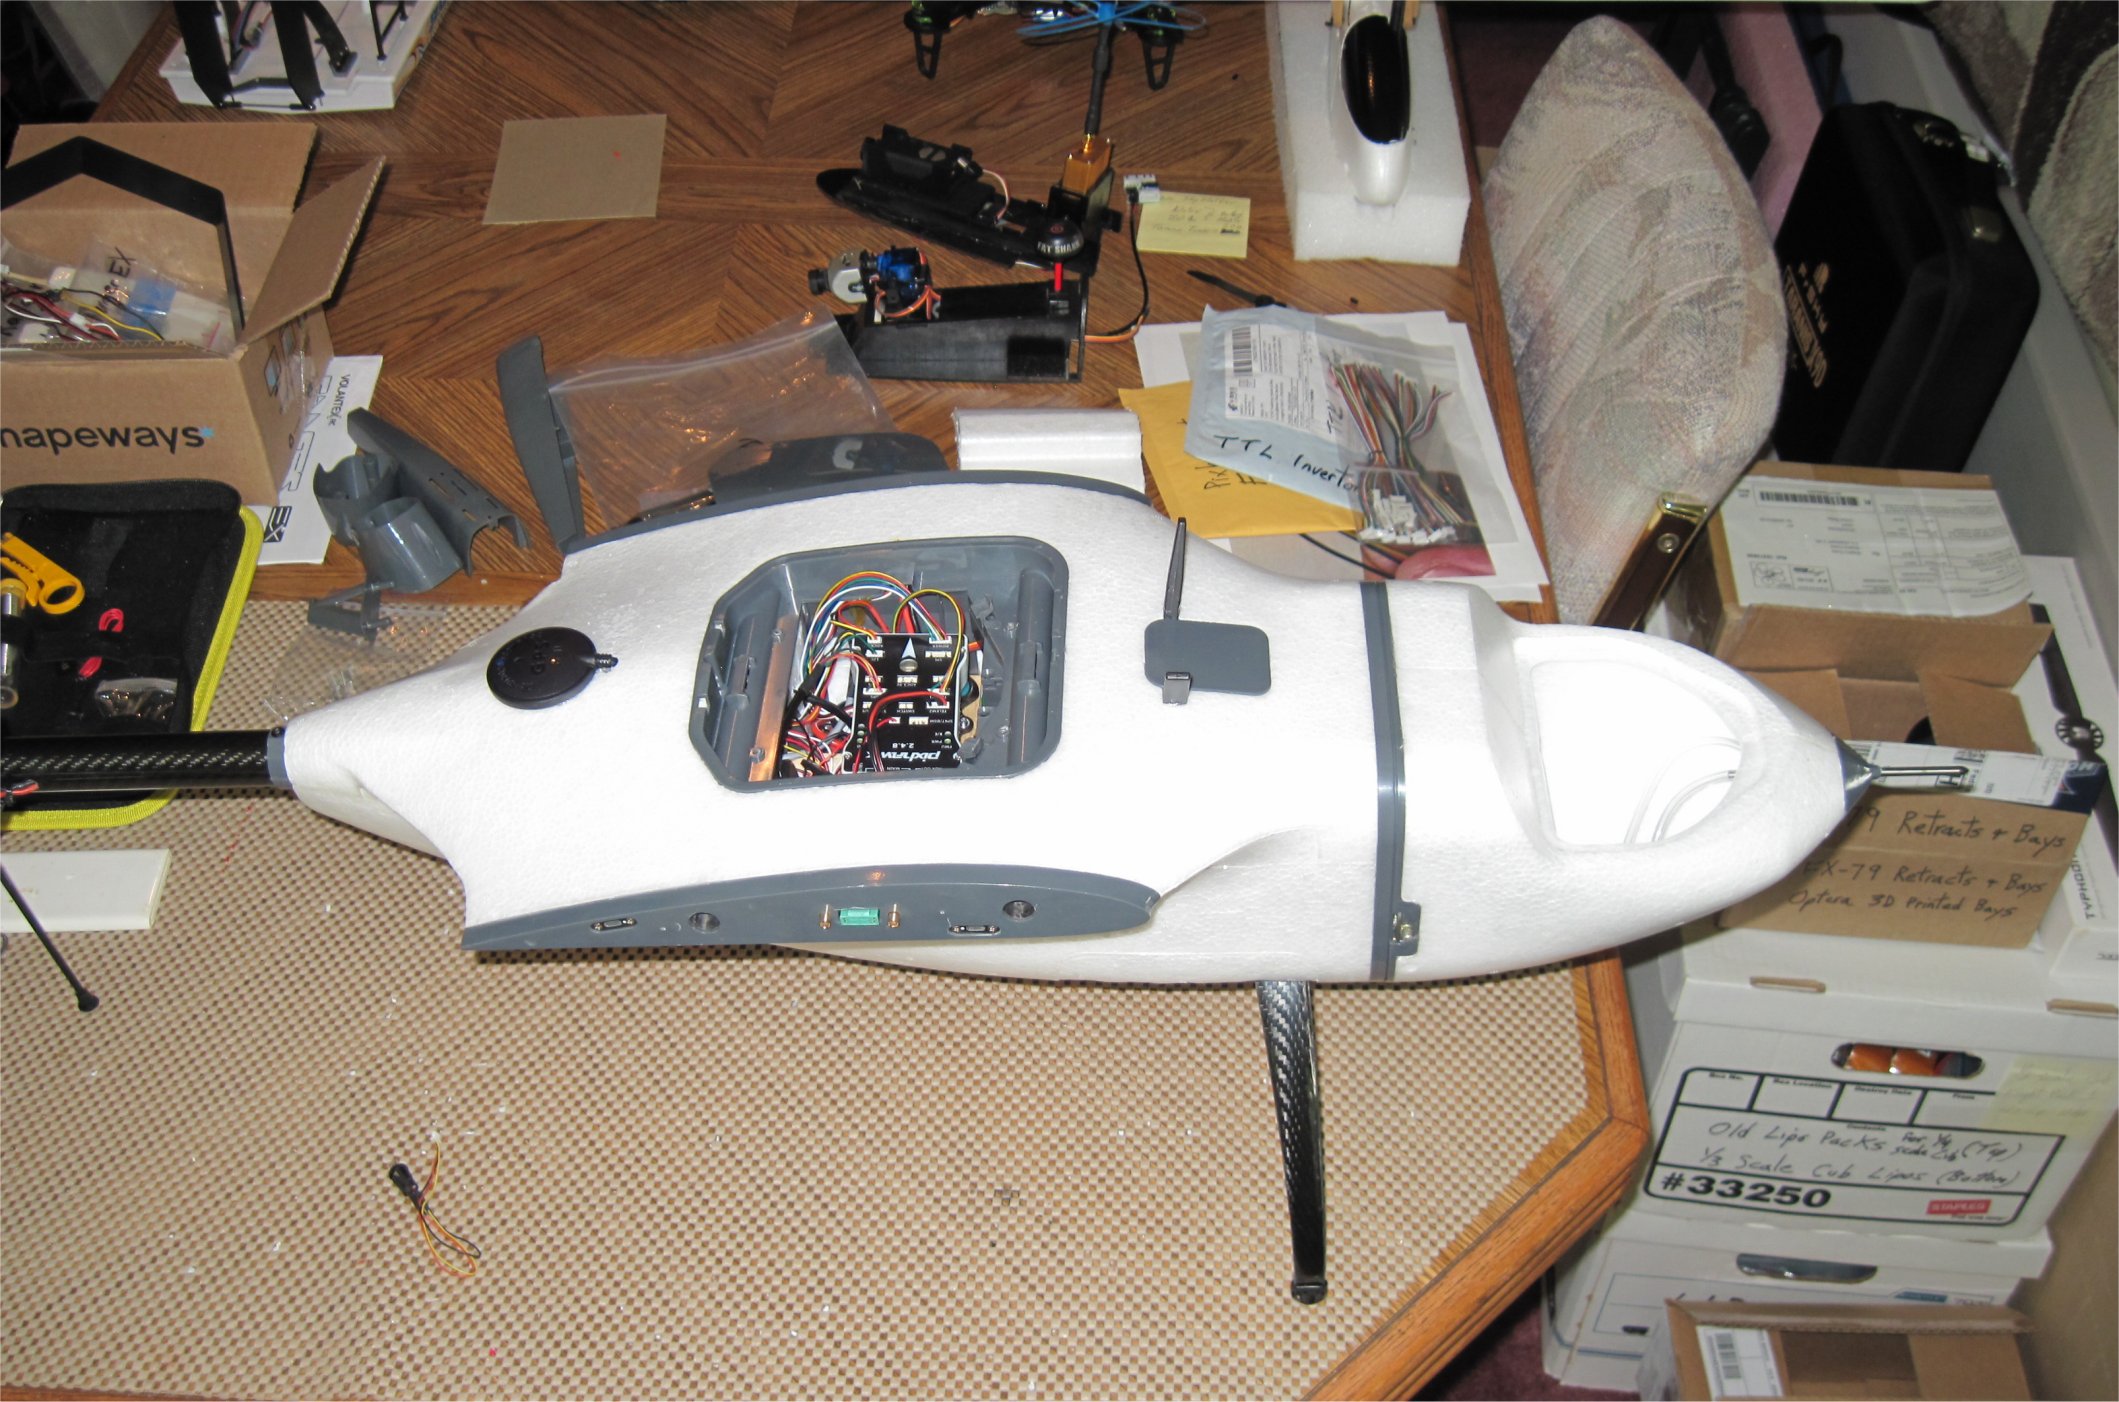
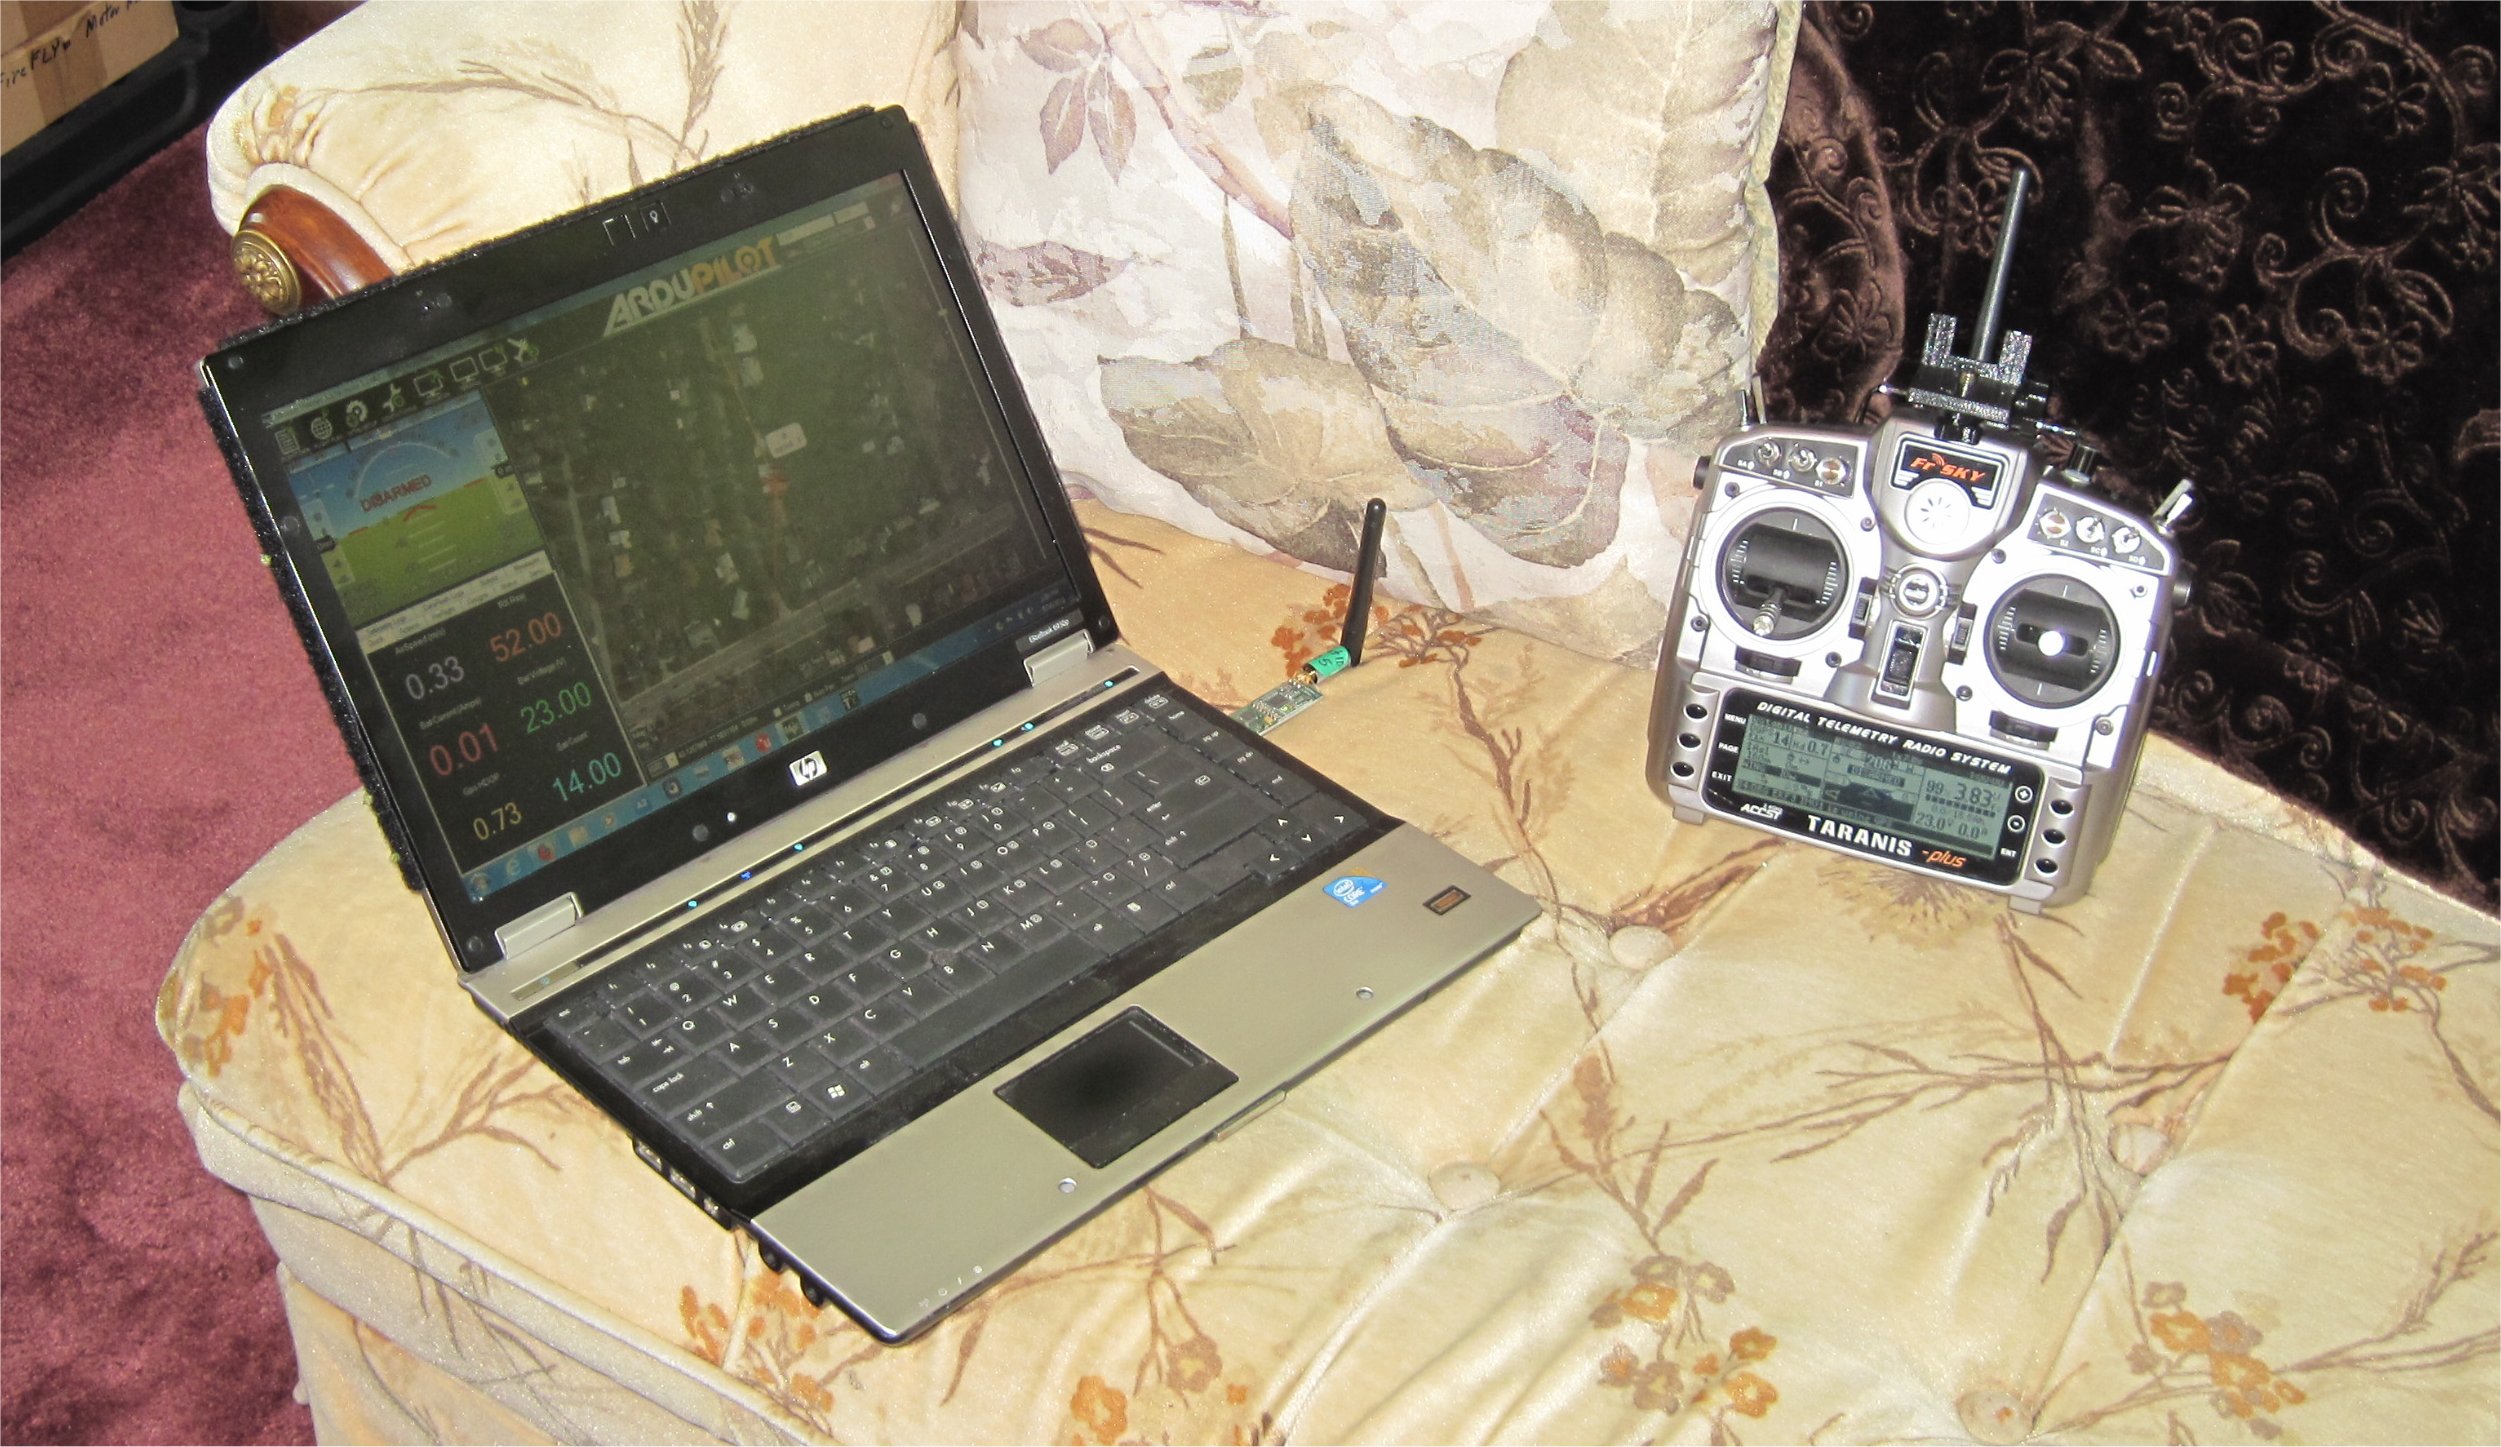
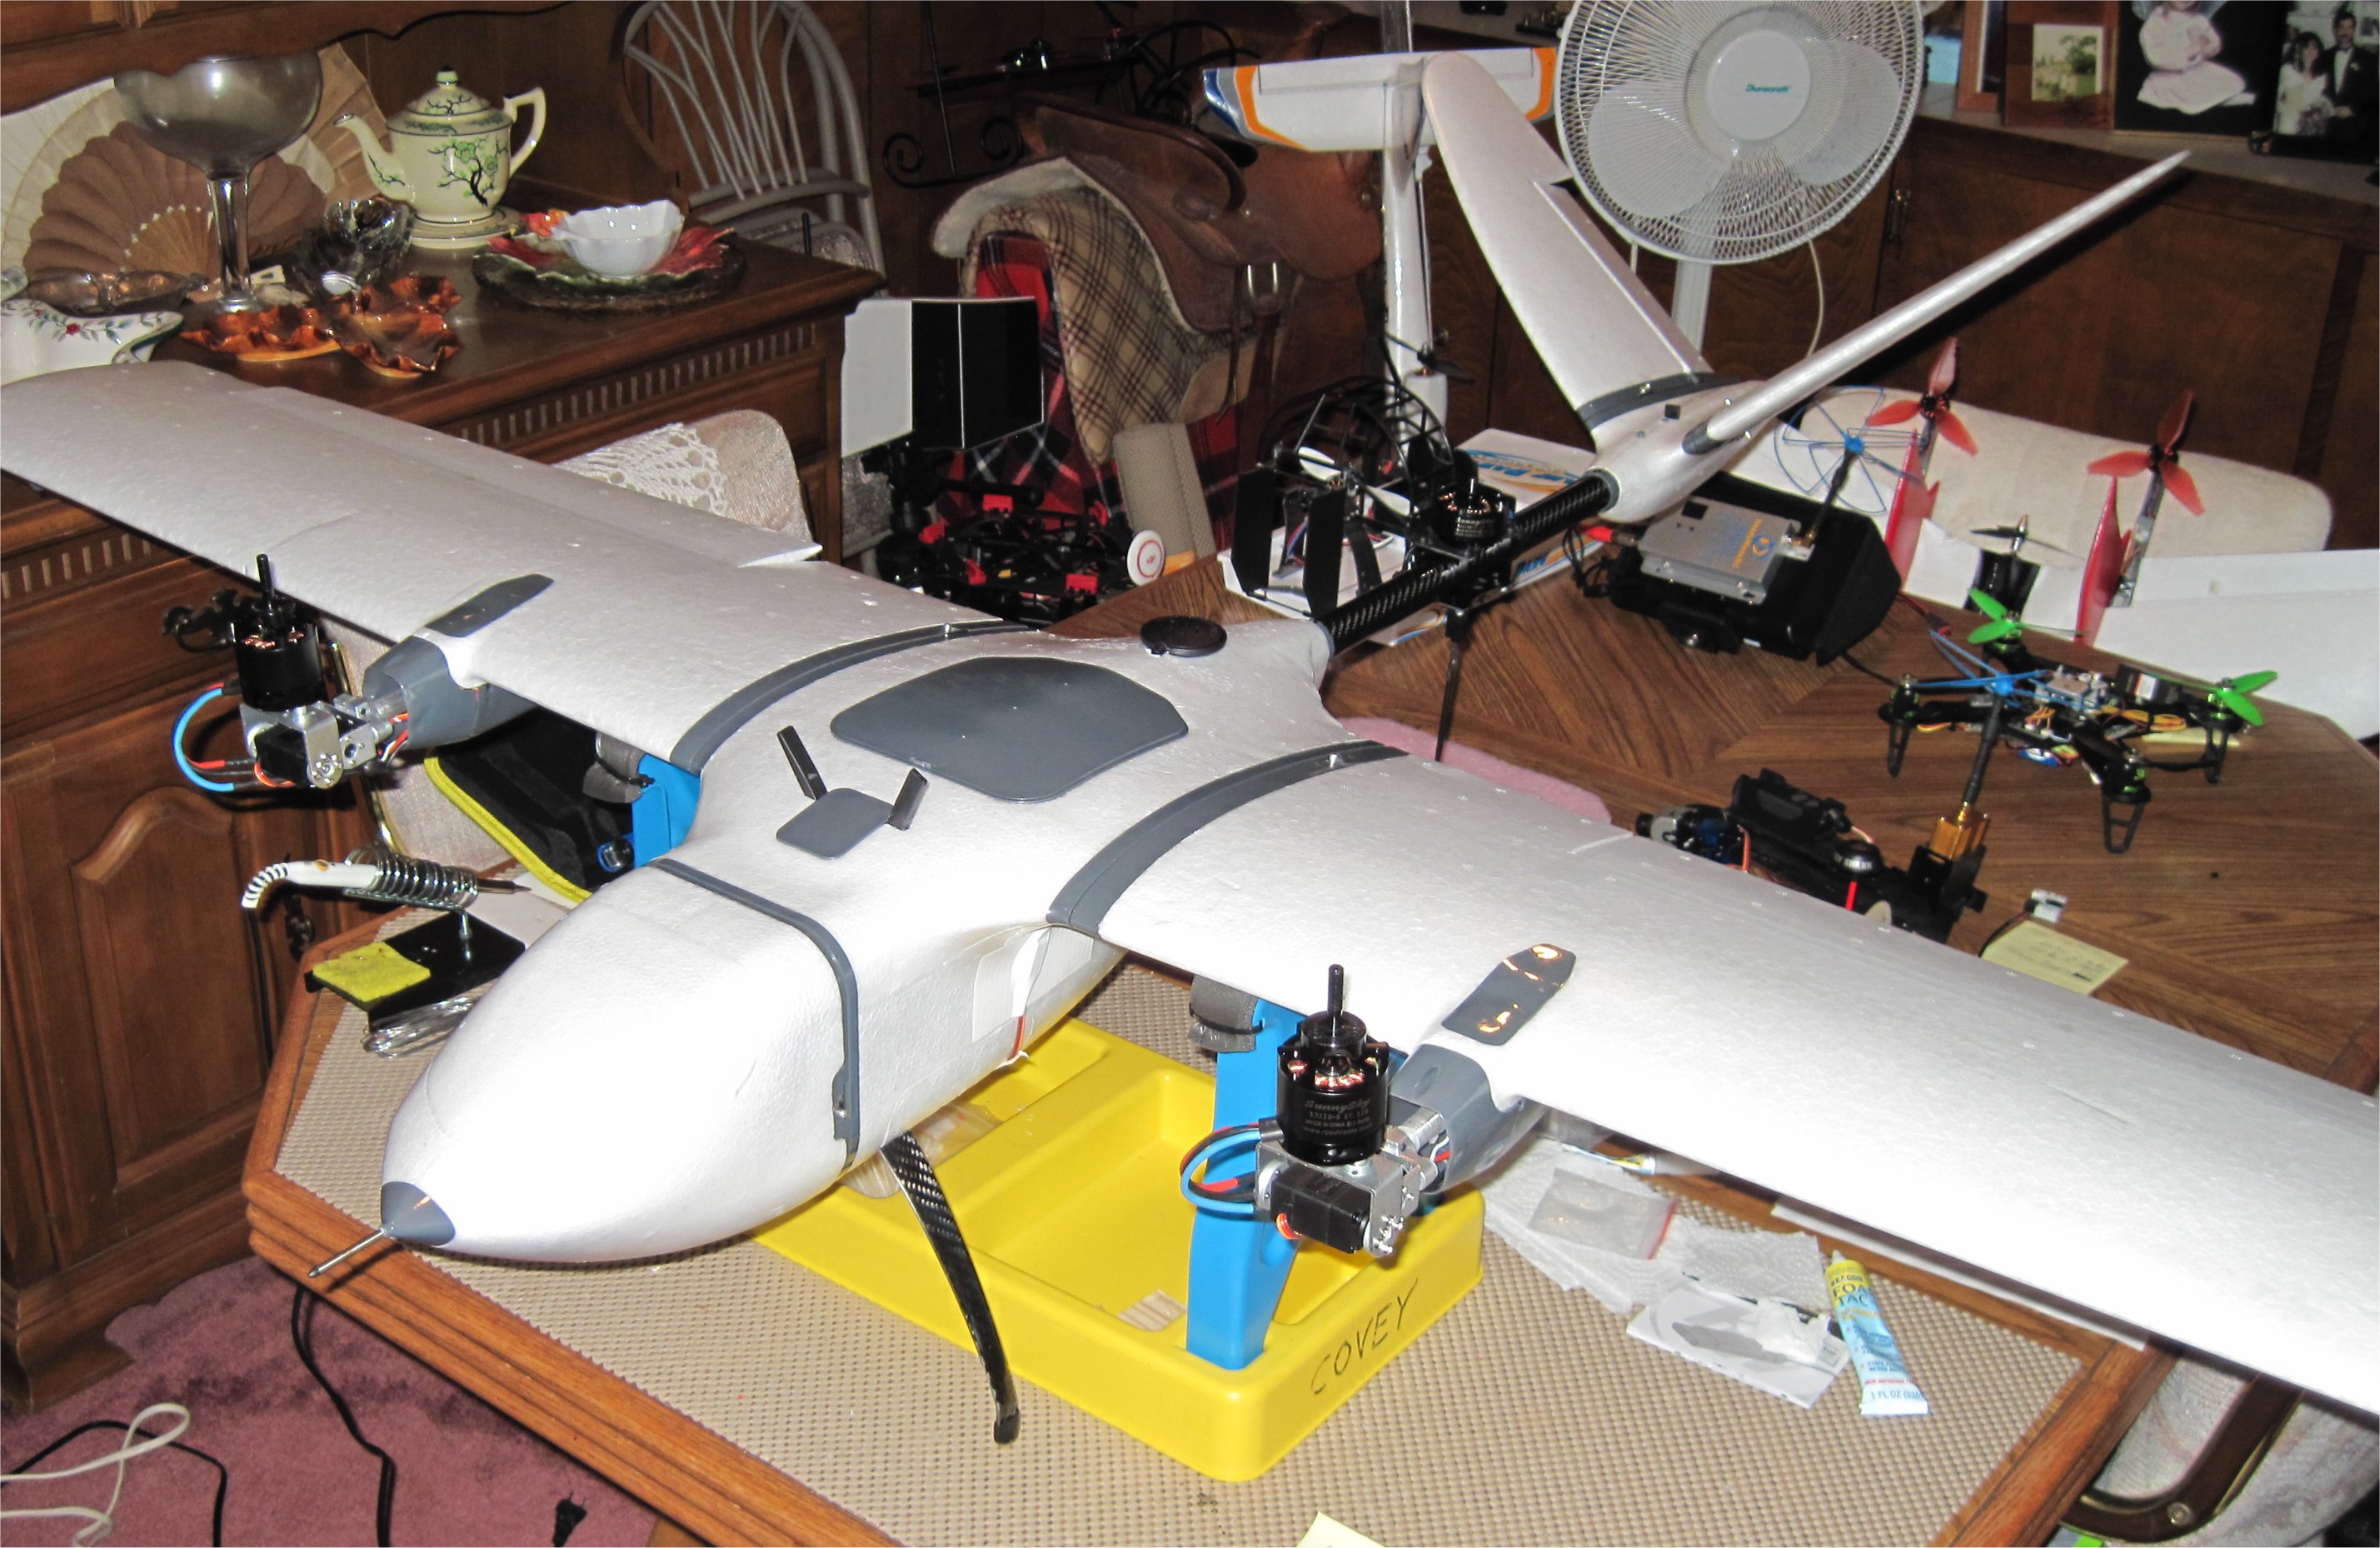
I finished my Pixhawk, GPS, and FrSky X8R antenna mounting so I mounted the air speed sensor in the nose. The connections between my Nimbus nose and the fuselage include the analog AS sensor and two 12v regulated supplies for camera gimbal and video tx use. The idea is to power up the main battery, connect the nose, and reset the Pixhawk via Mission Planner or QGC to re-calibrate everything. The setup uses the stock covers and I have both APM telemetry for the laptop or tablet, and, FrSky/Yaapu telemetry on my Taranis X9D.
Documenting my setup choices copied from the RCG thread on Nimbus 1800 VTOL.
My setup is similar to the higher power FoxTechFPV mapping setup since I plan to lift two cameras at the same time. One is an HD video capture/downlink like a GoPro H3 (in the nose) or lighter setup (like the Arkbird 2-axis 2K Camera/Gimbal) depending upon the balance. The other is a Canon S100 (underneath) with CHDK for mapping. I still have the gimbal mount for the Parrot Sequoia but the camera price is above my hobby budget.
One deviation below is the Hobbywing Xrotor ESCs. I’ve selected the original (non-mapping) versions instead of the newer (more expensive) Pro versions as the reports have been that the 40A ESCs do not even get hot.
Thanks for posting all this information. I just ordered the X9D Combo version of the Nimbus 1800 V2 Mapping. The details you have provided will be really helpful.
It would be great if you could post the .param file that comes on the SD card in your Pixhawk. We are looking for some of the new parameters for weather vaning and wind resistance.
Got a nimbus from Foxtech and i had to take the whole thing apart and check all wires and connections since first time i was about to strart on the bench i had issues with the tail motors stuttering and not working, thinking it was either a speedo or a motor. Ended up being an extremely corroted bullet plug, thus making me take the whole thing apart, fixing cable lengths and connctors, missing screws and other items and as a result i ended up also around 80grams lighter. My Question is about installing a servo gimbal and a Gentles Camera trigger. Free Auxilaries are 3-4 and 6. My issue comes to the fact that i need 3&4 for a servo camera gimbla and i only have 6 (and theoretically 5 which is the BEC) for the gentles sony camera trigger, but i cant seem to make work. Since 1-4 are servo and 5-6 are relay, is there a way to make 5 or 6 a servo (prefferably 5 to have the trigger along with the bec) so that 6 is the camera feedback pin? If anyone has a good idea, please tell me.
Pixhawk has 6 AUX Ports (AUX1-AUX6, referred to as RC9-RC14 in Mission Planner ) that can be configured as servos, relays, or digital inputs or outputs. You can read more about that here.
On the Pixhawk AUX OUT 5 (pin 54) and AUX OUT 6 (pin 55) are setup as the “First” (or #0) and “Second” (or #1) Relays respectively. The number of available Relays can be increased to a maximum of 6 by reducing the number of AUX pins used as Servo outputs. This can be accomplished by reducing the BRD_PWM_COUNT from 4 to 2 or 0.
AUX OUT 5 and 6 cannot be used by default because they are setup as Relays. These pins can be changed to Servo outputs by setting the BRD_PWM_COUNT parameter to 6 and setting RELAY_PIN and RELAY_PIN2 to -1.
I minimized the wiring between the ESC, tilt servo, and wing before screwing on the cowls. I also took some shortcuts to try to hover the Nimbus before the snow flies. I plugged the motor wires directly into the Hobbywing ESC instead of making extensions and I ran the tilt-rotor control wire outside the fuselage. I can fix these shortcuts during the long winter months when it is too cold to fly.
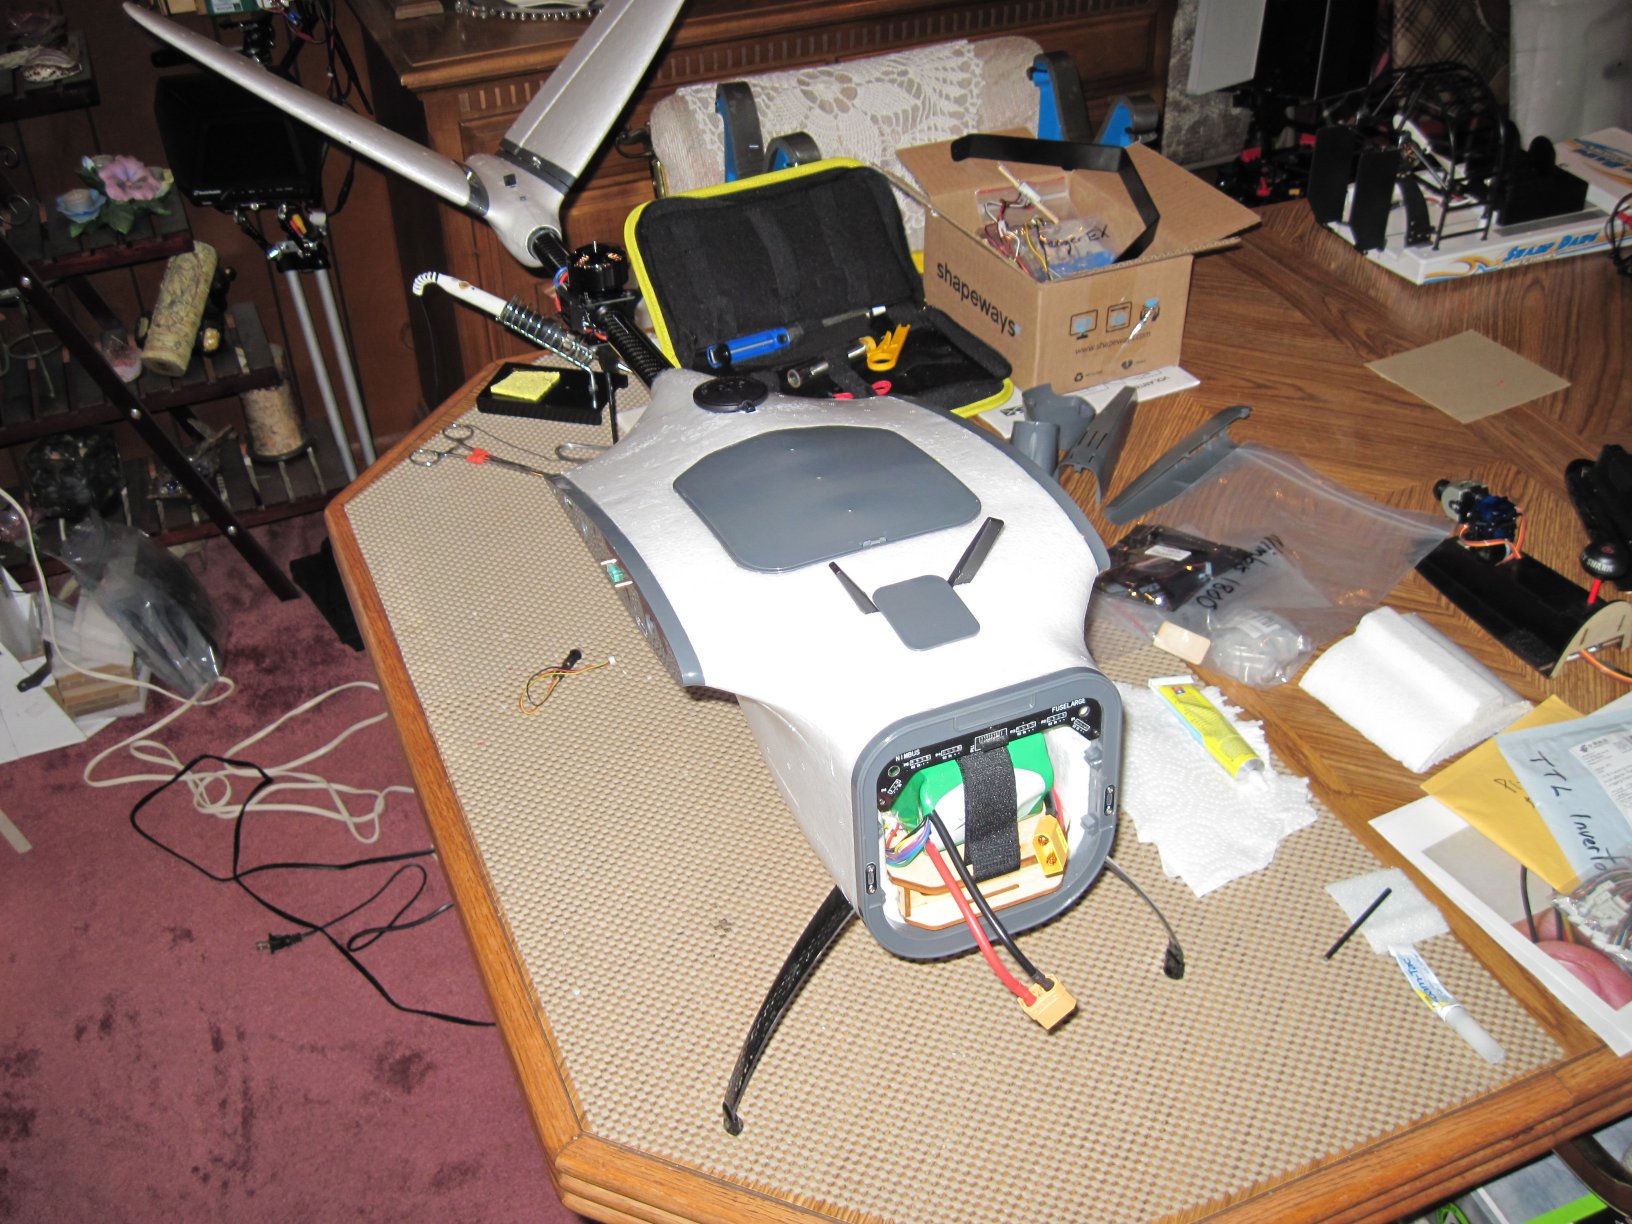
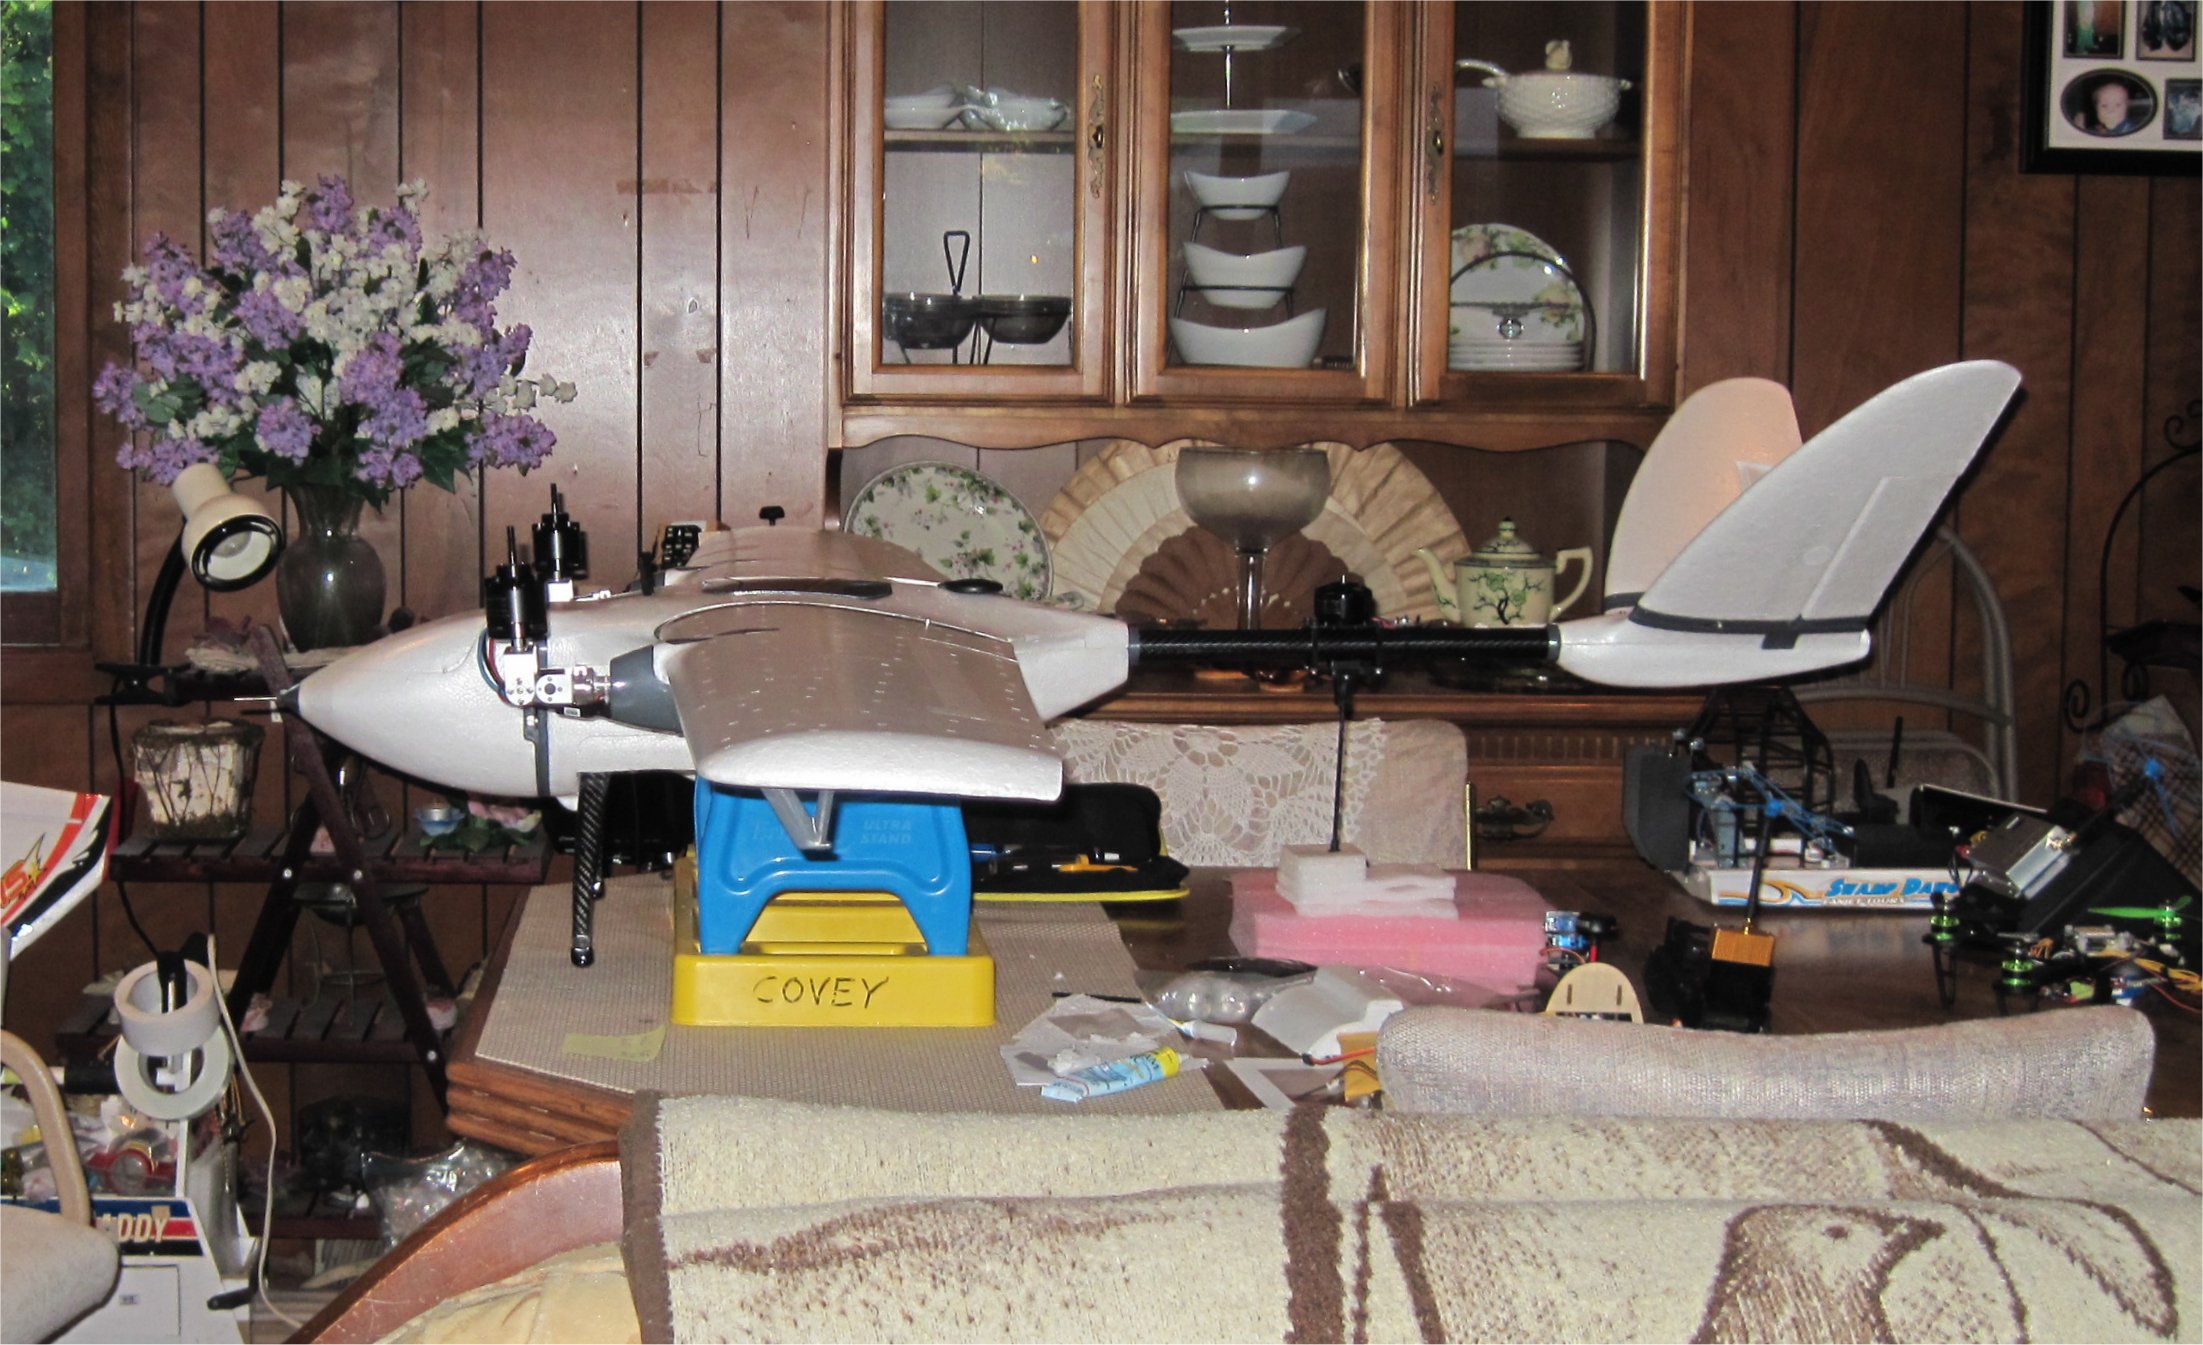
My Nimbus seems to balance fine using the Multistar 6s 10AH pack. I was hoping for a tail heavy plane so I could mount my gimbal/camera in the nose so I may need to use a lighter combo like the new Arkbird 2K Camera/Gimbal.
Time to test the control surfaces and tilt rotors…
When I use ailerons, my Nimbus setup seems to also turn the v-tail control surfaces as if to aid in the turn. Elevator and rudder sticks seem fine on the v-tail, so what parameter is enabling v-tail with my aileron turns?
Also, my hover testing was thwarted this weekend as I discovered (after power-up) that I had wired my robot tilt-rotor servos to the 6s battery lines instead of 5v. Oh, the humility!!! Needless to say, I ordered new RDS3115MG servos from Banggood today…
I do not understand their new Foxtech PG20 Dual Battery Swapping Board feature that claims 30% increased flight time using two batteries…unless they are simply adding additional battery capacity to cover the hover mode take-off and landings. It seems that they add a second high-discharge battery somewhere to be used in hover modes and then claim 30% increased flight time. I certainly don’t have any more room for extra battery using my Multistar 6s 10AH pack. Comments?
It is the usual Foxtech eyewash. They put a smaller C rated (I think LiIon) for plane mode and a larger C but smaller capacity (let’s say 2.2Ah) for vertical flying.
The PG20 is a glorified battery switch which has a real value around 50usd, but they ask 200 for it.
Welcome back! I blew up my RDS3115MG servos and I’m still waiting for the replacements from Banggood. The Chinese holiday week is slowing things down. I also decided to buy the FoxTechFPV Foxtech Nimbus VTOL V2-Tilting System because it seemed like a good value on sale for $100. I’ll use it as a backup, if needed.
I remembered your post above and got to the same point on my setup. It was a bit odd and frustrating but I was able to change the servo max/min/trim settings to make the tail offsets quite close until deflected to the extremes…which shouldn’t happen often.
Were you able to reduce or eliminate your pitch offset issue?

 Needless to say, I ordered new RDS3115MG servos from Banggood today…
 . Have you fly any vtol without esc brake? I bought ones for my vtol without that option GLUP!!!