
Introduction:
Many of you are likely familiar with the SITL (Software In The Loop) simulator within ArduPilot, which can be found here: https://ardupilot.org/dev/docs/sitl-simulator-software-in-the-loop.html. This simulator is user-friendly and quick to set up. However, one notable limitation is its physics simulation, which may not be fully comprehensive. While SITL provides a variety of parameters to manipulate your drone and test code features, did you know that you can refine the multicopter physics to align more closely with your drone’s characteristics using a simple configuration file? Let’s delve into this customization process.
Enhancing Multicopter Physics:
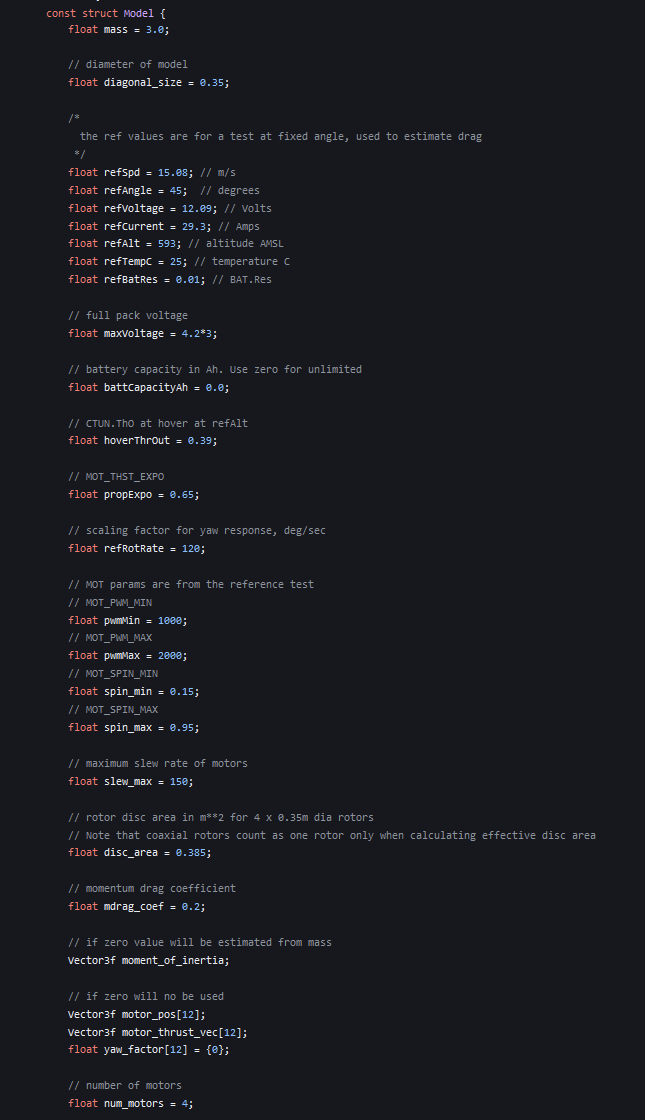
The default multicopter simulation in SITL is a basic quadcopter with predetermined traits, outlined at https://github.com/ArduPilot/ardupilot/blob/master/libraries/SITL/SIM_Frame.h#L82.
This means that even if you are operating an octo-quad copter, the performance will mimic that of a quadcopter. Moreover, a funny side effect is adjusting the default battery voltage to a higher value (Try param set SIM_BATT_VOLTAGE 45 ) can lead to unrealistic behavior due to a mismatch between the simulated motor input voltage and the provided voltage. This discrepancy is intended to reflect real-world consequences; applying 45 volts to 16 volts motors would indeed damage them. So, how can you address this and tailor your own model?
When you run sim_vehicle.py to launch you simulation, you may have noticed this kind of annoying messages :
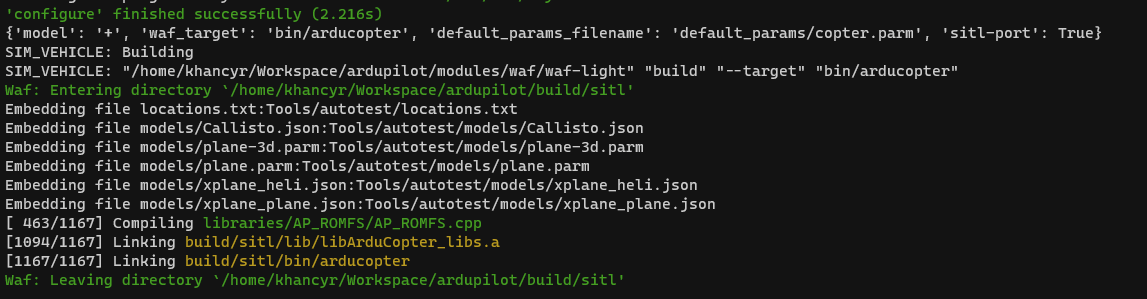
These messages point to examples of copter customization, such as the one found at https://github.com/ArduPilot/ardupilot/blob/master/Tools/autotest/models/Callisto.json. These files define the multicopter physics parameters.
To create your custom drone model, simply craft a new configuration file (like MyAwesomeDrone.json) and place it in the Tools/autotest/models/ directory.
Testing the Custom Model:
To test your new configuration, consider the Callisto model. The updated command becomes:
sim_vehicle.py -v ArduCopter -f Callisto
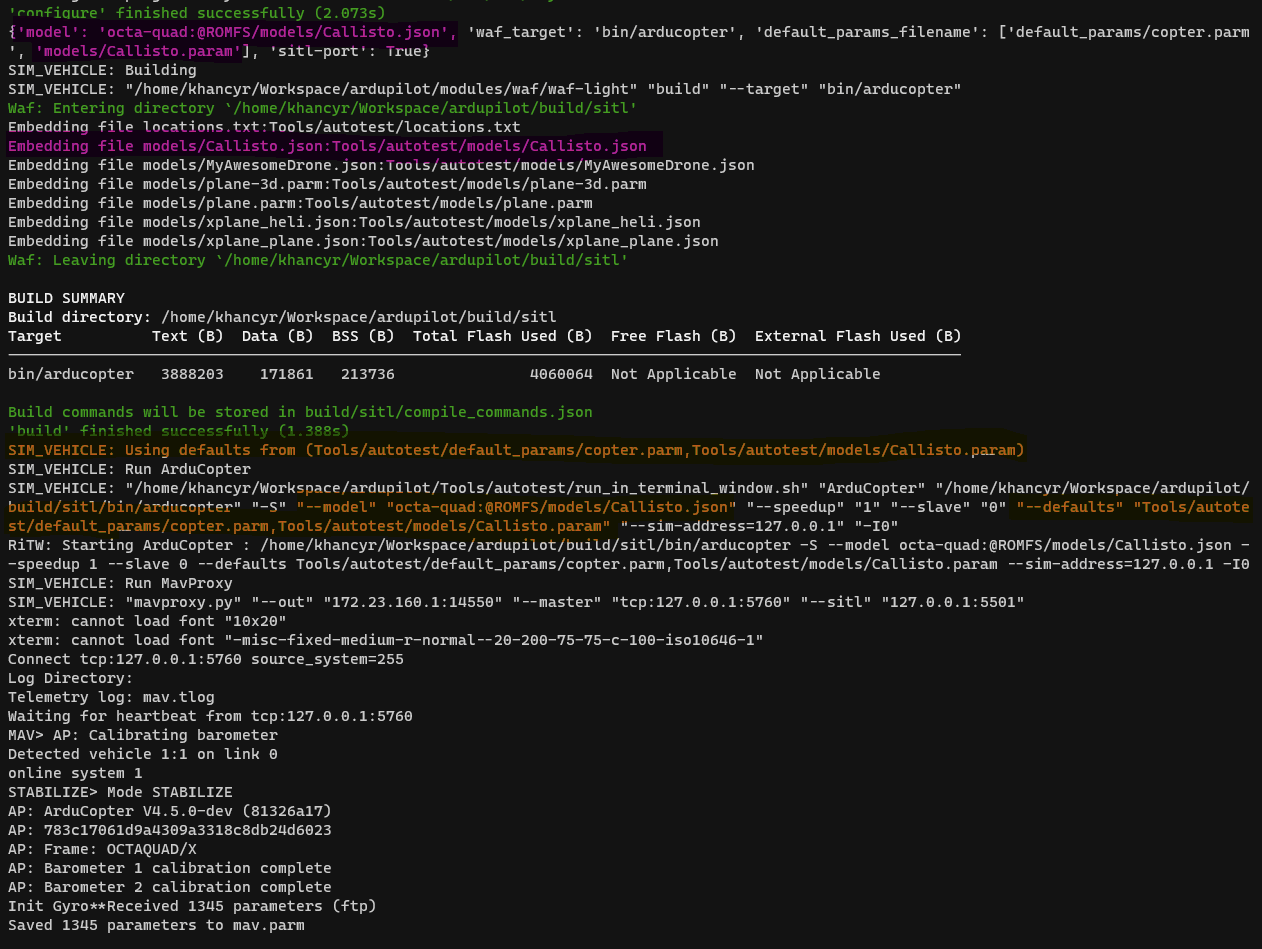
This command instructs the simulation to run an octa-quad drone using Callisto physics and parameters, which are stored in the same location as Callisto.json. Keep in mind that modifying the drone’s behavior will alter its reactions. Ideally, the behavior should be more akin to your actual drone’s performance.
Let’s try with our AwesomeDrone :
Copying Callisto file to MyAwesomeDrone:
cp Tools/autotest/models/Callisto.json Tools/autotest/models/MyAwesomeDrone.json
cp Tools/autotest/models/Callisto.param Tools/autotest/models/MyAwesomeDrone.param
Run simulation
sim_vehicle.py -v ArduCopter -f MyAwesomeDrone
Hum that doesn’t work, why ?
Troubleshooting and Solutions:
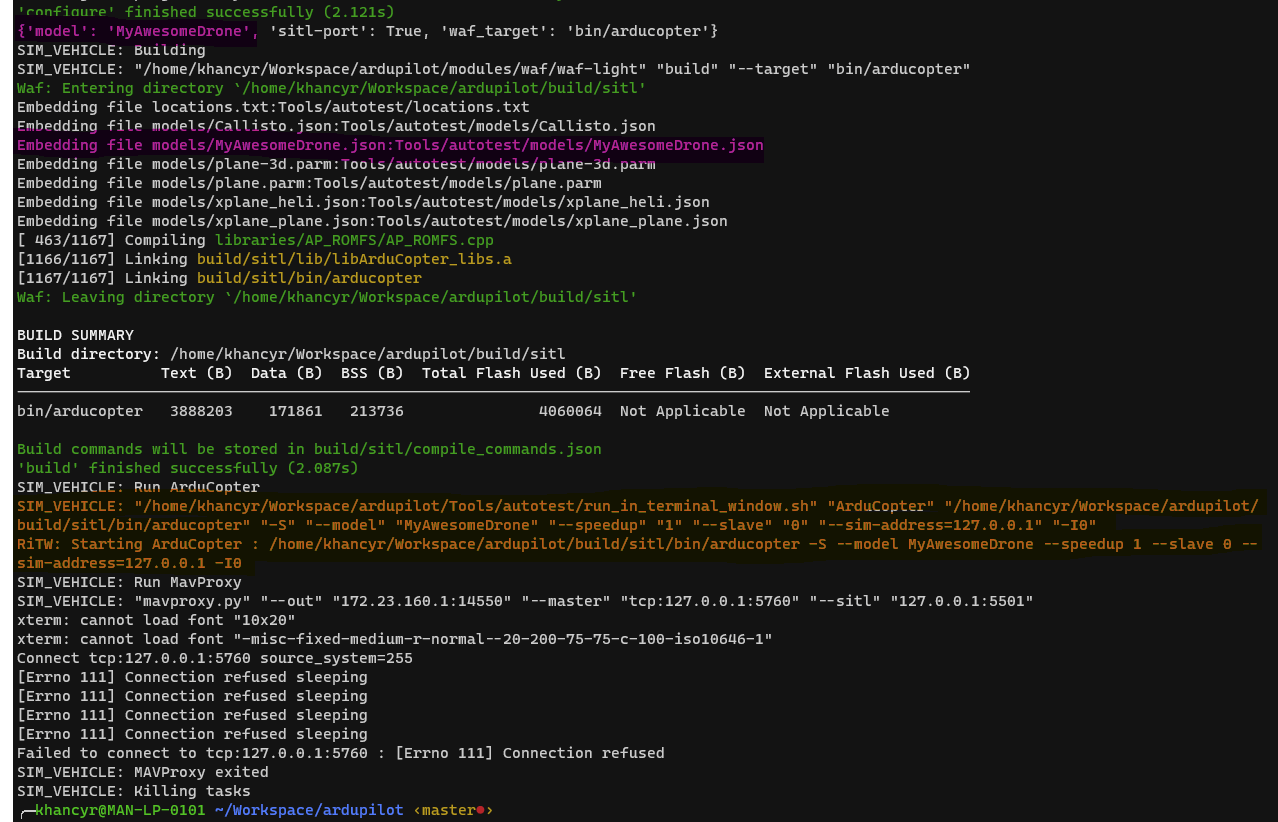
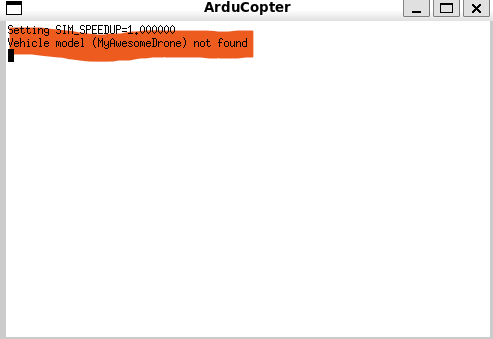
Let’s analyze what happened.
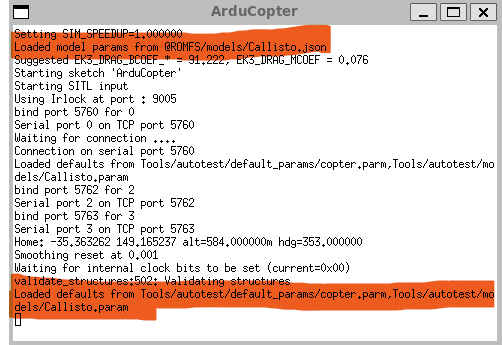
The physics .json file will be embedded into the SITL ROMFS (its virtual file system) during the build phase (in pink). During the launch phase (in orange), however, wSITL may not recognize your custom drone, halting the simulation. Remember, SITL runs in the small white windows, not the terminal where you are using sim_vehicle.py, that is just a launcher for SITL !
And here the issue on sim_vehicle.py ! To simplify common vehicle launch, we got a set of default frames and associated parameters. However, our AwesomeDrone is not registered within these defaults, leading to sim_vehicle.py not passing the right launch parameters to SITL.
To rectify this, navigate to : ardupilot/Tools/autotest/pysim/vehicleinfo.py at master · ArduPilot/ardupilot · GitHub and replicate Callisto’s entries with your drone’s name. Of course adjust on need to match your drone.
Let’s just copy Callisto fields and replace with our drone name :

And run back SITL :
sim_vehicle.py -v ArduCopter -f MyAwesomeDrone

Now, it is working !
Alternative Launch Method:
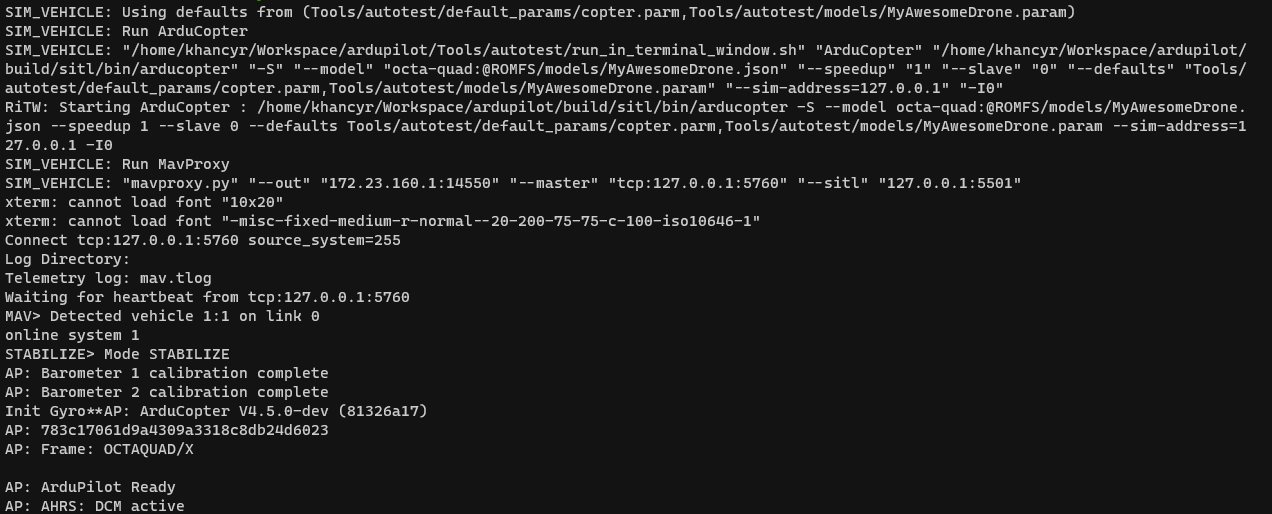
An alternative approach that avoids modifying vehicleinfo.py involves passing the model and default parameter files directly to sim_vehicle.py:
sim_vehicle.py -v ArduCopter --model octa-quad:@ROMFS/models/MyAwesomeDrone.json --add-param-file=Tools/autotest/models/MyAwesomeDrone.param
For those that don’t use sim_vehicle.py as launcher, it is working the same way :
/home/khancyr/Workspace/ardupilot/build/sitl/bin/arducopter -S --model octa-quad:@ROMFS/models/MyAwesomeDrone.json --speedup 1 --slave 0 --defaults Tools/autotest/default_params/copter.parm,Tools/autotest/models/MyAwesomeDrone.param --sim-address=127.0.0.1 -I0
Conclusion:
By following these steps, you have gained insight into fine-tuning your multicopter simulations to more accurately reflect your drone’s characteristics and learn how to add a new vehicle default frame to sim_vehicle.py !
Those features are quite handy for better simulations but lack documentation and ease of use ! We could improve sim_vehicle.py to automatically catch new frames in the Tools/autotest/models/ directory and add some autocompletion to catch up those models. If you are interested in contributing to these improvements or adding this guide to the wiki, your contributions are warmly welcomed.
Happy simulations !