Hi Everyone,
The next big challenge here is to get my Ardusimple Module operating with my pixhawk 2.1 black cube
I have connected the Ardusimple rover module to the pixhawk GPS2 and the ardusimple ground station outside, both are using the zbee module for telemetry comms.
I went through the docs regarding RTK/GPS inject but did not find relevant information pertaining to ardusimple. Just wondering if anyone out there on this cold melbourne winter night might have a warm answer.
This is the page I’m stuck on
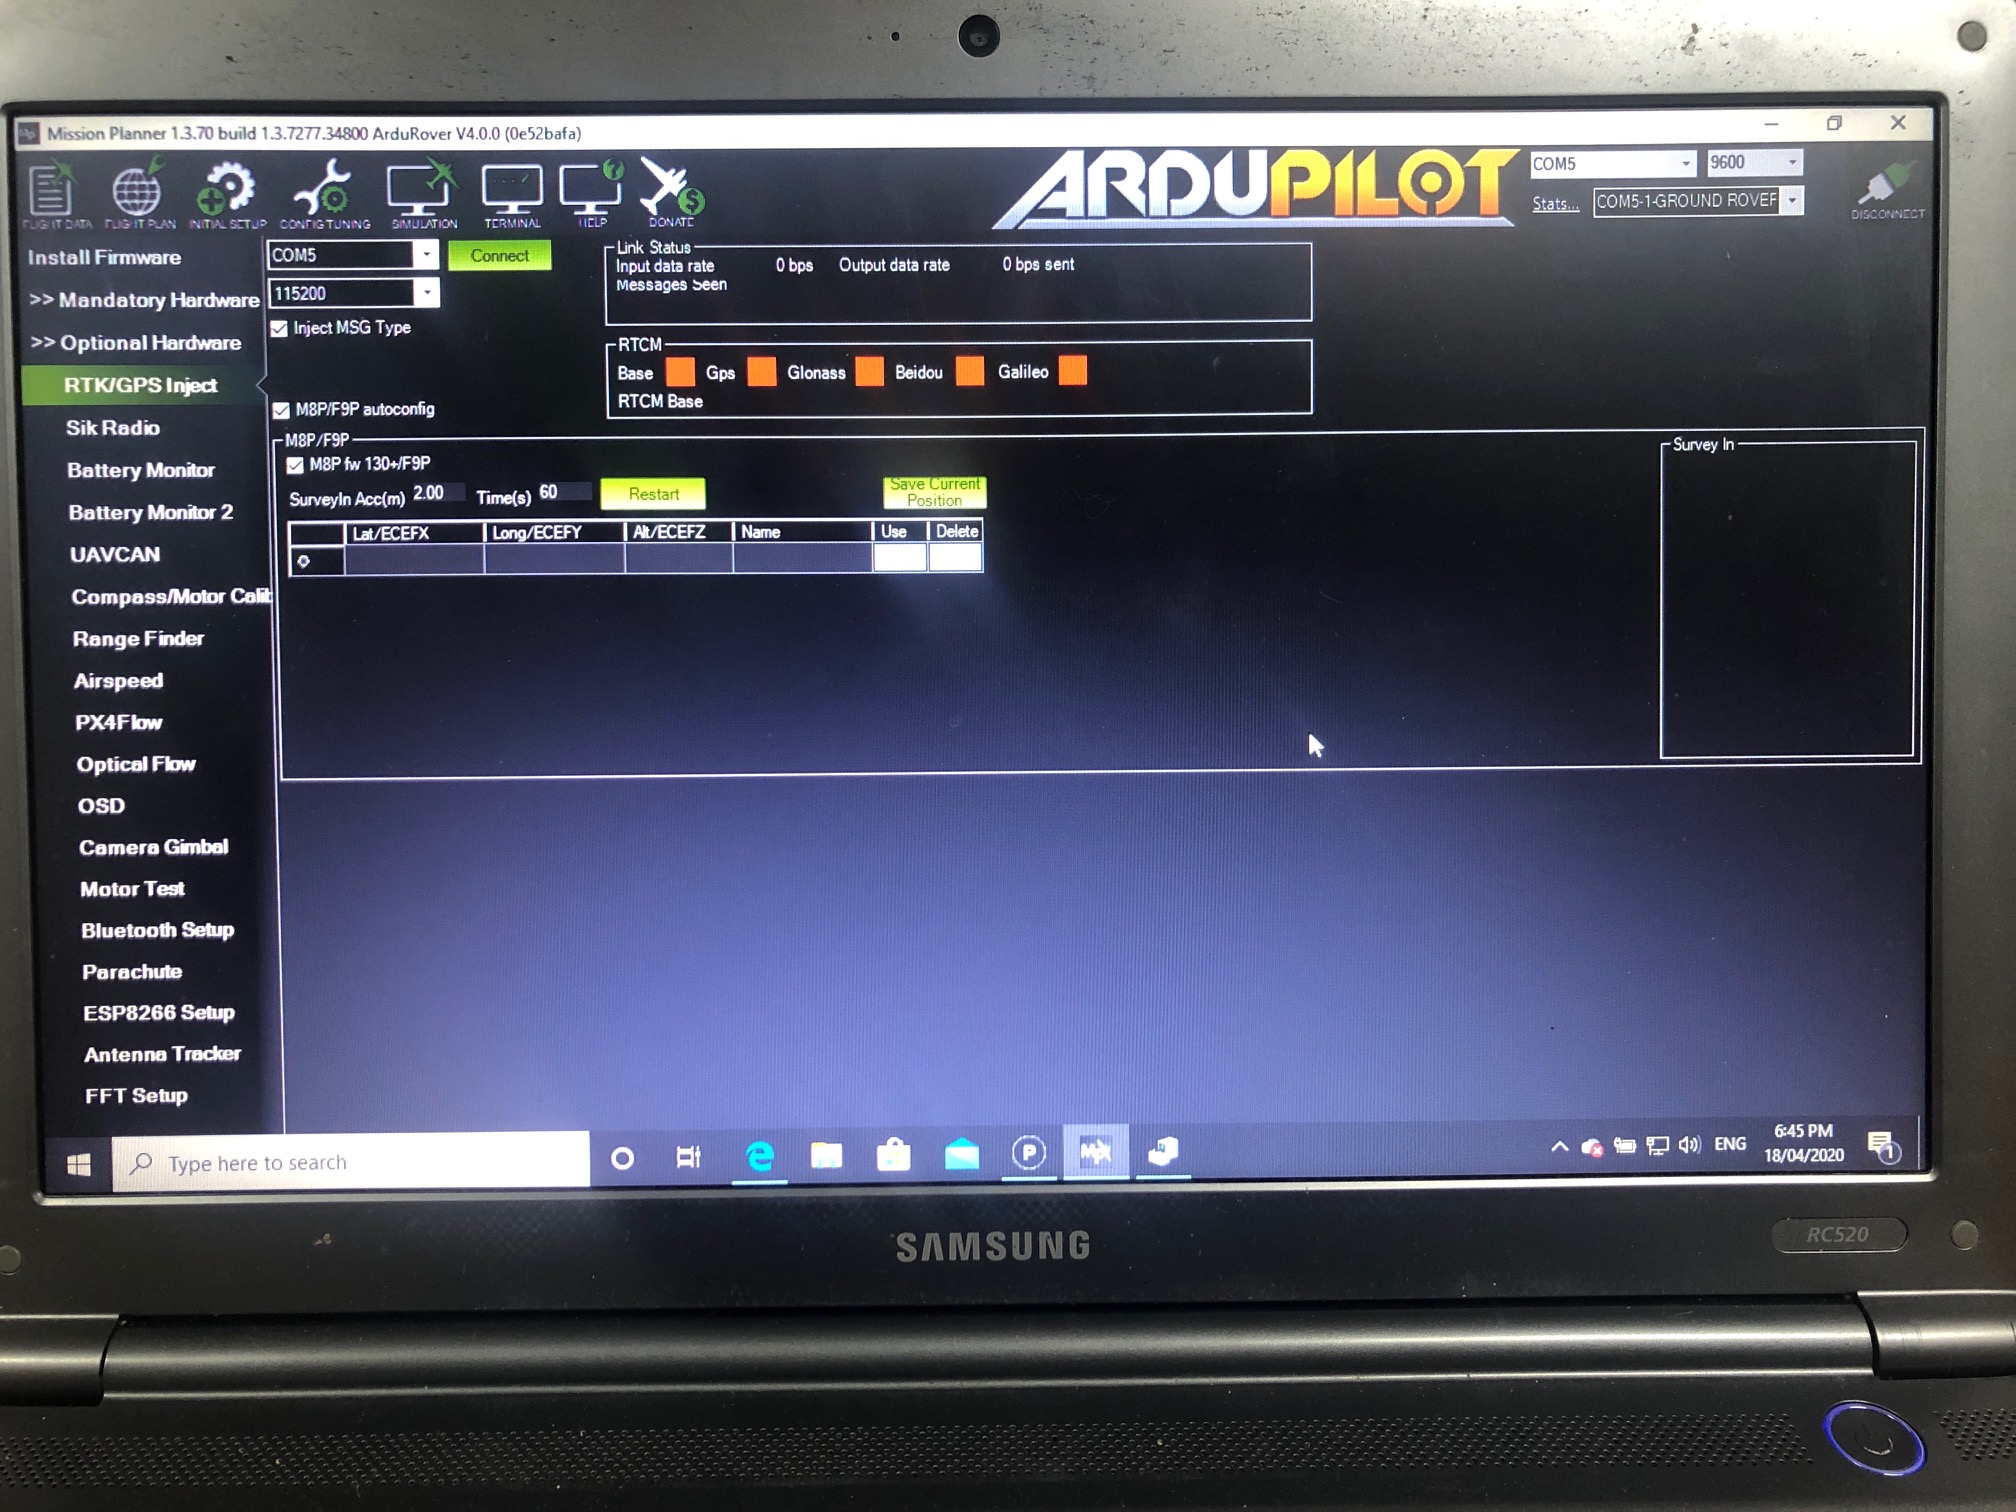
A few items are needed for this to work. You are going to need to list some more things to help us answer the question properly.
RTK Inject through Mission Planner works through telemetry radios or similar. We will just assume and use the words telemetry radios from here on out.
RTKBASE Connected via Serial or USB (This could also be a second set of telemetry radios) —> Computer —> Telemetry Radio on Computer via USB or Serial —> Telemetry Radio on Vehicle —> Serial connection to Flight Controller.
You said you had xbee radios and that sounds like you have one on the base and one on the rover connected to your pixhawk. This essentially bypasses the need for the RTKInject from mission planner. Ardusimple RTKBASE —> Base XBEE —> Rover XBEE —> Ardusimple RTKrover
Depending on how you have your base and rover set up you would be getting RTK corrections to your rover from the base via the XBEE radios on the ardusimple hardware.
Why would you need to use RTKInject via mission planner?
- You don’t have a base and your getting corrections for your GPS via NTRIP.
- You already have good radios that can reach longer distances or frequency’s that the xbee may not work.
- You have a mesh radio system that allows multiple rovers get access to the corrections.
- Lots more use cases I am not going to get into.
Let me know what your setup is
- Ardusimple models of base and rover
- Telemetry radios used for ardupilot/copter/rover and how your connecting them.
Hope this helps
Cheers
Hi Ryan,
About my system
The ardusimple LR kit came with the Xbee radios one for the rover and one for the base. I assumed that somehow I needed to get the cube to see the gps module via RTK/GPS
The rover module is connected to gps2 on the cube and the base is connected via USB to the laptop.
This being the case does this mean I can start using mission planner and create a waypoint path ?
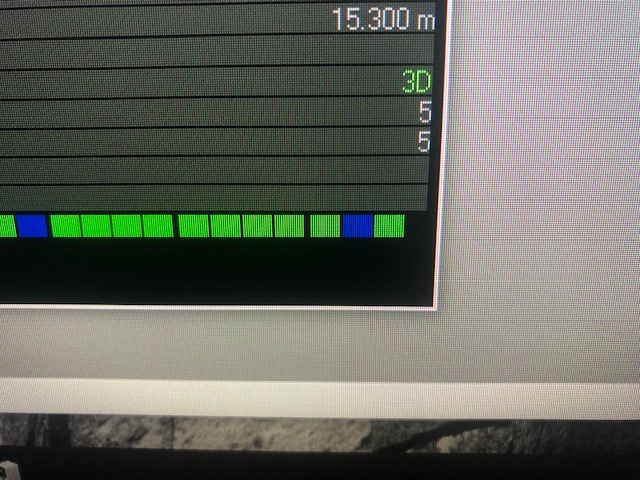
I have notice that the No RTK blue light on the zed-f9k module stays on making me believe that I don’t have a good fix, and therefore will not allow for cm accuracies of am I hopefully wrong.
The 9fp module is connected directly to each Xbee radio
Please accept my limited knowledge base but rapidly learning each day
Ryan really appreciate your help
There are a few things that were assumed and might have been over looked by you and I.
Set up your units in ublox ucenter and make sure they are working correctly. Your going to need to head outdoors for this. Get into the backyard or if needed out to a baseball field or something to get in an open area. The GPS will work and get you satellites with out RTK. Make sure that works and check it in ucenter. Then you need to make sure you set things up for RTK. In Ucenter you will need to set up the base to say where the data is being sent. Just like ardupilot has a ton of ways to route and tell ports what they should be doing. After this is working you should then move to attaching the rover unit to pixhawk and making sure the serial connection is set up properly for the GPS2 port that you have selected to run your unit. Right now i would forget about using RTKInject as if this is set up and working with that feature is not useful to you as you already have RTK correction messages going to your RTKrover.
Then you need to set up your laptop or computer with a Telemetry Radio and also have one on your pixhawk. Once your connected to that you just make a mission as usual.
Connect the units
Have you checked out the hooking up guide on ardusimple’s site. This will show you how to get stared and what all is needed to get things up and running.
Note: You could use the xbee radios that you got from ardusimple to be the telemetry radios from mission planner computer to pixhawk but they need to be wired to the telemetry port on the pixhawk and have an adapter for the computer side. This is where you would want to use RTKInject. At that point they are not being used from RTKBase to RTKRover as you have now. They would be computer to pixhawk. You would then make sure the RTKBase is setup in ucenter to send data to the USB port and that is where you would select com3 for example as your RTK source in the RTKInject. then the xbee would talk to the xbee on the pixhawk and send the RTK corrections to the srdusimple onboard your device.
I hope I didn’t barf too much info but I think there was some misconceptions about how this work so i tried to dial those in a bit. I apologize if this assumed too much but maybe it will help others.
2 Likes
Ryan thanks so much I will go over this tomorrow maybe the backyard is the issue but will try putting the base antenna back on the garage I can see in u-center the module is picking up the satellite systems
Thanks again for your support 

Yes I did read the tutorial in ardusimple but may have got confused when going back to ArduPilot rover setup, but did learn that by connecting the micro USB to the Xbee side of the module this will allow one to see the rover fixed. If you are in Australia right now we have a stay at home policy so I’ll try to examine where I have got it wrong.
Just recapping here I think you may have solved my issue.
If I have the zen-f9p module connected to the Pixhawk via the gps2 port. Do I still need to connect the Xbee to the telemetry port as well ?
I’ll go back to the ardusimple tutorial
You can get the RTK Corrections 2 different ways.
-
Ardusimple RTKBase (xbee) —> Ardusimple RTKRover (xbee) - This is with the Xbee Modules that came with your unit.
`You do not need to use RTKInject with this setup. But you do need to still have another serial telemetry radio to talk to your vehicle with mission planner. like the ex…RFD900, 3DR radio, bluetooth ect -
Ardusimple RTKBase (no xbee) —> Computer with mission planner and telemetry radio —> telemetry radio connected to pixhawk telemetry port —> Ardusimple RTKRover (no xbee) connected to Pixhawk.
The xbee could be used as telemetry radios for the computer to pixhawk in this scenario but will not be connected to the F9-P units at all.
Either way you do need to make sure the routing in mission planner for the ports is set up properly and also make sure you set up the RTK units in ucenter to send and receive the data on the ports being used.
Yes lockdowns kind of suck for testing if you can’t get out but great time to tinker if have the space.
Also having the antenna near the metal for a garage roof (if that is the case) is going to be bad multipath and not get a good result. FYI.
Good Luck Happy Hacking and report back with your results.
I need to get an ardusimple RTK setup and maybe make a wiki entry to help out.
Cheers
1 Like
Ryan thankyou for your detailed response I will look at this again today
Very kind regards
Darren
Ryan I’m very confused now I wonder if anyone in Melbourne is using the ardusimple with the Pixhawk black cube.
If please let me know
With so many options it’s very easy to get this config wrong as I have failed to understand at this time
Darren,
Unfortunately, I am on the other side of the world, but will try to help. I am open to a video chat if that will help, but here are some thoughts, steps, etc.:
I am using a similar setup to yours except that I have a LoRa module on the base GPS that is taking the correction data stream (RTCM3) from the base GPS and sending directly to a LoRa module on the rover GPS. The setup on the two GPSes for this would be identical to that on your XBEE system.(Option #1 in Ryan’s post #5 above.)
Building on what Ryan has said (which I feel is 100% correct):
The SimpleRTK2B hookup guide is here: https://www.ardusimple.com/simplertk2b-hookup-guide/. The link Ryan gave above was for the SimpleRTK2Blite, which may be what you have. (One NOTE: The LITE document states that the F9P UART1 is connected to the XBEE connector and also states that F9P UART1 is connected to the Pixhawk connector. I think this may be a mistake??? The non-LITE version states that UART2 is connected to the XBEE and UART1 is connected to the Pixhawk connector. I believe that is correct. Why would the LITE be different?)
I am going to discuss the SimpleRTK2B, which is what I am using (I have 2 of these and also two u-blox C99-F9P eval boards.).
I do not know if there is any special setup required on the XBEE modules themselves, but I assume they are setup to communicate with each other.
In Ucenter on the base GPS do these things:
Use the “Messages” menu to set up the F9P as follows:
- Either perform a “Survey-In” or choose “Fixed Mode” at UBX-CFG-TMODE3. If you have this done correctly, you should see “TIME” in the Fix Mode box on the right side of the U-center screen.
- Only have the RTCM3 protocol enabled for UART2 “Protocol out” at UBX-CFG-PRT.
- At UBX-CFG-MSG, enable these RTCM3 messages for UART2: 1005, 1074, 1084, 1094, 1230, 1124. Go through all other messages that you can click on in the drop down menu and uncheck UART2.
- Remember to save the configuration to Flash!
The base should be setup.
Connect your rover GPS USB port to your computer and in u-center do these things:
Use the “Messages” menu to set up the F9P as follows:
- Only have the RTCM3 protocol enabled for UART2 “Protocol in” at UBX-CFG-PRT.
- Ardupilot will configure UART1 as it needs to be, but I would go ahead and set UART1 Protocol out to UBX only at UBX-CFG-PRT.
- Remember to save the configuration to Flash!
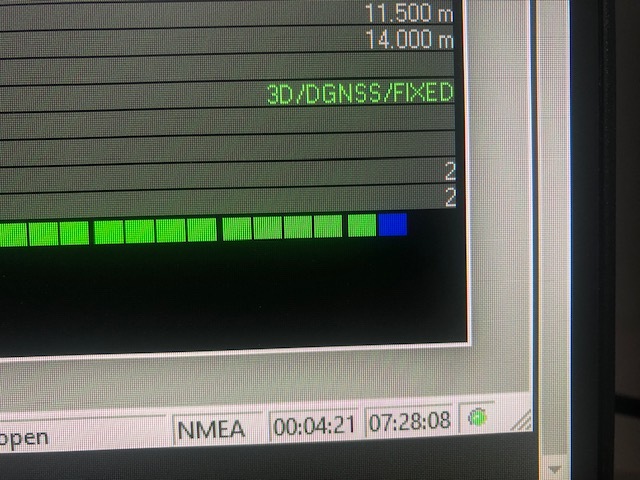
If all is working, you should see that the status is “Fixed” (or something simliar-can’t remember exactly at the moment) in the Fix Mode box on the right side of the U-center screen.
If you get this, you are all set! Plug the GPS cable from the Rover GPS to the GPS input on the Pixhawk, fire it up and connect Mission Planner. You should see “RTK Fixed” in Mission Planner.
This is at least what I remember as far as how I set up my units. There may be configuration files you can just load that do all this for you.
I hope this helps instead of confuse! It is confusing… 
Best,
Kenny
3 Likes
Hi Kenny
Thankyou, I was thinking about this at 3am this morning and logged an issue with Ardusimple because the XBee radios are no longer flashing, making me believe that the issue is in the radios,
Quick solution here is the get some Pixhawk Radio Telemetry Kit this will then connect directly from radio to pixhawk cube.
Kenny what is missing here is my total lack of experience, and to understand the complete system first its small steps to establish a functional working robotic platform. With this in mind I’m going down the easy path to get these extra radios to speed up the process of elimination.
I will take onboard every check from what you have written to make sure I have the config correct.
Kenny on a personal level here, when I started watching your videos on youtube I knew you had an IT background and let me say your videos inspire people like me to give the quest to achieve 1 cm accuracies a good crack.
I will report back to you and thankyou for your sincere effort to assist a newbie
One more thing here I have notice that what ever I do to this Pixhawk 2.1 Cube I cant release any smoke
this is not normal…LOL 
Ok Kenny
The rooster is marking his claim
Is the Rooster making the right noise ?
Kenny are you still there is everything ok mate
Sorry to be so long in seeing your good news of achieving RTK FIXED! That’s great!
I’m getting very close I hope