In a classic RC airplane build it is normal to see mandatory equipment (such as servos and BECs) installed in the middle of the airframe. It is functional, provides easy access and easy maintenance. In a UAV such as the UnATRaP however, it doesn’t make much sense.
The main reason against it is that internal volume use should be optimized, so as to leave room for payload, which usually is more frequently changed and thus needs to have the easiest access.
With that goal in mind, we went ahead and did some rearranging of the interior spaces.
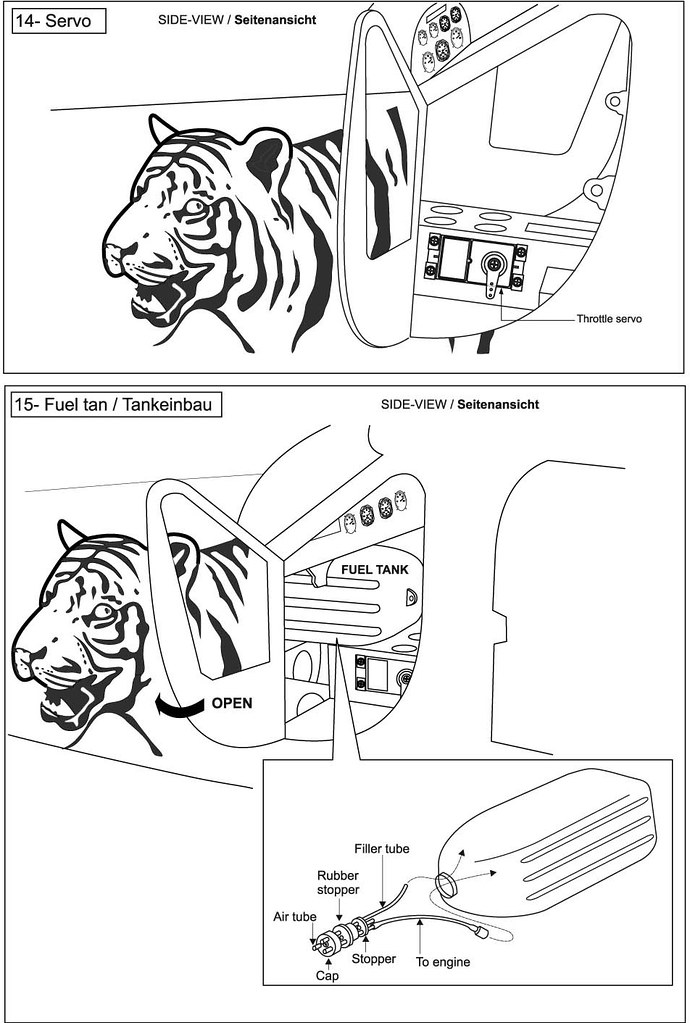
Throttle Servo
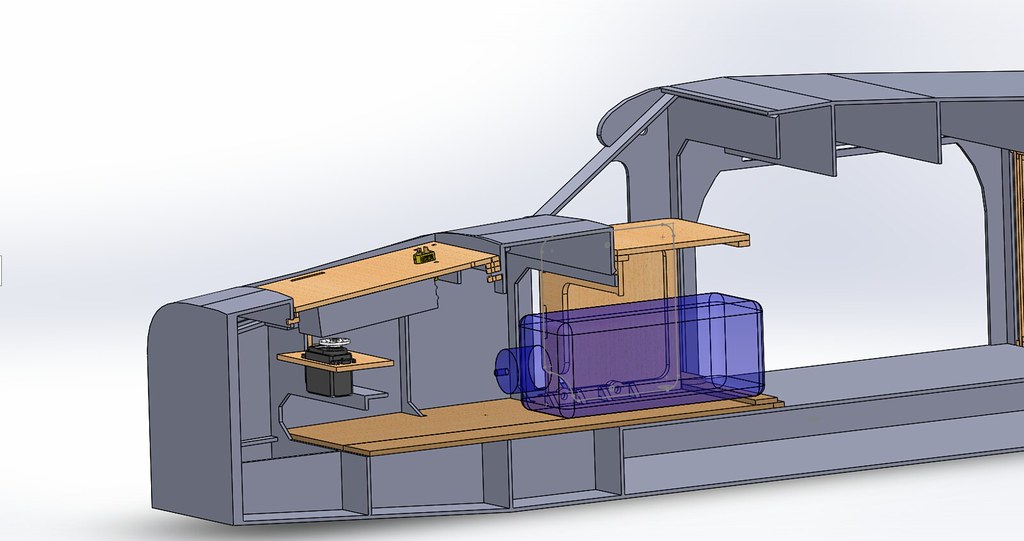
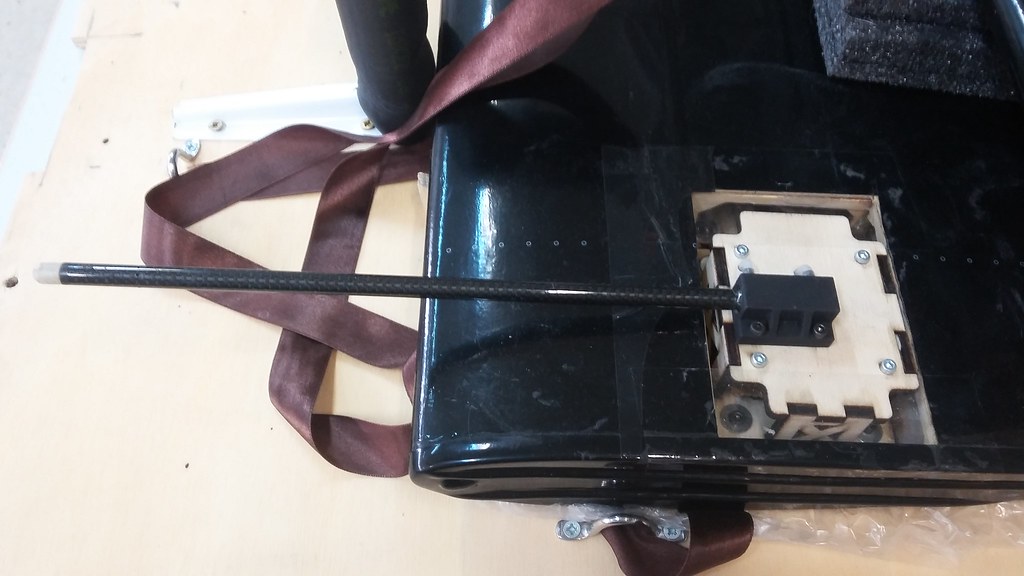
Originally, the throttle servo was to be setup in a wooden bench right behind the dashboard. The same bench would support the fuel tank. Still, that configuration would take up too much internal space and would require an excessively long pushrod controlling the throttle body. We could to better than that.
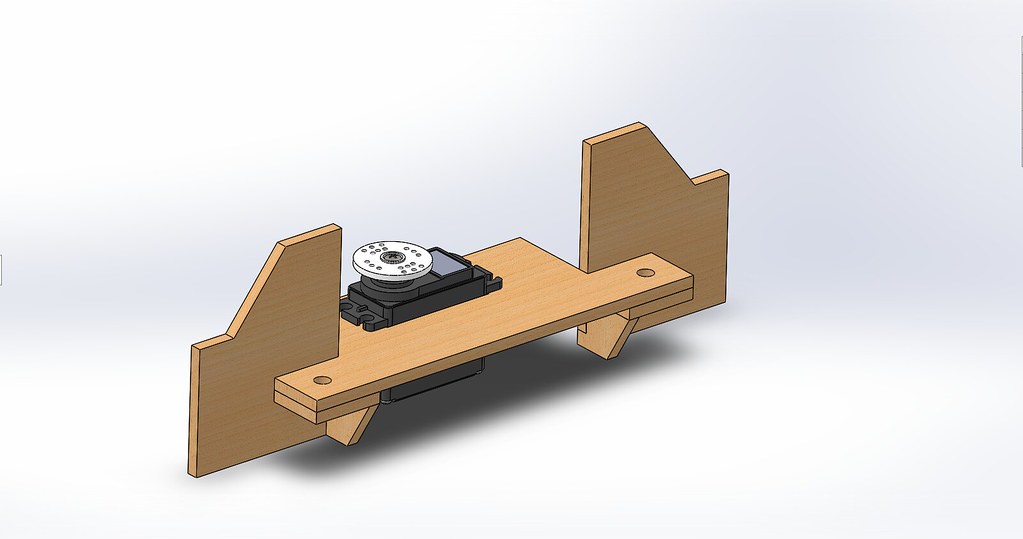
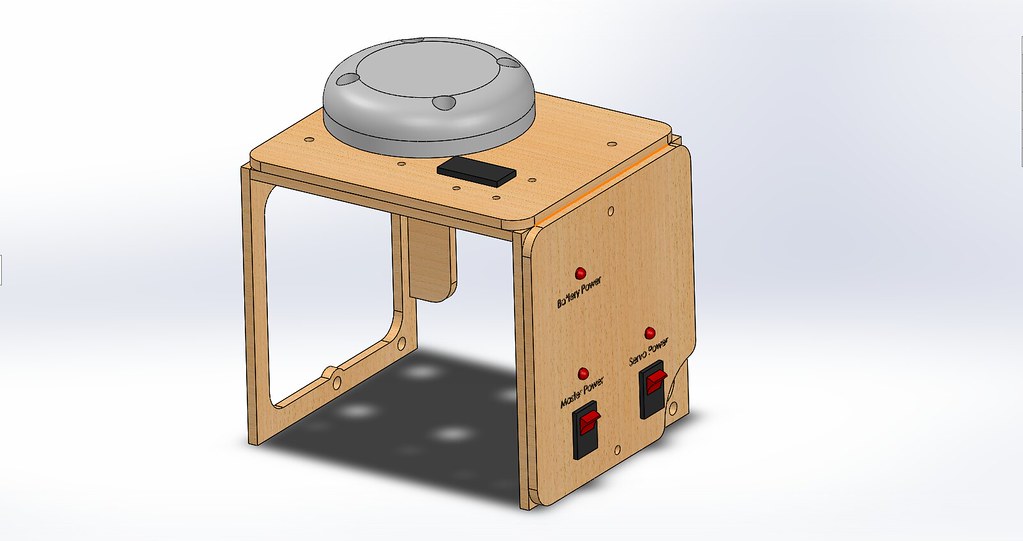
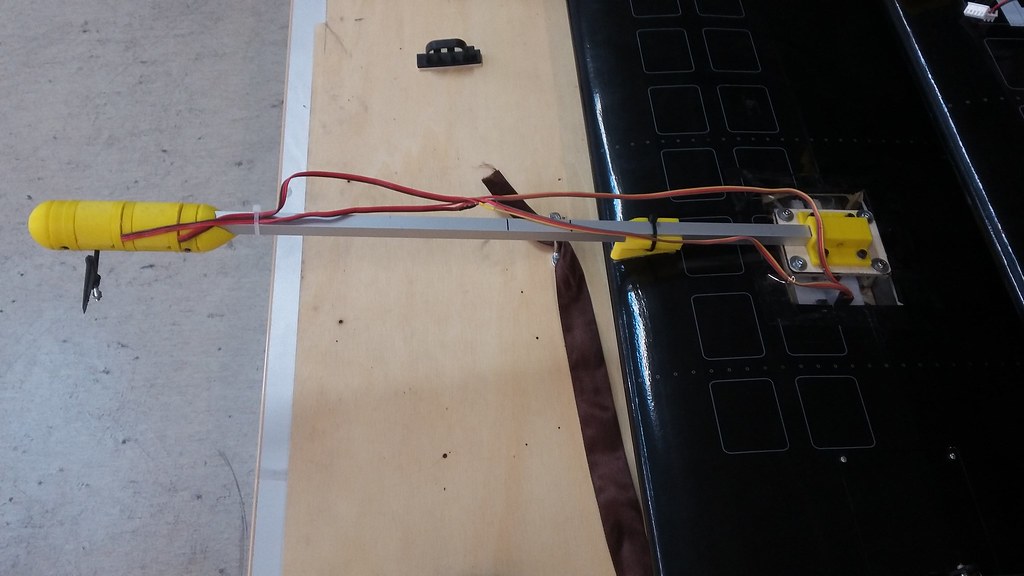
First off, we designed a stand for the throttle servo, much closer to the firewall. It is mounted on a vertical rib profile and can be removed, in case of repairs. We used 4mm sea-grade plywood, which was laser-cut. The end-result can be seen in the following image.
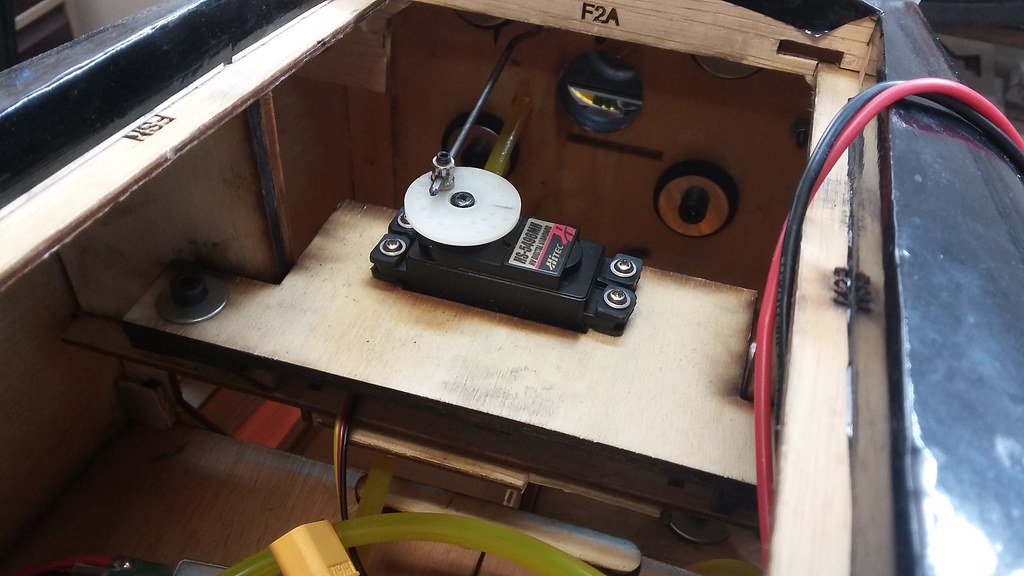
In retrospect, this position caused some issues, because the servo protruded slightly onto the volume where the battery hatch is inserted and also because it makes reaching the firewall from the inside a bit more difficult. While it’s nothing that can’t be solved with a little workaround, if we were to build it anew, we would have done it differently.
Front Electronics Shelf
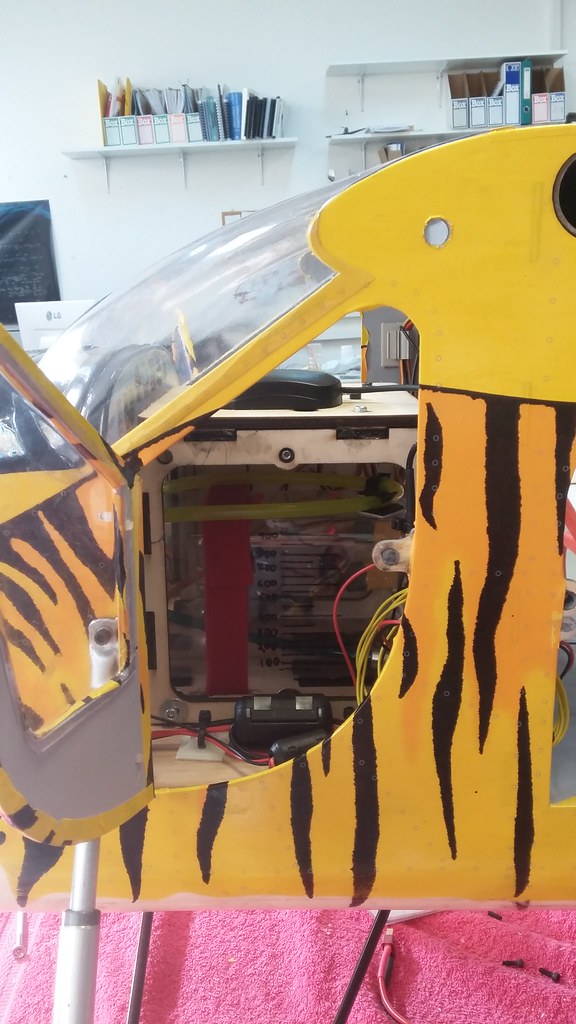
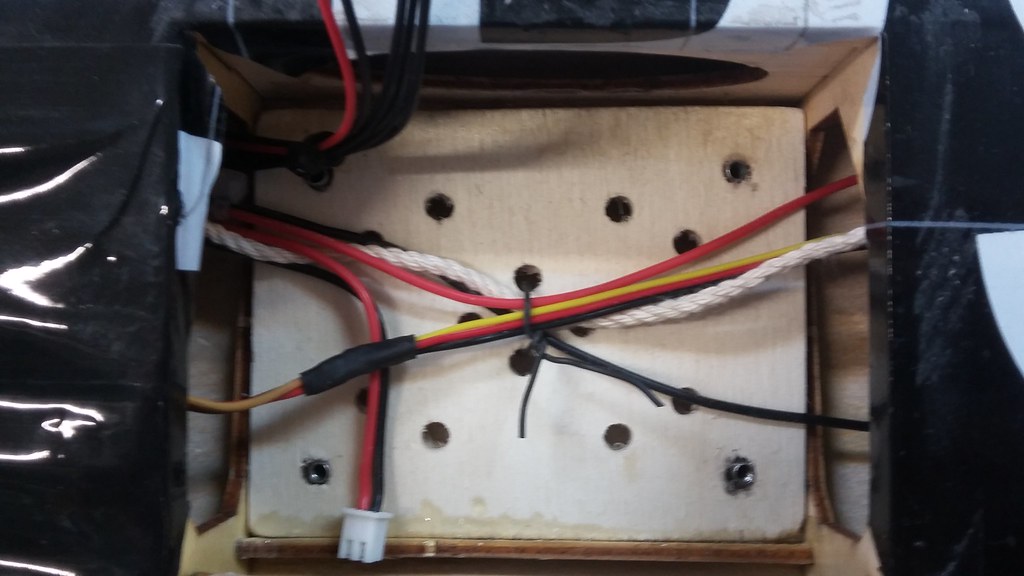
Next, we did away with the wooden bench, taking space right in the middle of the fuselage. First and foremost, we wanted to mount the fuel tank flush on the floor anyway. But even more importantly, we wanted to add some electronics behind the dashboard.
We designed and manufactured a wooden frame, able to accept removable panels.
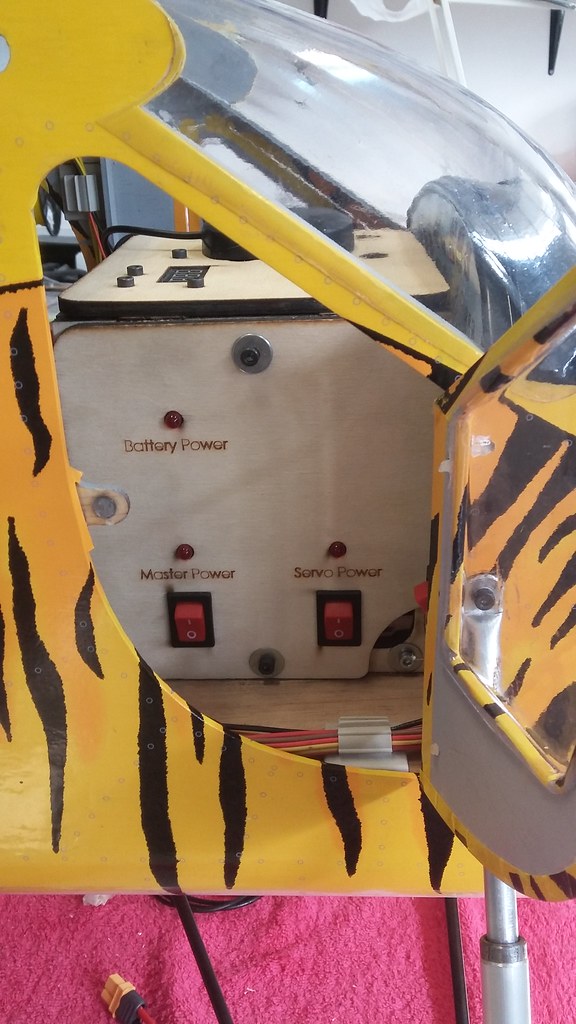
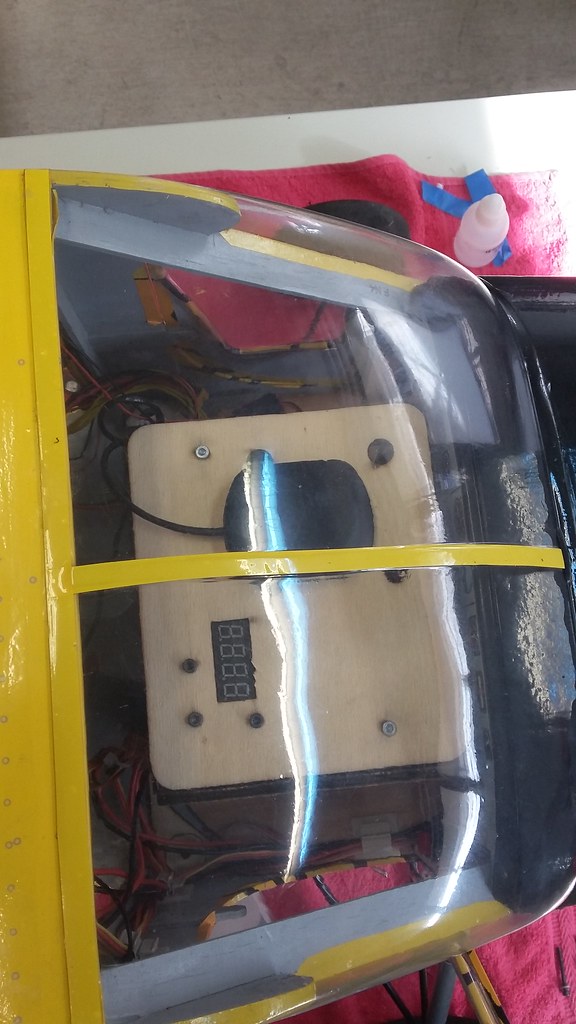
The top panel hosted the digital RPM indicator, some pin headers for its wiring and mounting holes for GPS antennae (for future use).
Load switches were placed on the right panel, along with indicator LEDs. These are accessible through the right cockpit door.
The left panel is currently left empty and allows the inspection of the fuel tank.
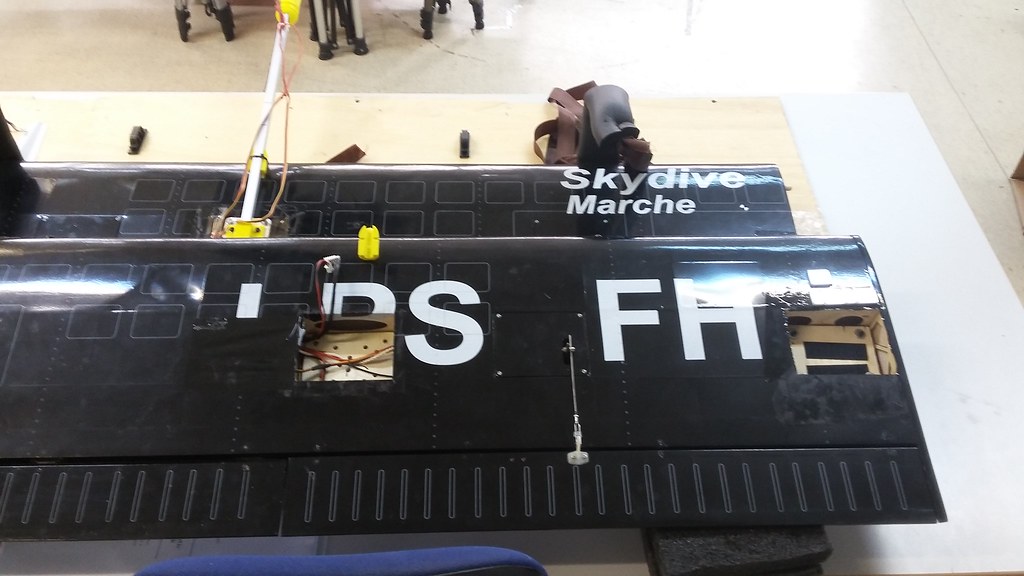
Hardpoints
Any UAV that respects itself should have hardpoints on its wings. So does UnATRaP. Naturally, the original VQ Pilatus Porter doesn’t provide any real estate for such use, so we had to improvise.
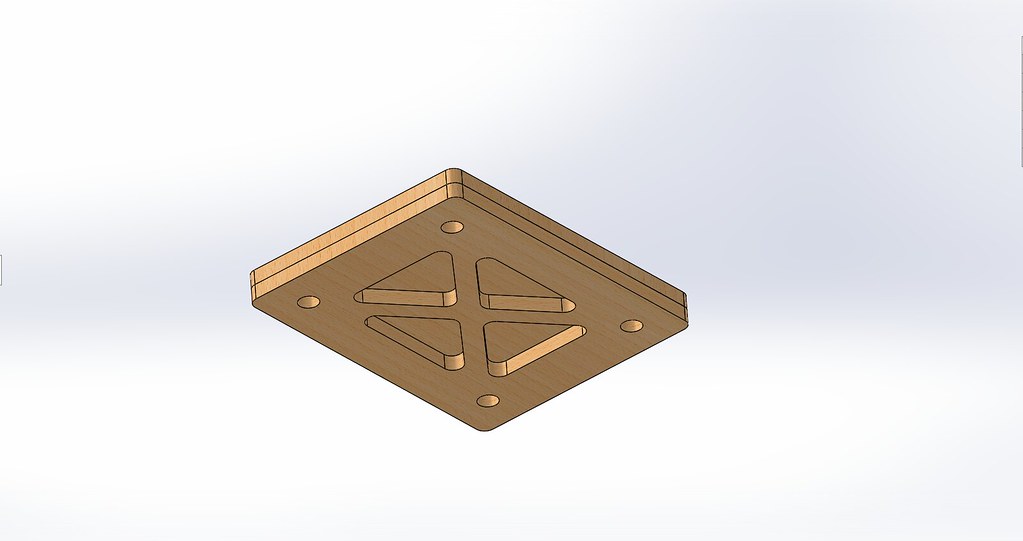
We cut the monocote on the underside of each wing, opening two rectangular access points. One at the edge of the wing and one about at the middle. The shape of each rectangle coincides with the geometry of the underlying ribs. Unfortunately, the top side of the airfoil, which serves as the base of the hardpoint isn’t aligned with the fuselage longitudinal axis, while the bottom of the wing is supposed to (flat bottom wing, 0 angle of incidence assumption). Measurements with a pitch sensor support this approach. Thus, a hand-processed balsa beam is used as an undertray to bring the floor level. A bottom tray with standardized whole pattern and pre-screwed blind nuts is placed on top of it. The whole assembly is secured with two-part epoxy. Now we have a standard mounting pattern which can be used to accommodate a multitude of payloads. Some examples are shown below.

This concludes this part of the UnATRaP blog series. If you have comments or recommendations, please let me know. Until next time!
Previous article: Part 4: Fuel Tank
Next article: Part 6: Wing Struts