Hi all
Following our new Heli maintainers (Chris Olson and Bill Geyer) inspiration on the ThunderTiger E700 v2, I will follow their lead, assembling a brand new E700v2, but instead of modifying it to make it the perfect work machine (and also a very fast work machine  ) I decided to keep as much as possible stock options, including keeping the electric propulsion system.

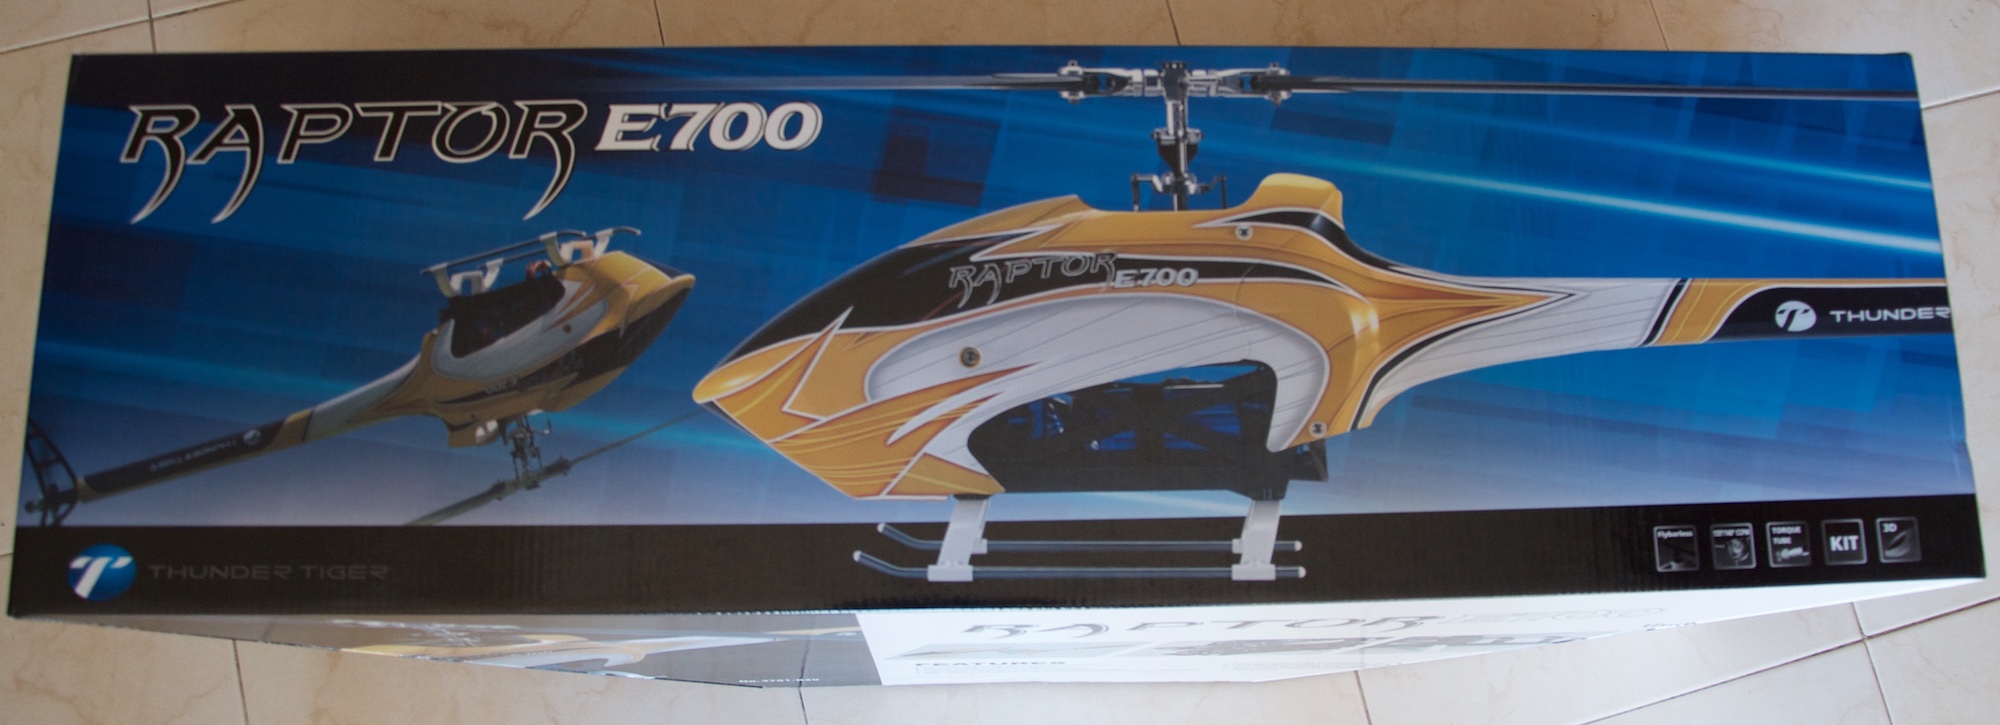
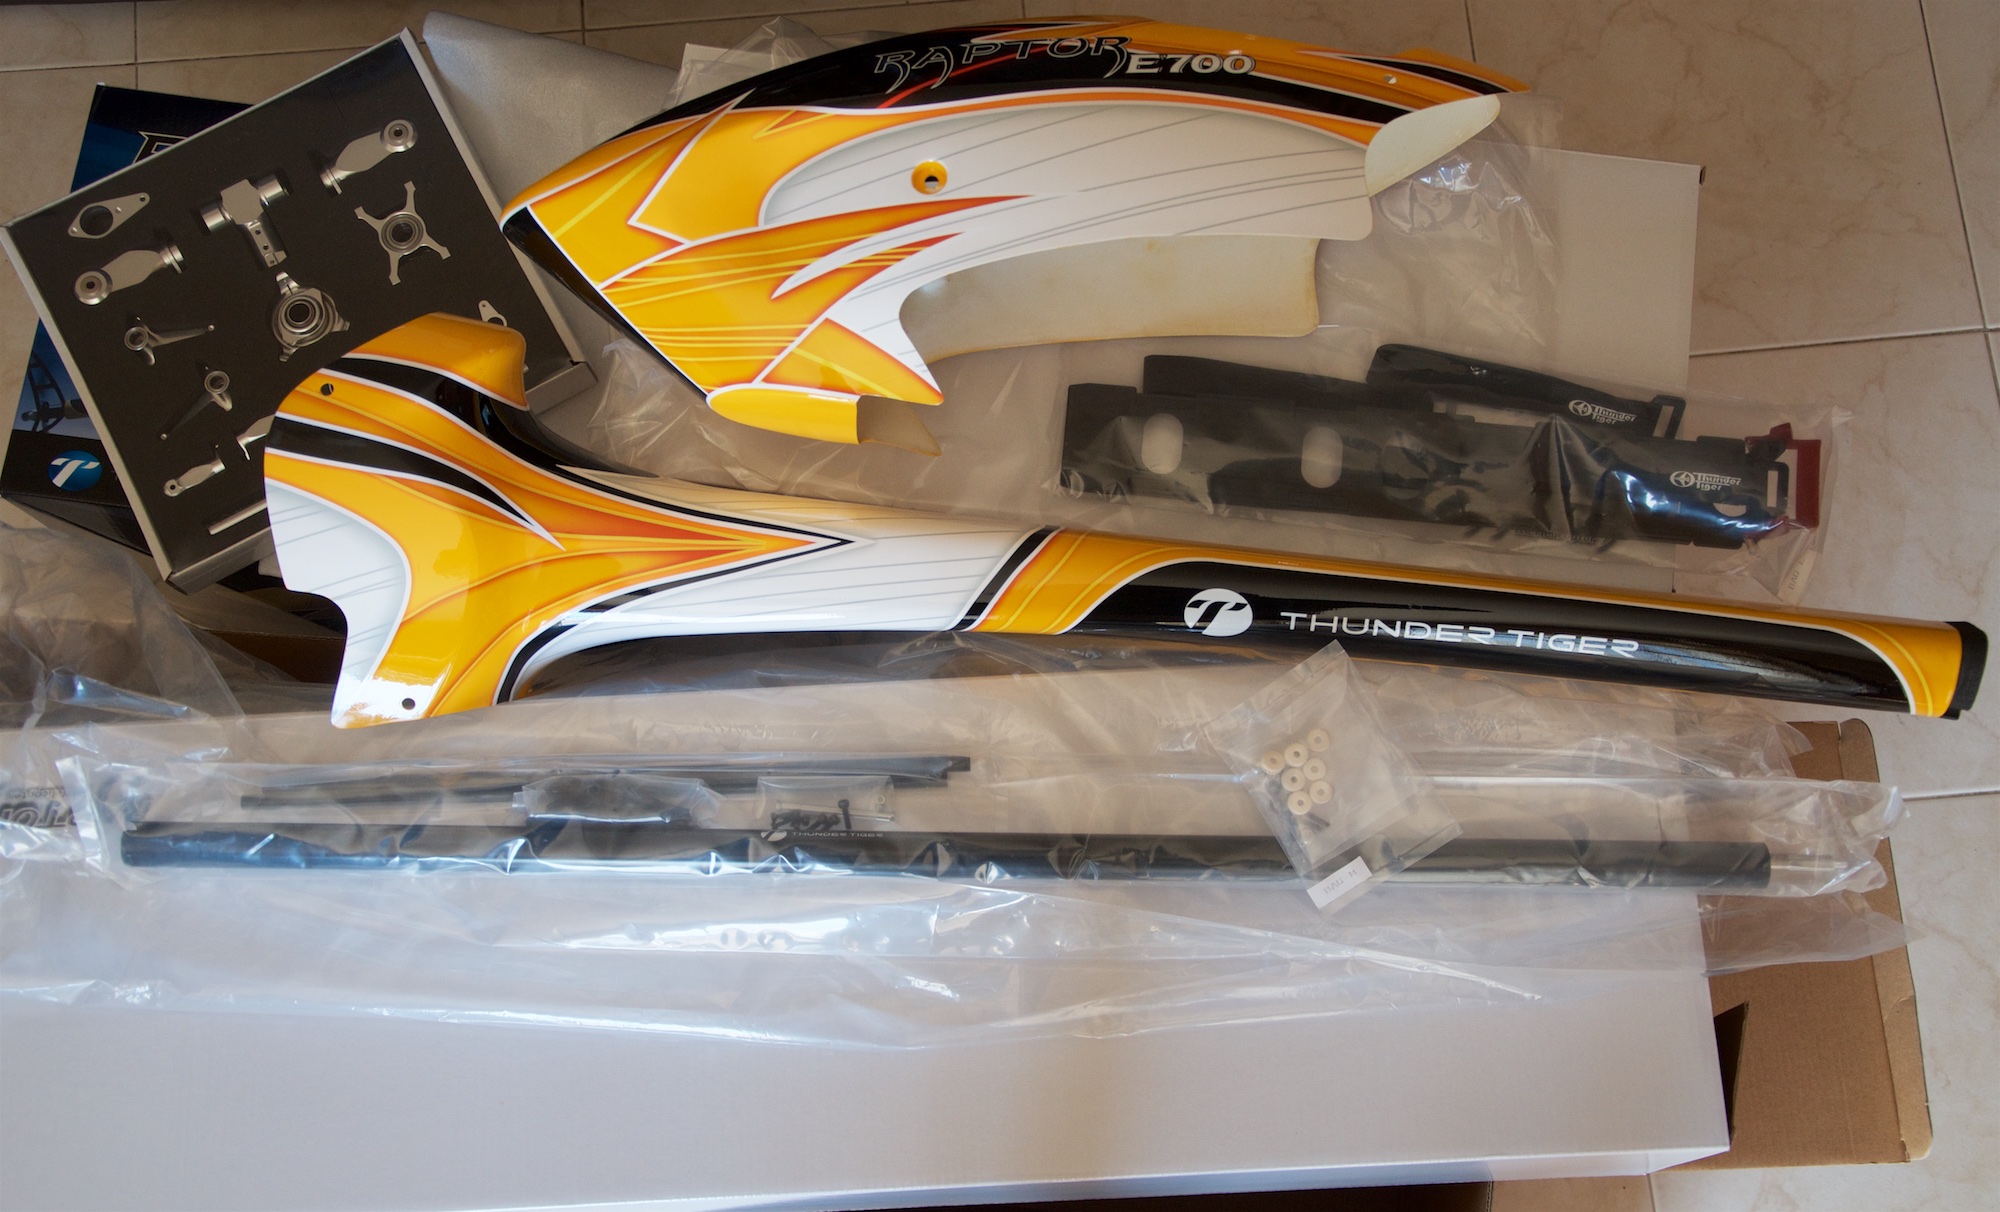
Well the copter has arrived, and as usual in this class of kits, does not include any electronic components and main blades, leaving up to the end user the choice of components that best suit their requirements.

Well…. my requirements are very easy.
To make this wonderful machine fly as perfectly as possible with ArduPilot.
I started my flying RC passion a long long time ago, back in the days of analog RC radios, and my first passion was a Hirobo Helicopter. At the time, I saw a almost perfect machine on my local RC shop, and the owner offered to teach me how to fly it, and helping on the assembly. But years go by and lost a bit of contact with real RC Helis until a few years ago when I replaced a little, heavily modified, Eco Piccolo with a Align/Tarot hybrid 450 class flybarless, and on this last one I did some testing of ArduPilot (around the 3.2/3.3 Copter version), but didn’t invest much time in it.
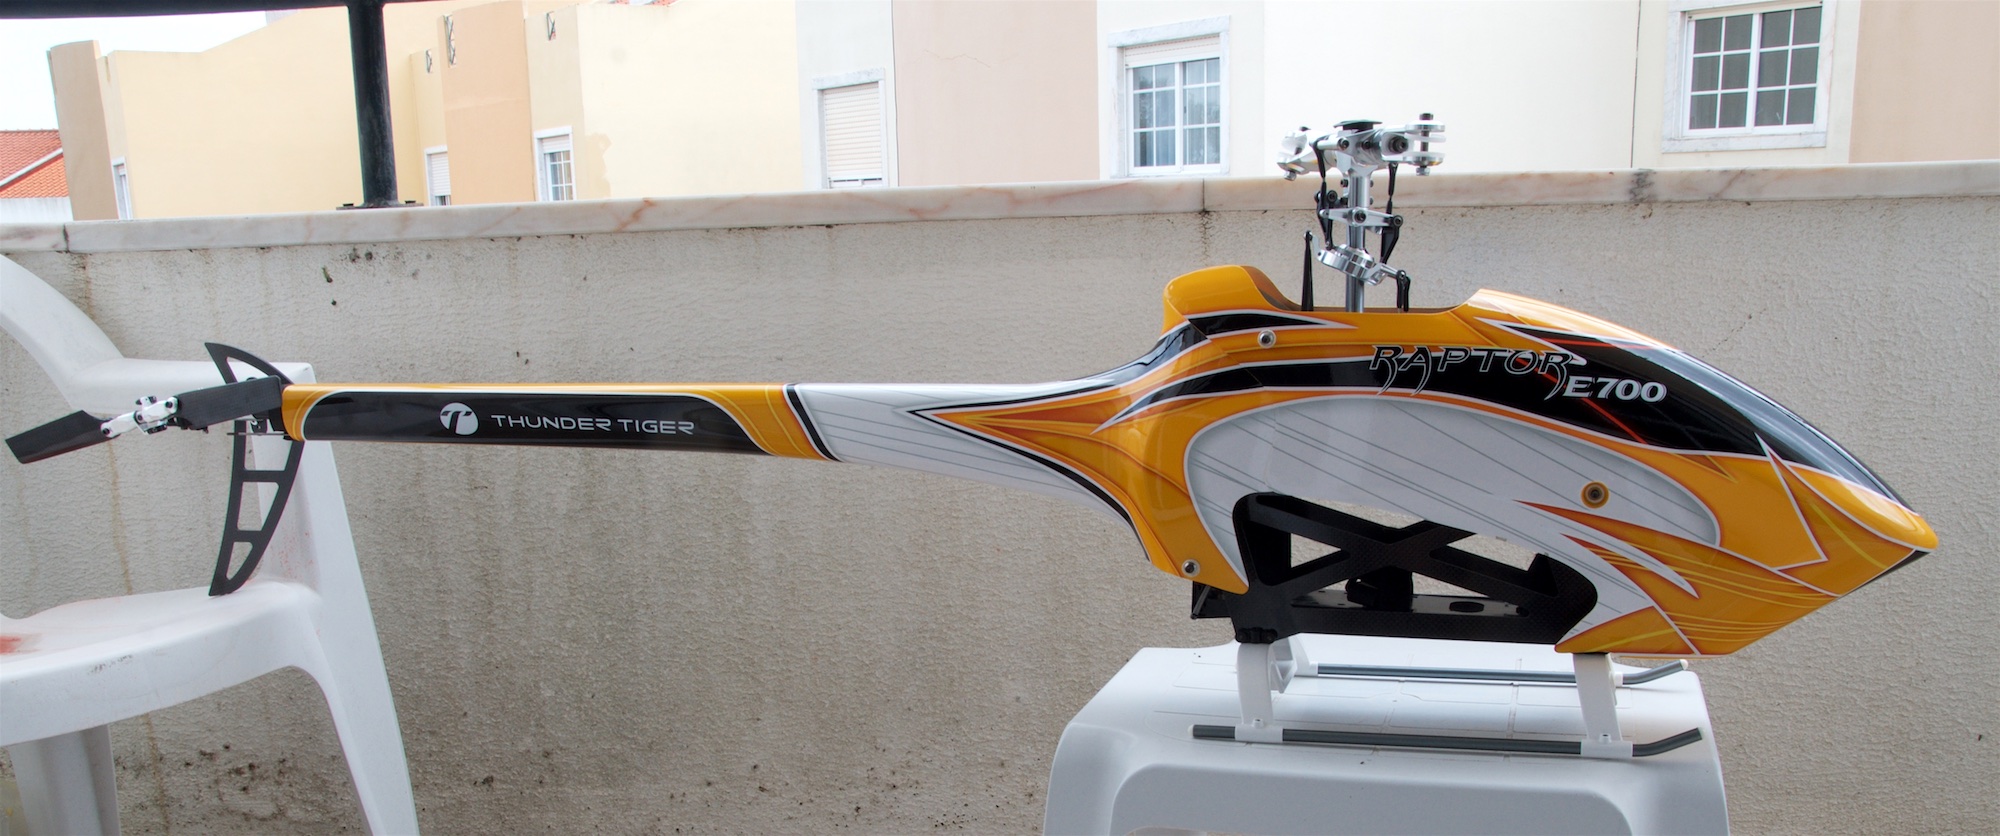
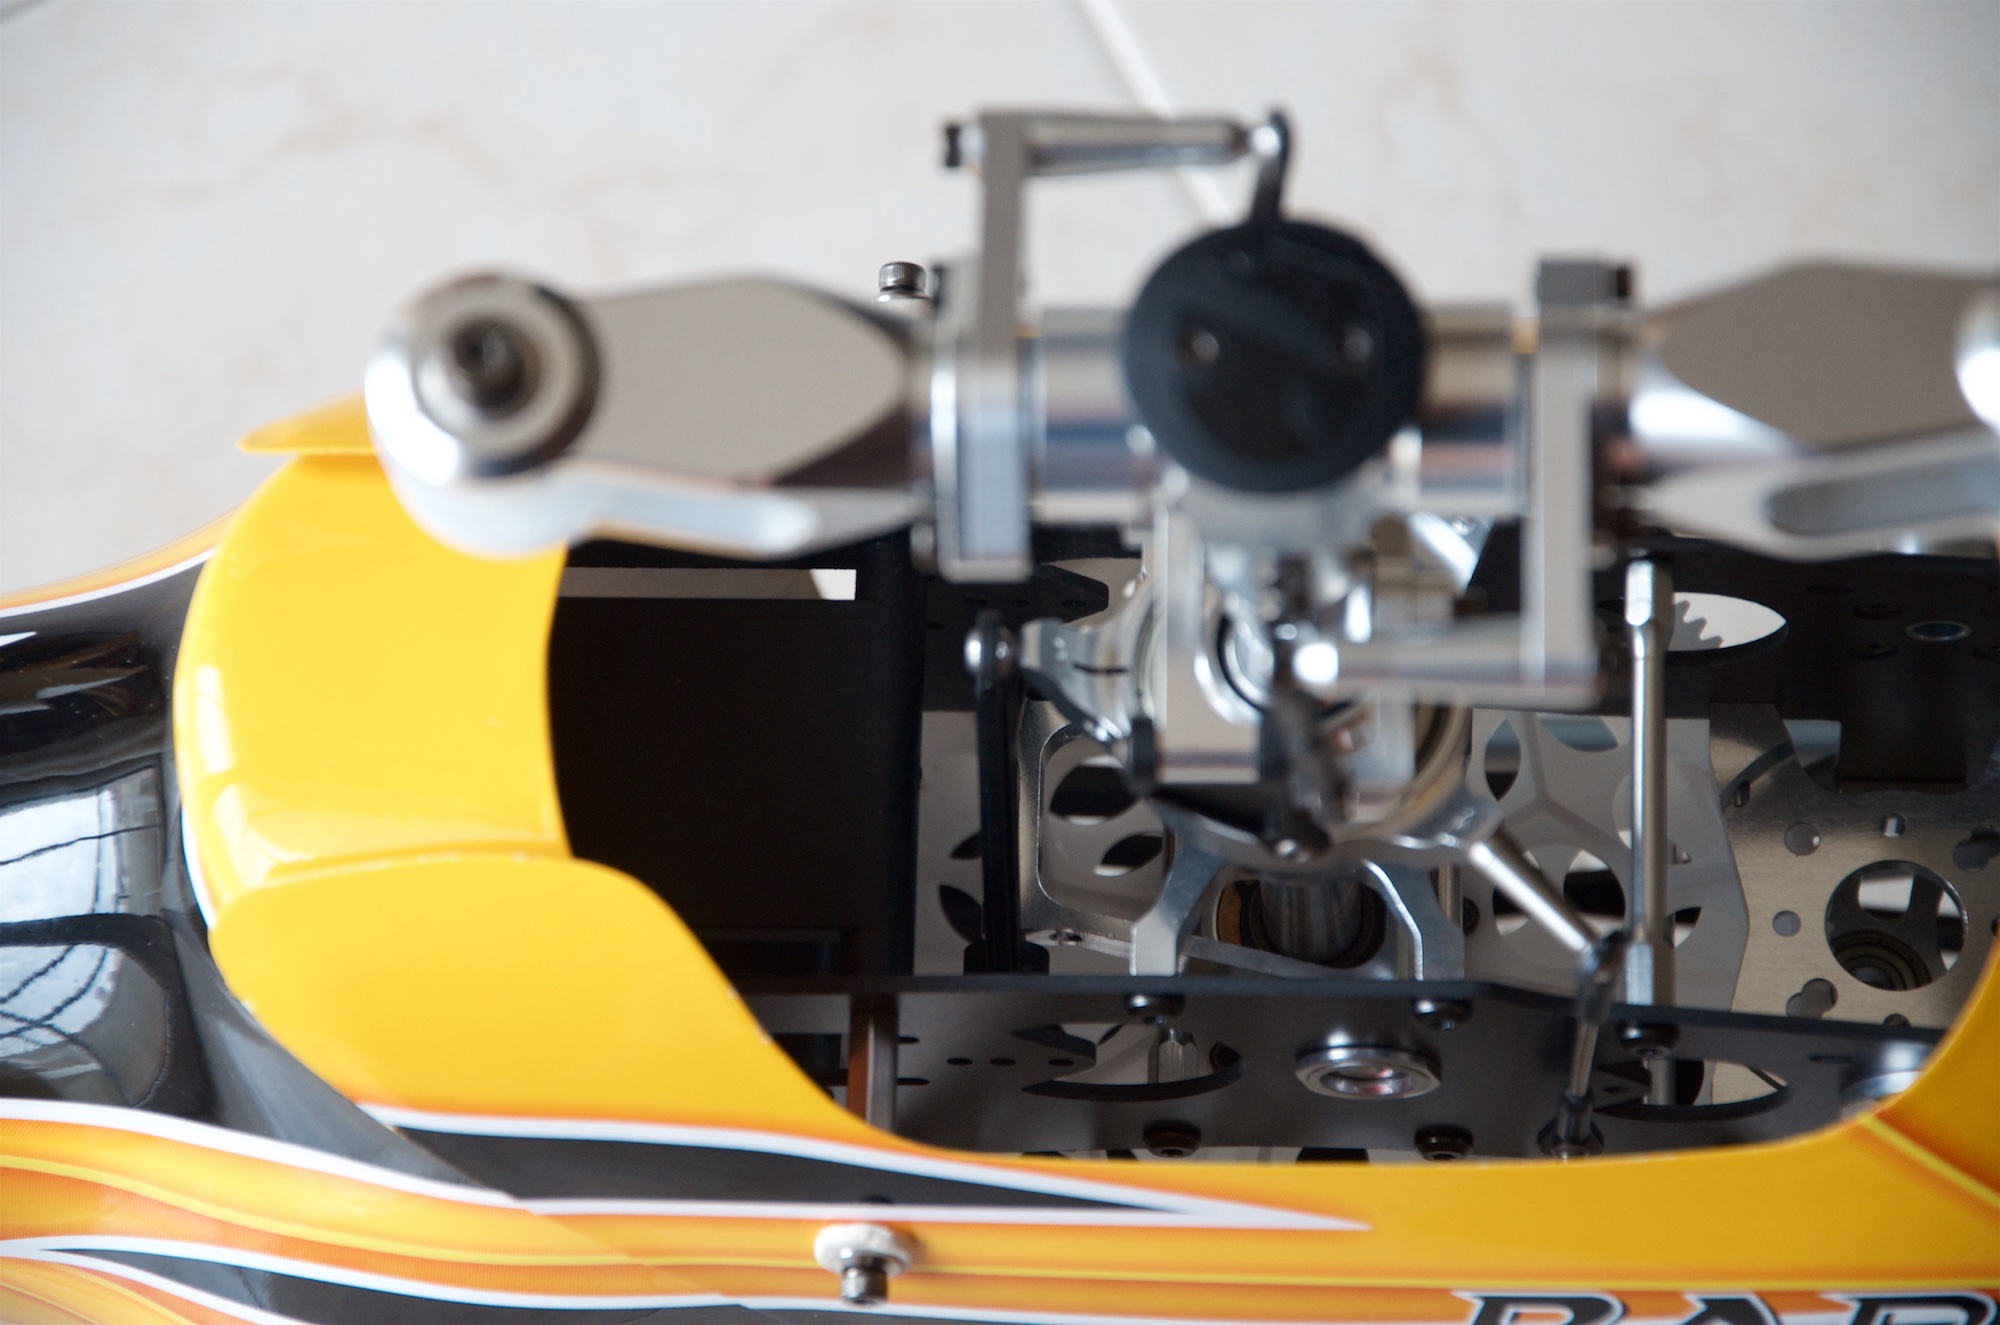
This ThunderTiger model is quite impressive
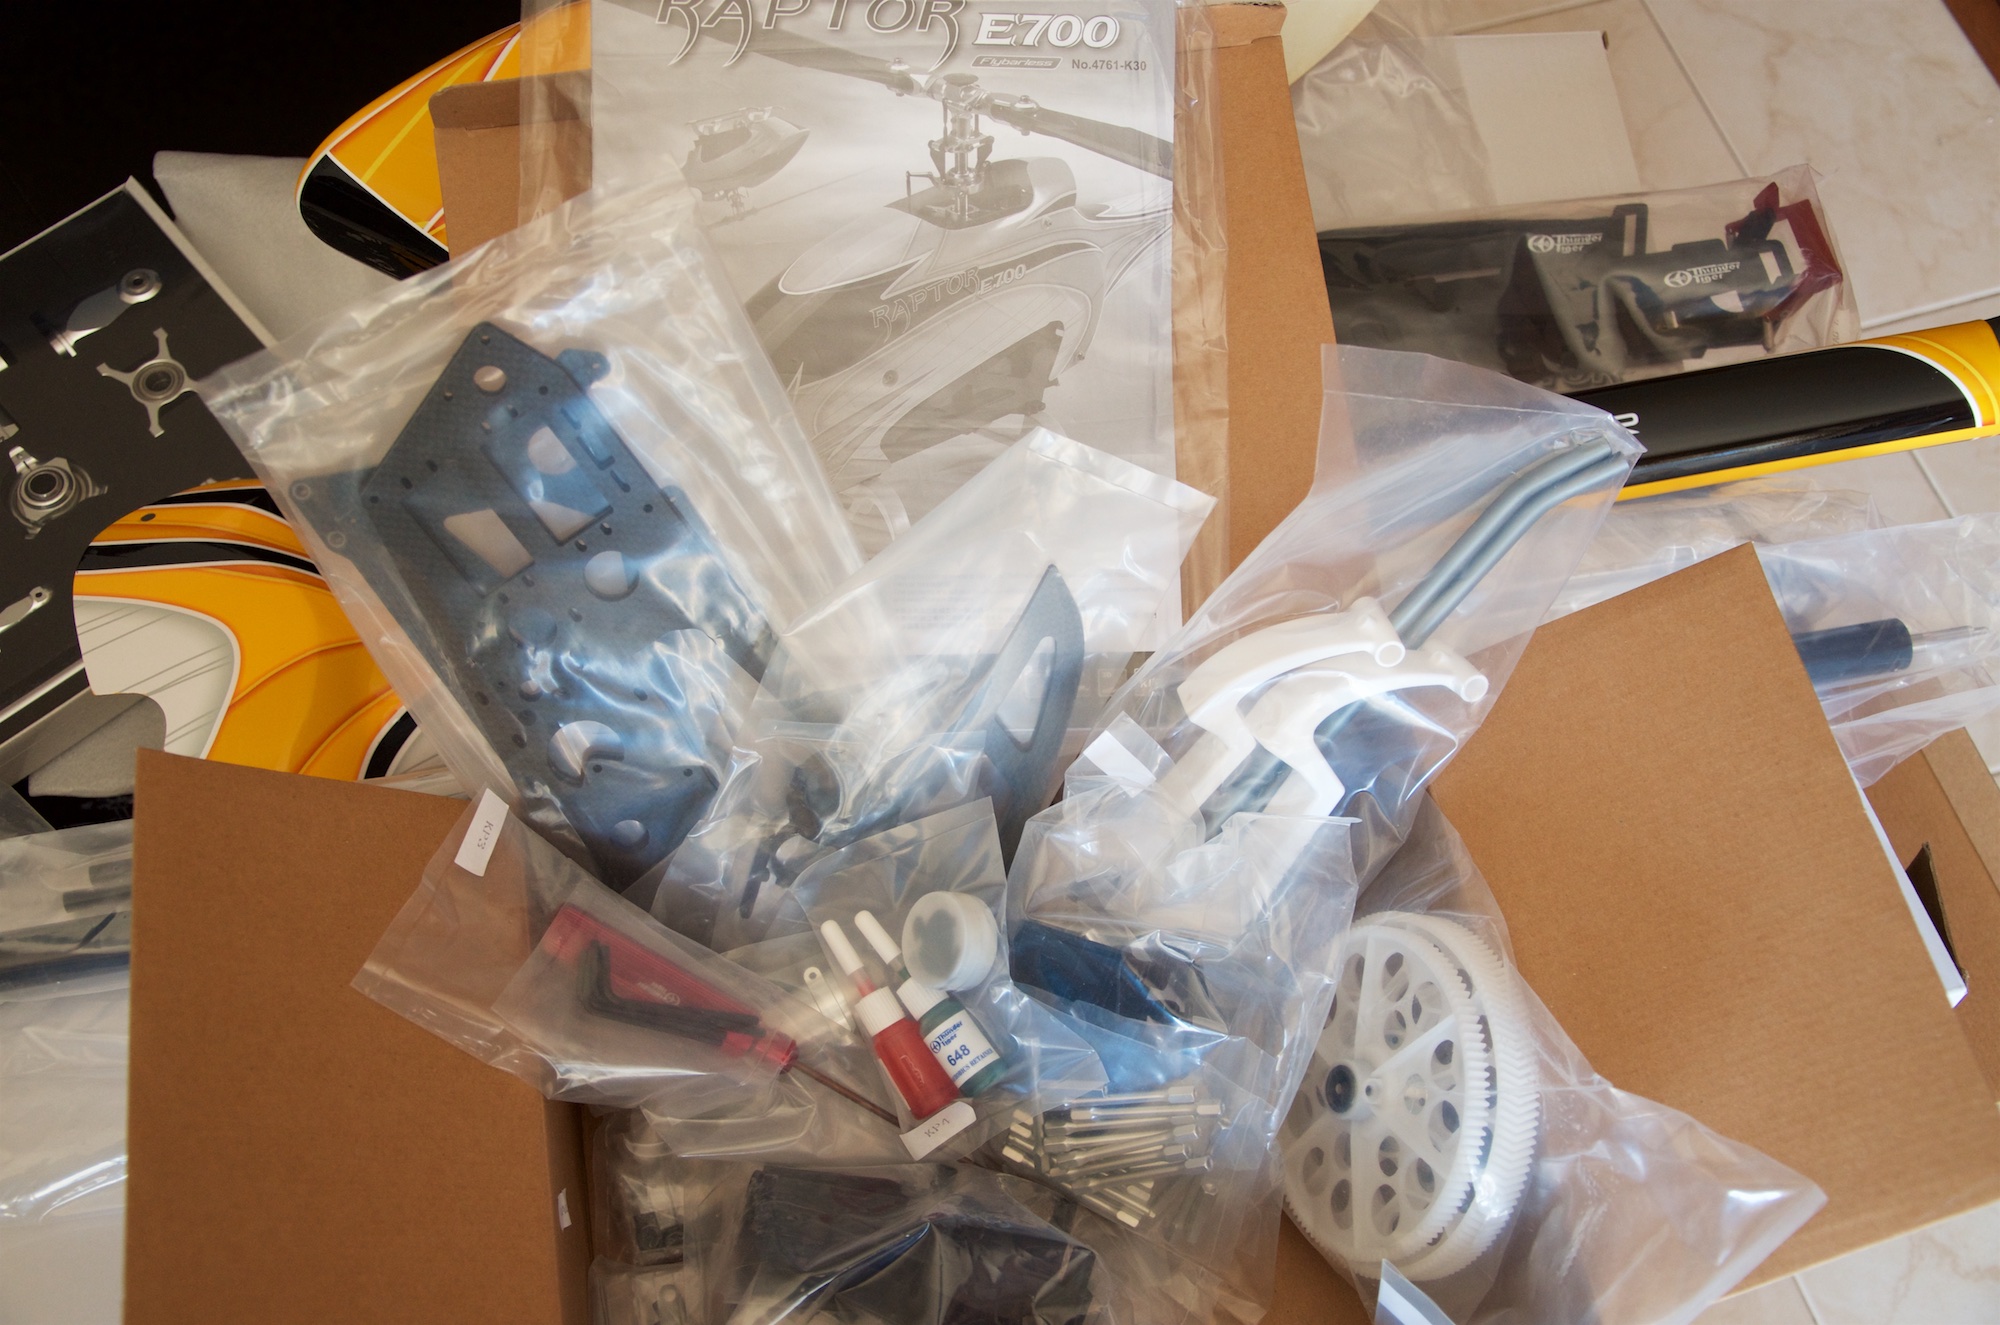
and the parts are very well packaged, so this should lead to be an easy build
The docs are clear, so they are enough to put the Heli together, but there are also some tutorials on YouTube that can clear some questions.
My only complaint, is a old complaint with all manufacturers. Those damn 1.5mm e-clips are always a pain. They tend to fly away forever, when being assembled on the shafts, and there are no extras, so back to the old parts bin looking for extras
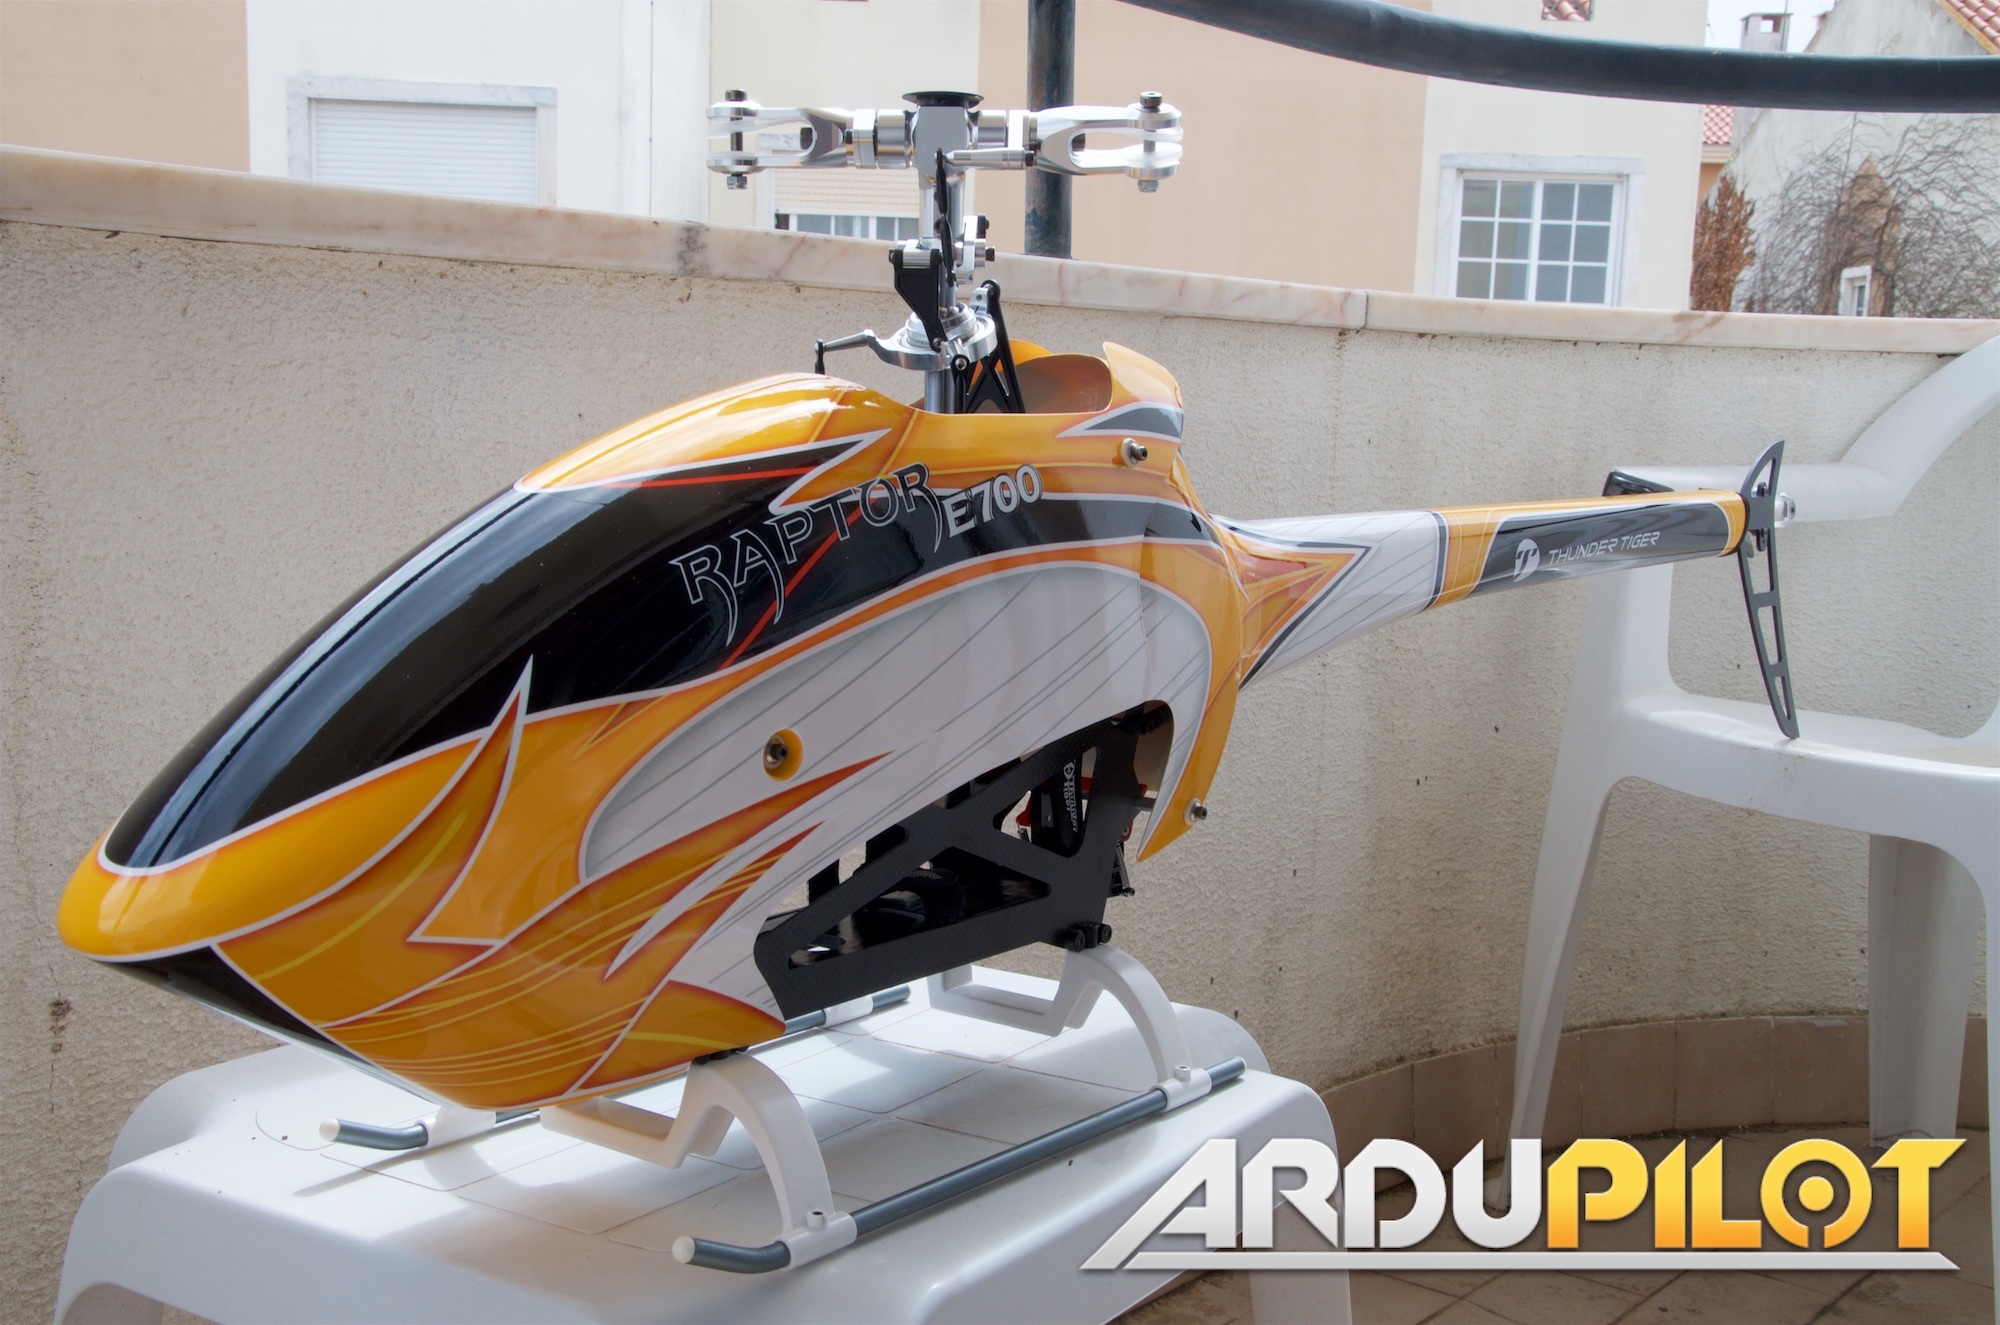
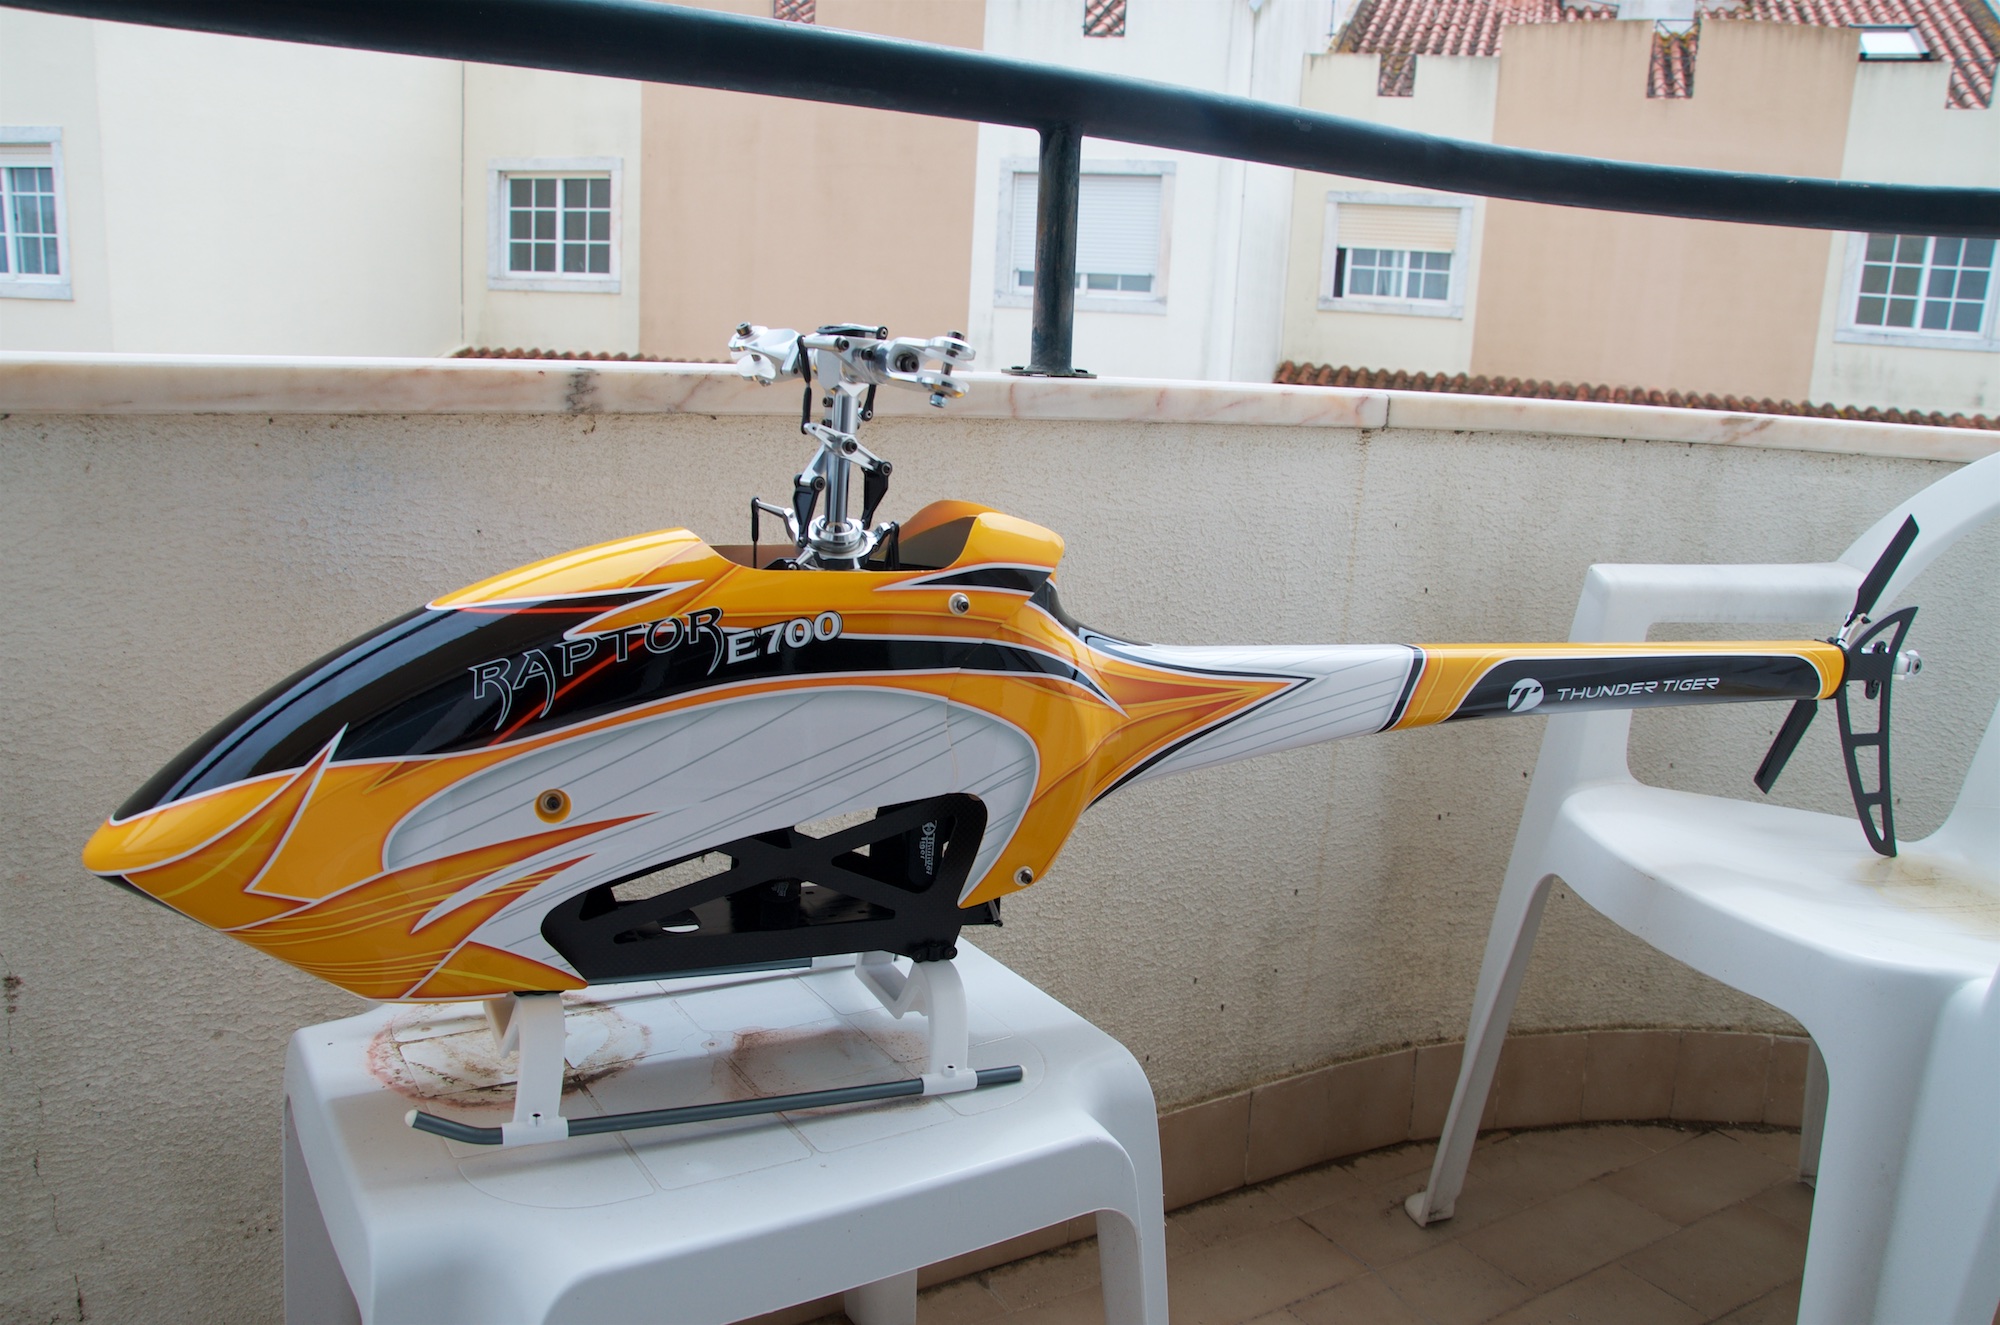
While I wait for the electronics, I assembled the entire heli, without using any permanent methods (read screw-lock) and also to plan how the Flight Controller will be placed on the frame.
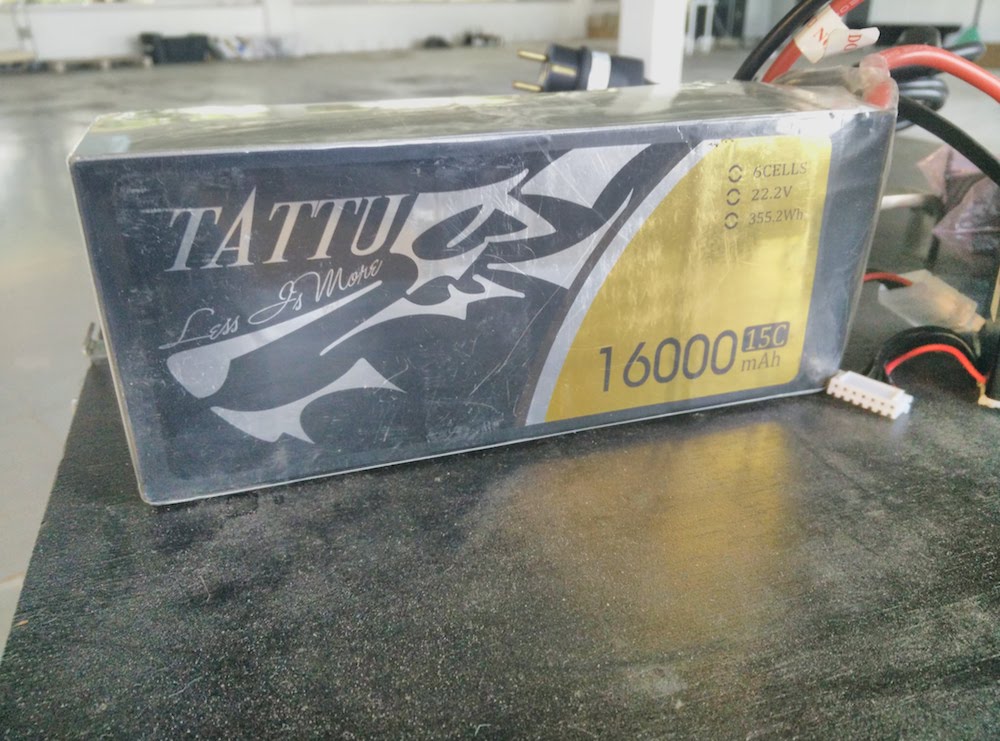
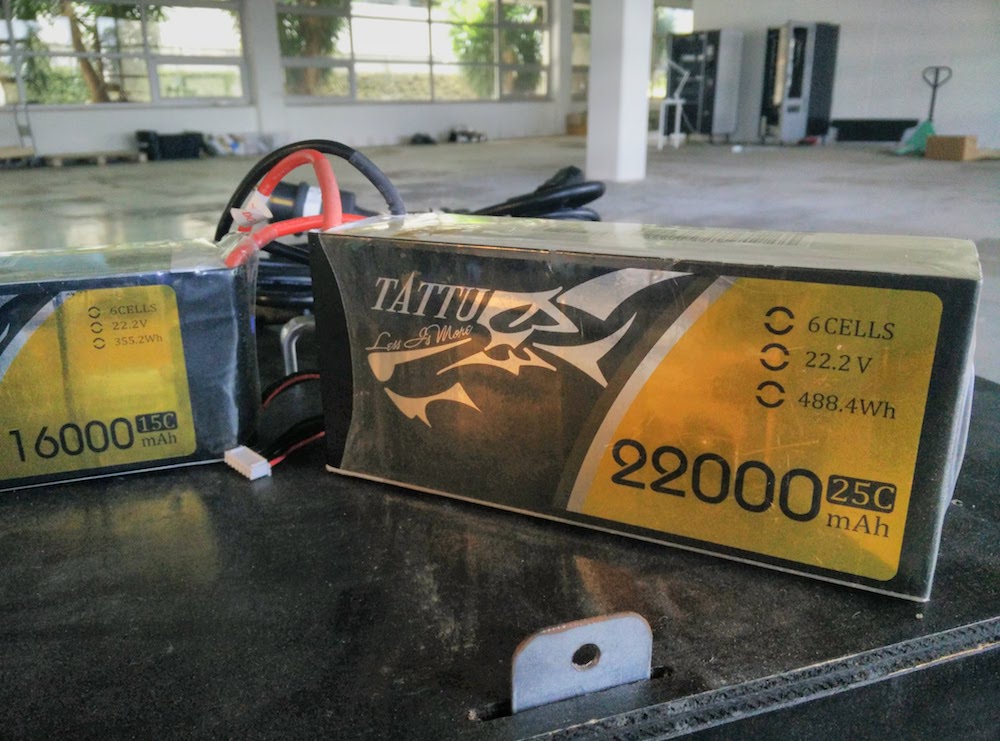
So, for the moment, I have to place a Flight Controller, a Power Module (or maybe two), a GPS+External magnetometer, the buzzer, the RC receiver and also a Lidar.
First, the Gyro tray seems a good place to put the Flight Controller (Chris did it) but as I’m going full electric, and to avoid running very long wires, I’ll 3DPrint a copy of the gyro tray and place it behind the main rotor towards the tail.

This will avoid long running cables towards the GPS+Mag, which will be placed mid way on the tail tube, or right above the flight controller (talk about very short wires ). The power module(s) will be easy to place, but I’m still studying how to assemble the Lidar without major modifications. At the moment, my best choice is to build a small platform below the battery tray, that will have the lidar pointing down, but will be very very close to the ground, so let’s see how this looks with everything assembled.

The choice of the flight controller is conditioned by the available room on the chosen area, so a regular PixHawk2.1/Cube with the default carrier board is a bit large. ProfiCNC has announced a small carrier board, that might be appropriate, but considering the type of construction of this model, and the electric propulsion, I don’t think we’ll have issues with vibrations, so perhaps a PixRacer could be used, or even a new MindPx v2 board, supported by the latest master builds running ChiBios, might be used.
To be completed, later…(when the weather allows)