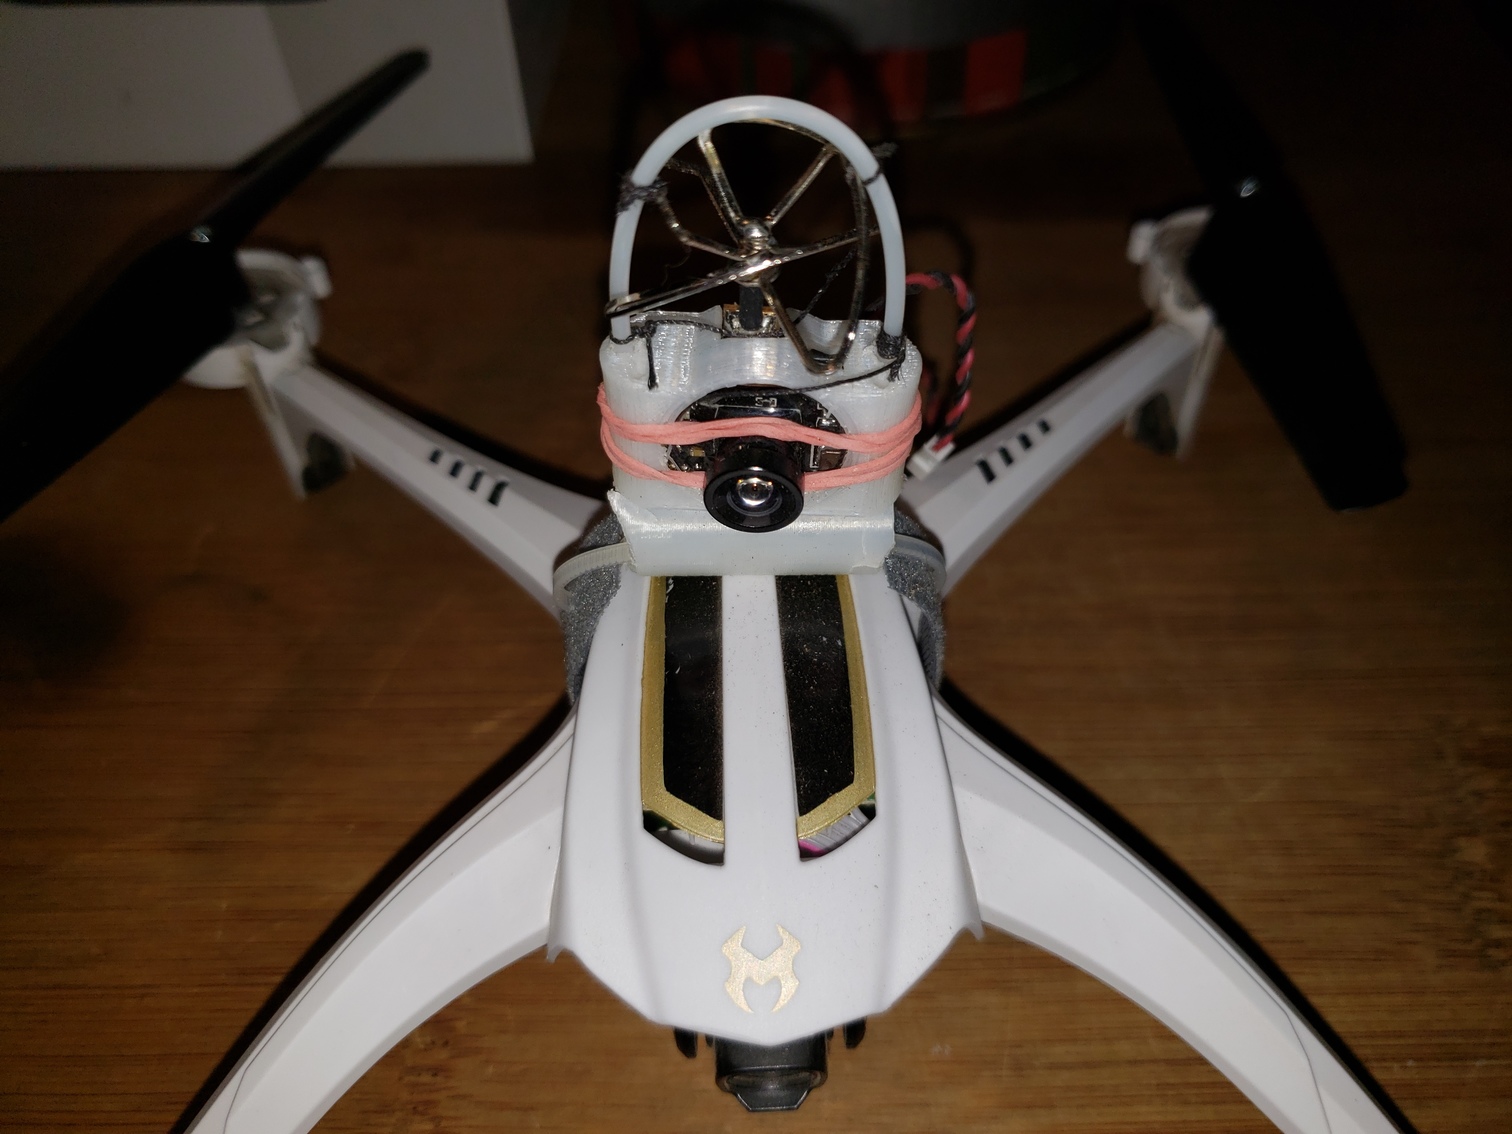
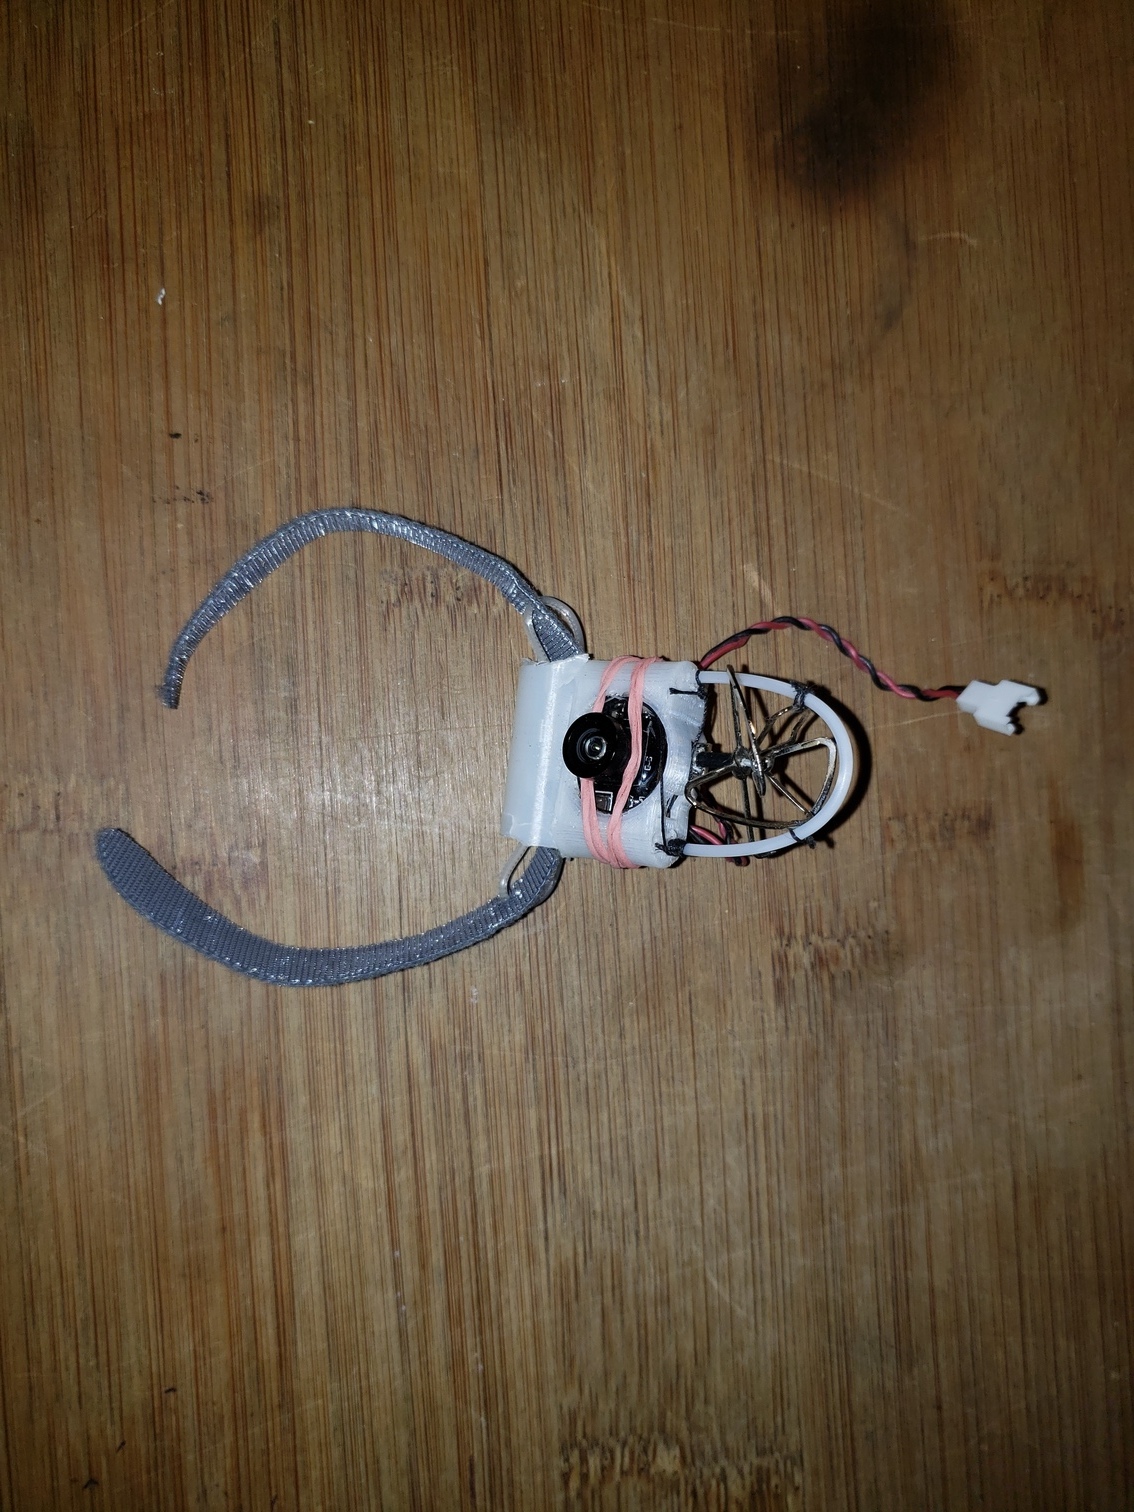
The Journey of course has its own Wi-Fi based FPV capabilities. But FPV over Wi-Fi has well known problems of lag and video breakup, even over short distances. I was curious to see if I could get 5.8G analog FPV going with the Journey so that a conventional set of FPV goggles could be used. The photos included show how I did it, using an inexpensive Eachine TX03 unified camera/transmitter/antenna.
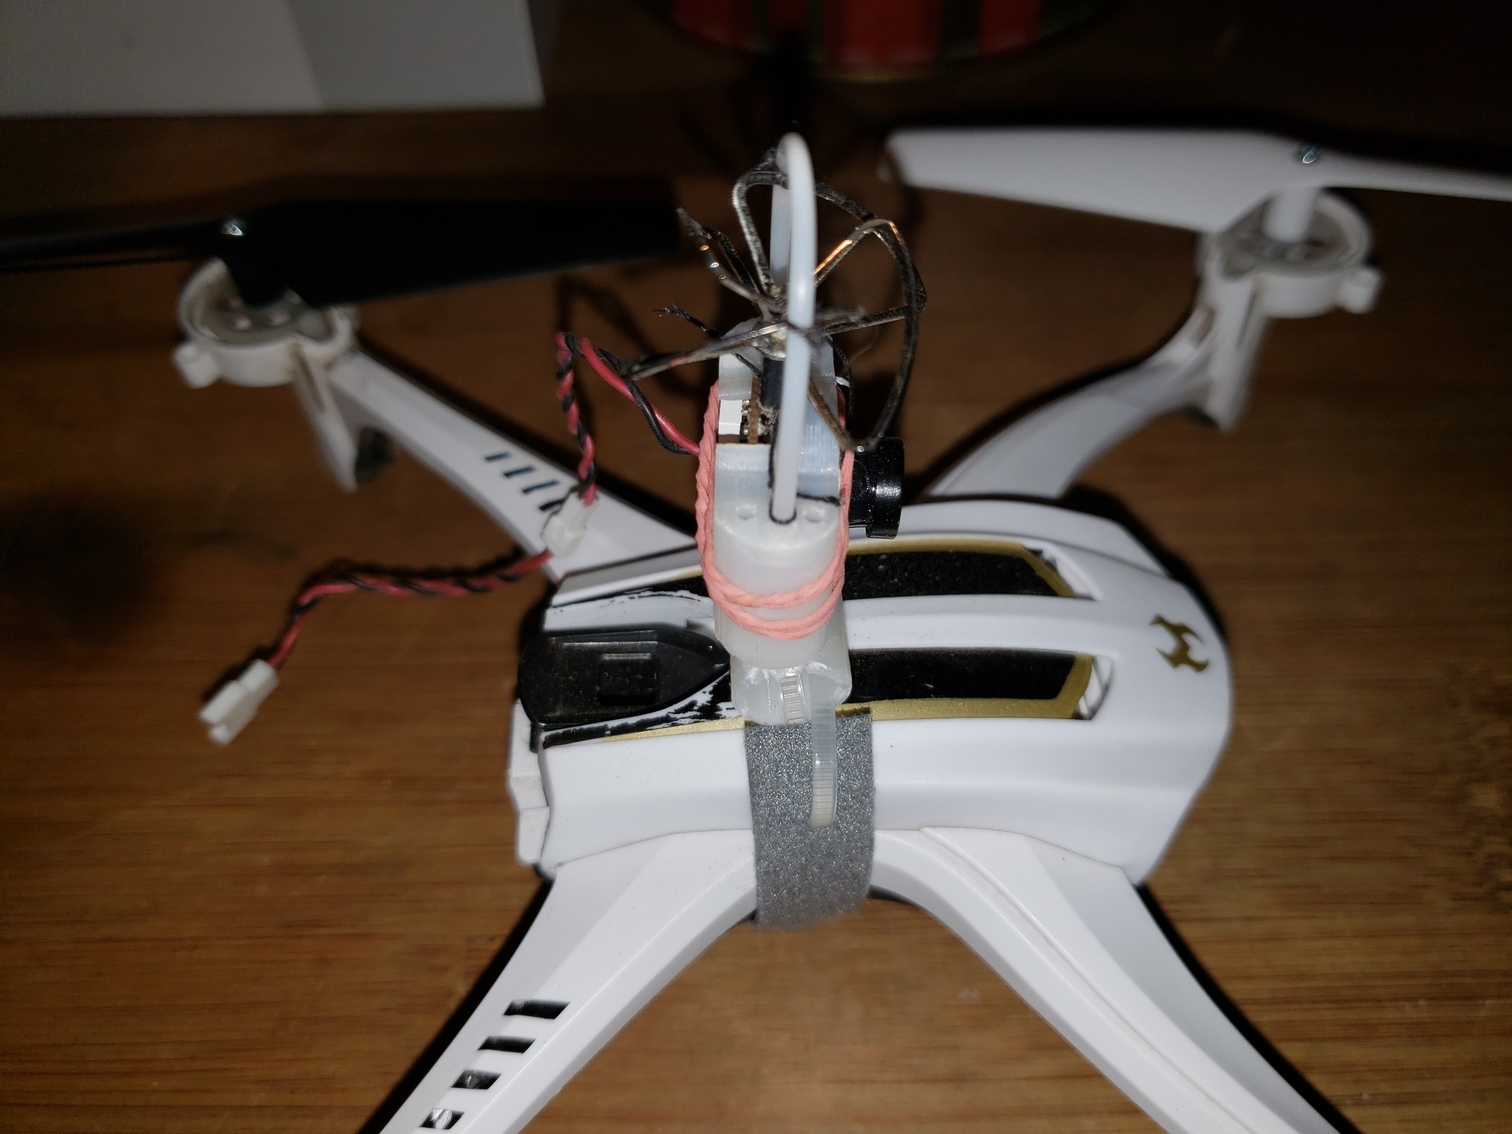
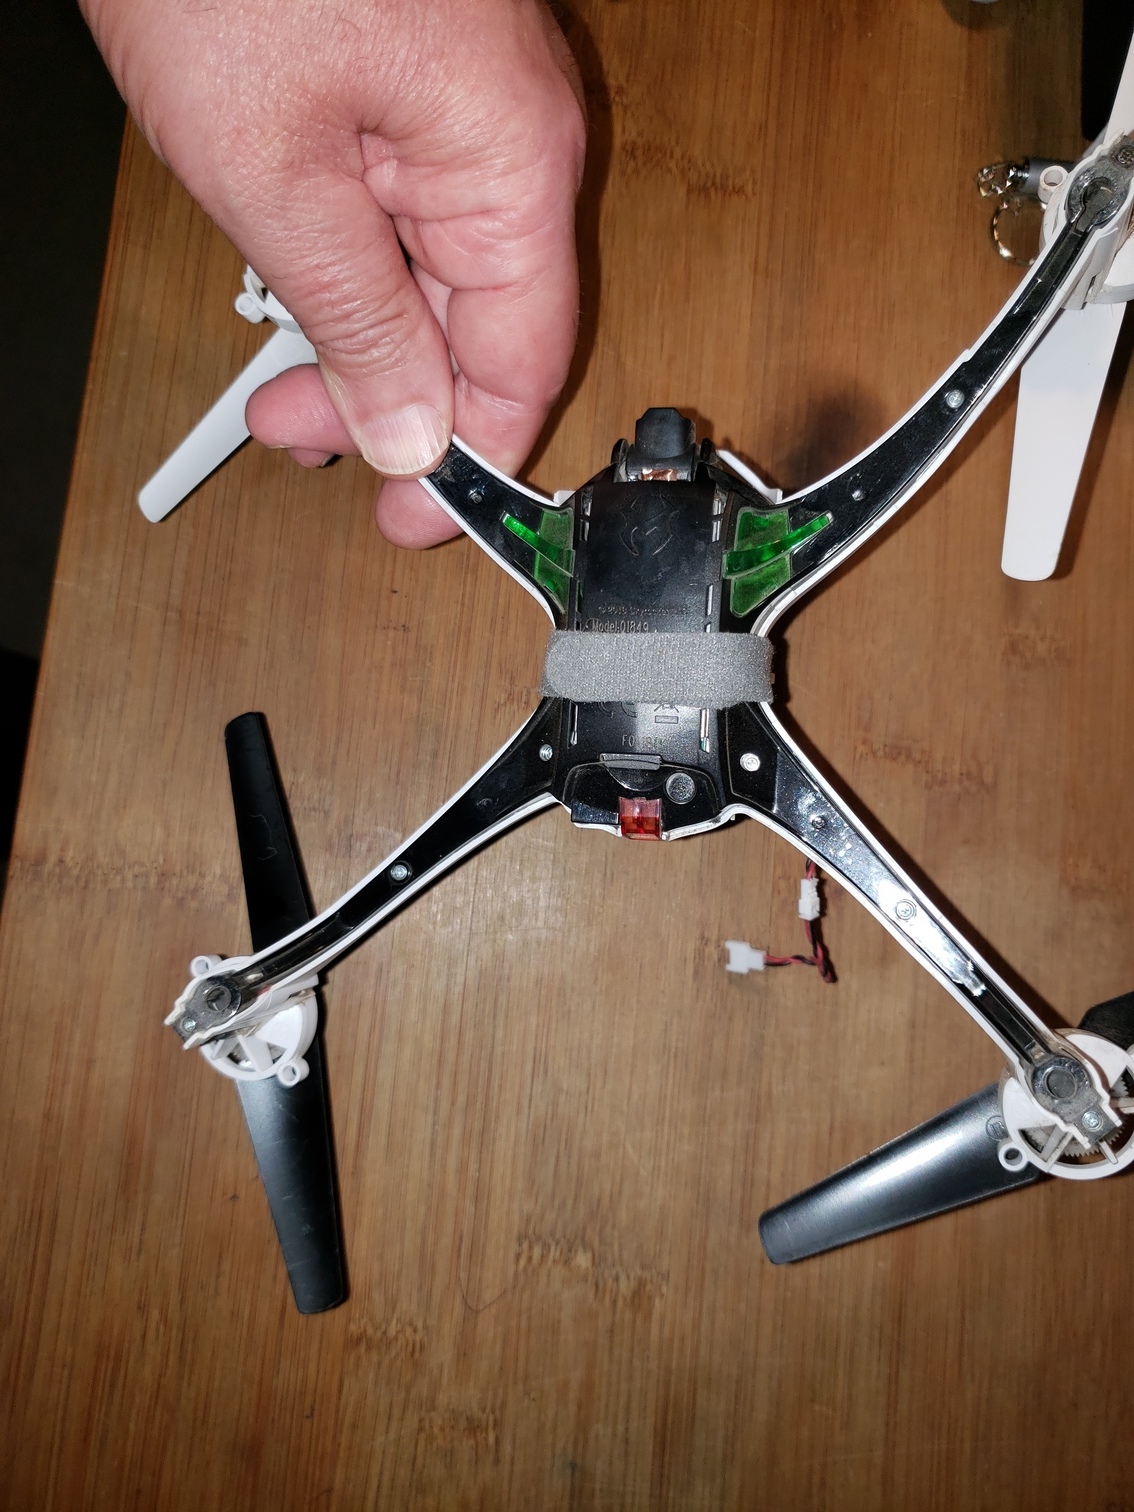
I 3D printed the little adjustable white plastic holder. The assembly is held onto the Journey using a type of self-adhering band (not typical Velcro hook and loop in this case). The antenna is tied with thread to the top protective support of the holder, to help avoid antenna damage in case of crashes (apparently if that TX03 antenna breaks off, repairing it is a royal pain due to the design of the PC board). I’ll note here that the Journey is extremely sturdy. Through some crashes and even stalled props, there has been no discernible damage whatsoever and I’m still on the first set of props.
I could have used a separate small battery for the new assembly, but opted instead to add an appropriate connector to the included battery (and my other batteries that I’m using with the Journey).
The position of the camera means that you do have the props in the field of view, but in practice this isn’t a problem. Liftoff with the extra weight is no problem at all, and in fact the Journey actually seemed to be even more stable than usual with the extra weight. I have not yet determined the extent to which the added weight and additional power drain from the TX03 are affecting the flight time.
This turns out to work very well, much better than I had anticipated. Any questions, please let me know!