Yes, just the two tubes, they nice and flexible so tuck away in the nose cone when it’s on and don’t kink.
Butch,
See post #108 for my results using the 400Kv motor and the 16x5.5 carbon t-style prop. It works great!
Rolf,
Thanks for posting the pinout diagram.
Chad,
To be clear, we have been calibrating the SDP33 setup once. Set (ARSPD_AUTOCAL=1, ARSPD_USE=0, ARSPD_SKIP_CAL = 0) and then compare the AS sensor log graph with the GPS ground speed log graph for a sanity check. If it all looks good, then reverse the settings (ARSPD_AUTOCAL=0, ARSPD_USE=1, ARSPD_SKIP_CAL = 1). Details are in the WiKi below. Perhaps @Rolf can comment further on this.
Calibrating an Airspeed Sensor
Using the Preflight Reboot Shutdown command on either MP or QGC works just fine.
Cheers!
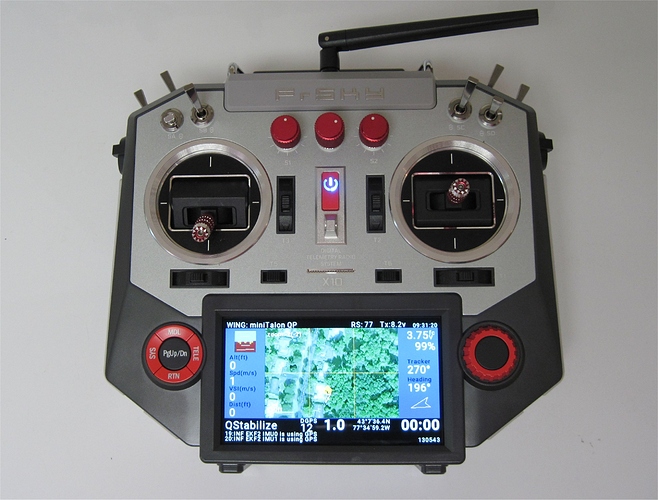
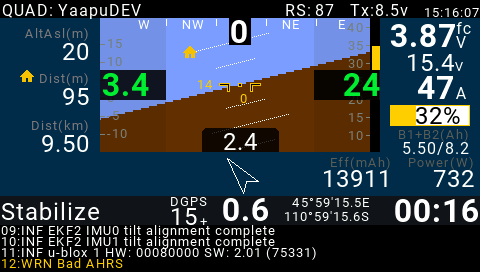
For those of you using a FrSky Horus 10/12 with APM will soon be able to use a new Yaapu Widget mapping feature from Alex Apostoli. This is still experimental but seems to be working on my transmitter. Any three position switch can be assigned, in my case SA, to change between the normal main HUD, MavLink Message screen, and Map screen. Shown below is the map screen from my house which requires the GPS sensor to be discovered through Ardupilot. A second zoom switch, in my case SB, can be assigned to change the zoom from three different levels.
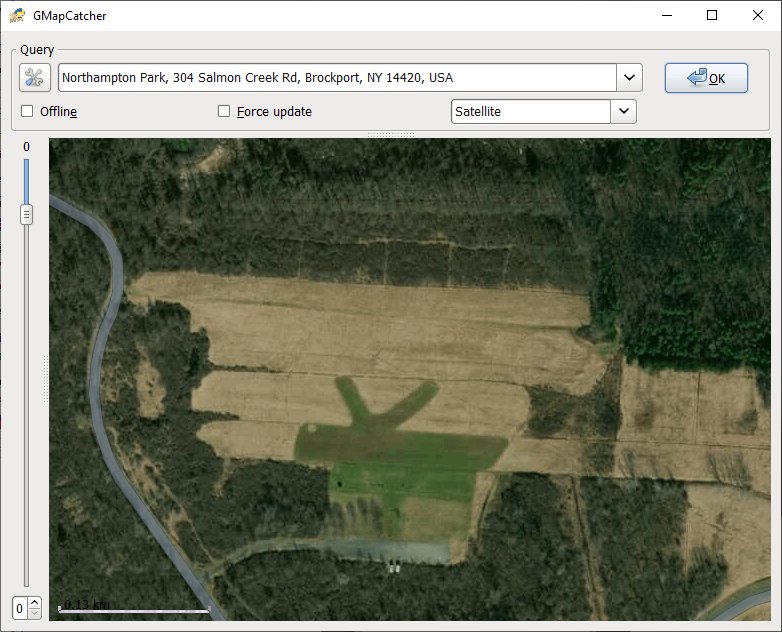
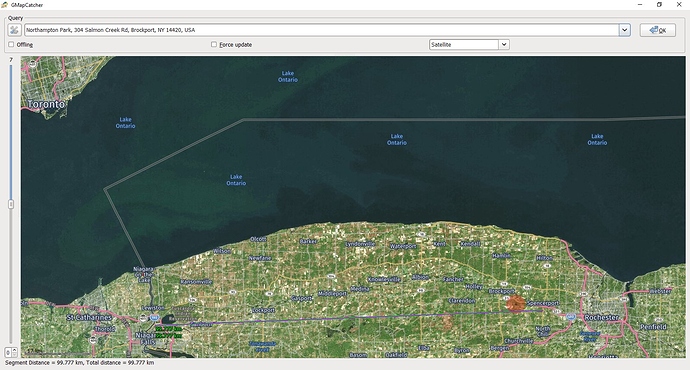
For long range fliers, the GMapCatcher User Wiki shows you how to set a path and then download the area maps that would be included in a visual path. Shown below is a 100km path from my flying field in Rochester, NY to Niagara Falls. Buffalo, NY is just below and Toronto, Canada is on the upper left.
I don’t think the Horus can do a screen snapshot or I would post some images from the field. The new mapping feature adds convenient position tracking right on your transmitter screen. It can be used with or without a GCS.
Hi Greg: So everything seems good except when i switch to FBWA the Back motor does not stop in forward plane mode what param controls this function?? I ordered the props and will keep the 400kv in the rear motor with the 16.5.5 props yours looked good enough for me Thanks B.K
Butch,
I haven’t done a ground test in so long that I can’t remember what happens. Perhaps the FC is looking for sufficient speed in the plane before it disables the rear motor. It is stuck in transition mode. Maybe someone else knows…
Hi Greg well i started in q-Stab, then went to Q-Hover then FBWA throttle was in the middle i don’t have a AS sensor yet so maybe i should disable it to see if that works. Thanks B.K
Hi: Greg how or what are the motors rotate ie= CW LF, CCW=RF Rear= CW?CCW what are they supposed to be. Thanks B.K
Butch,
It appears not to matter as long as the front two rotors are opposite each other for forward flight. Make sure that the props are put on correctly. The vectored yaw uses motor tilt so motor speed differential is not needed. The rear motor direction of rotation doesn’t matter…only that the correct prop is used for down thrust.
Thank You for the info,OK i don’t remember seeing any vector yaw, would that be in the Q-Params?.Thanks again B.K
Hi Greg i found it in the Q_Tilt_Type so i didn’t read most of the Params when i changed my setup to match yours Thanks Again B.K
Butch,
From the Wiki section called, Tilt Rotor Planes, you’ll see that it is best to start with a good understanding of QuadPlanes. Then you can expand your knowledge to a special type…like your tilt-rotor Nimbus VTOL. This transition was easier for us that started flying VTOLs years ago. The Wiki is being greatly updated to contain newer details by Henry Wurzburg (aka ATXHELI on RCG). Henry has some great threads on RCG about the original ports of APM on STM32 F4-F7 hardware. The APM Autopilot Hardware Options are now vast as compared to my old Multiwii copter days when there was one expensive APM 2.6 board and a cheaper MPNG (Mega Pirate Next Generation) port.
Tilt rotors are treated by ArduPilot as a special type of QuadPlane. You should start off by reading the QuadPlane documentation before moving onto this tilt-rotor specific documentation.
So, I’m VERY close to doing my first hover test but that’s not why I’m making this post.
Two days ago I was called out to a spot in Oregon to search for a missing bow hunter that was last seen in his truck by a witness about 4.5 days prior to the start of the search for him. He was a 73 year old man, 150 lbs and left his cell phone and gps in his truck when he ventured out into the mountainous environment and was not heard from again.
The day I was there they had at least 30 people, all trained in ground search and rescue (including police, forest service, fire brigaid, EMT, manned aircraft, life flight helo and one drone).
The drone used was a quad copter and it performed well and within its design parameters. But it’s NOT enough. Quads simply do not have the flight time to pump out the amount pictures required to find a man dressed in camouflage that has 43 years of experience in the area to know where to hide for game.
The airframes you guys are building in this thread, imho, is the next tier for Search and Rescue and had I had mine up and running we could have tripled our flight time.
Lastly, in an absolutely AMAZING turn of events that man survived! On his own with no camp fire, no water carried, little to no food carried and lasted for at least 4 days and 4 nights at the age of 73 out in the open forested mountain side.
I don’t have anymore details than that but it kills me that I have a bird not more than 4 feet from me that could of shaved off 2 days of this man’s suffering.
You guys may think your playing with toys or just having fun, but I’m here to tell you they can be life savers.
Keep honing your craft.
Hi Greg: Been trying to read up and find out what controls the starting and stopping of the rear motor of this VTOL still no luck the rear motor never stops no matter what FM it’s in i even checked the Tx settings. Could you tell me if you running 2.2 open Tx for your Taranis and what sound pack i can’t seem to play the tracks to see what SA,SB, and SC switches actually do and i going to do that wing Mod for the 6a ubec"s ,how’d you get that gray strip off so cleanly to expose the wires and hook up the ubec’s i’ll continue to read the material you suggested thanks B.K
Sounds like it could be that you either need to calibrate your taranis sticks (there is a menu in it for that), or most likely re calibrate your ESC’s AFTER you calibrated your taranis, or check your transmitter for a reversed servo option (throttle servo output).
To cut that grey strip use a hobby saw, it has very fine teeth (and go SLOW).
Can anyone confirm that I’ve done this correctly? I find the instructions a little vague.
I am setting up my motor servos (servo9 is right servo 10 is left). To do this I first kept all of the defaults and turned the aircraft on. That showed me that I needed to reverse the direction of servo 9, so I changed the servo9_reverse variable from 0 to 1 and that put it in the right direction.
I then loosened the servo horns. I put the bird in manual and waited till it moved the servos for what the autopilot thinks is the motors straight forward position. I then popped the control horns off and adjusted the motor angles until I got as close as the servo teeth would let me to straight forward.
I then went into servo9 and adjusted the min variable from its default of 1100 to 980 and upon inspection that’s really really close to straight forward for that motor.
I then did the same for servo10 except that since it was NOT reversed I had to adjust the max trim variable which wound up being 2020, that put the motor very close to straight forward.
I then put the bird into QSTABILIZE and the motors went up and passed 90degs straight up and went to about 30 degrees past the 90deg straight up angle. I adjusted the the min (servo 10) and max (servo 9) trims to make both motors as much at the same angle as I could eyeball it.
I then went and put in 30deg for the Q_TILT_YAW_ANGLE and changed it from a default of 13deg to 30 degs. (I have not verified if that much of an angle will cause the 13x8 props I have to hit the wing or not yet).
So now, if I put it in manual the motors slowly tilt straight ahead. If I put it in QSTABILIZE they pop back to 90degs straight up.
I am unable to manipulate the control sticks to effect that additional 30 degrees that I should be seeing, or should at least be usable by the autopilot for yaw control.
Is this correct?
Thanks Chad I did the Tx Cal and all looks good,i Cal the esc they all start at the same time, i have been reading the Doc’s in Arducopter to find something that controls the stopping of the rear motor when transitioning into forward flight mode FBWA ,Cruse and starting again when going into q-Hover etc but i haven’t found a param or i’m too Noob to understand them or maybe i copied the Taranis files wrong?IDK i’ll keep Trying, Any help or direction is appreciated.Thanks B.K
The flight modes themselves will start or stop the motors, FBWA should shut off the rear motor, so would manual mode and FBWB and some others. If you put it in manual mode and it does not shut off the rear motor then check the servo function numbers (should be 36 for the rear motor connection), in fact, double check all of those numbers.
Hey Chad, if you take the props off, than you can arm the craft in Qstab and move the yaw stick. You will get the movement in the tilt servos.
That’s what I was expecting Romeo, but I do not get that! Any ideas?
Butch,
Yes, I am using OpenTx v2.2.4. I use the Amber Sound Pack for v2.2.x which has a much richer collection of sounds than the standard OpenTx sound pack. Amber has a calm, soothing female voice.
For the grey strip, just run an Exacto knife under both sides to break the glue joint and it should pull right off.
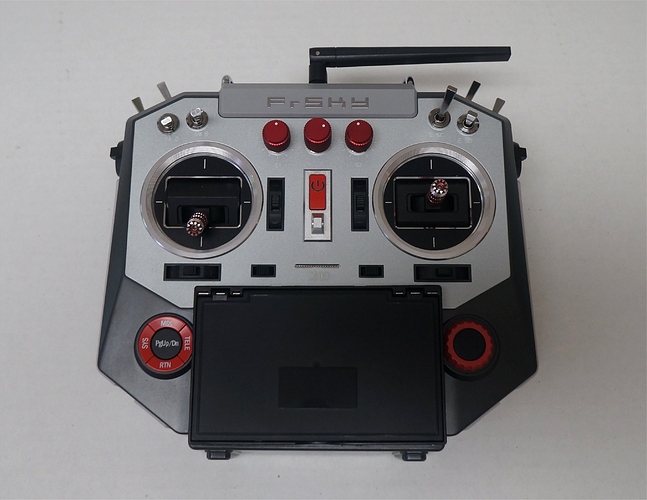
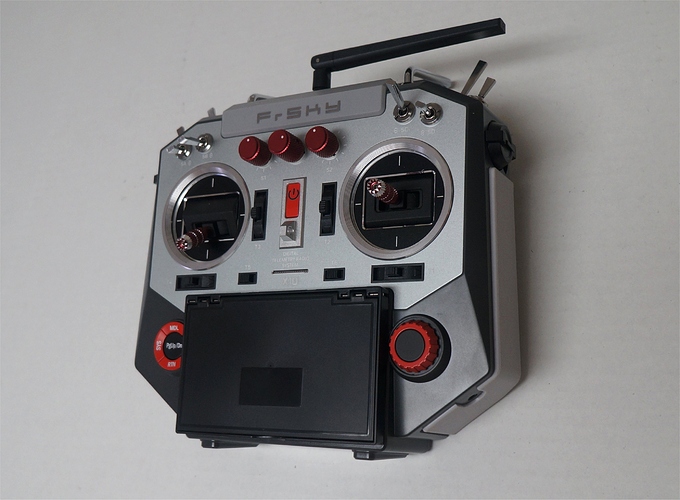
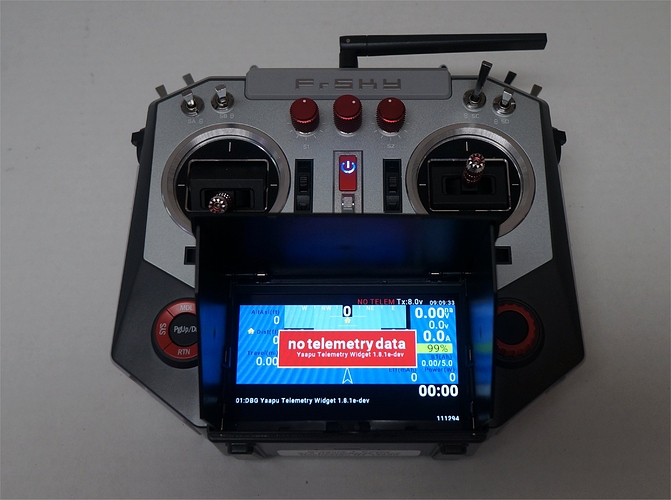
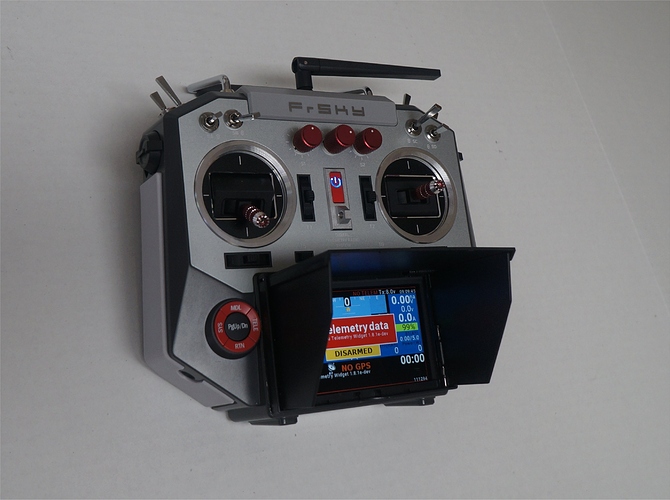
When using the Yaapu telemetry, which contains an additional sound pack, it greatly enhances the sounds for APM events because it can “listen” to the MavLink Telemetry Messages coming down the stream. I have recently purchased a FrSky Horus X10 and love the new color display. I find myself looking much more at my transmitter screen. Here is the sunscreen I use on my Horus Tx. You need to cut and sand the surface flat. I used a craft saw. Then attach it using black servo tape. It works greats and easily opens or folds closed using internal springs so it still stores right in the soft case.
Cheers!
