Good job finding the communications issue.
There is a metric in the MP logs. On line number 8551 of your 2014-03-23 14-16-47.log file.
Good job finding the communications issue.
There is a metric in the MP logs. On line number 8551 of your 2014-03-23 14-16-47.log file.
That is one of the graphs I was speaking about…the error I have does no show on this or any graph.
The graph actually shows that everything is working good.
Here are some solutions to help avoid fly-a-ways as it has everything to do with “Loiter Mode””.
You have all the technology built into the APM2.5 / 2.6 to avoid fly-a-ways when implemented correctly.
These can only be implemented if your “Loiter Mode” is working perfectly. If this mode is not working well you should only fly close and in stabilize mode(if it is stable) and nothing else, or else, you are asking for a fly-a-way!!!
I order of sequence…
Stabilize mode has to be working well first. The default PID settings will work well for most average weight copters. Sync your ESCs as per manual, check you center of gravity and move the battery and or components on the copter for a well balanced COG front to back and side to side. Do a radio calibration in the mission planner or anything else you can think off to get your copter to stabilize perfectly.
Altitude hold is next. It has to be flawless. Copter should stay at the altitude you locked it on to. If windy, it is normal for the copter to fluctuate up or down a couple of feet and you will see it always trying to go back to the correct altitude.
If your copter suddenly rises when you engage altitude mode or drops suddenly when you disengage it, it is your barometer. (It will almost seem the whole copter is out of control)
It needs to be isolated from air disturbances such as wind, prop turbulence and also against light.
Yes light, as in daylight.
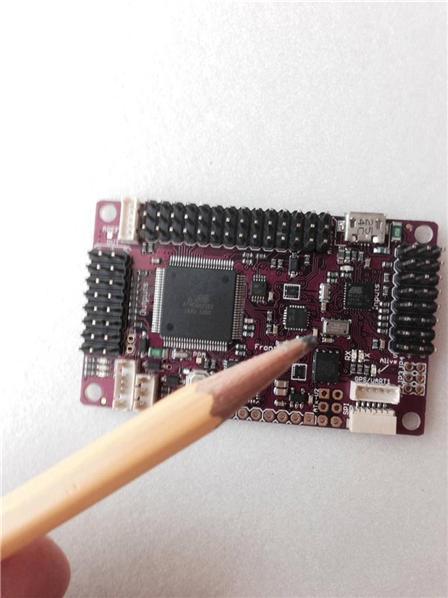
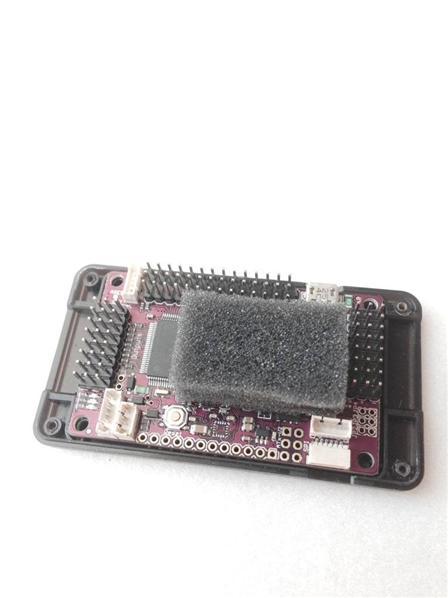
Place a “breathable” piece of foam upon the barometer chip on board the APM.
Check also that this foam is not that see-through in order to block some of the light. If you want to secure it with some hot glue it is up to you. Mine in not.
Just placed it carefully directly on top of the barometer and then close the APM plastic case securely on top of it. Make sure it is thick enough that the case squeezes it down a little to secure it in place when the case is closed.
Next is Loiter Mode.
Do all the calibrations…compass orientation, radio calibration and magnetic declination(make sure auto dec declination box in (MP) mission planner is checked is all you need for mag declination to be set correctly) and very, very important…compass calibration(x,y,z offsets)
Now check Loiter Mode. It should hold the position and altitude very well. If it doesn’t you are having a poor reception of the satellites which is unlikely (if you turn on the copter in opened field and waited 3 to 4 mins) or a bad communication between the GPS unit and the APM board which is very likely.(Still trying to settle this issue here on this thread)
For now if you want an immediate fix and you are willing to pay for it, order a GPS module directly from 3D robotics at about 90 bucks. It a lot of $ but there is a very high probability that your Loiter problem will be solved instantly…as it was with mine and many other folks. Enjoy flying and with time, hopefully you will resolve the bad gps communication issue to make your other cheaper gps units work via this thread and/or other sources.
Now that stabilize, altitude and loiter flights modes work perfectly you can implement very good fail safes via MP (mission planner) and via your radio/receiver
Again, these failsafes work very well but only if the 3 flight modes described above are working as intended.
(1) FailSafe 1 - Radio Transmission
Set you receiver’s failsafe so that when you turn off the radio your throttle signal goes to to 1000 pwm.(or lower) Check your radio/receiver docs to see how to do this.
Then go to MP --> Initial Setup–> FailSafe and by looking at “Radio 3” verify your pwm is going down to 1000 when you turn your radio’s power off. Also check with the radio on, that the pwm does not go much lower than 1100 when you bring the throttle all the way down.
Now in this same section of MP under “FailSafe Options” select “Enabled always RTL” and under FS Pwm type 1040 (anything well over 1000 but under 1100)
Don’t click anything else; stay on this page of MP for the next failsafe.
–Not complete yet, you will set the RTL altitude after reading below, keep going–
(2) FailSafe 2 - Battery
Check box “Battery Failsafe” and under “Low Battery” type the voltage you want to set the failsafe to. I have mine set to 10.3v (10.5v if you want a little more of a safety net for your lipo)
I have “Reserved MAH” set to 0. I found the computer doesn’t correctly interpret how much MAh I have left but with voltage you can’t really go wrong. 10.3v is 10.3v and it means it is time to land!!
If you have the 2 modems radios and are using a ground control station to a point that you really need the information on the GCS to navigate or critical info you want to see at all times, you can check the box “GSC FS Enable” If the communication with the GSC is lost, the aircraft will RTF (Return to Launch)
Now go to MP --> Config/Tuning–> Full Parameter List and find the setting for “FS_BATT_ENABLE” either by scrolling down and looking for it or click “Find” , type “RTL” and press enter. Then type “2” for the value. To the right of the screen click “Write Param” to save the parameters to the APM board permanently.
–Not complete yet, you will set the RTL altitude after reading below, keep going–
(3) FailSafe 3 - GeoFence (or Fence)
Go to MP --> Config/Tuning–> GeoFence
Check the enable box. Select “Altitude and Circle” on Type and “RTL or Land” on Action.
Select your maximum altitude and radius which you want to the copter to stay within.
Next, the “RTL Altitude” is a very important setup because of how it affects the “Max Radius” failsafe.
If you are flying far and only via FPV you need to know your landscape. Meaning, how high your trees, buildings or any object are. If you are in a valley and passed a mountain or in a rural area and just passed a 100 foot tall building, you want to make sure to set your RTL Altitude to MORE than the altitudes of objects so that if your are flying lower than the objects, when that failsafe is triggered and the aircraft is commanded to come back home automatically, it will to fly ABOVE the objects.
(It will raise its altitude directly up from where it is (holding its position) say to 200 ft, then fly back at that altitude to its point of launch and decent directly to its launch point in order to land.
If you are flying pretty close and/or on a flat field with no obstacles you can set the RTF altitude to “0”
It will come back at the altitude your were currently flying.
Regarding the Max Altitude, where ever you set your max alt to, the copter will not go any higher even if hold your throttle stick all the way up. (Fence is a pretty cool feature)
As an option, in MP --> Config/Tuning–> Extended Tuning under Ch7 or Ch8 Option, you can set the fence feature to be turned on and off via a switch on your radio.
IMPORTANT NOTE - keep your eye on what units of measurement MP is using when setting your altitude and radius (meters, feet, centimeters, etc) so you can set it correctly to what you want.
(4) RTL Land or Hover
Here is how to set the RTL to land or just hover over the launch point when it comes back.
Go to MP --> Config/Tuning–> Standard Params. Find the setting for “RTL Final Altitude (RTL_ALT_FINAL)” either by scrolling down and looking for it or click “Find” , type “RTL” and press enter.
Set this value to 0 to land when it returns or to 304 for example if you want it to just hover 10 feet over from where you launched it after it came back (GeoFence screen is in feet or meters; here on this screen it is in centimeters so do your calculations)
As an option, to exit RTL mode once you feel the aircraft is close enough and you can have complete control over it, change to stabilize mode to regain control.
(I just change to Stabilize for a second to exit RTL and immediately to Loiter)
The following should already be set by default but just in case check them:
Go to MP --> Config/Tuning–> Standard Params and set “Arming check(ARMING_CHECK)” to “Enabled”
(6) Go to MP --> Config/Tuning–> Standard Params and set Battery monitoring(BATT_MONITOR) to “Voltage and Current” or at least to “Voltage”
You are not done yet, you need to test all these functions in real flight.
—Always, always verify your settings and test in real flight–
Fly in Loiter mode and make sure position and altitude is holding nice and steady.
Now you have to do the hardest thing for a rc pilot to do, it is pretty scary at first but you have to do this if you want to prevent fly-a-ways.
In an opened field, fly in Loiter Mode about 40 or 50 feet away at a low altitude and turn the radio off. It will raise straight up to 100ft then fly back to it launch position and slowly decent and land. (Assuming you have you RTL Alt set to 100ft and RTL Final Alt to 0 as explained above)
If you move your throttle all the way down(which you can do after it enters RTL mode because it has no effect) after it lands it will also turn the props off!!!
Now, lets test the Battery Failsafe. When you are close to the end of your flight, let the copter sit there and hover in loiter mode.
When the battery reaches 10.5 or whatever you set it to, it will RTL.
Well, test these features out, it will definitely reduce a lot of fly-a-ways!!!