[url]https://youtu.be/nJ1lmgn7ntc
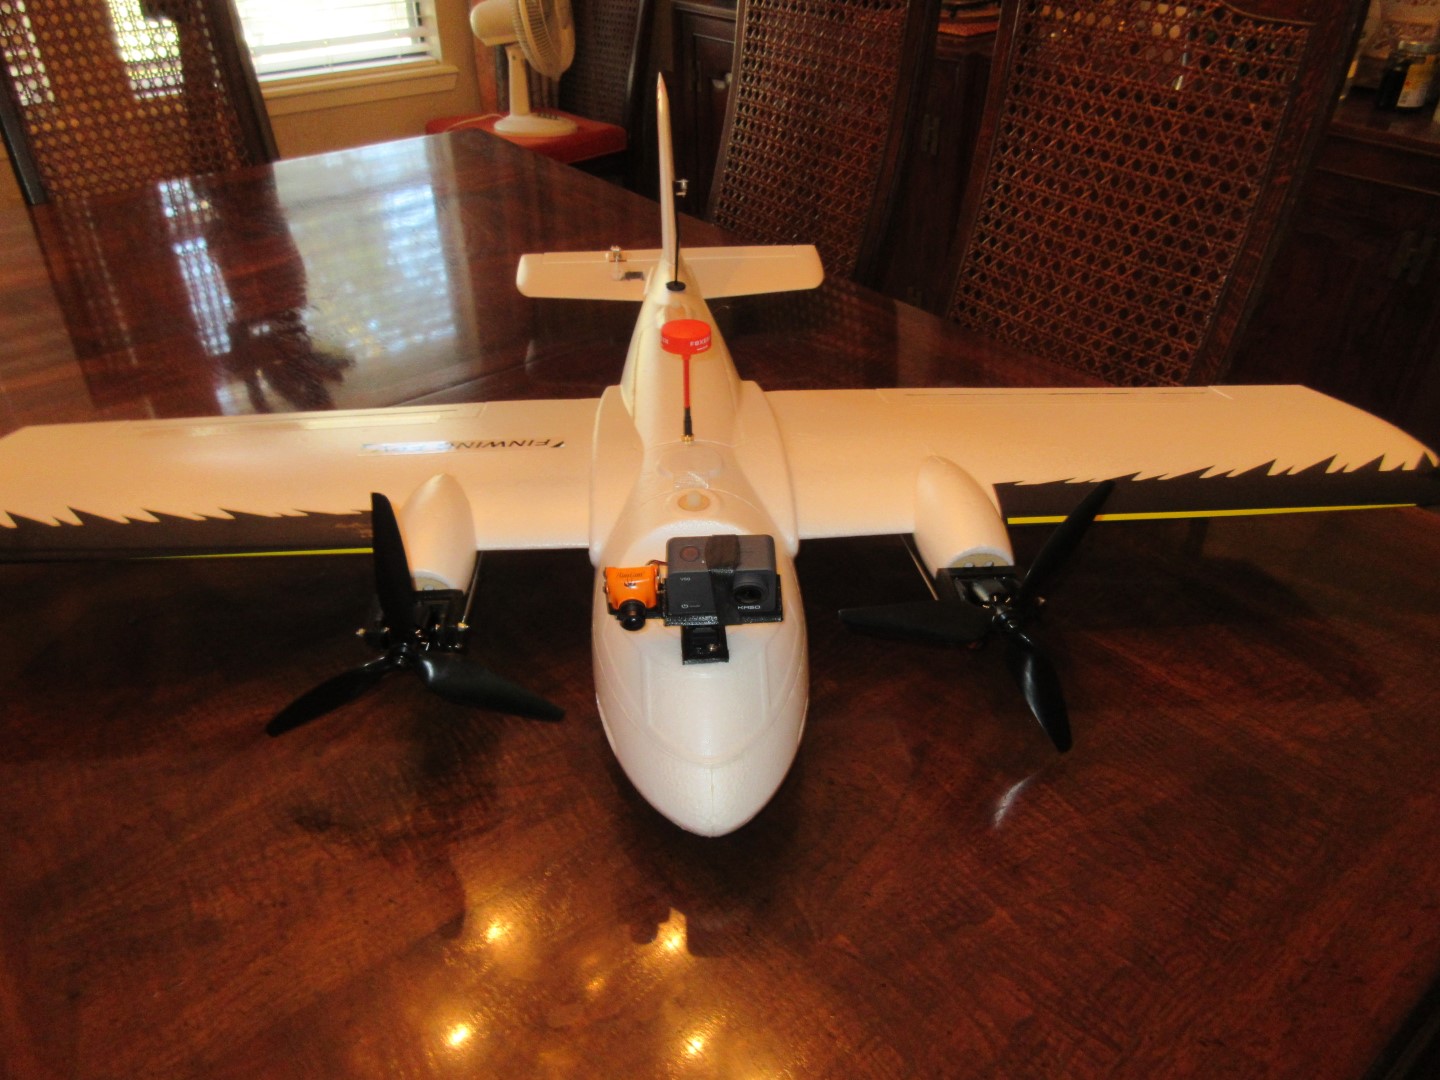
This build log describes my TVBS (Twin Motor Vectored Belly Sitter) conversion of the FinWing AlbaBird Twin.
The conversion consists of changing the fixed twin motor mounts to a tilt vectored mount, adding the tilt servos, and adding a tail “stinger” to prevent the elevator from touching ground during takeoffs and landings in VTOL position.
ArduPilot running on a Matek H743-Wing controller is used, although any ArduPilot compatible autopilot with at least 7 outputs (9 are use here since I have a panning camera mount and allow for flaperons in the future) and a UART and I2C for GPS and Compass. Also, I wanted a 2MB flash controller to be able to run LUA scripts since I want to add a second camera in the future pointing down and automatically switch to it when in VTOL modes, to allow FPV operation in those modes also.
While compass is no longer strictly required for VTOL operation, using one avoids the 2-3 second delay and first movements required to align the GSF (Gaussian Sum Filter) on first VTOL operations. In this build a second UART is used for Telemetry from the DragonLink RC system.
Hardware Configuration as built
- FinWing AlbaBird Kit
- 2X SunnySky 2216-1250KV motors (probably a bit overkill…Avenger 2806-5 motors could
possible be used a nd save ~50g) - 2X 35A BLHeli32 ESCs (https://www.amazon.com/gp/product/B07CXSGP4X)
MatekH743-Wing autopilot (any ArduPilot compatible with at least 7 outputs and
GPS/Compass connections) - BN-880 GPS/Compass-
- 4X ES08MA servos for flight surfaces
- 2X ES09MD servos for motor tilts
- 2X 3D printed tilt mounts,each with:
- 2X 3mm x 20mm bolts for pivots
- 2X 3mm nylock nuts
- 2X 3mm x 30mm bolts for mount attachment (I used these instead of supplied wood screws)
- 693ZZ 3 x 8 x 4 mm Ball Bearings (Amazon.com)
- Ball link based linkage to servo of your chosing
- 2X 3mm x 30mm bolts for tail stinger
- 3D printed tail mount for carbon shaft for tail stinger 7.8mm dia (arrow shaft from sporting good store) cut to give clearance
- RC system: I used a Dragon Liink V3 nano RX with telemetry
Optional:
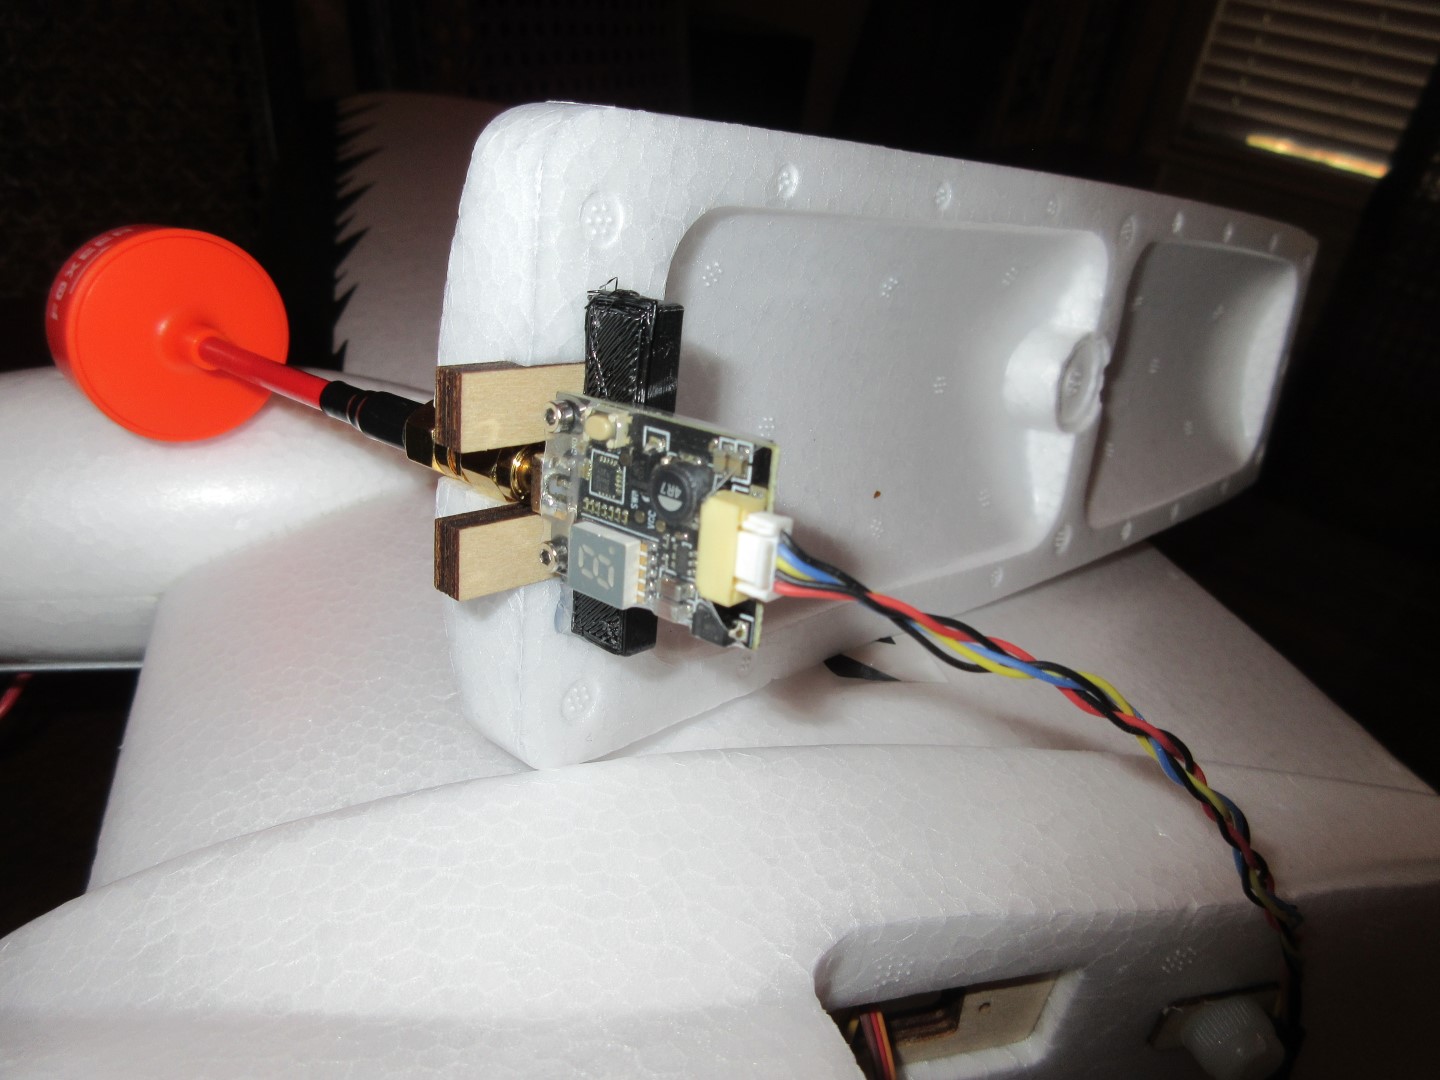
- VTX (I used a 600mw 5.8Ghz VTX)
- FPV camera (Runcam Swift)
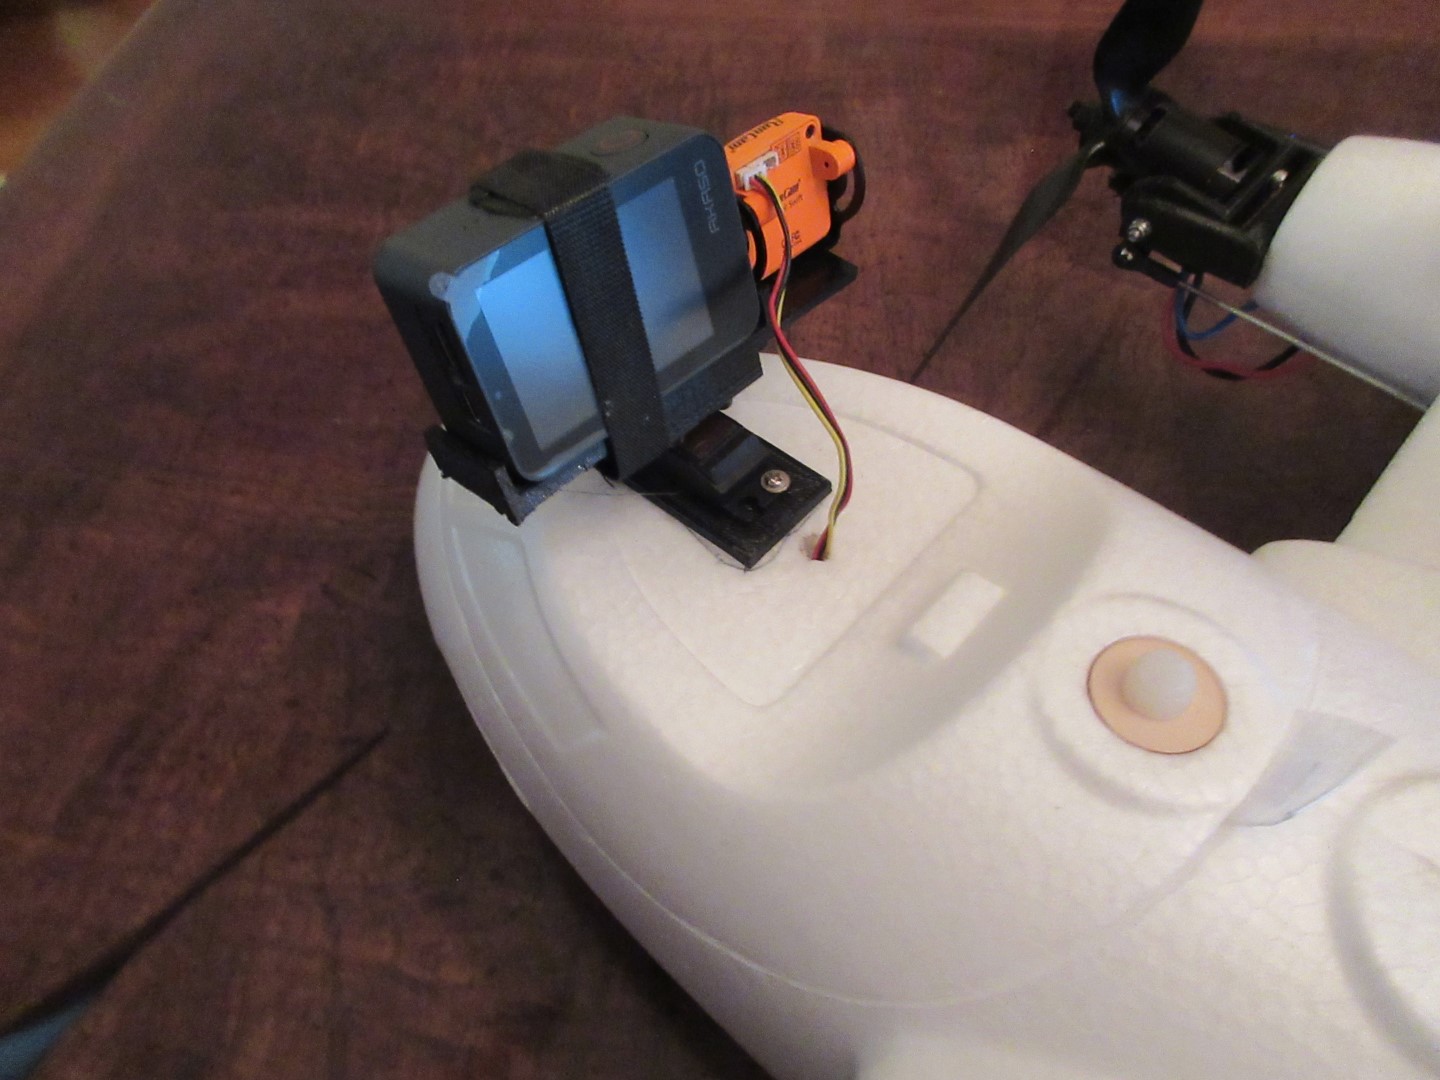
- Pan system (I used a JX servo DI-250MG, which when used on an output setup for mount_pan and its output range max’d, gives almost 180 deg rotation)
AUW without battery: 1190g…with 4S 7000mah LION 1573g
Cruise @32mph ~7-8A VTOL hover ~20A
Photos
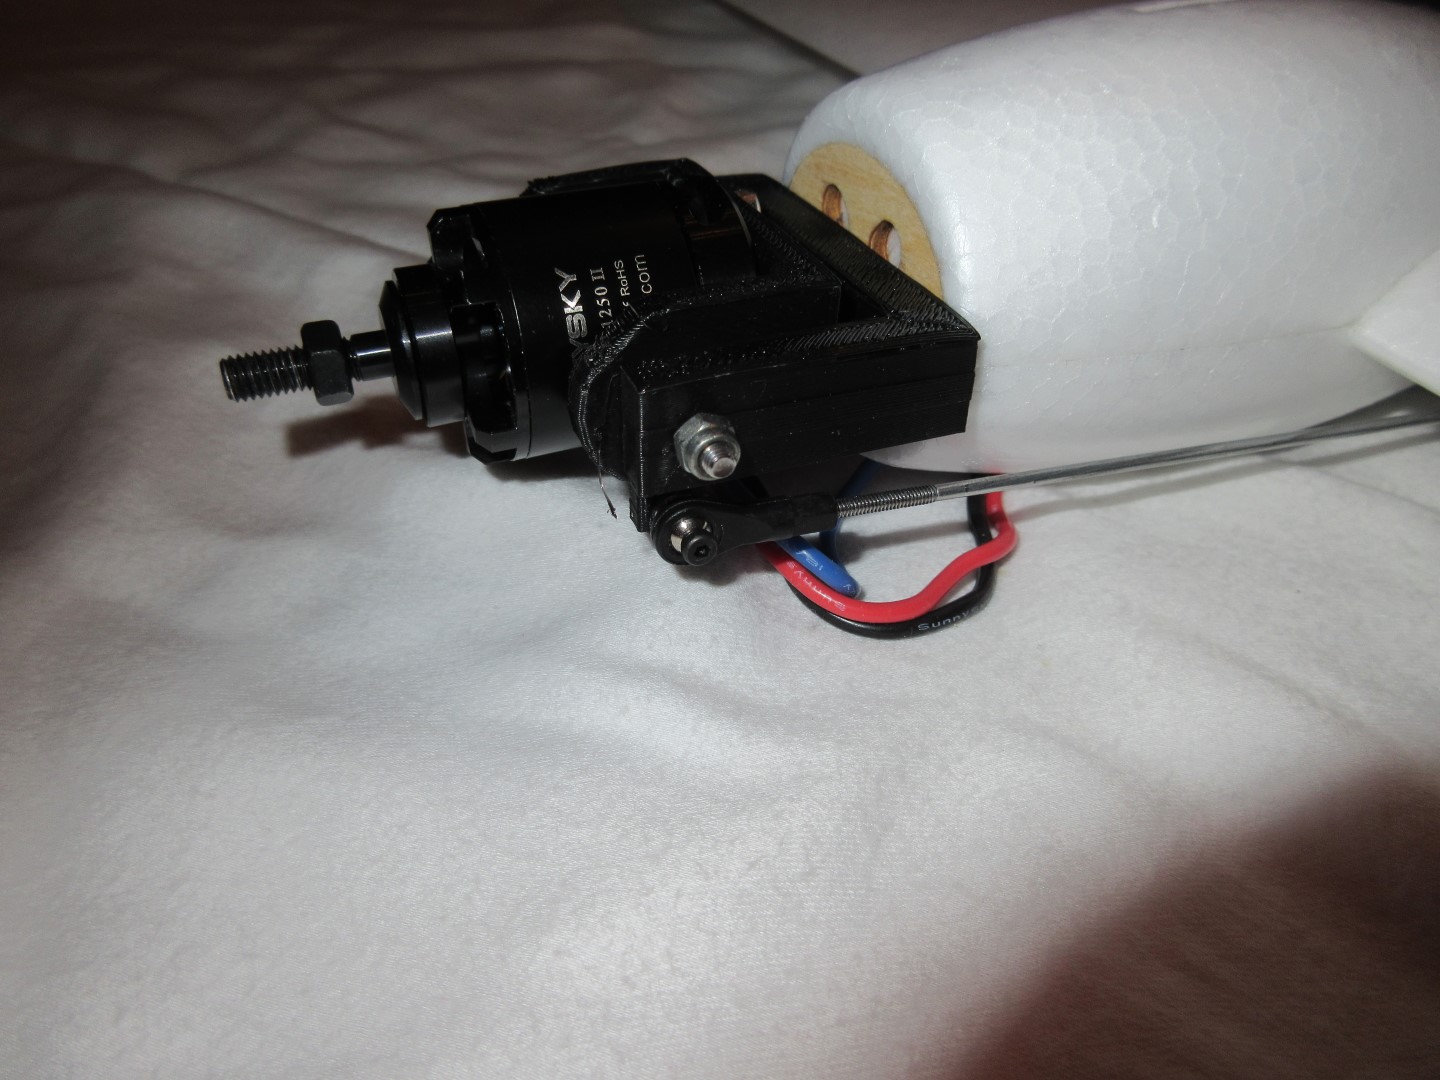
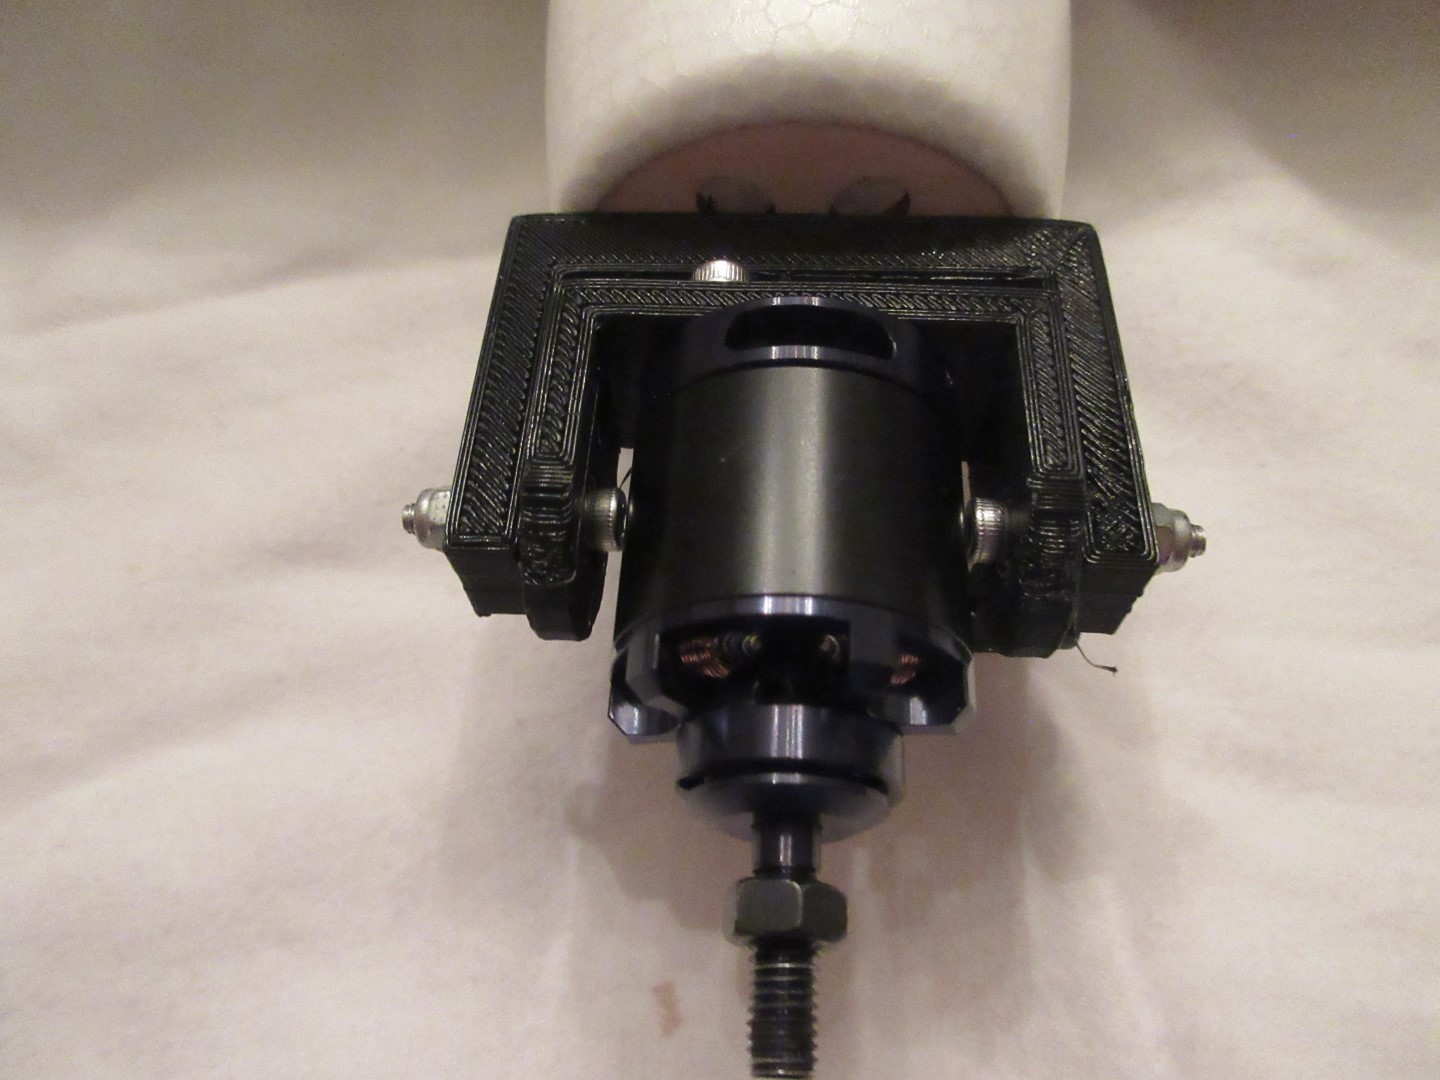
Tilt Mount
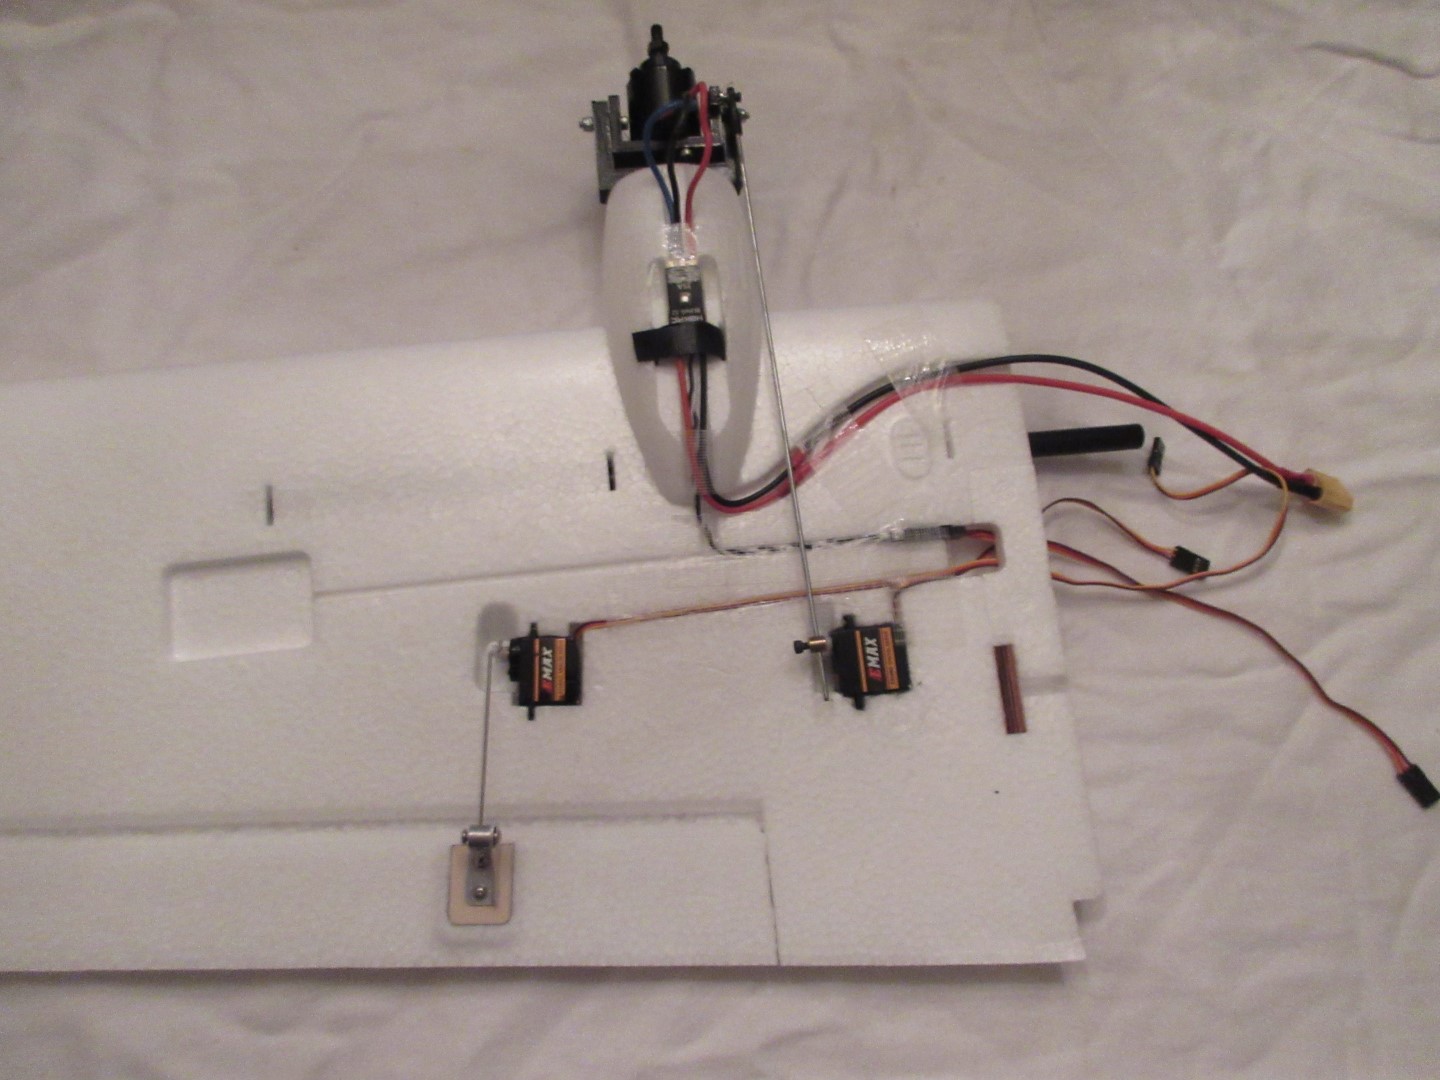
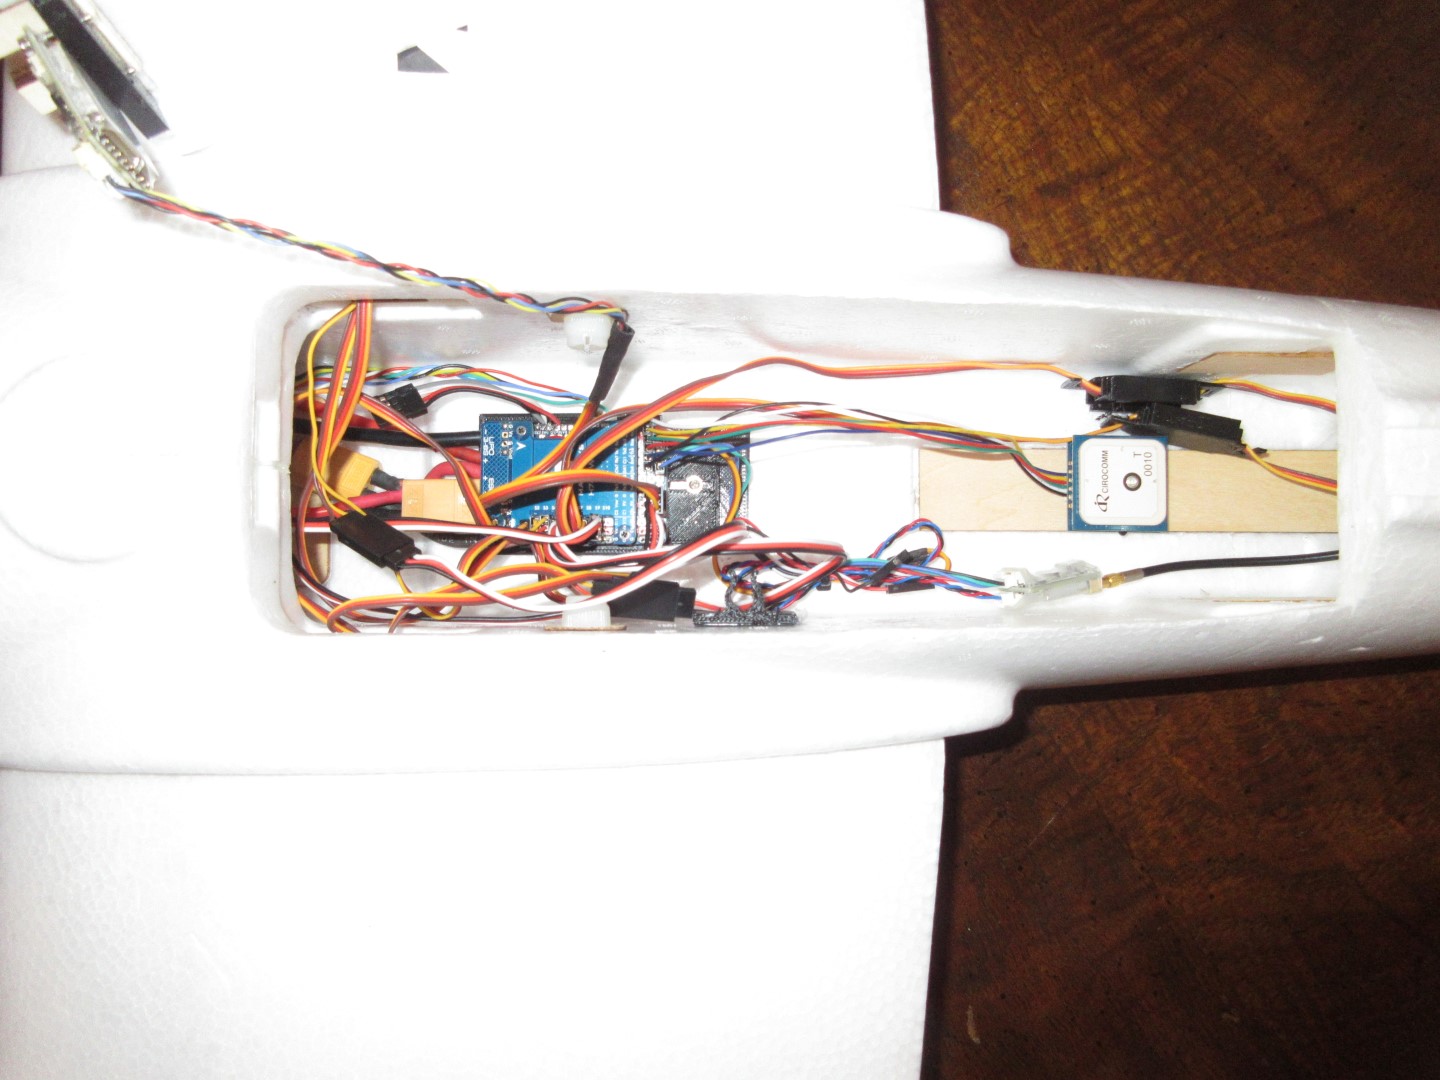
Component Placement

3D Printed Parts
-
Tilt Mount, right and left
-
Tail Stinger/Stand and backing plate for 3mm nylock nuts
-
VTX mount
-
H743 controller mount (fast release)
-
Antenna tube exit cover
-
Camera mount plate, servo mount plate for pan servo
Setup Notes
Be sure to do the normal setup and calibration steps outlined in the Wiki (Setup for Plane — Plane documentation, First Flight — Plane documentation, and QuadPlanes — Plane documentation for a tailsitter with dual motors)
I setup the servo outputs for:
-
Right Motor
-
Left Motor
-
Right Tilt
-
Left Tilt
-
Right Aileron (in case I want to program Flaperons in the future)
-
Left Aileron (otherwise just use a signal output and Y-cable as AILERON)
-
Elevator
-
Rudder
-
Pan (optional)
I always enable SERVO_AUTOTRIM =1
I limited throttle in fixed wing modes to 75% since we have lots of power
I set my pan servo output to SERVOx_FUNCTION =6 , mount_pan to allow me to change the range of servo x’s output to get maximum pan….the equivalent of a servo pulse stretcher. Set MNT_RC_IN_PAN = to the RC channel input you wish to control pan. By default the mount type should already be set to servo and the default mode to RC targeting
I calibrated the ACCs with the belly flat on the table (no tail stinger), and then set TRIM_PITCH_CD=400 to give it 4 degrees of pitch up for normal cruise attitude.