I should have a kit arriving, about 10 days out. Decided against the PNP version for now since I couldn’t easily get a hold of one due to purchasing/shipping issues.
I don’t think I’ll be able to source 12S motors easily anytime soon so I might have to use 6S power propulsion for now and upgrade later.
Chinese holiday is finally over and work is resuming. I received an email from Cheng at MFE. He said the 20x 13 propellers are not in stock and wants to swap them for 18x12 propellers. Will this be OK?
Online calculator (http://www.godolloairport.hu/calc/strc_eng/index.htm) shows that 2300 more RPMs will be required to achieve the same thrust. This does not seem good to me. I would really appreciate some feedback on this.
Keep in mind that this is the forward flight prop, not a quad prop, so you will only be using partial throttle with either size. It will just change the position of your throttle stick slightly when cruising in non-autonomous modes like FBWA.
You can always buy a 20x13 e-prop from APC Props in the U.S. Then you’ll have one of each size for comparison.
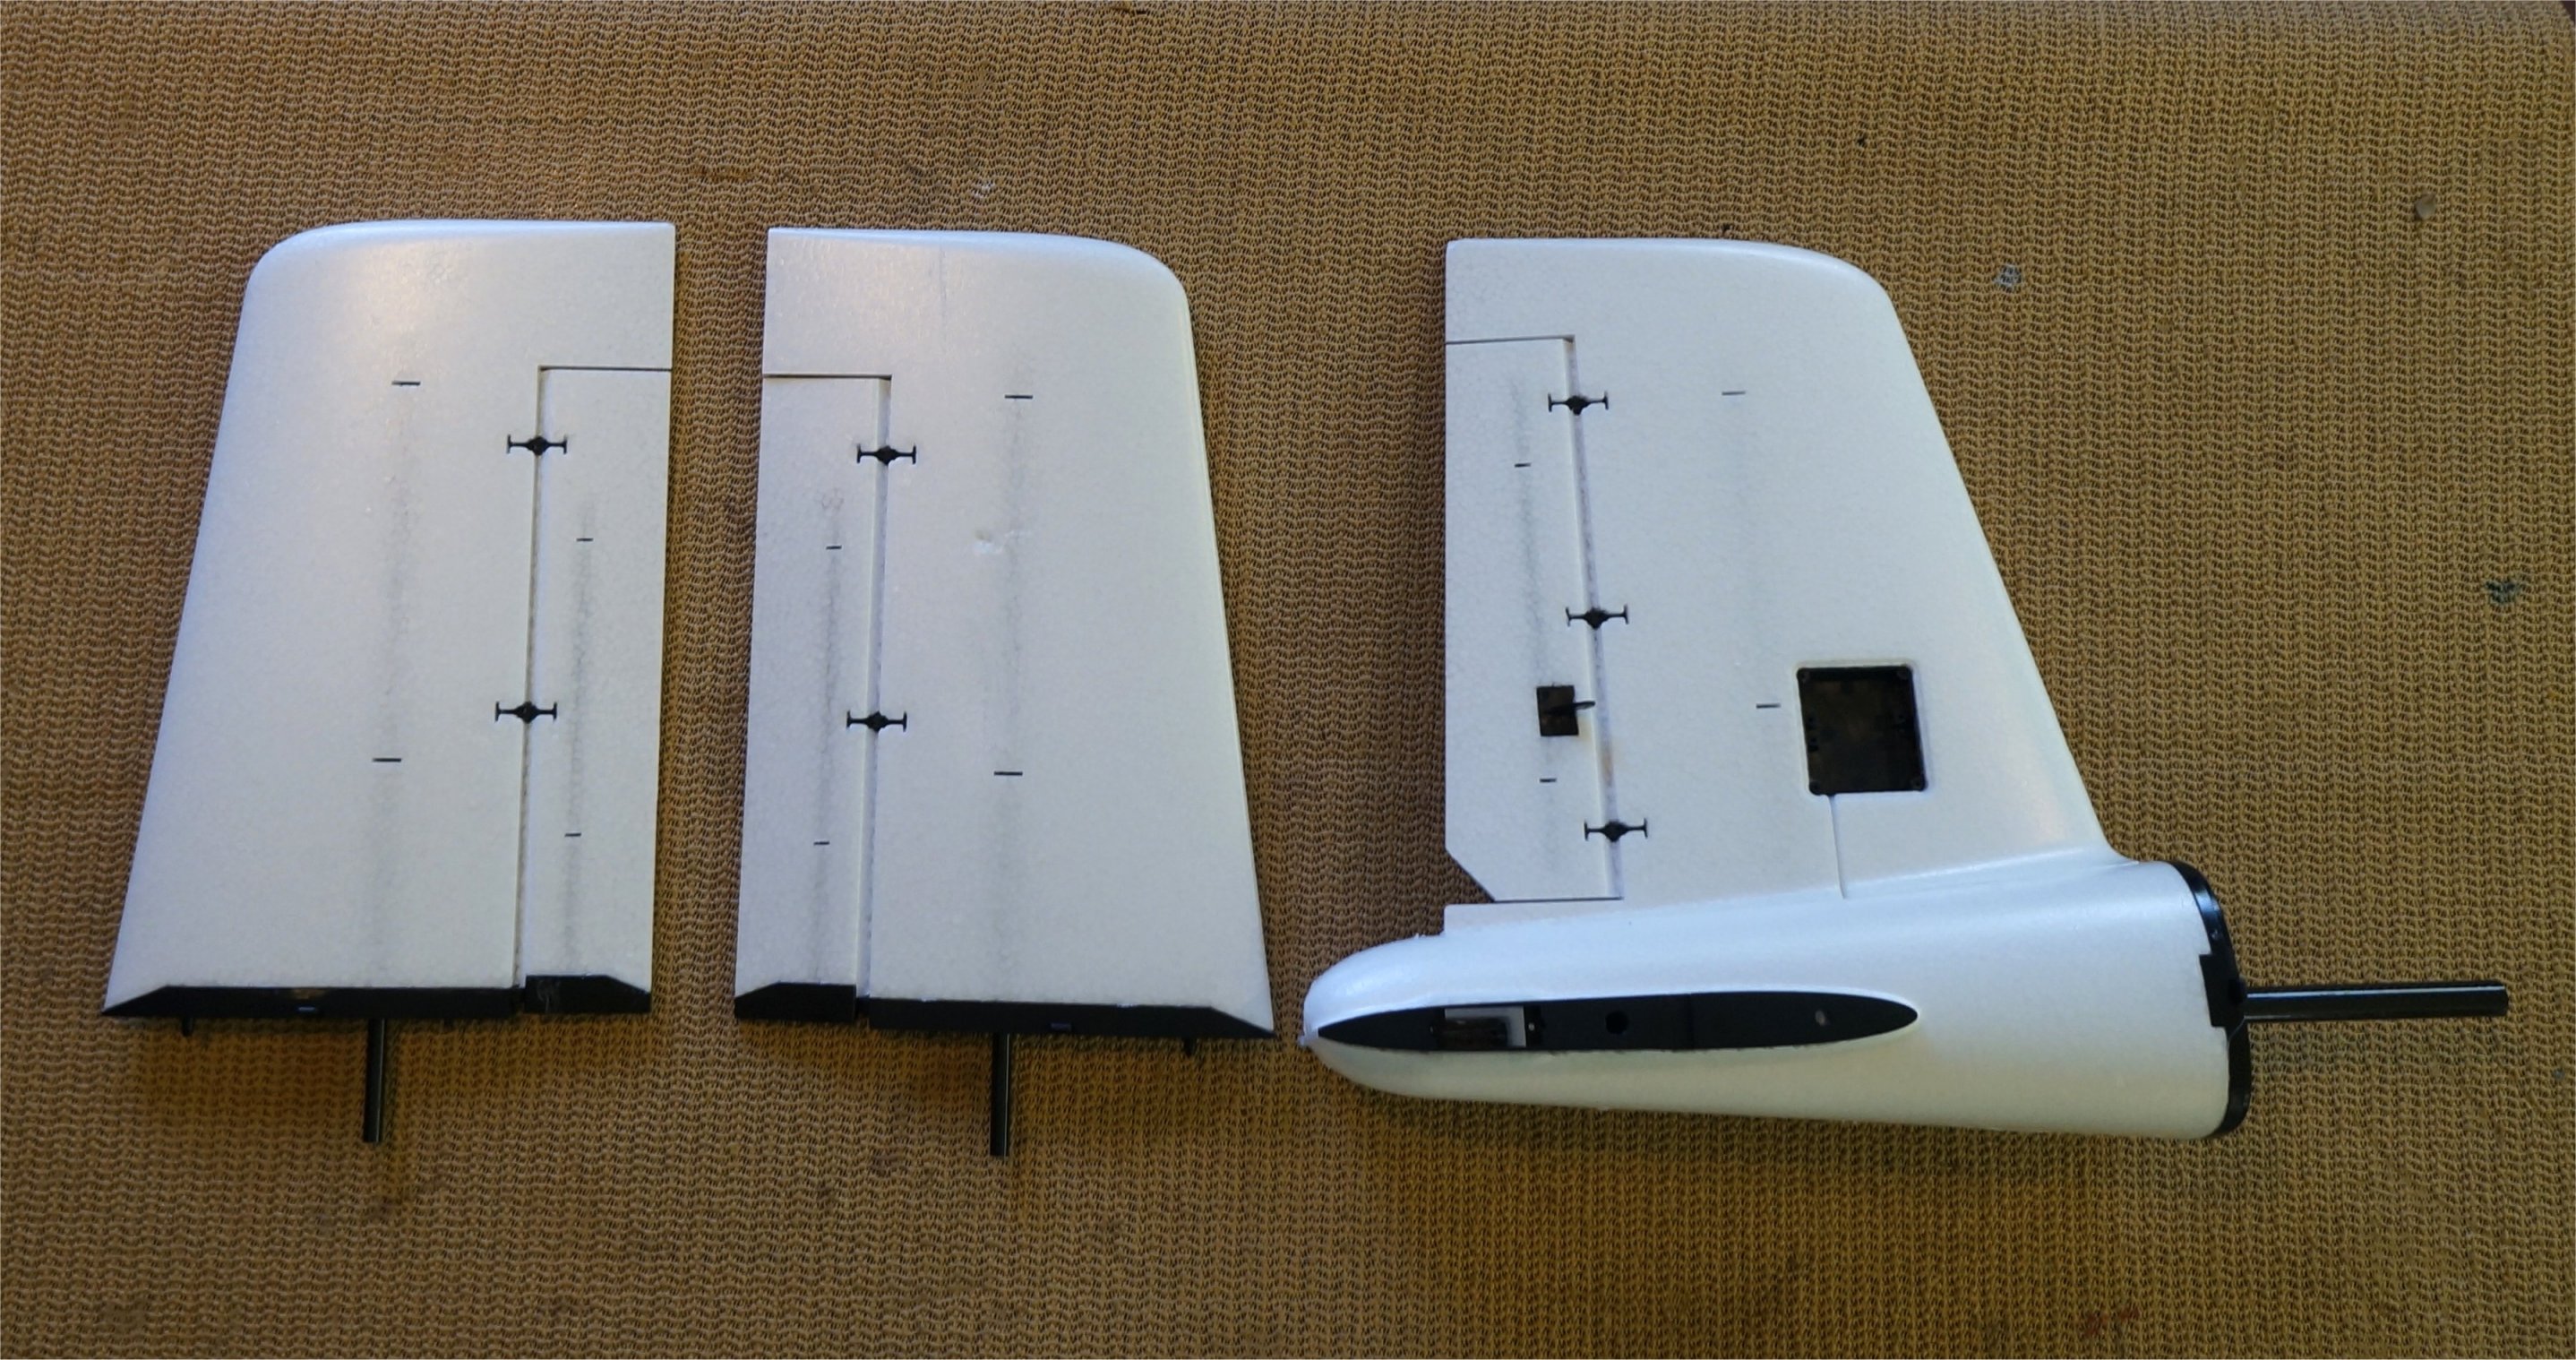
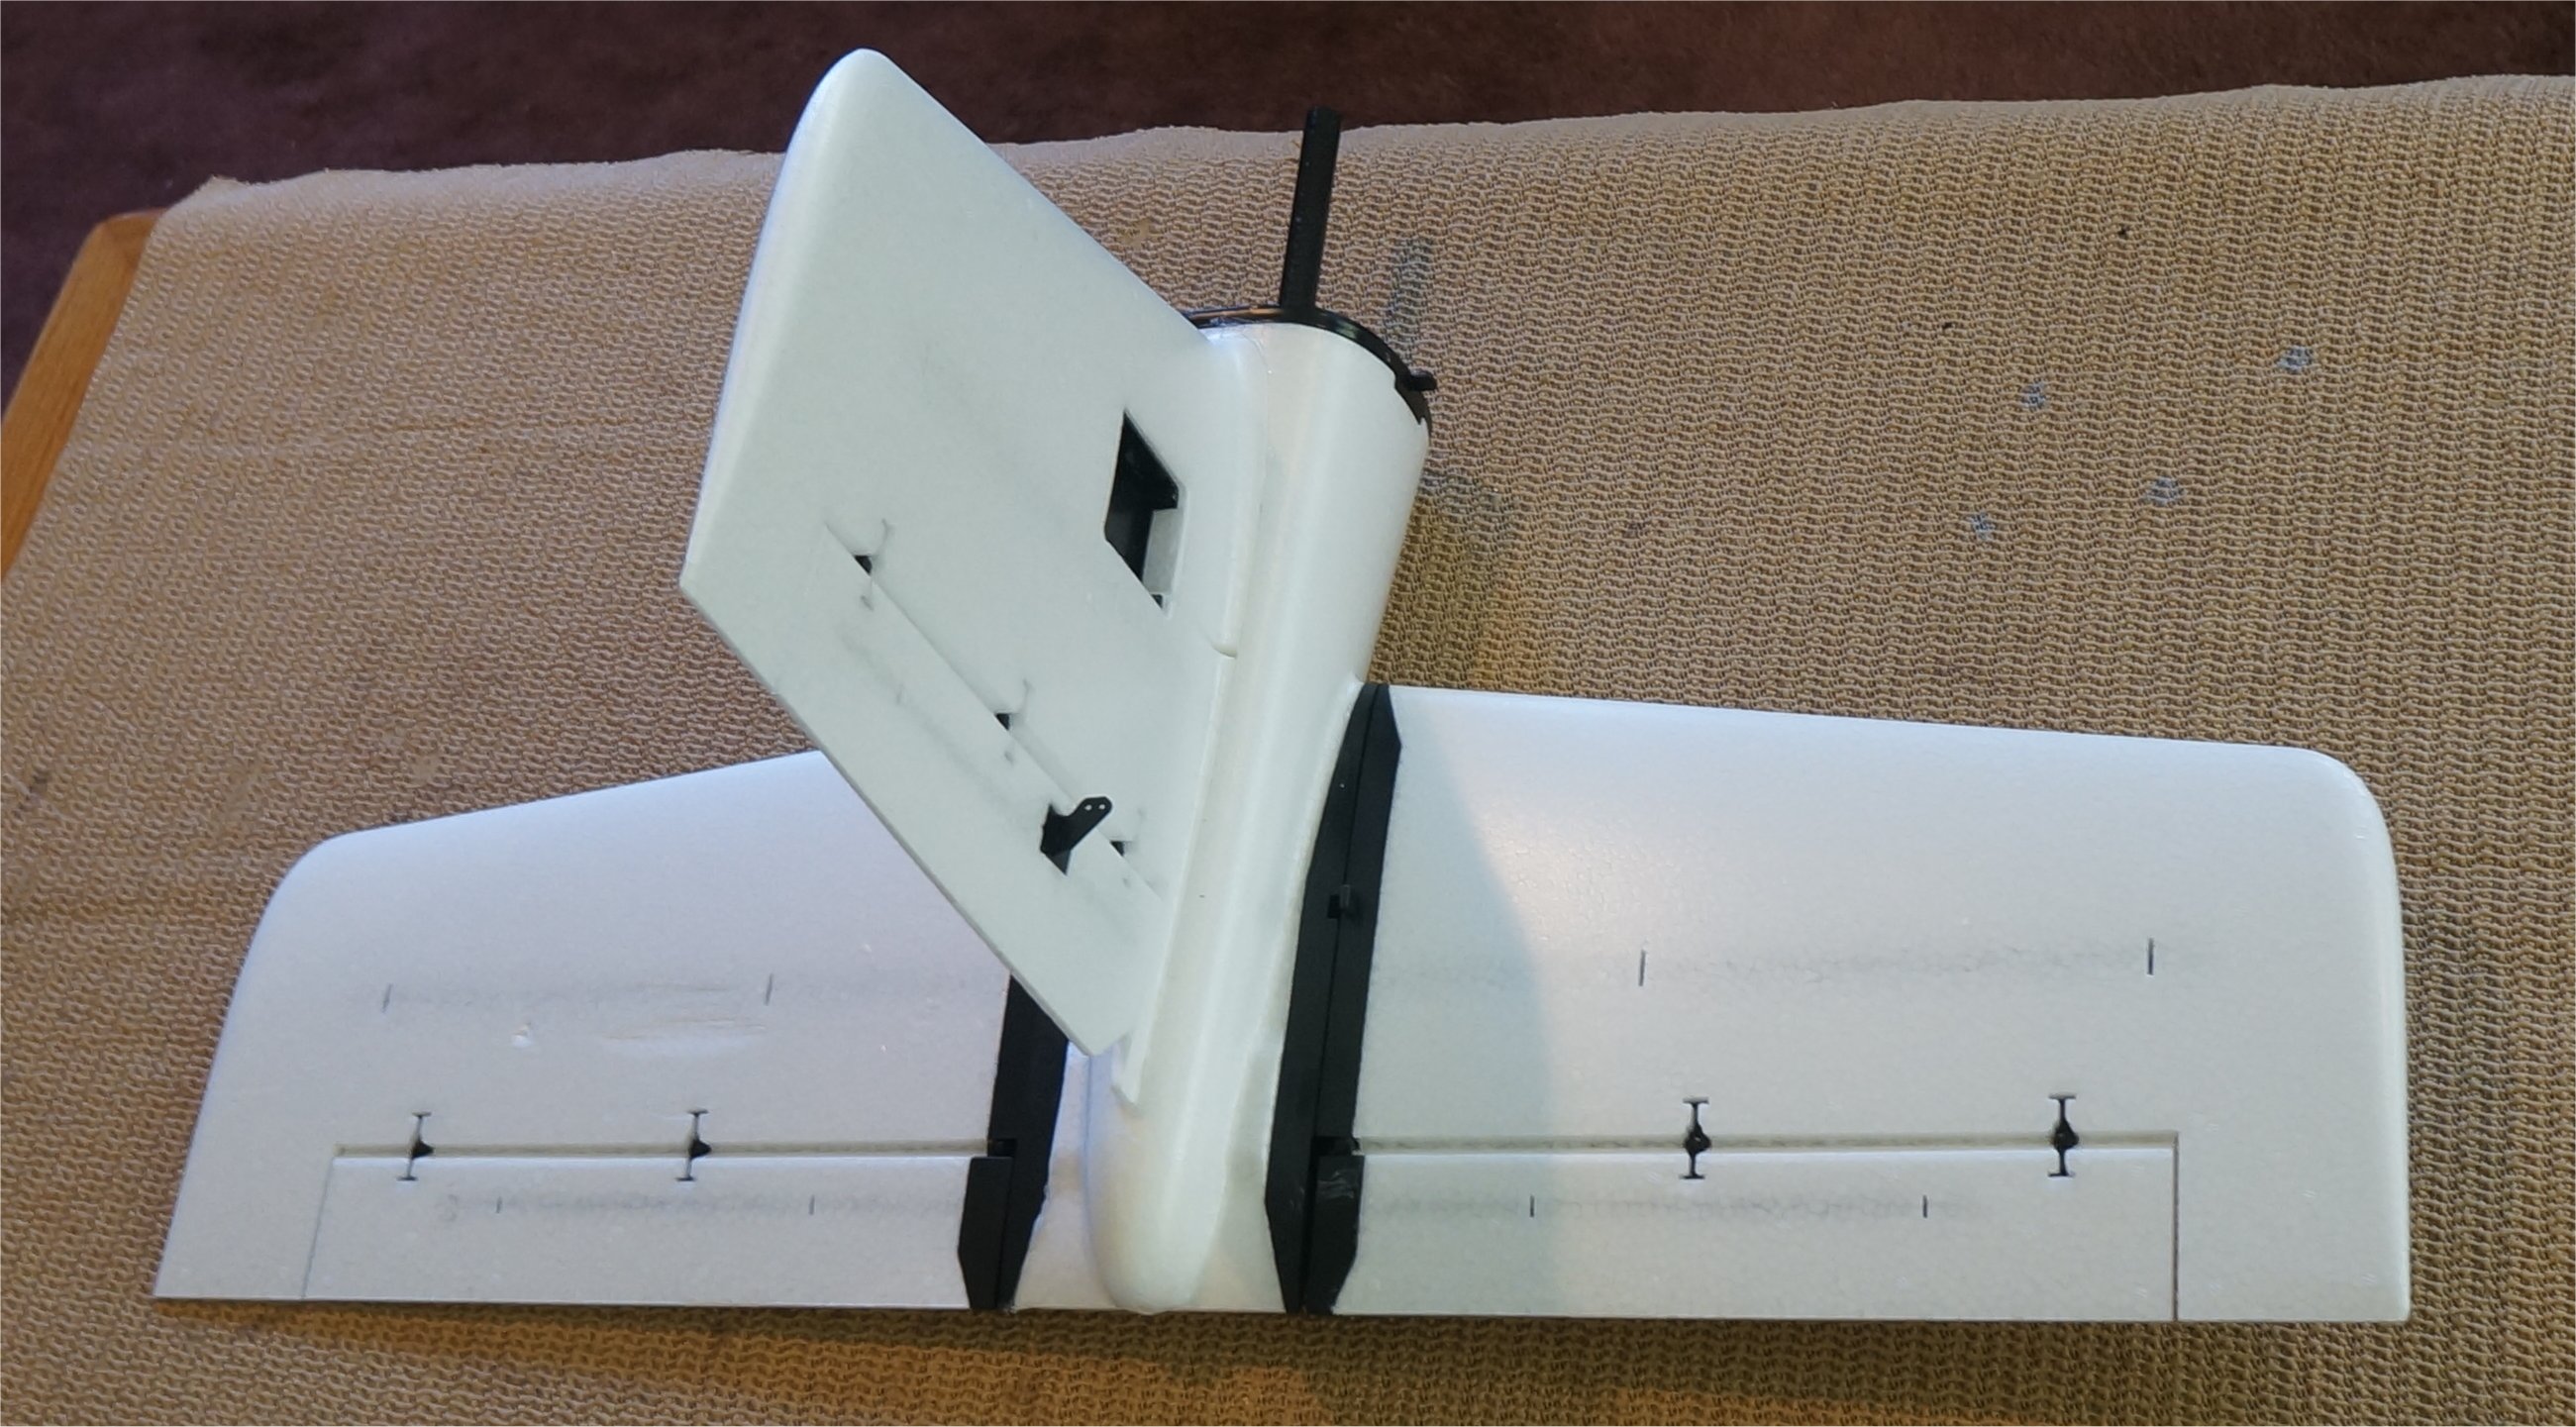
The tail pieces glued together nicely. It worked best for me to watch the video and put the parts together first as a dry fit. The stabilizers were all self aligning. As I mentioned before in my unboxing post, I really liked the addition of hinges on all the control surfaces. I also liked the control horn assembly which was both “glue and screw”. The pieces on each side were glued and then screwed together with a single M2x8 screw.
At this point, I have completed the Assembly Guide 2 video.
There was some residual glue in some of the tube openings which required some sanding for a smooth and easy fit. Be careful not to use too much glue around the openings for the carbon tubes. I then fit the tail into the fuselage and was very happy how all the parts were keyed so there were no alignment issues.
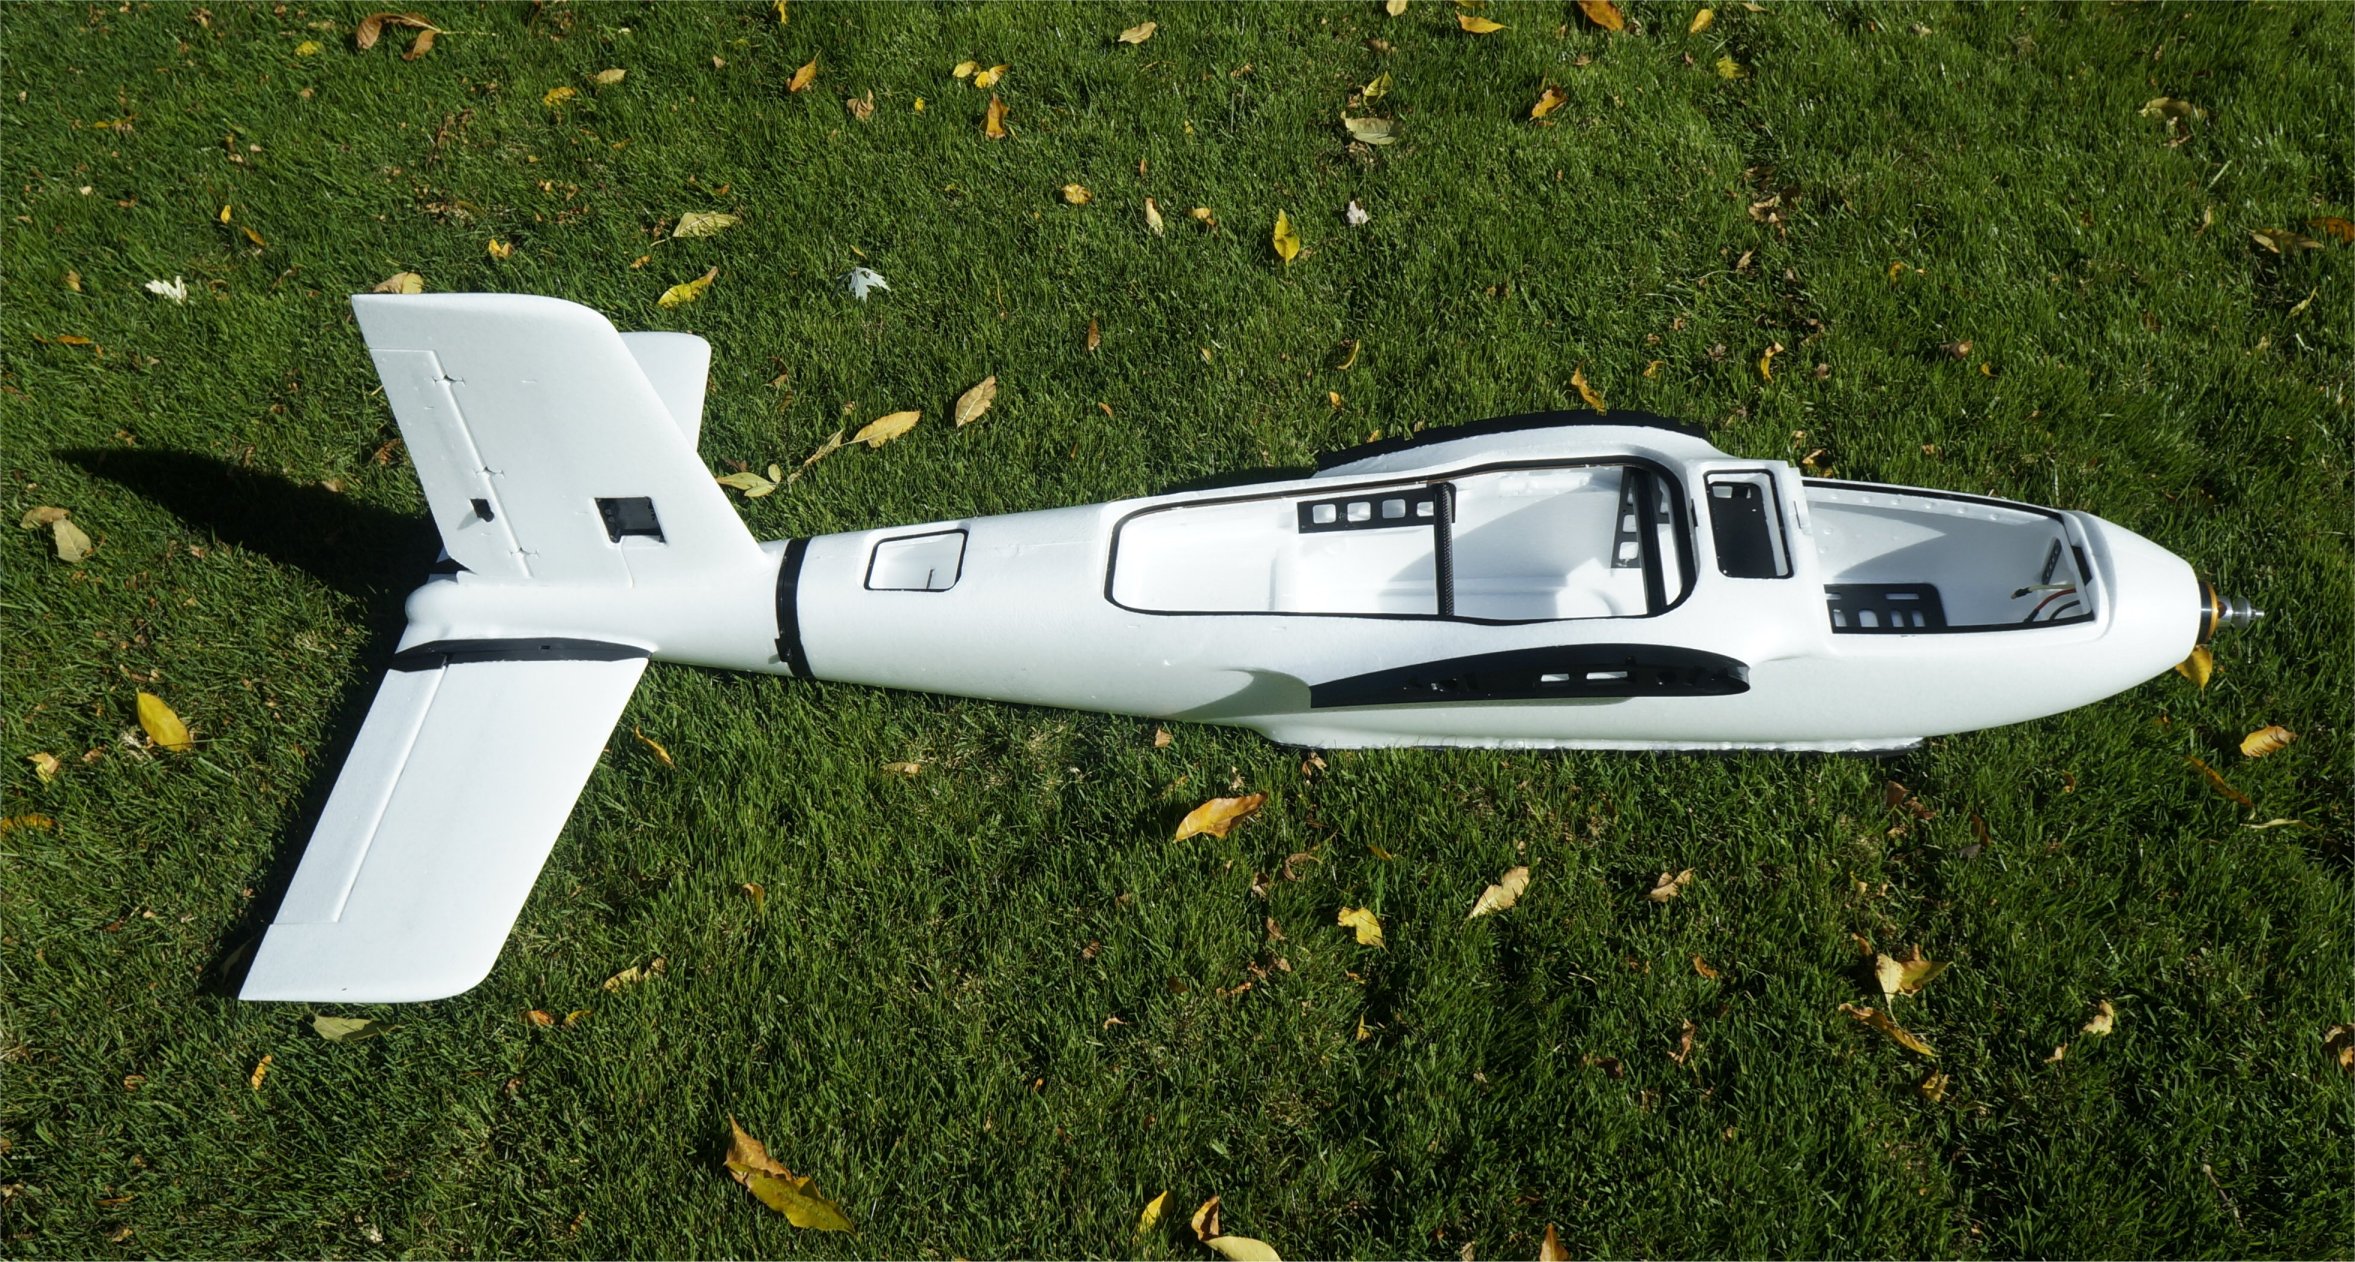
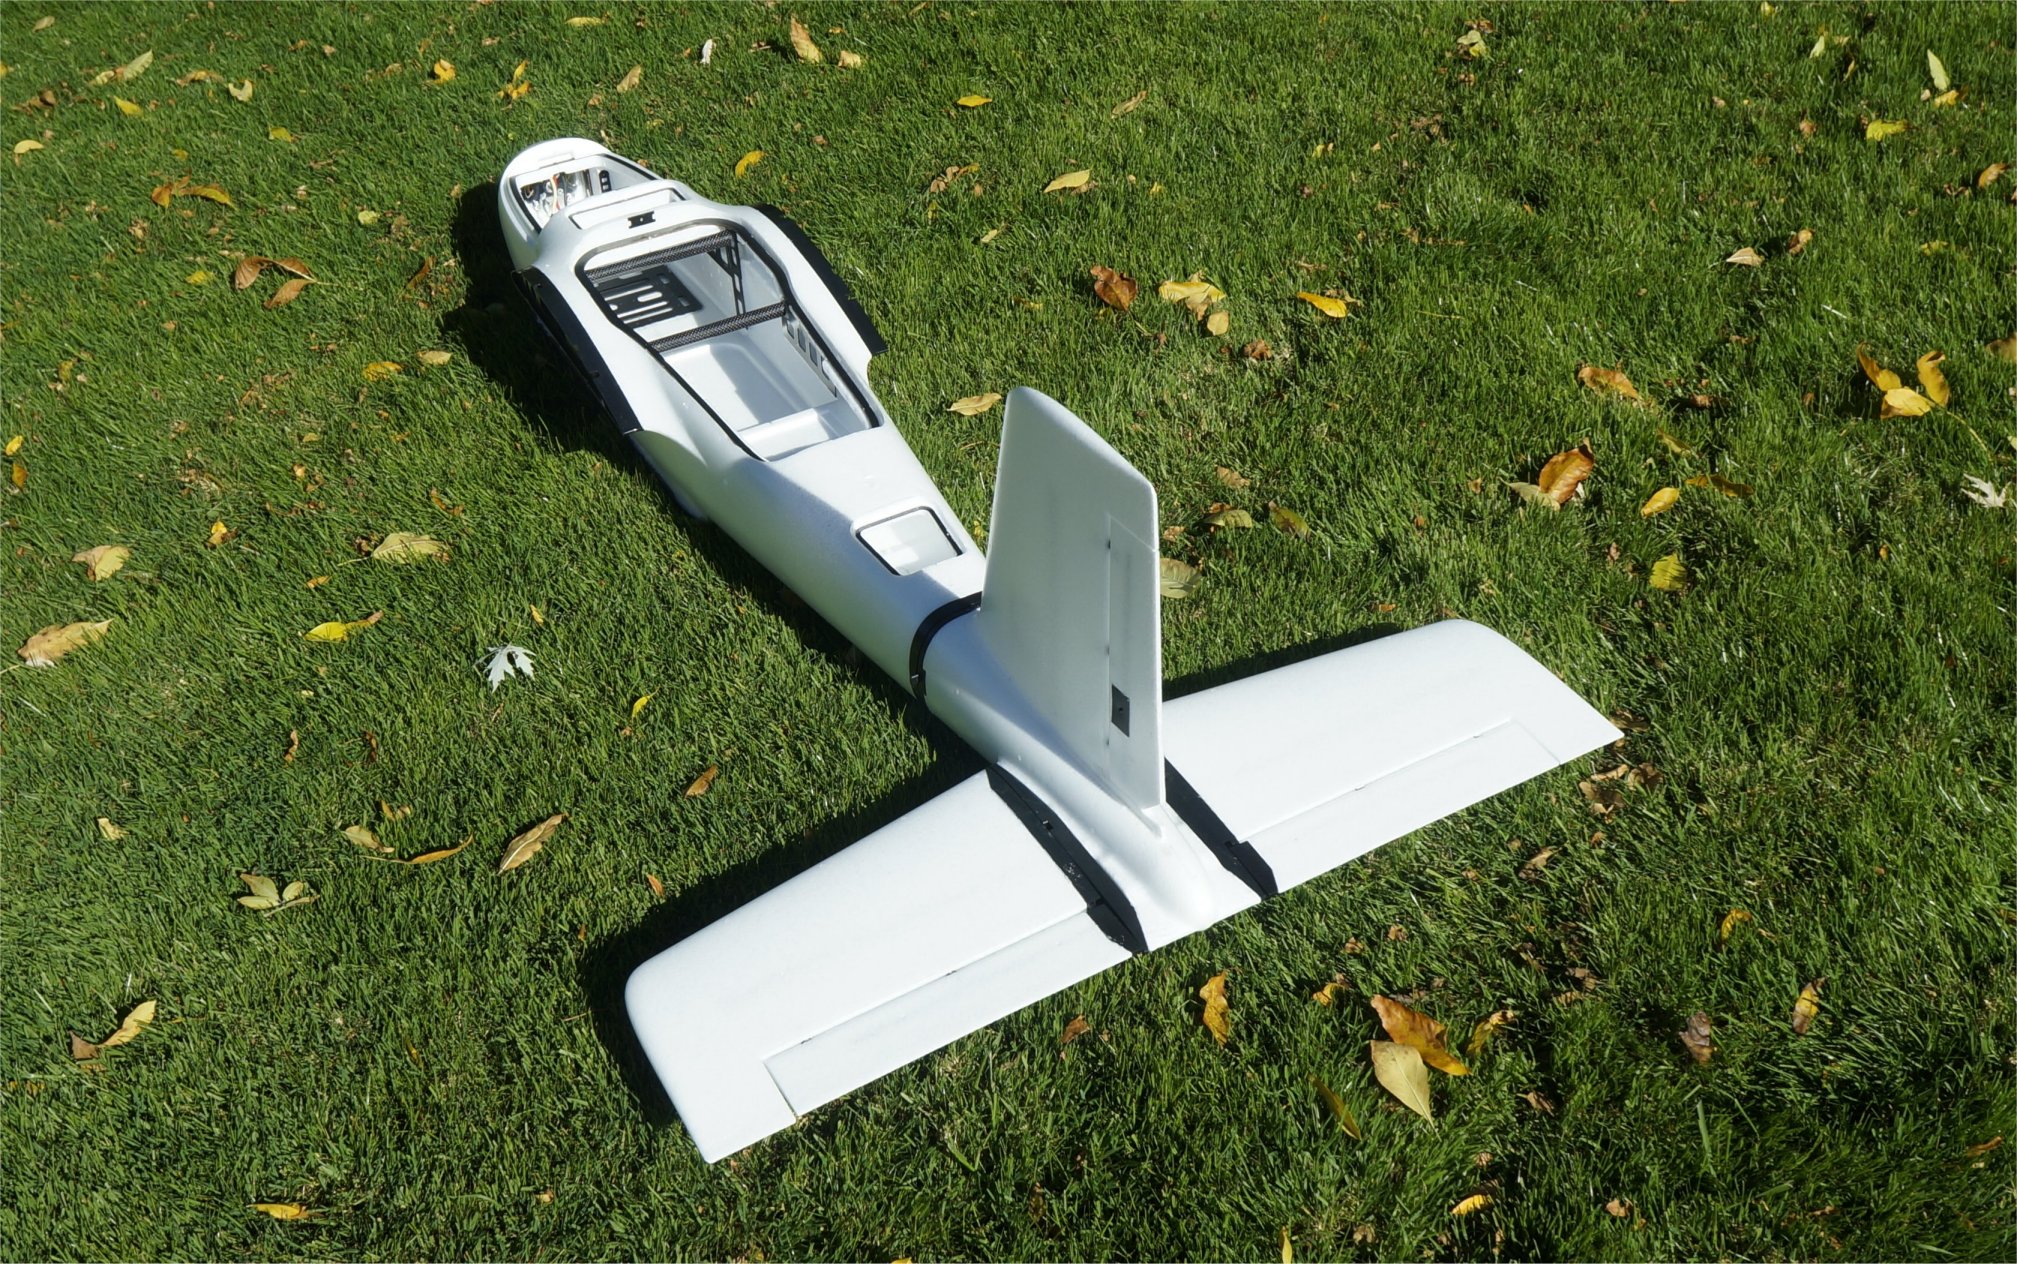
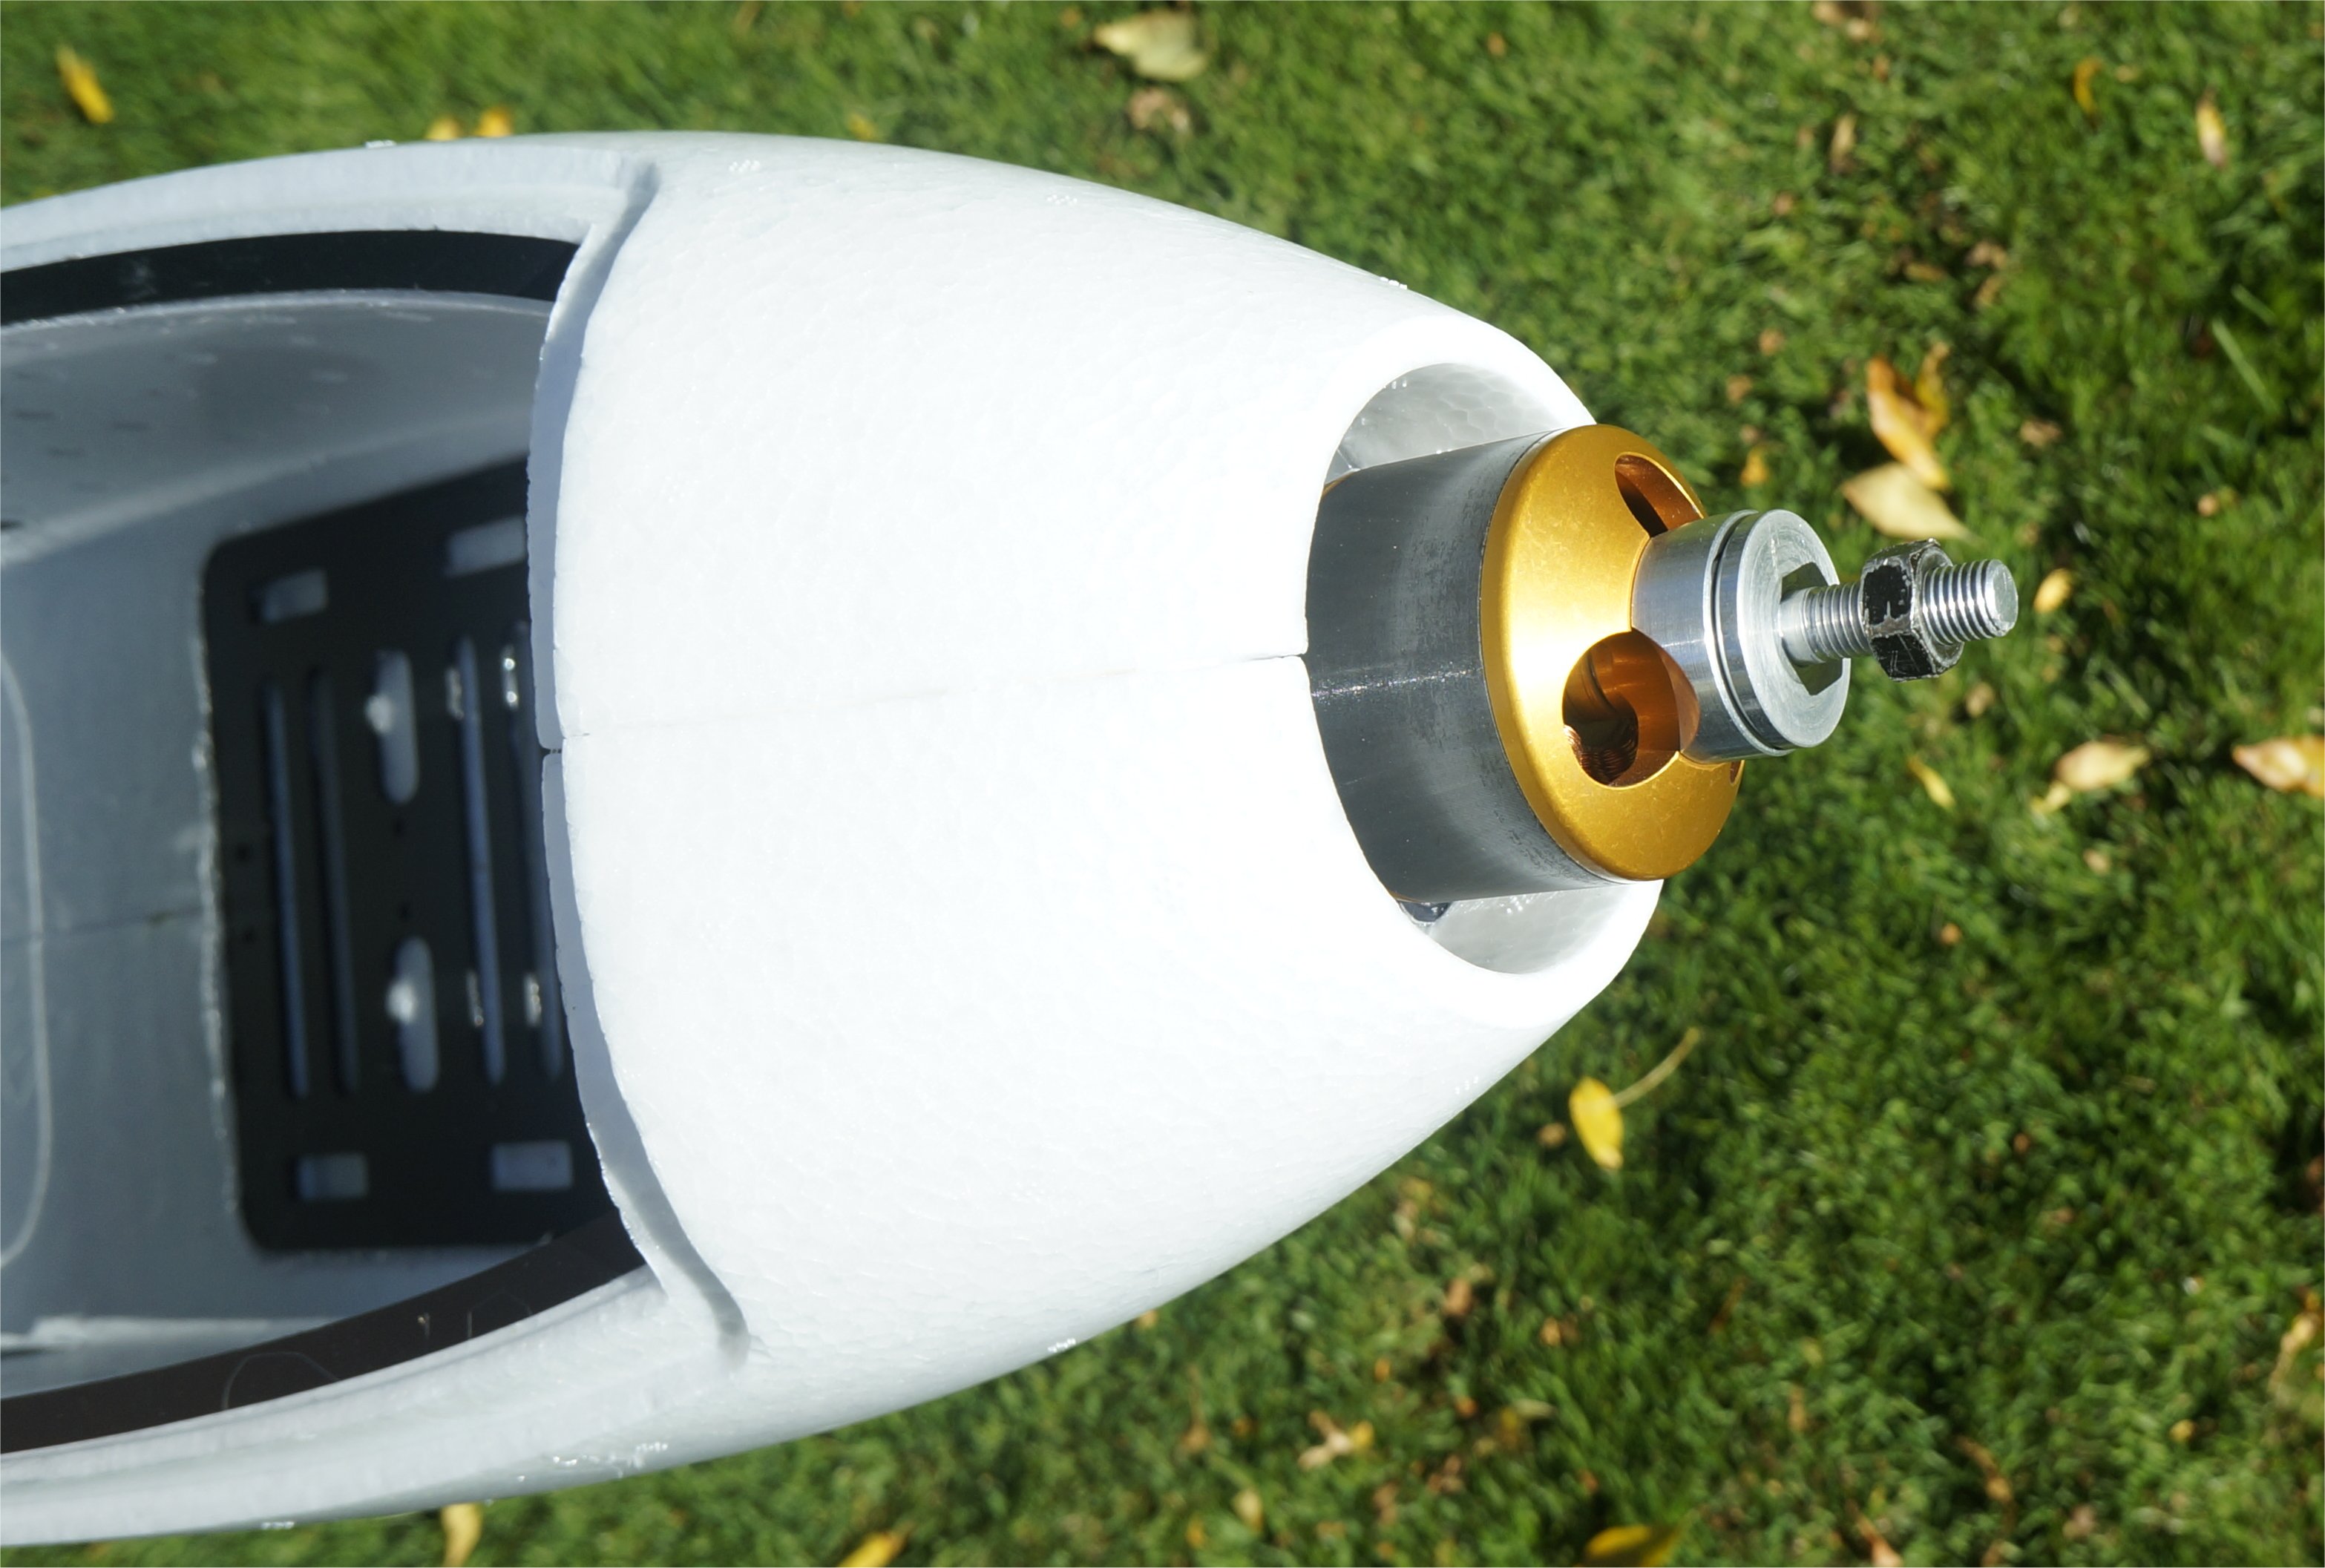
I decided to leave the nose as-is because this area is the only air flow across the motor into the battery section. It looks like I’m ready to move forward.
We just ordered one from banggood to use as a test vtol platform for a multispectral sensor and geophysics sensors. We will setup in the 12s config for heavy lift and long endurance capabilities…still working out which motors to get that are currently available in the us. Great thread!
It’s good to have more Fighter users in the thread. I am also interest in your sensor installation and usage.
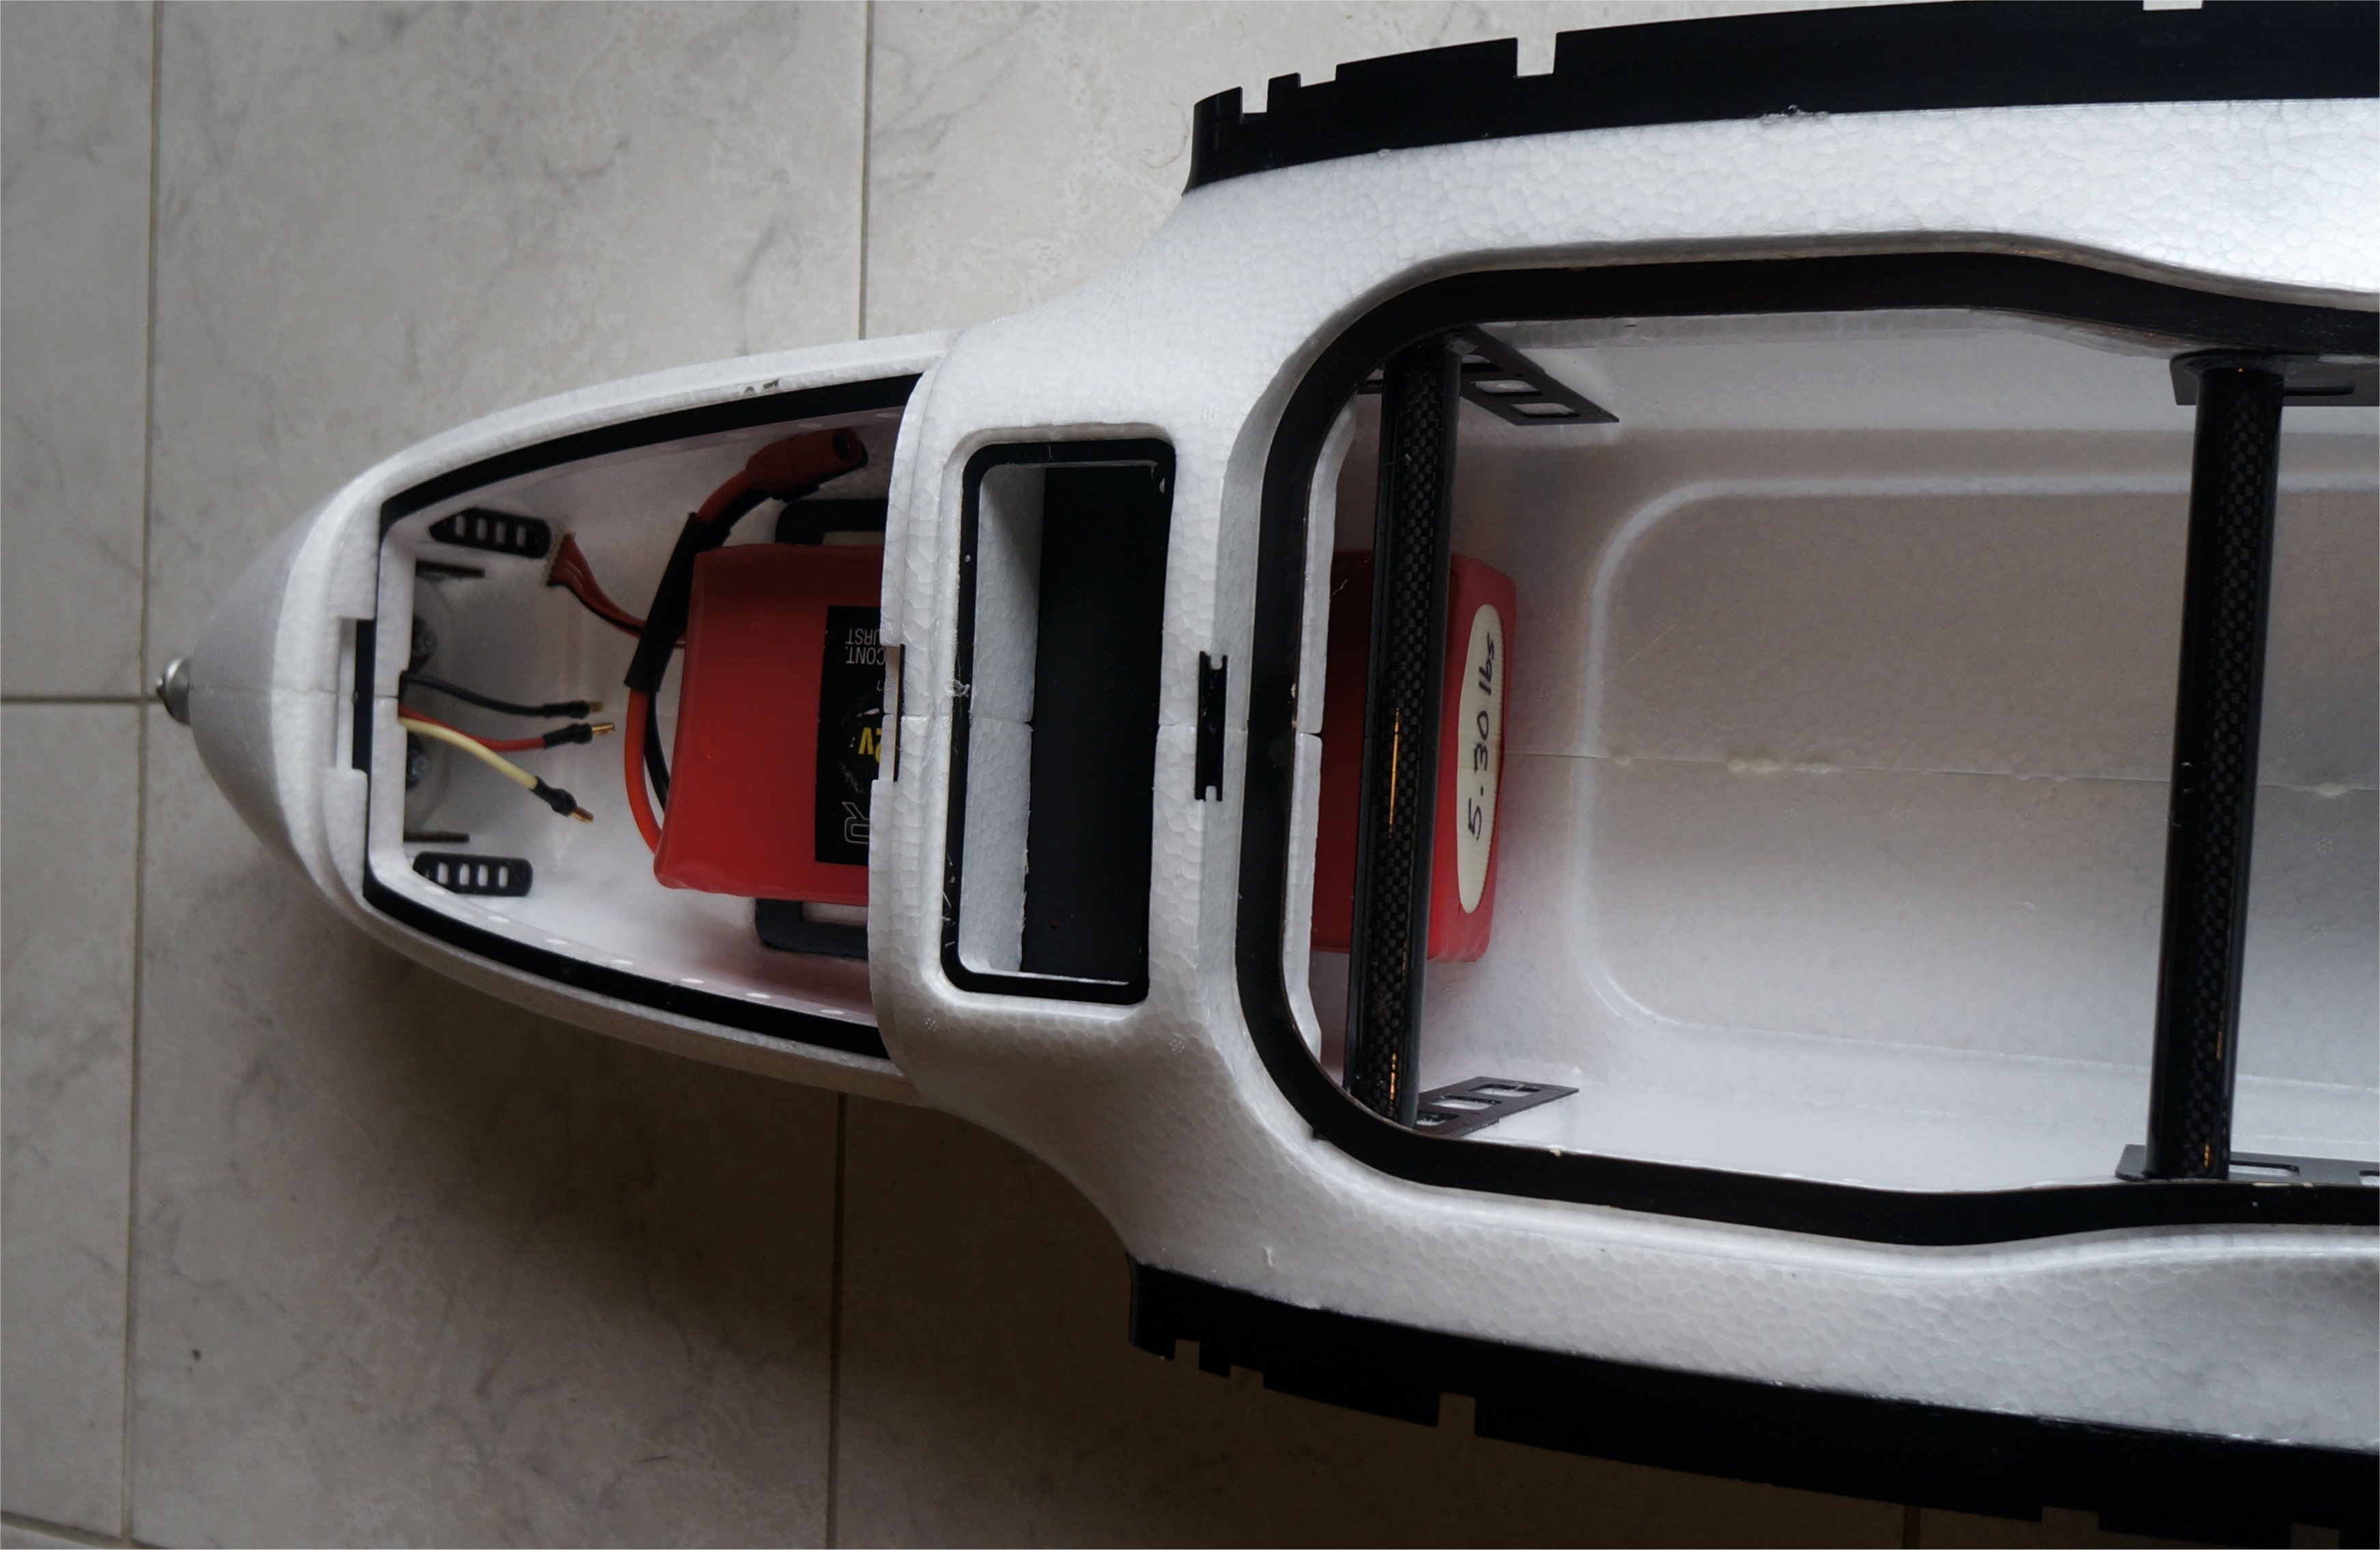
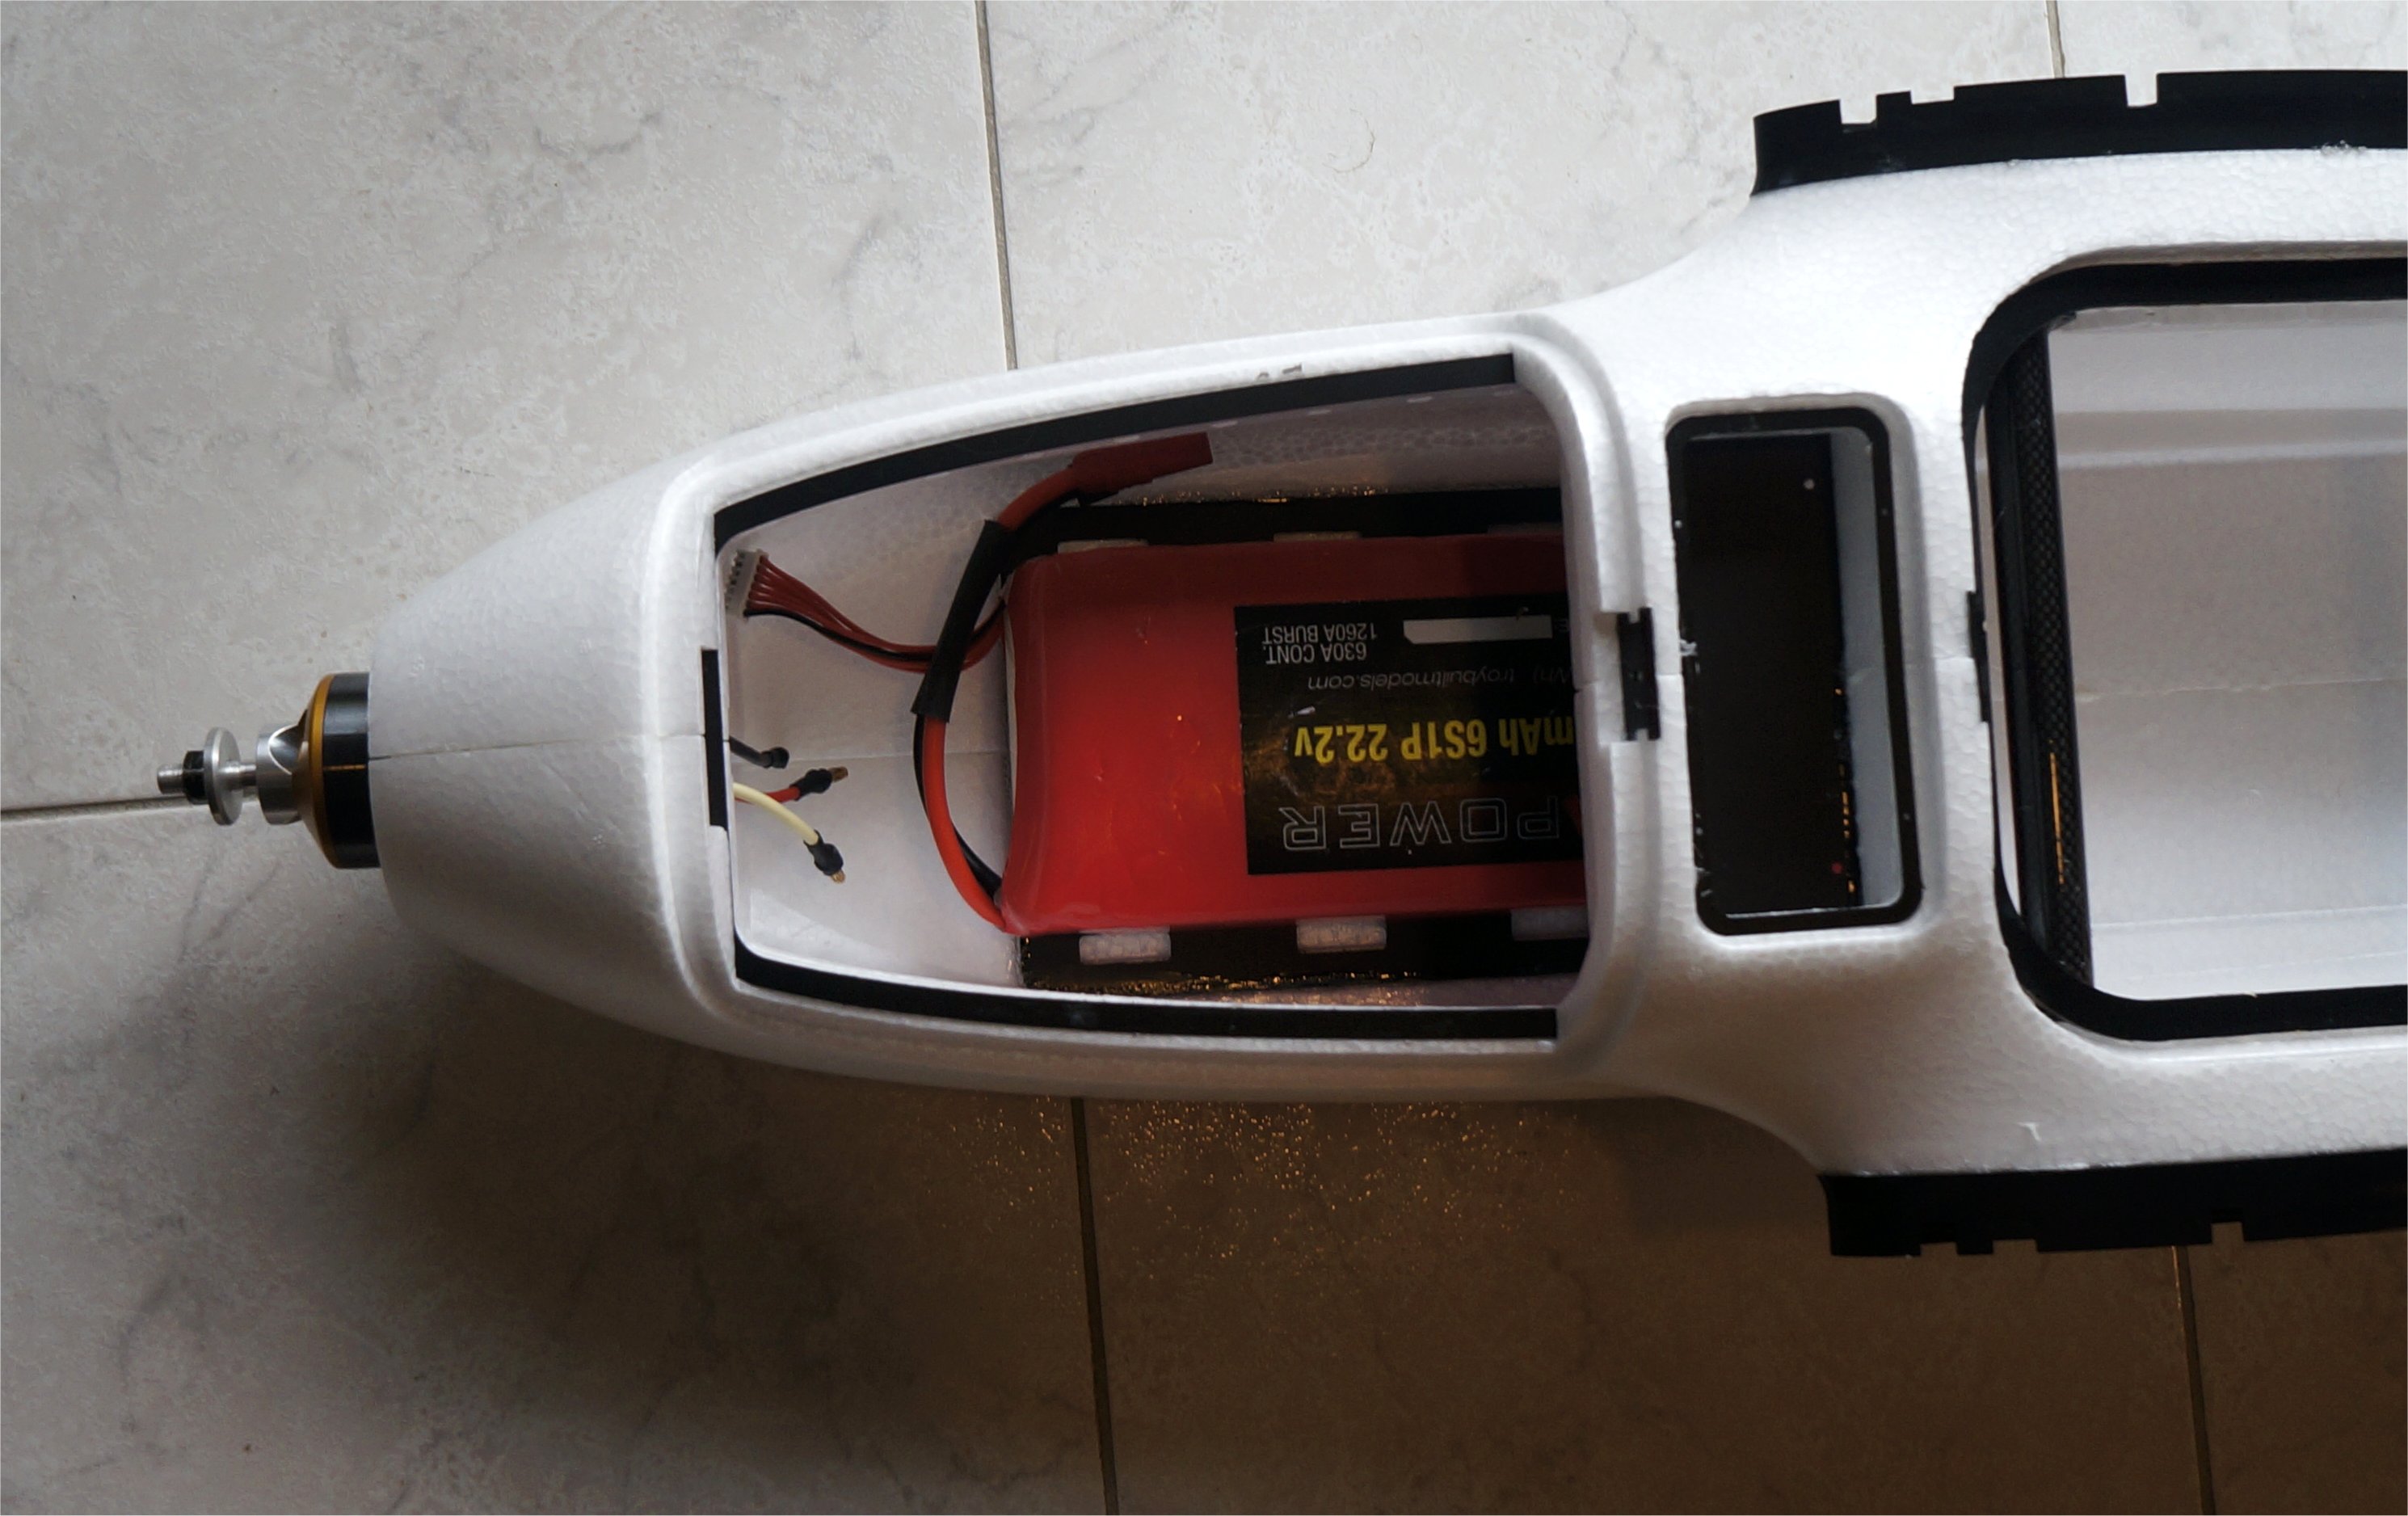
I did a quick test fit of my 6s 21AH 5.3lb pack and it fit nicely! I had a range of 3" on either end so I should have no issues balancing the Fighter. These packs (I have three of these Troybuilt models packs) fly my DJI S900 for a long time using six 15" props. I think it was something around 30 minutes with my Sony NEX A5, which I intend to use on the Fighter. Of course, the S900 is always hovering so the Fighter flying time will increase it dramatically.
I just received my MFE Fighter VTOL from Banggood with free shipping. I ordered it on Oct 4 and it arrived today on Oct 14. Much better than I can say for MFE trying to ship me the rest of the parts for the aircraft. I begin to think these companies are gouging people on shipping. They want $500 to ship the airplane, motors, ESCs and props to me via UPS. I cancelled the airplane part of the order because I just got the one from banngood.
FIT-RS. If you find the parts for this in the US, please post a list of them. I may order them locally.
I have already received 5 of these ESCs from GetFPV: T-Motor ALPHA 60A LV ESC SKU: 8542 https://www.getfpv.com/t-motor-alpha-60a-lv-esc.html
They are supposed to be more efficient using FOC motor control technology. I have not figured out motors from the US yet. I would love to hear what you find.
I also have the glue that Greg recommended from HobbyKing. That took 12 days to get here.
It sounds like you are in the U.S., which makes a big difference in what can be shipped these days and bypassing customs…at both ends. My wait in U.S. customs was only a fraction of the time Dennis had to wait so hopefully logistics are getting better at both ends.
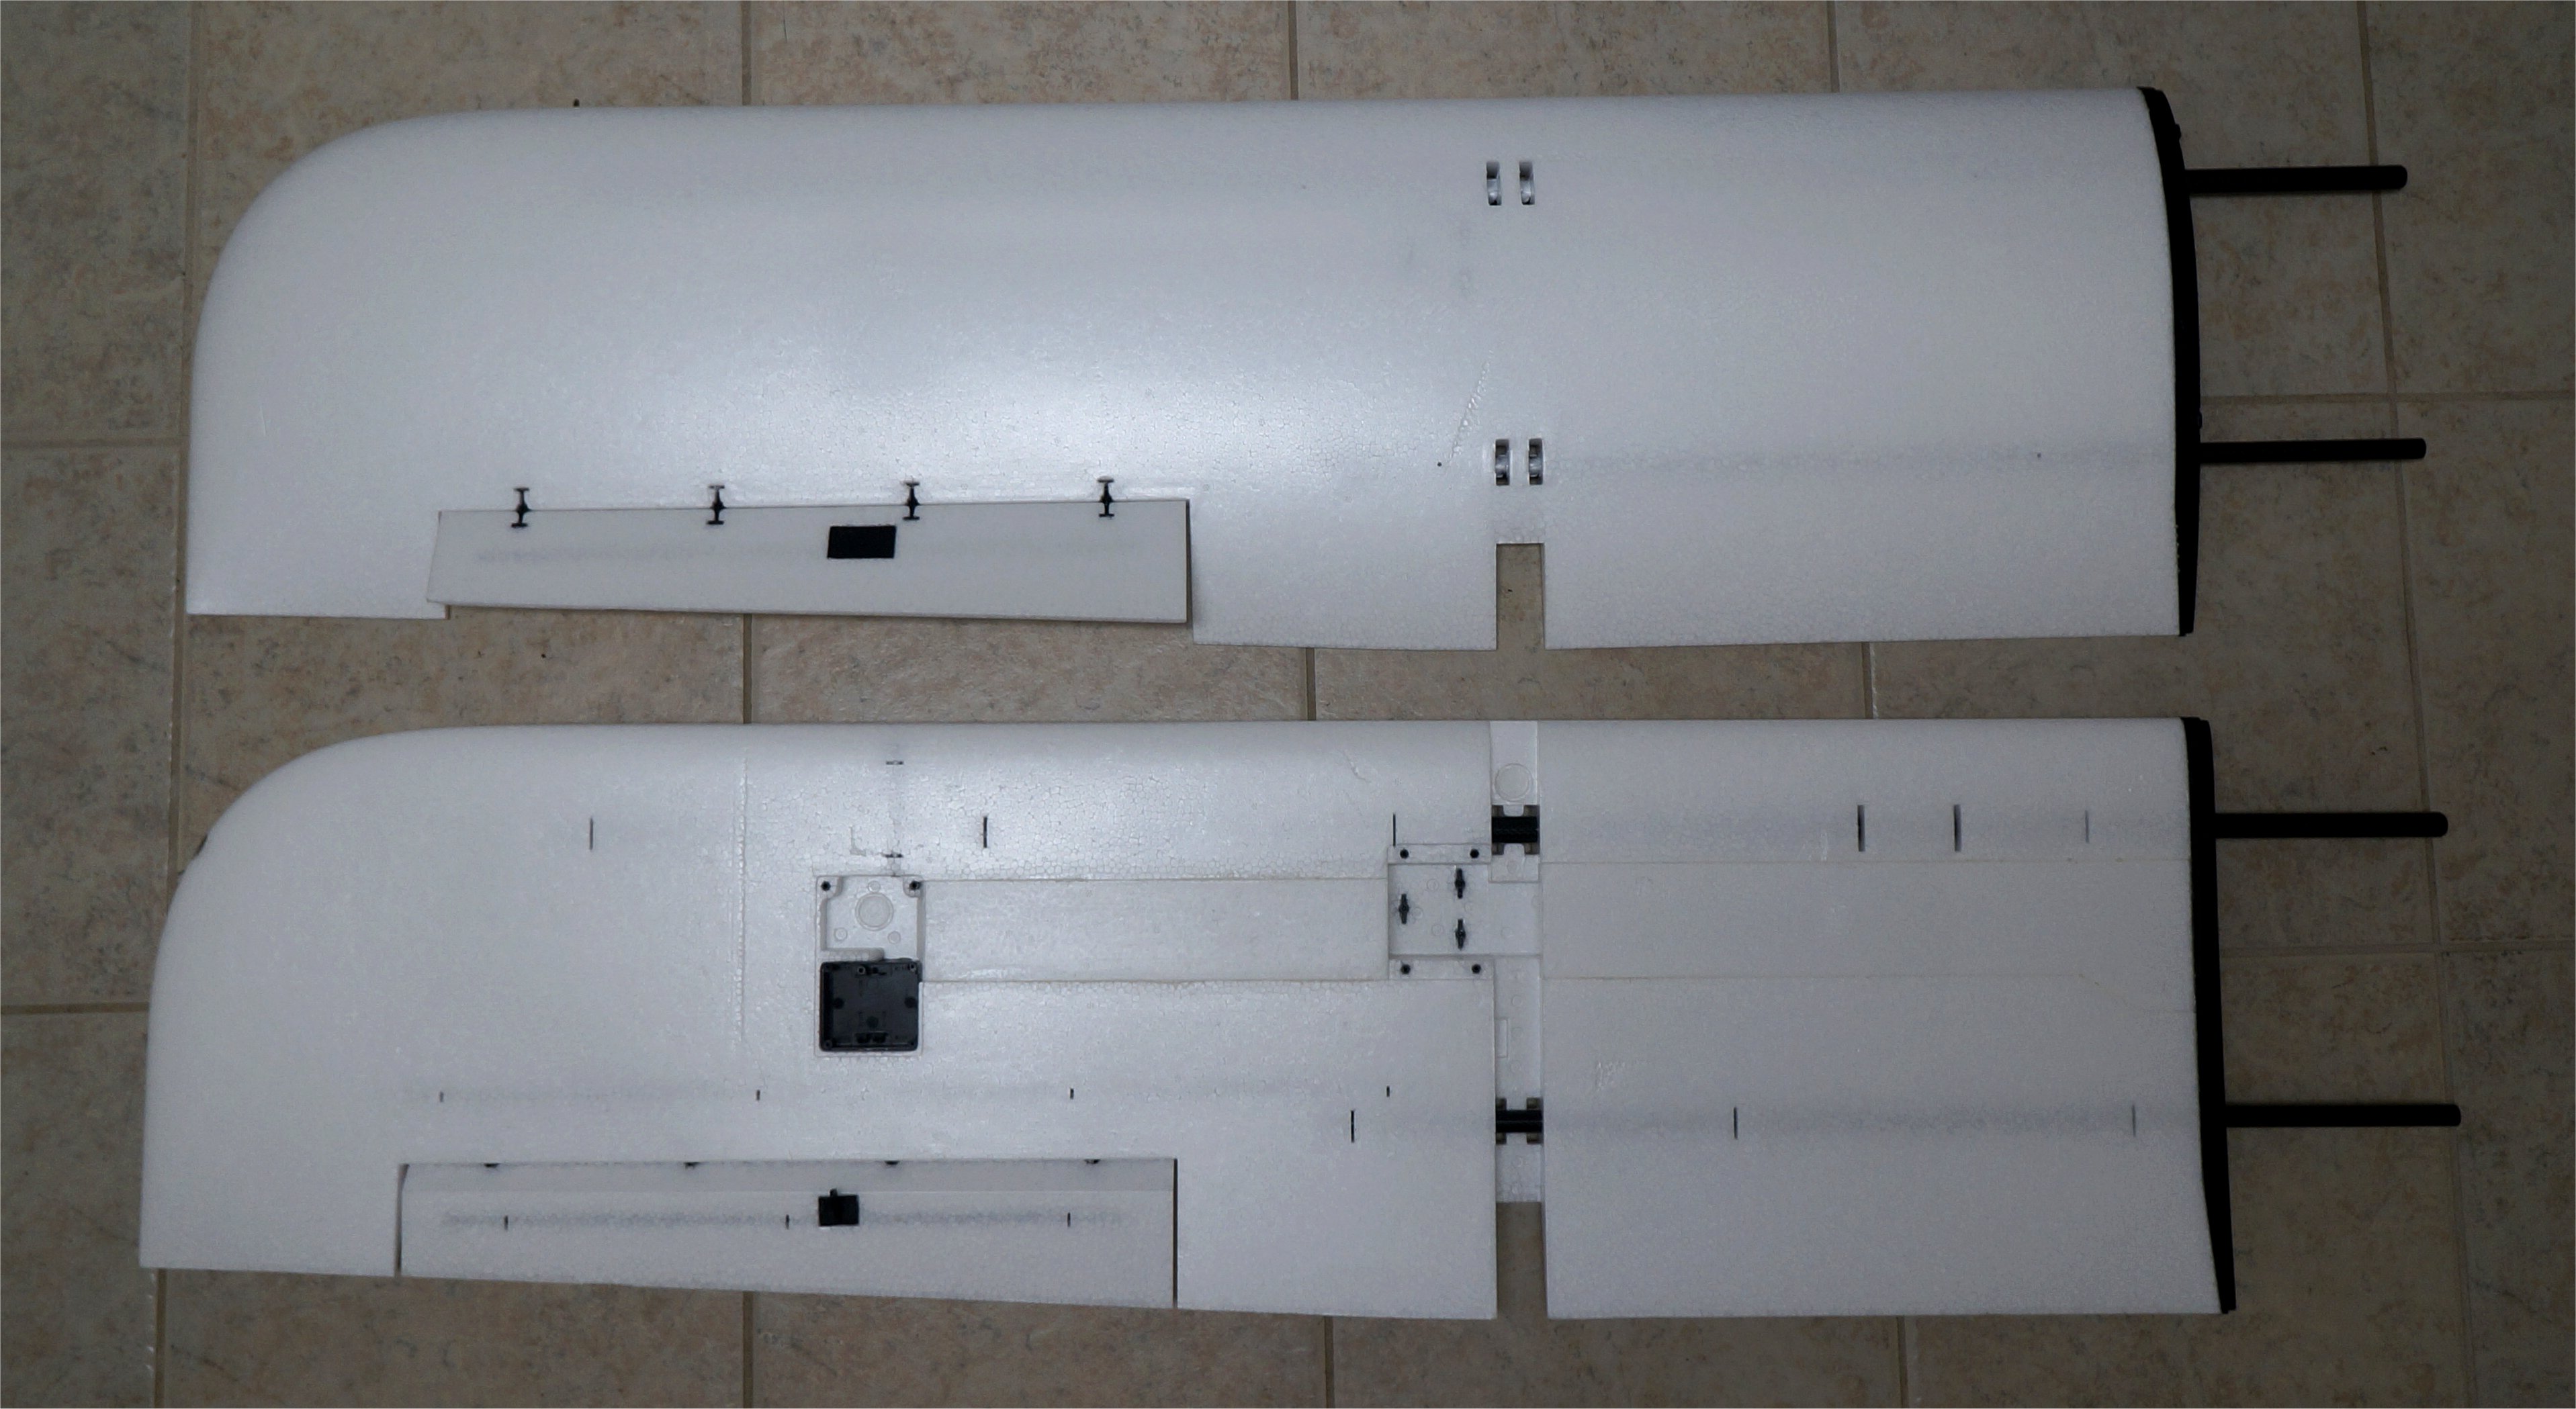
The next step in the build is to glue in the channels on the wing halves and a bunch of plastic pieces like end caps, hinges, control horns, servo trays, and two kinds of screw holders. Here I used the Chinese glue for the channels and end caps, and Foam Tac for the rest.
At this point, I have completed the Assembly Guide 3 video.
Be sure to differentiate 6S and 12S components as they are not always backwards compatible. I’m going for 12S first if I can find the right components.
Christian_H thank you for pointing that out. Sometimes I get going too fast for my own good. I am very disappointed because I wanted to try FOC motor control and see how much more efficient it is.
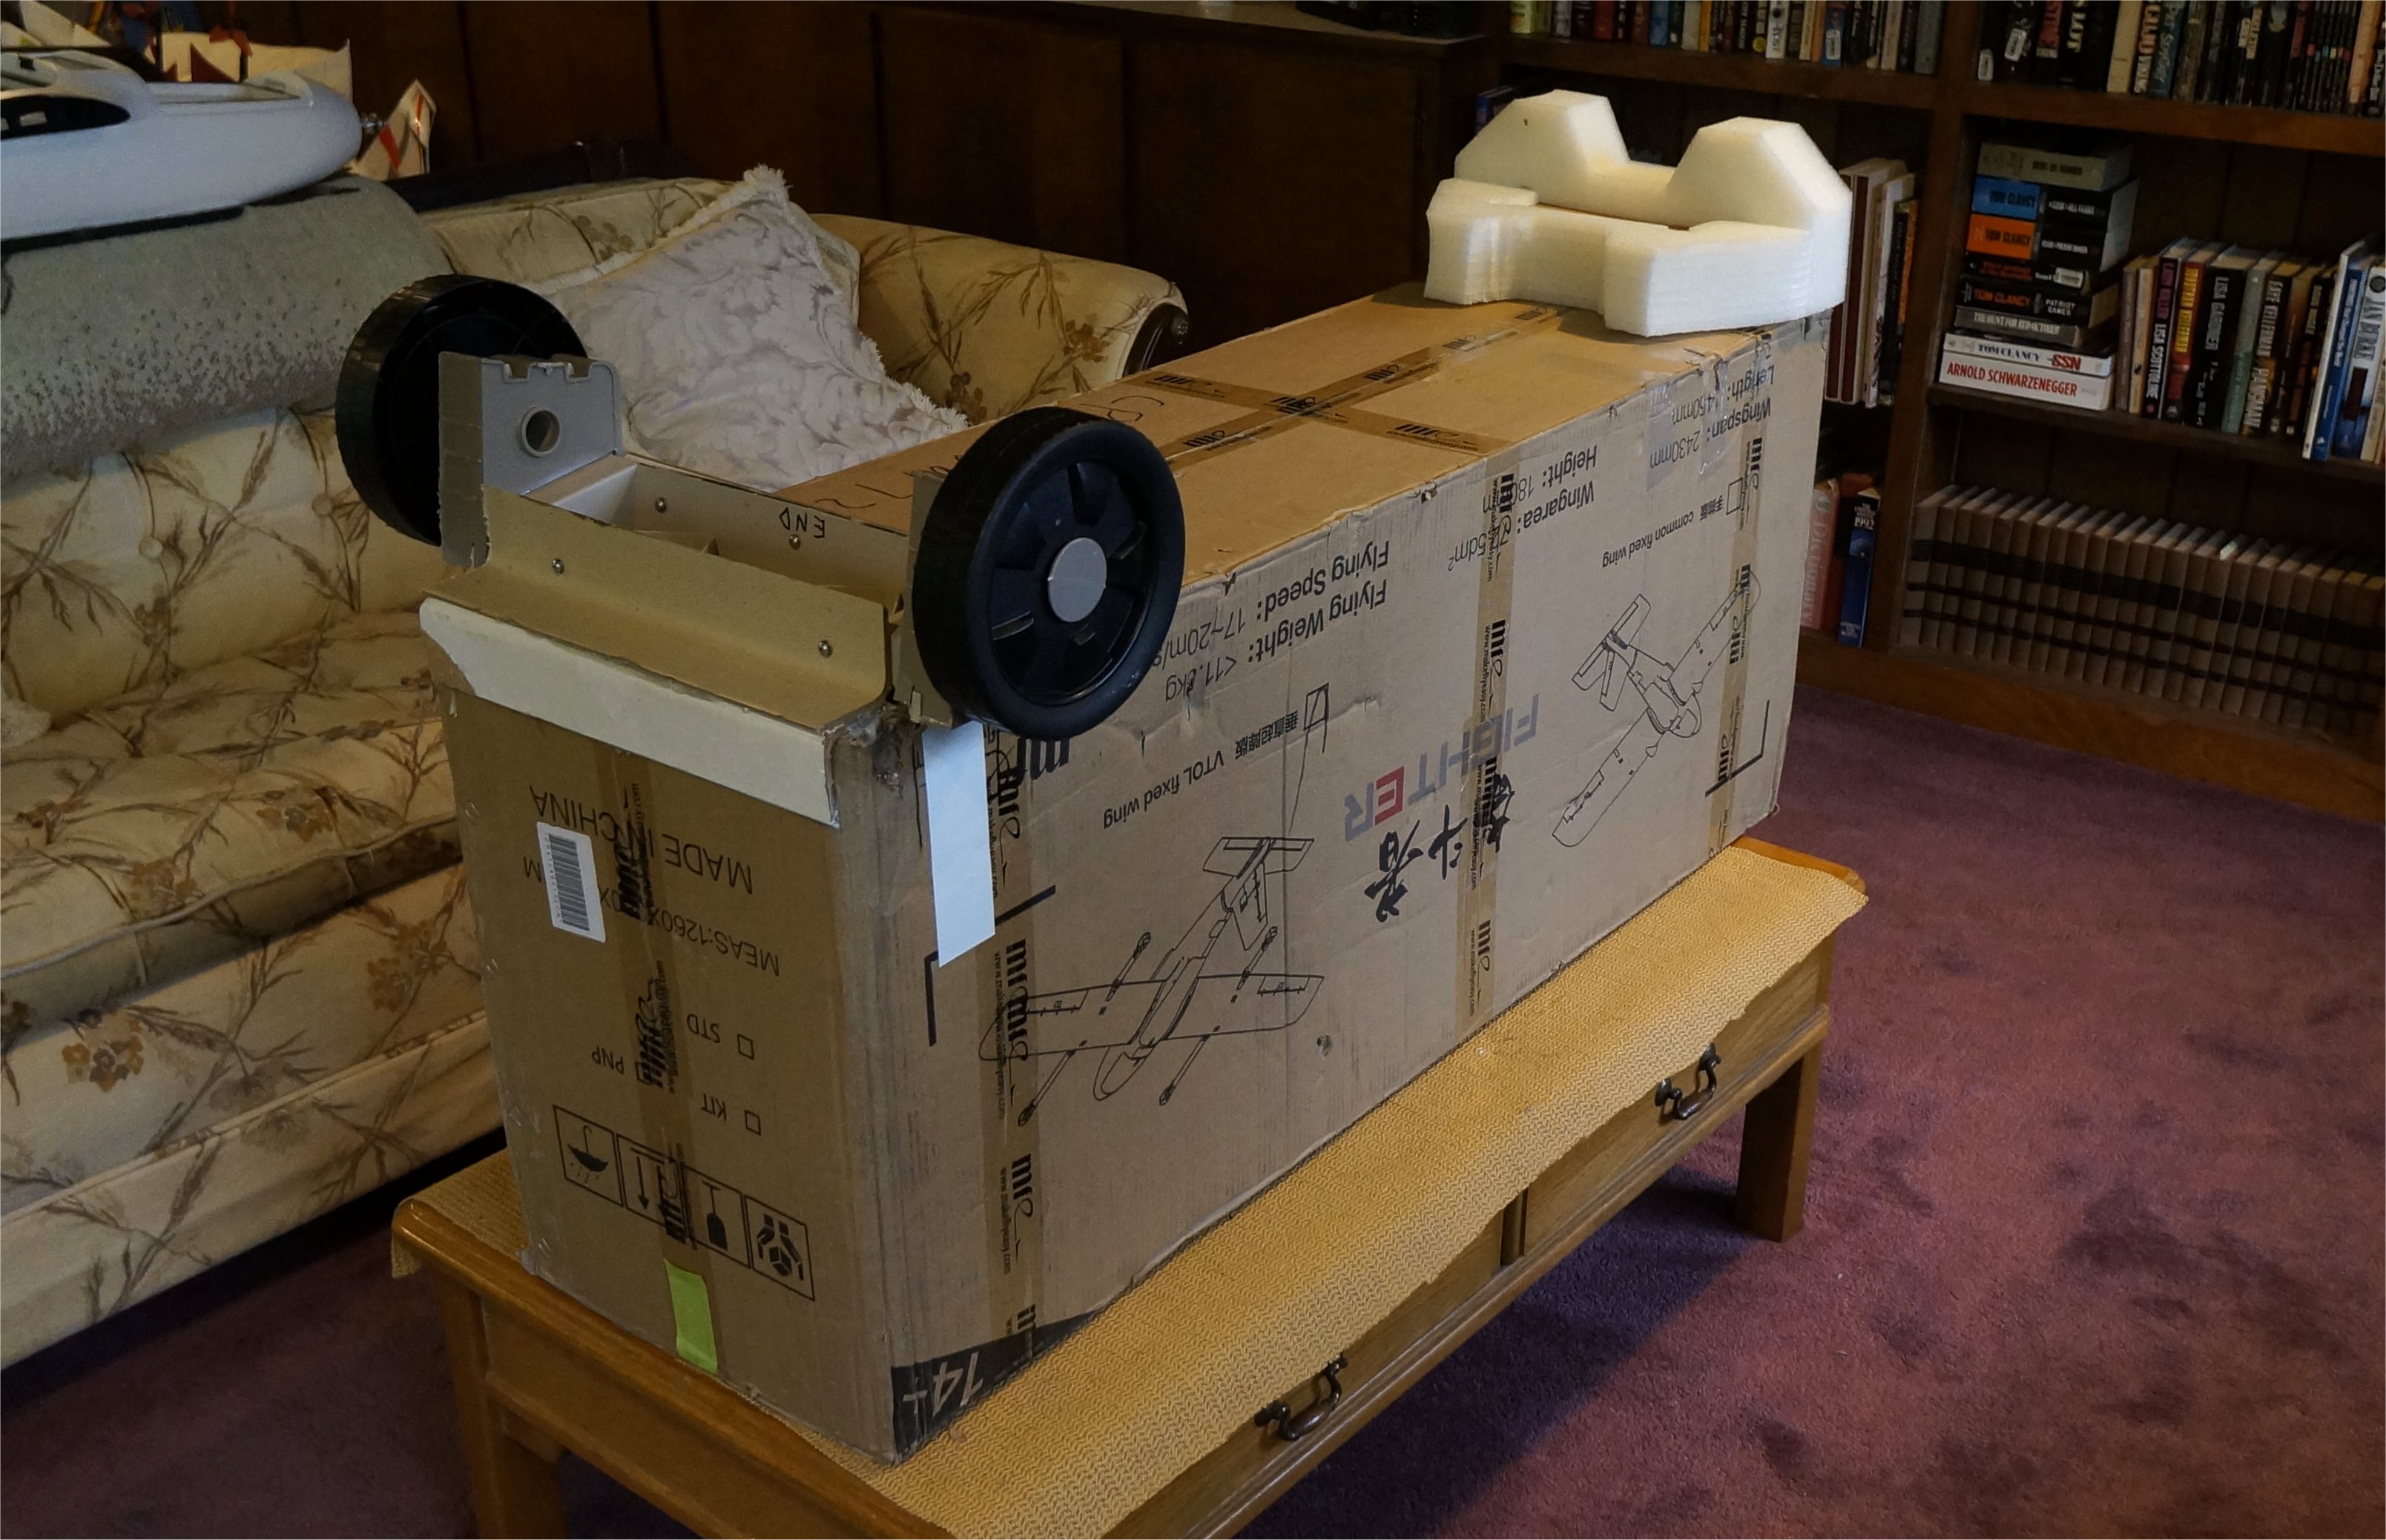
One of the negative things I mentioned in my unboxing post was that the Fighter had no carry bag like the Freeman. I decided to address this issue because I have some distance to travel from the truck to the pit area at our flying field. I also wanted an easy way to move the box from my den work area to my garage storage area.
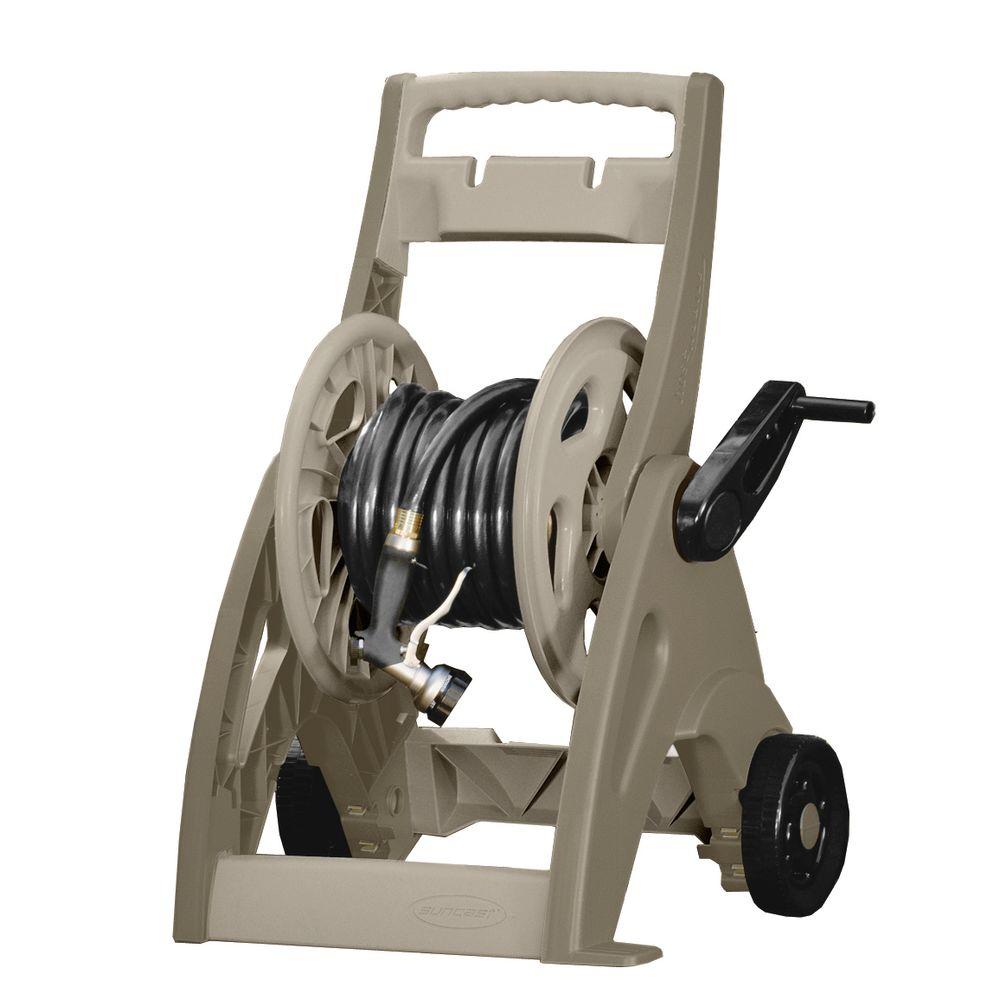
I turned the box into a cart using a low-cost (about $32) Suncast Hose Cart from The Home Depot. I sawed off the wheel assembly and handle but later discarded the handle in favor of a simpler rope lift-and-pull assembly made from carbon square tube and nylon rope. Both were leftover parts I had on-hand.
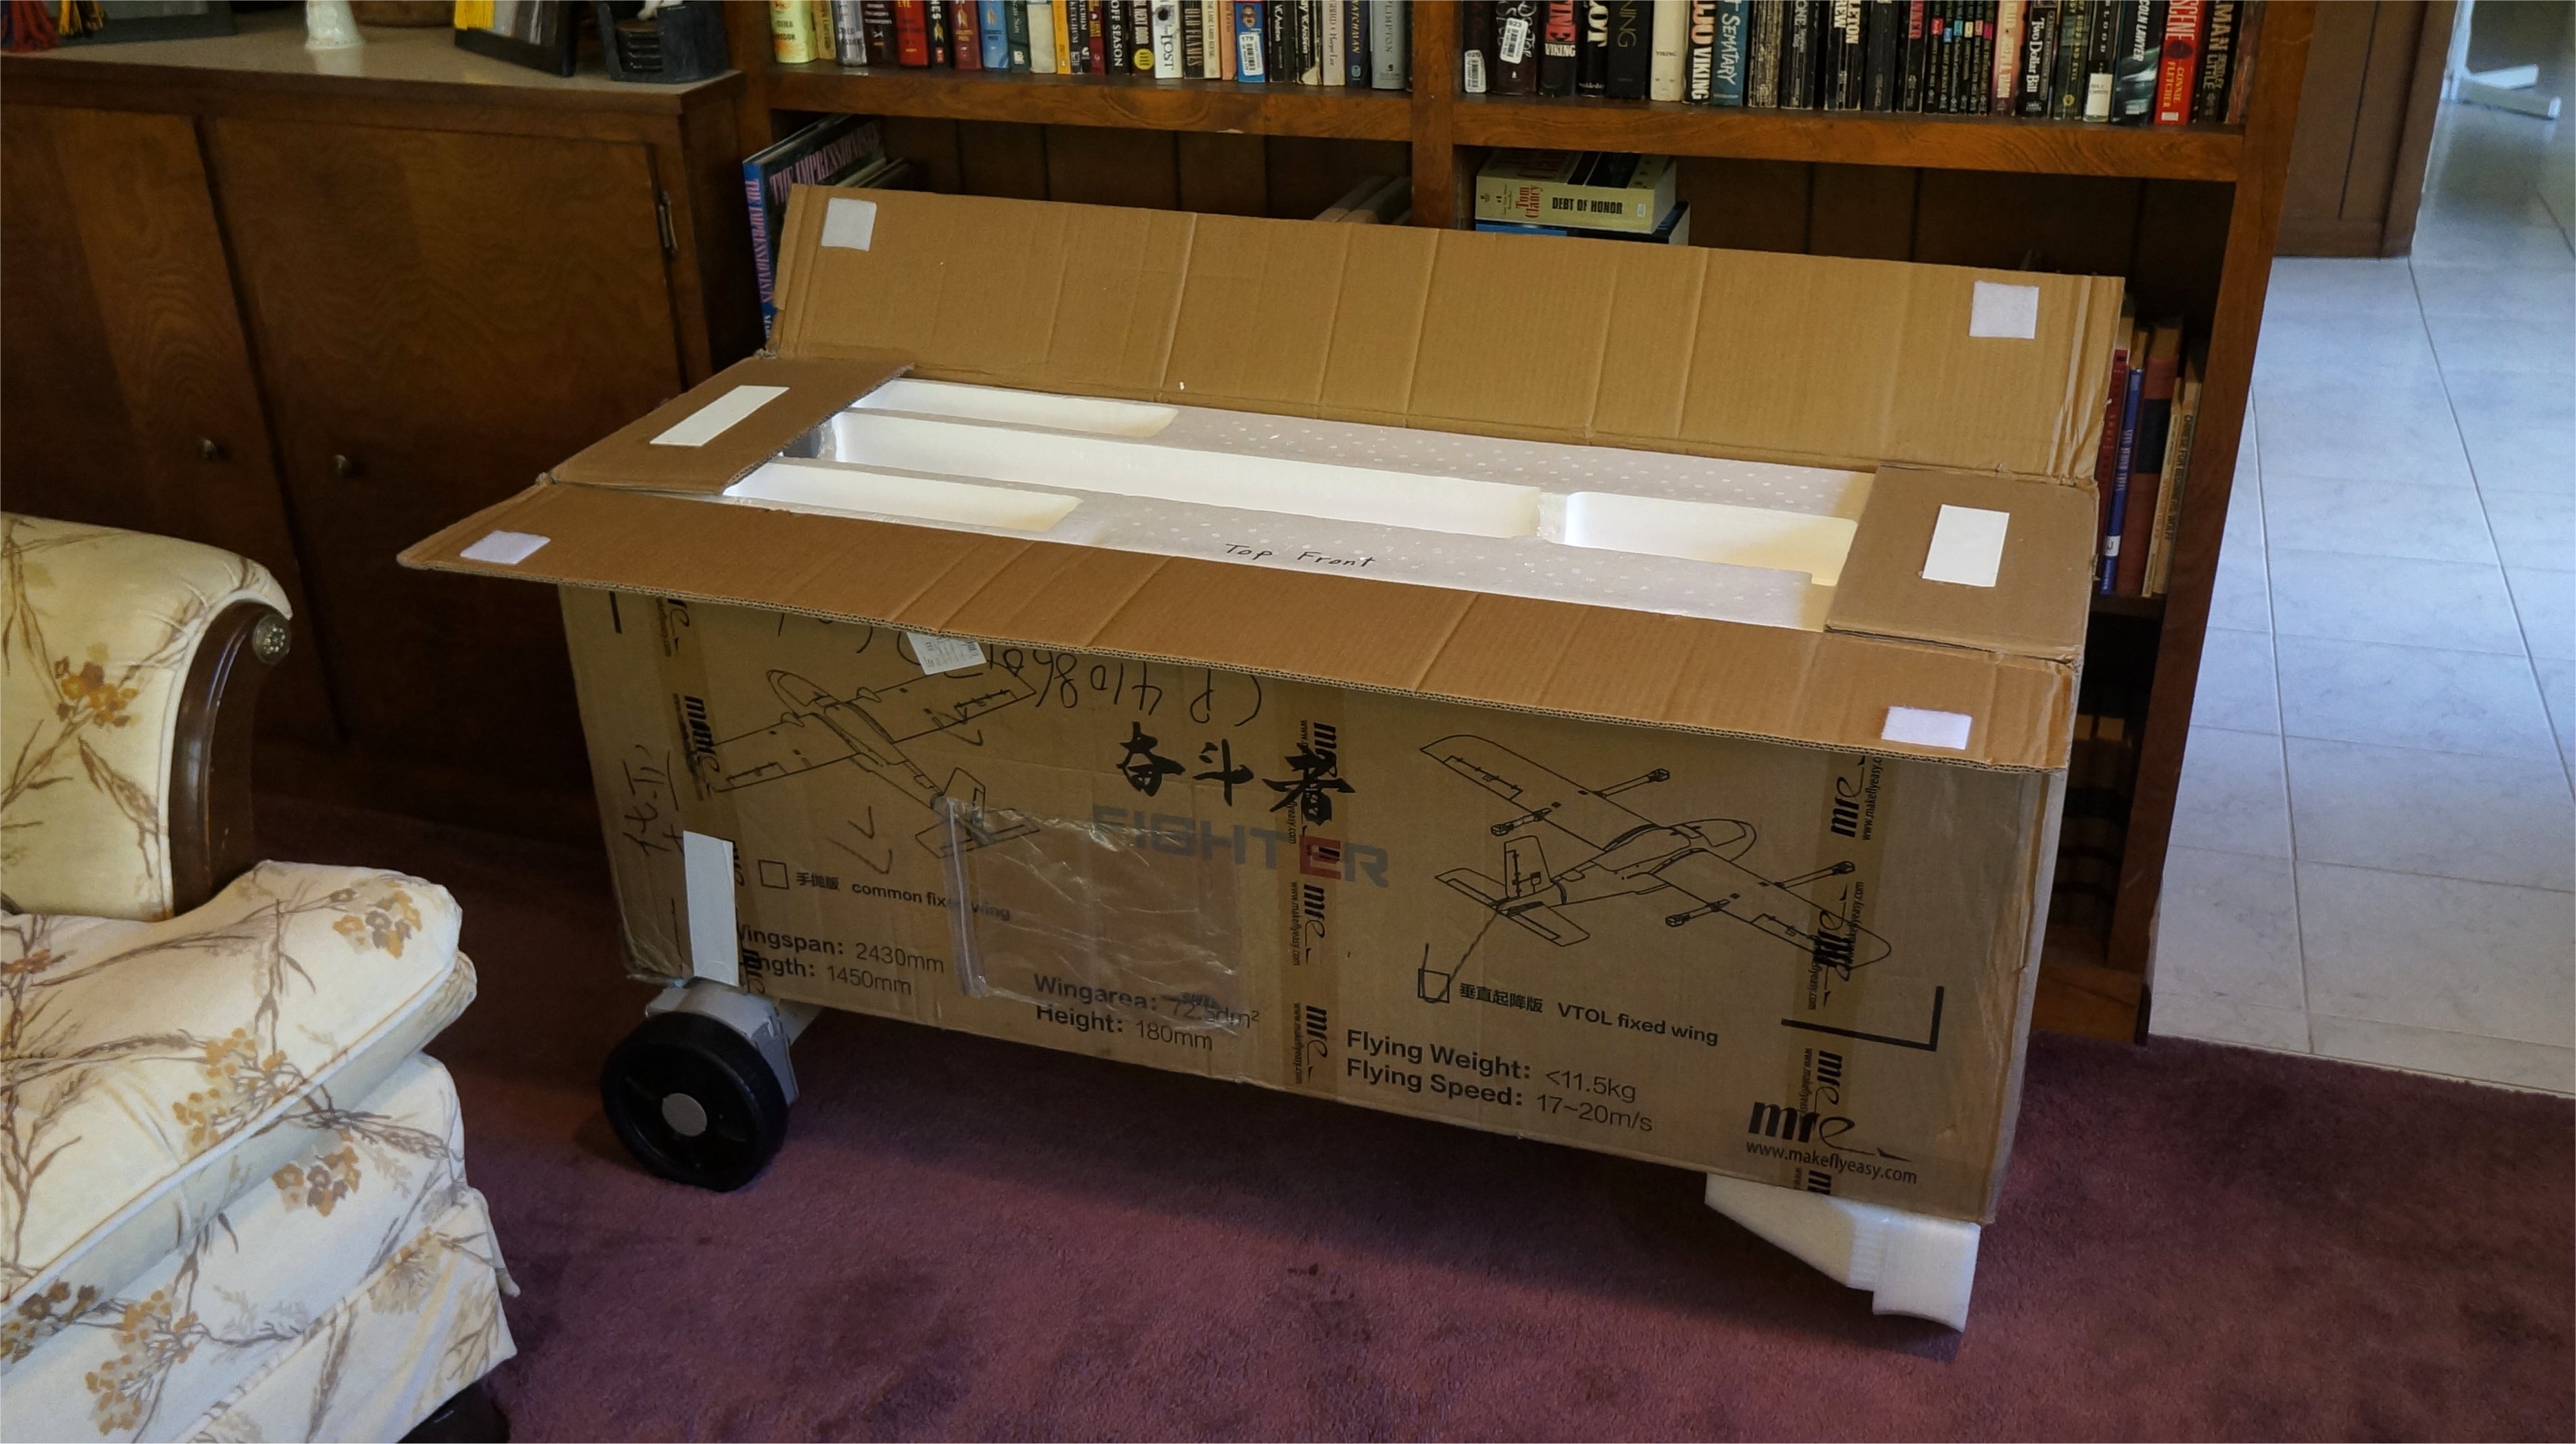
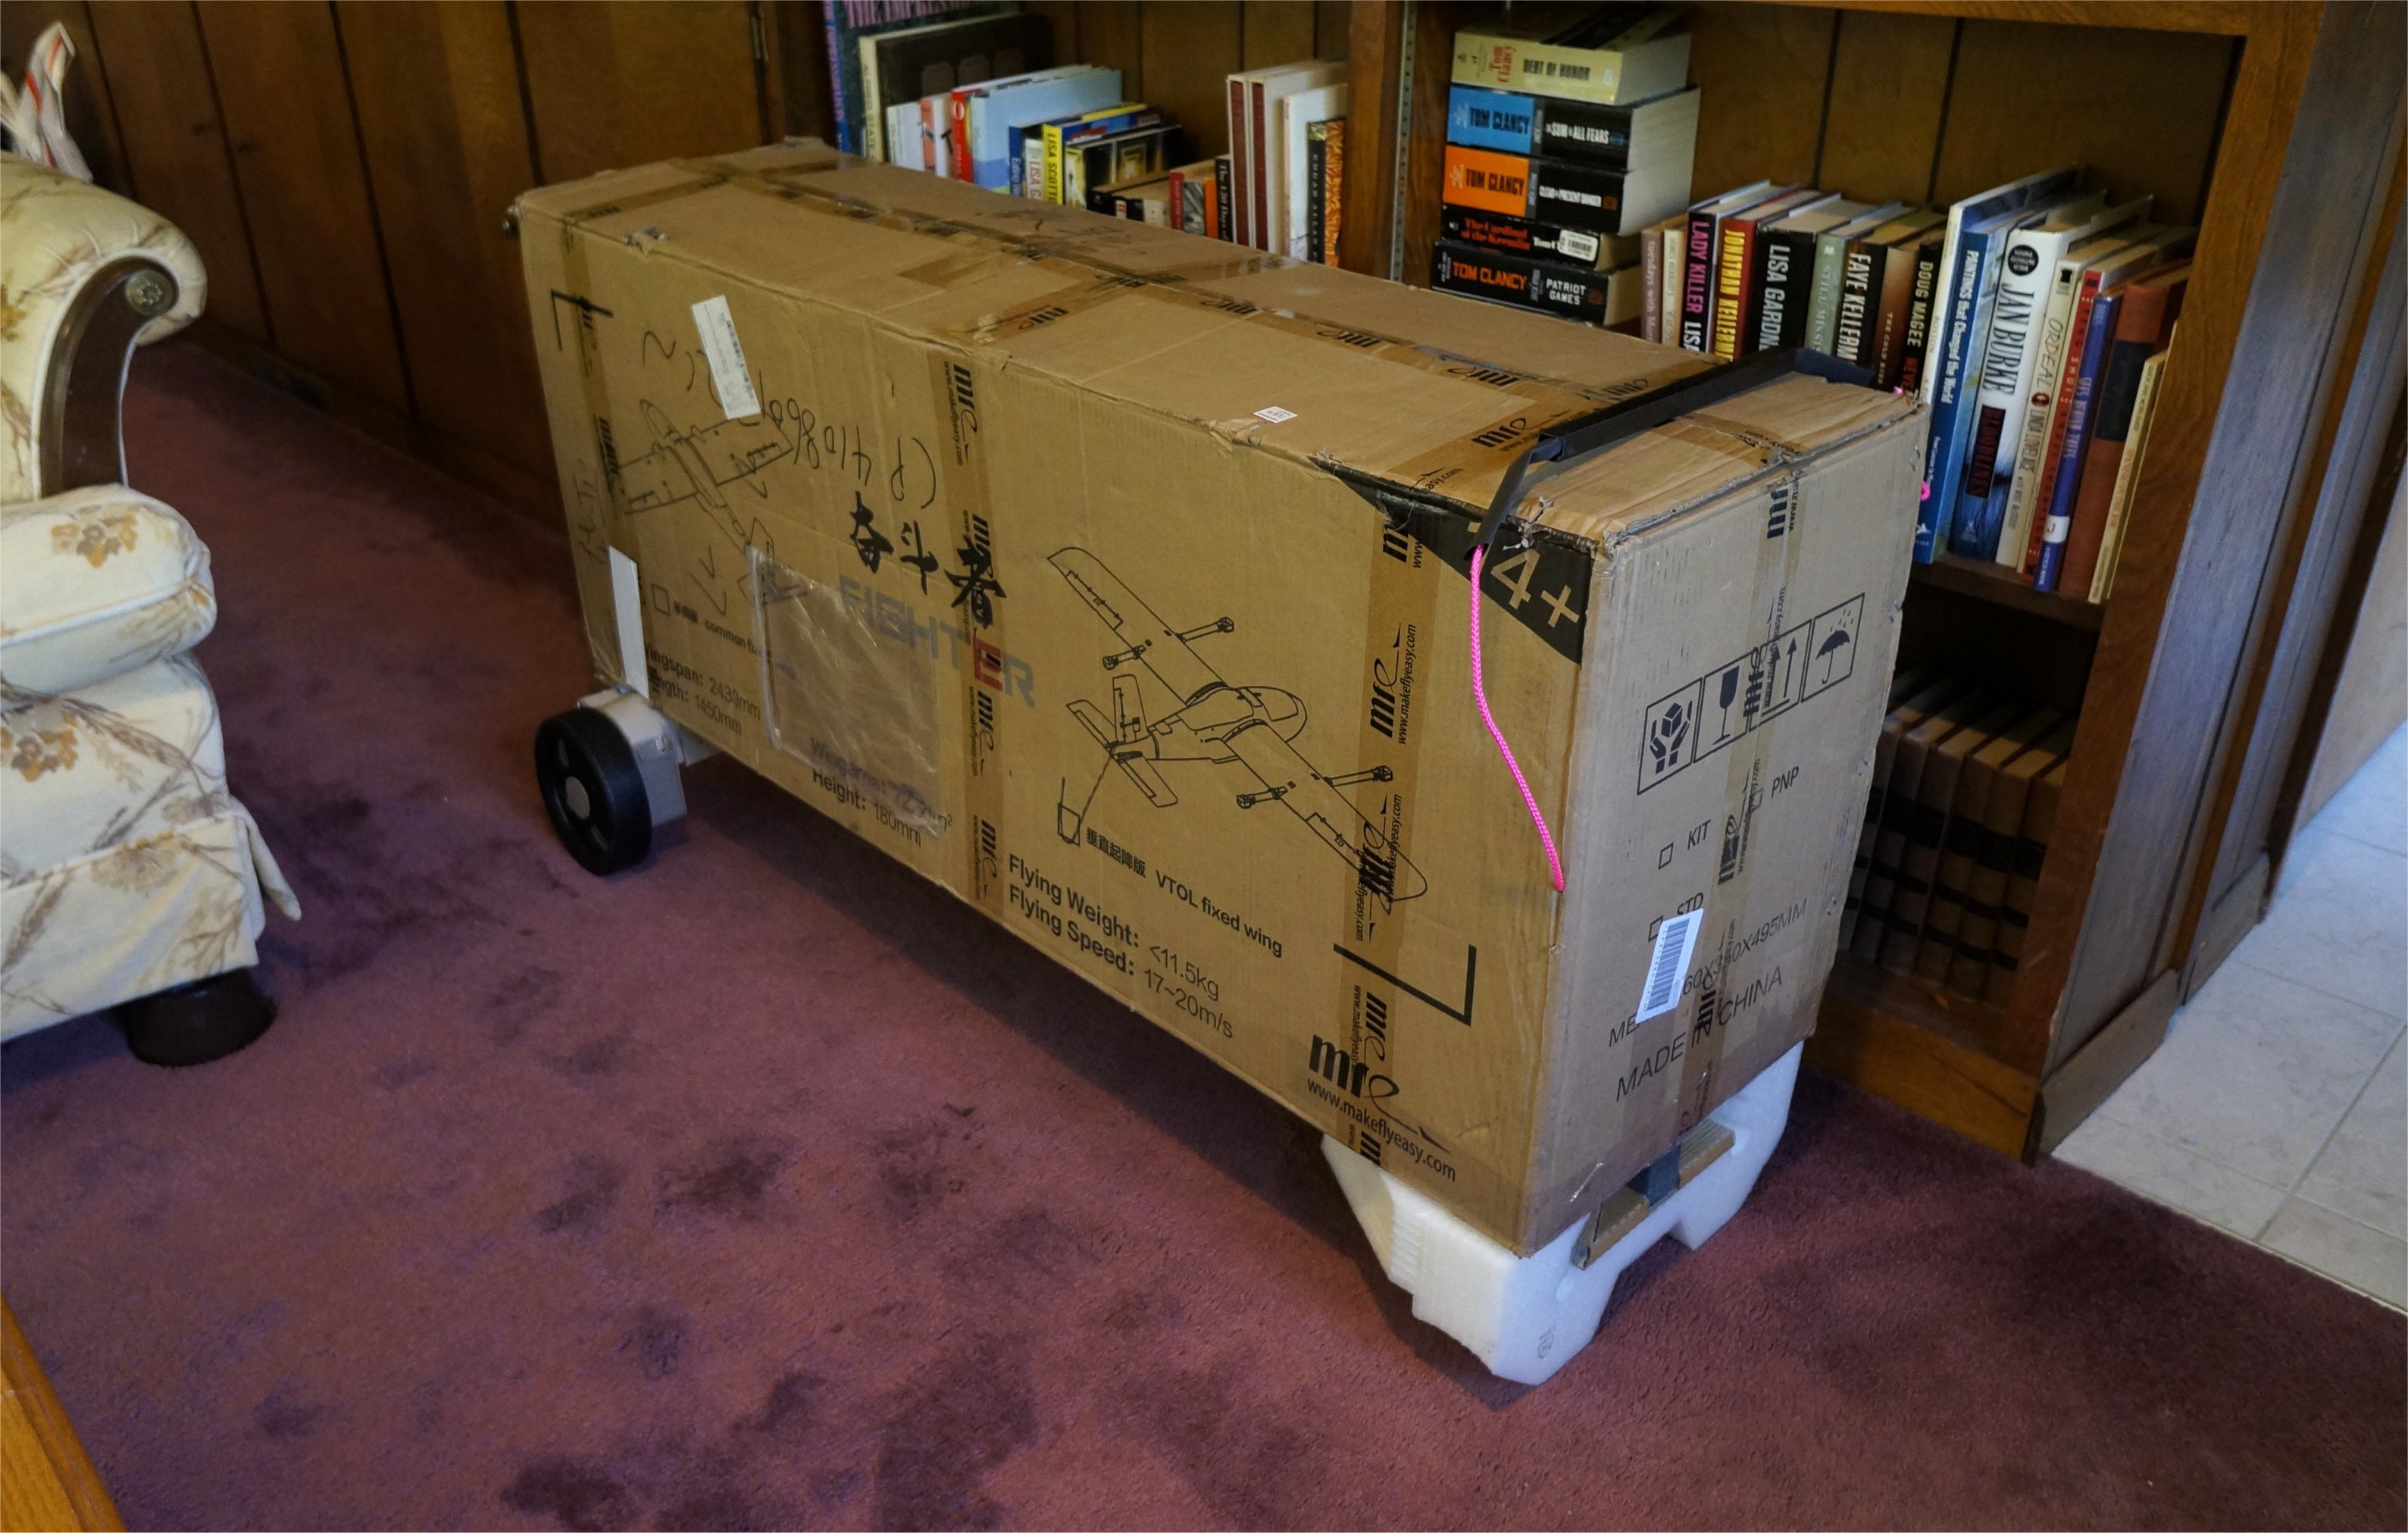
The wheel assembly, unfortunately, needed to be mounted a certain way so that the wheels had enough clearance from the ground to go over mowed grass. I screwed some carboard bracket material discarded from another box and then glued the assembly (using the Chines glue) to the box. The top simply opens and closes without tools using Velcro.
I can easily move the cart between my working area, storage area, truck, and pit area at the field.
While there is no real specification for maximum wind speed, you need to break the VTOL into two parts; copter and plane.
The plane should fly in stronger winds because it has the least resistance of the two parts. The copter part will be your limiting factor in wind because it is not a normal quadcopter design, but rather a copter with wings…which become sails when not pointed into the wind.
APM has several features like Q_WVANE and Q_VFWD that help keep the VTOL stabile in wind. You can read the Weathervaning and Wind Hold section of the WiKi for more details.
For me, the bottom line is around 15mph. I prefer calm conditions or 10mph but 15mph works on many of my larger VTOLs. I have also landed VTOLs like a plane in bad conditions so it’s nice to have a design that can belly land, if possible.
Greg, I am glad to hear that you have built big VTOL Fighter. I consider to order the airframe, but curious about size of the packaging box. Could you share size of this Fighter box in cm (length x width x Height.)? What is the wing area ?
Thank you
Tony
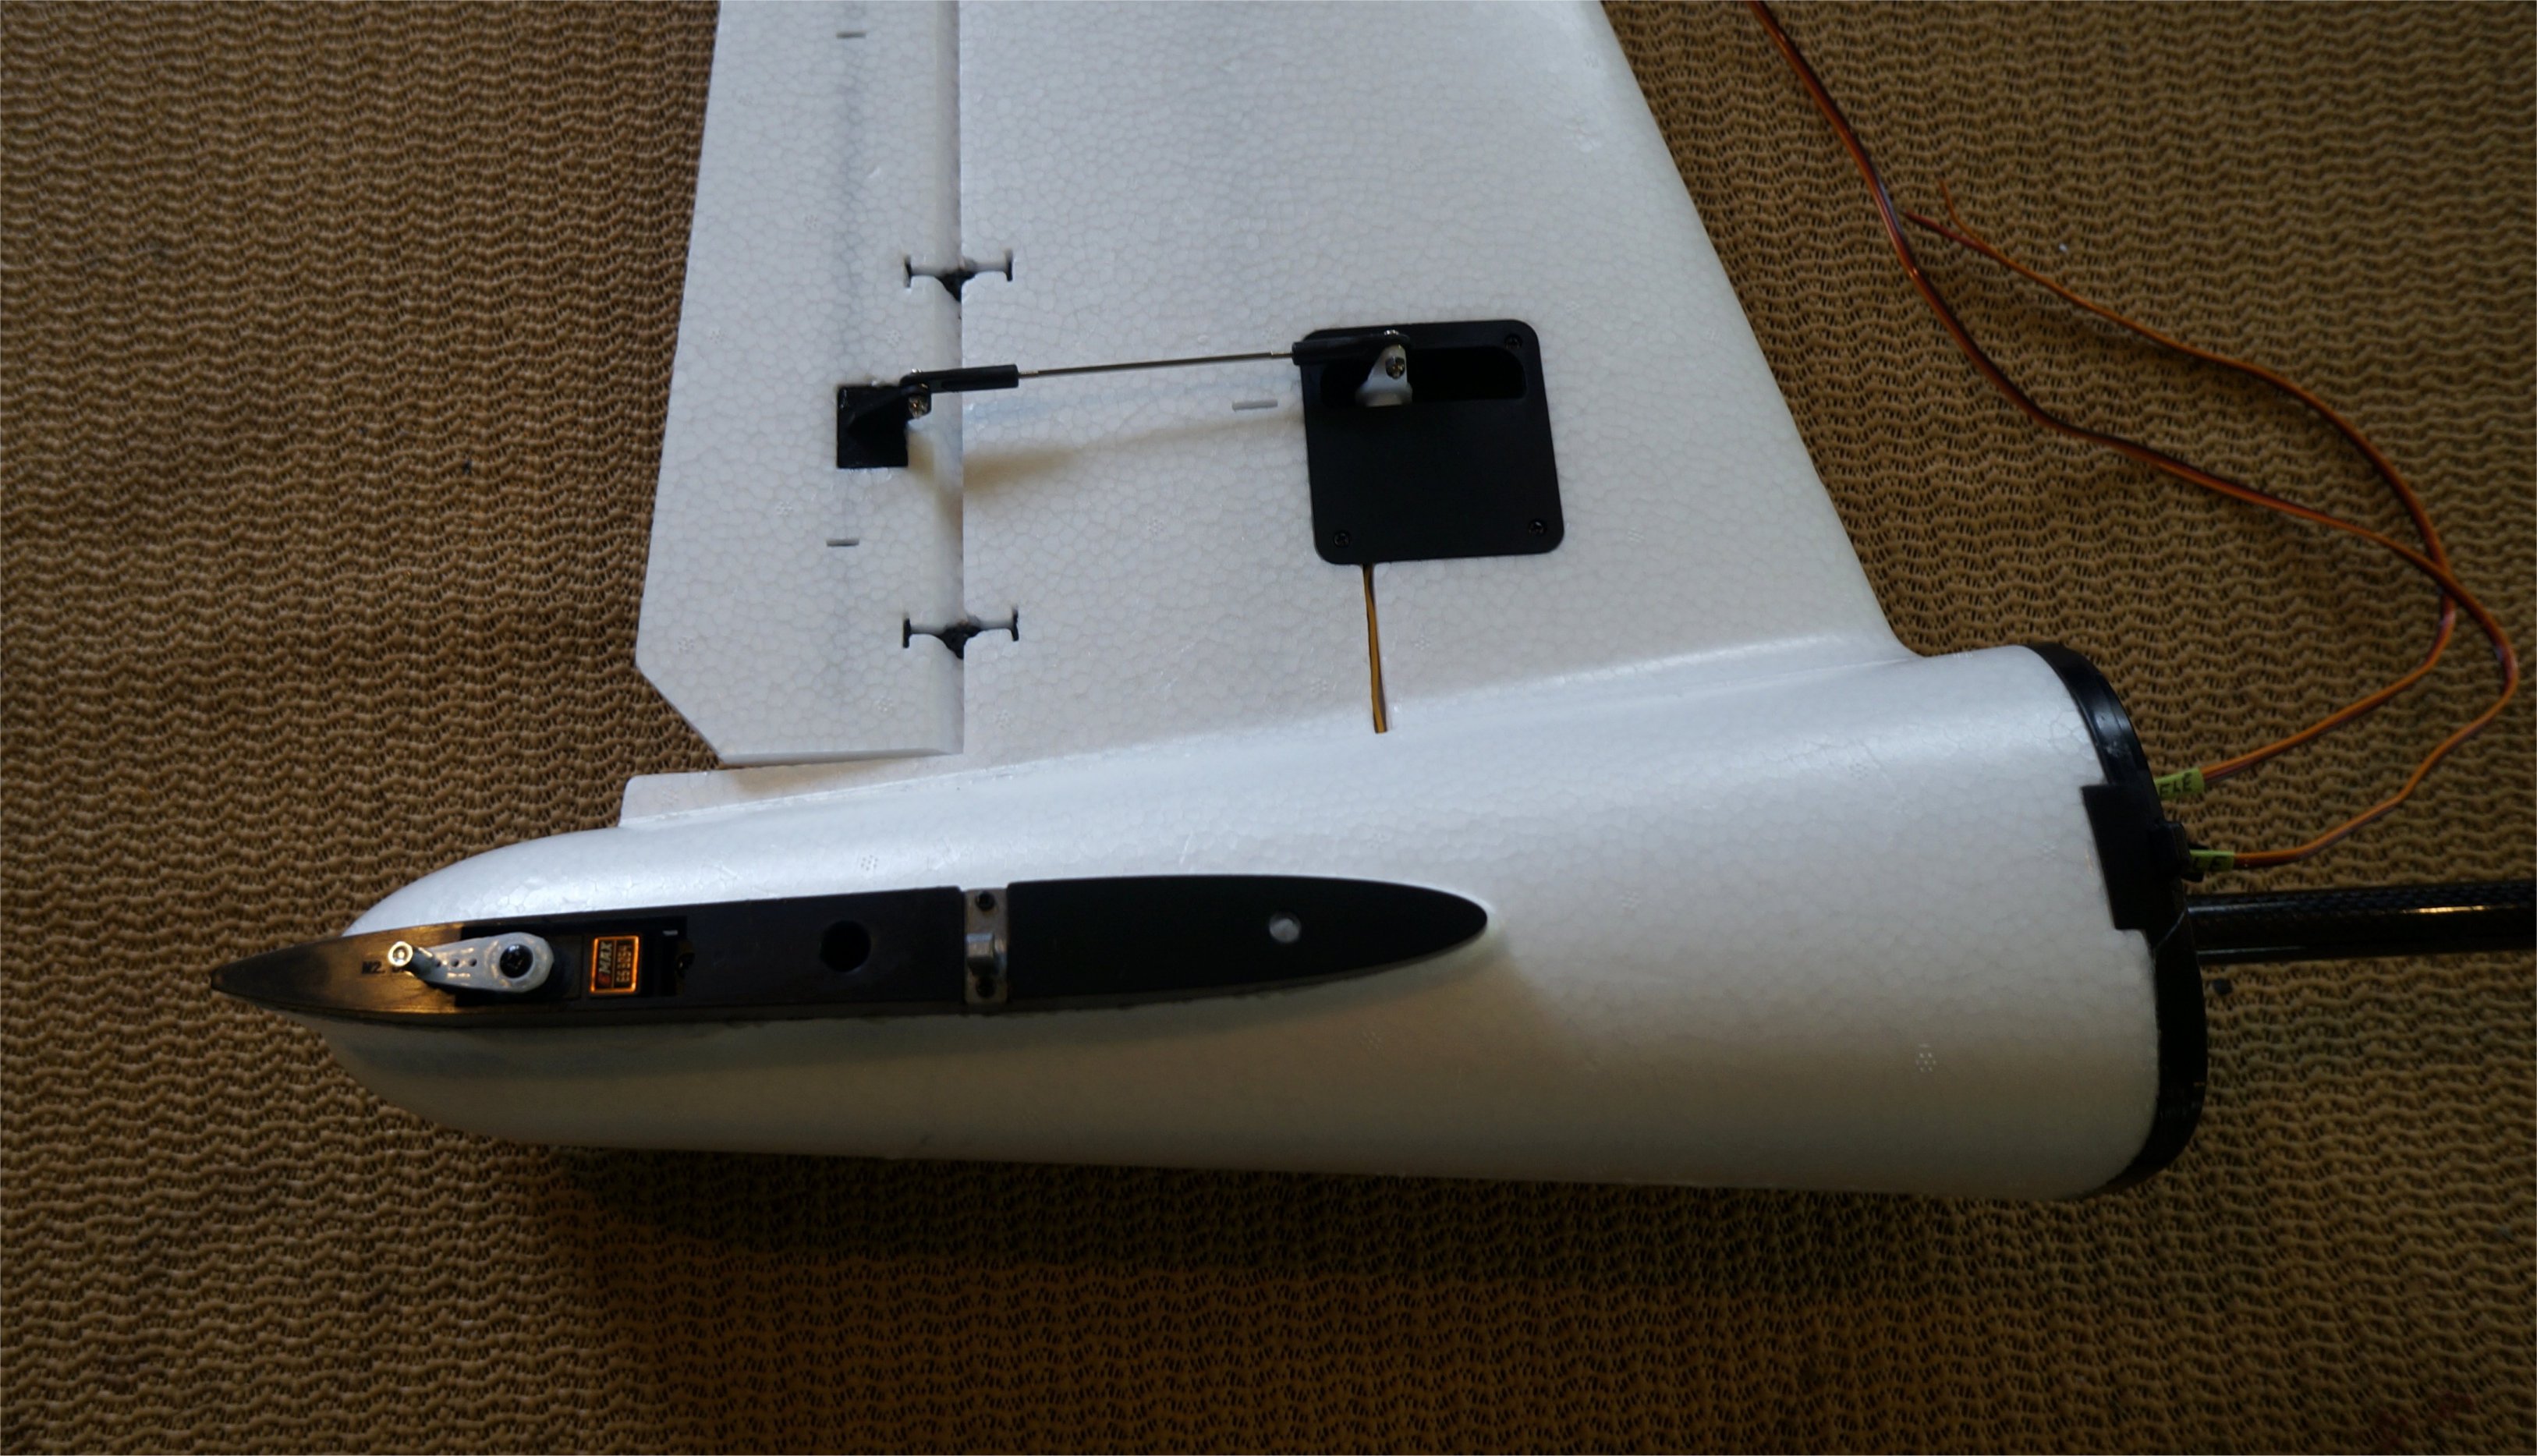
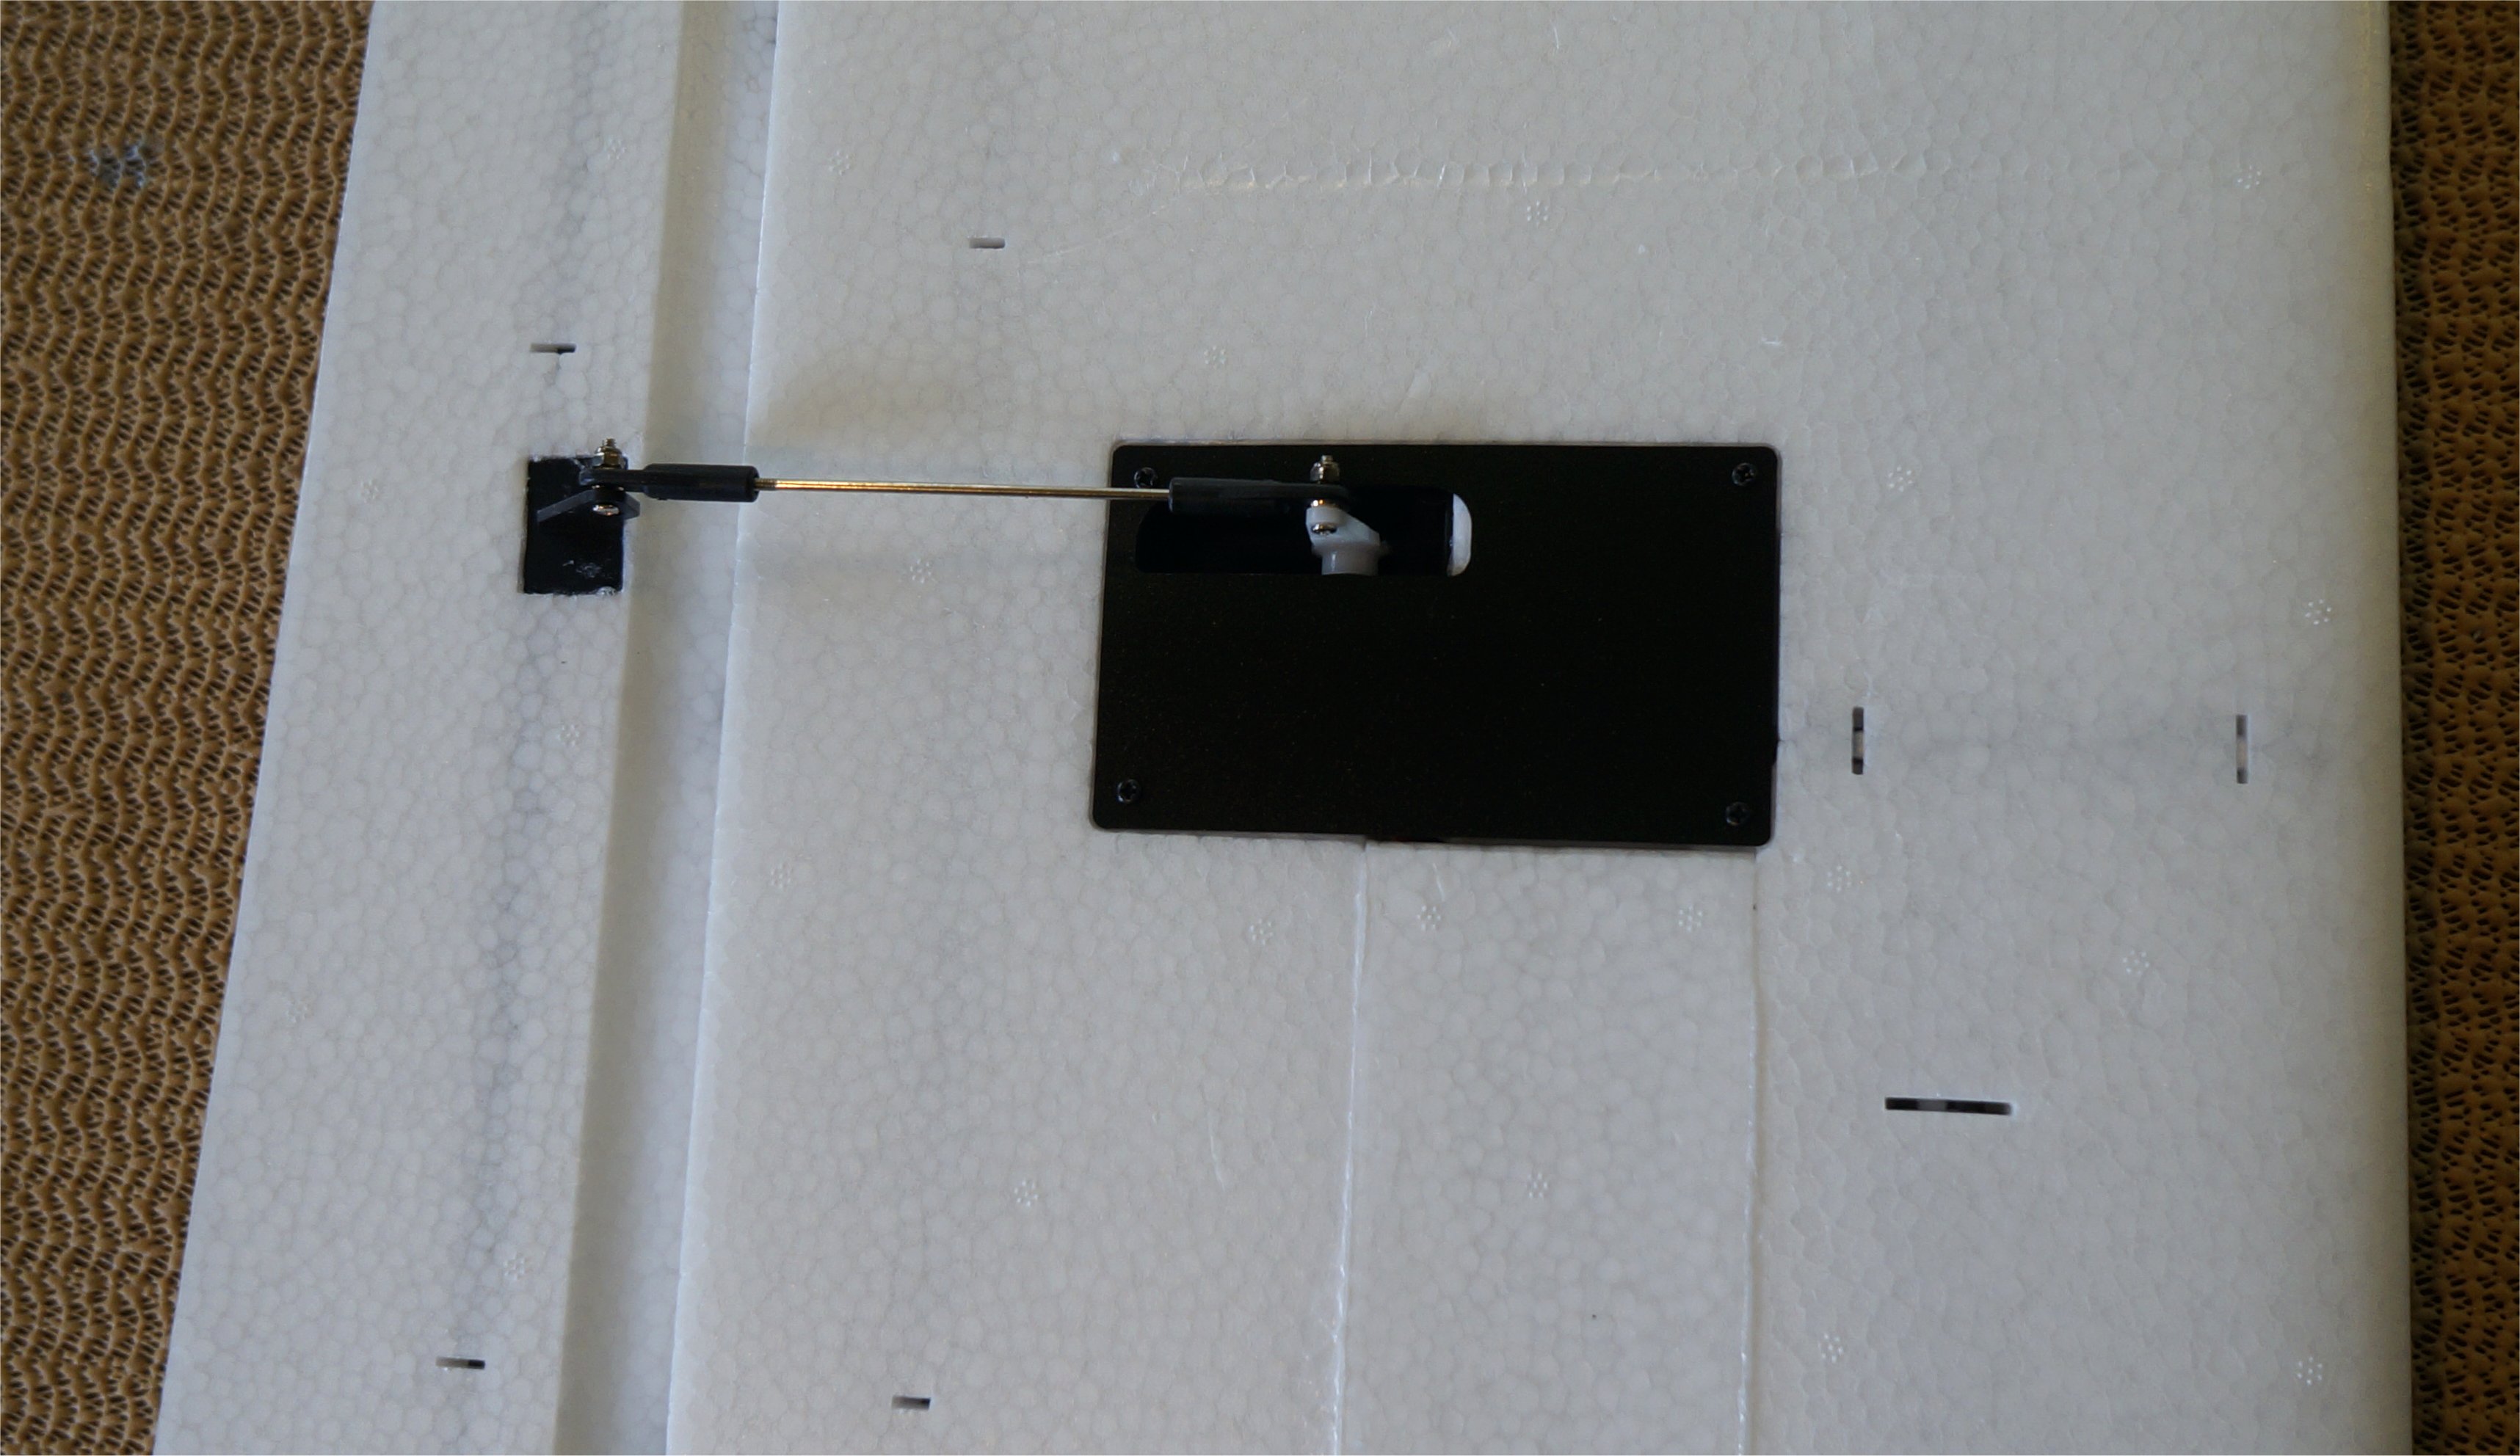
So video 4 got to be a bit overwhelming. I completed the servo and linkage installations along with the cover plates and locking tabs. However, I had questions about the wires, wiring, and wing interface boards.
The pre-wired connectors that we see in the video are not available for sale because they don’t exist. They simply cut that portion of the video out. So both the Kit and PNP versions come with just the cables and connectors unsoldered so they can be used for multiple configurations.
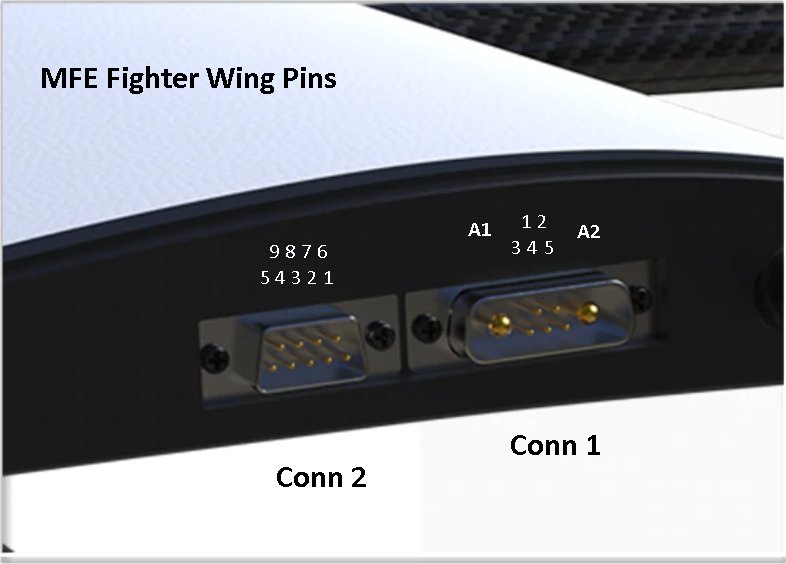
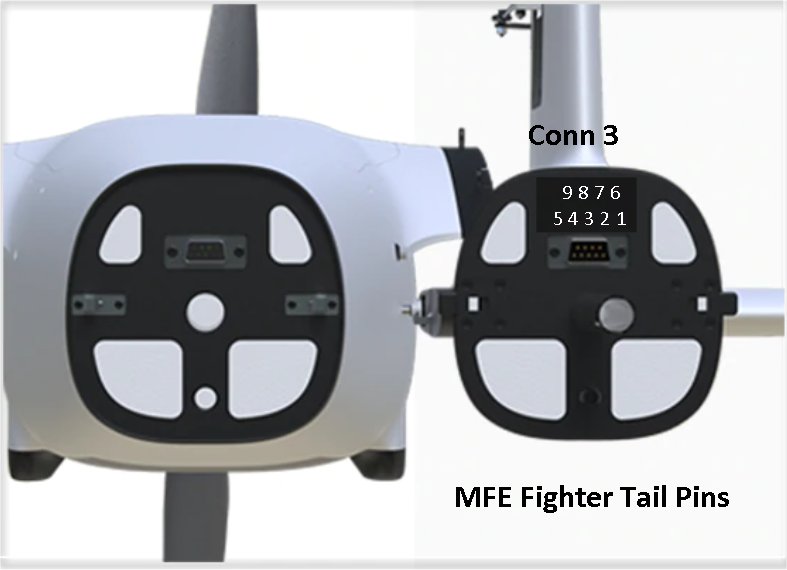
There are no system diagrams for the connectors so I have started them and will post it below. Comments are welcome. The Conn 1 pinout is based on my Freeman VTOL wing connector, less the tilt-rotor signal.
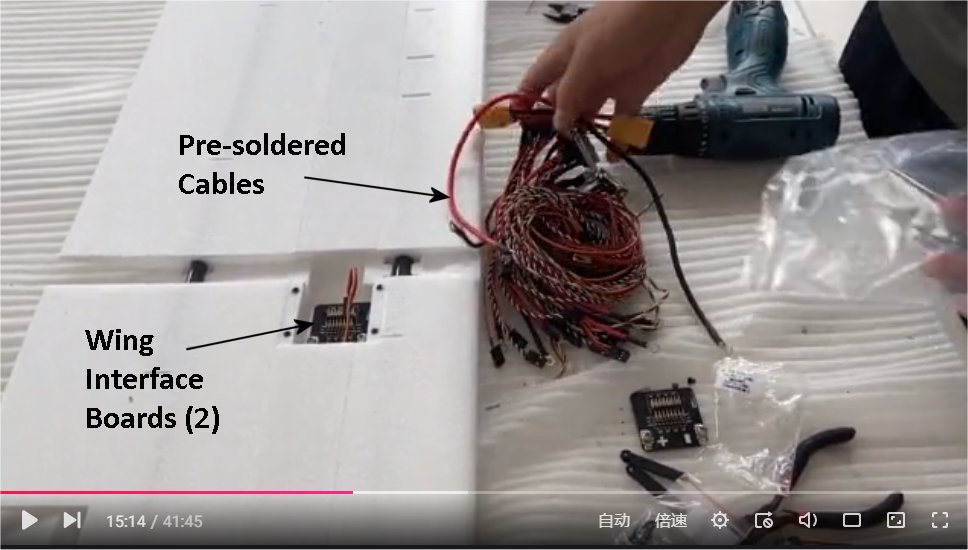
The wing interface boards (shown below) are only available on the PNP version. I thought that these were pretty cool so I have asked Mr. Chang Liu if these can be added to the MFE Store. Since the servos are easy to disassemble and replace, it would be nice to have the same capability with the wing wiring for ESCs, servo, and sensors.
At this point, I have completed only a portion of the Assembly Guide 4 video.
Hi Greg, as usual you are very detail and helpful. I appreciate very much… I am surprised that the wing area is smaller than the Skywalker delta wing which is 80 dm2. What is your estimation about AUW will be for this plane?
I assume it will be about 6.5kg - 7 kg max.
Hope this bird will fly well…
Good luck…
Tony