Hey everyone!

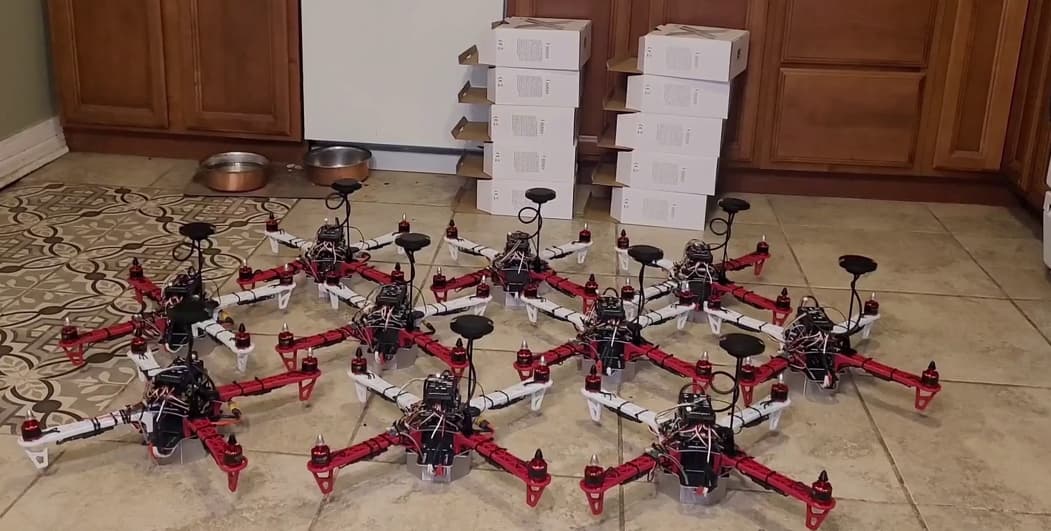
For the past two months, I’ve been working on a DIY 10 drone light show using SkyBrush.
I documented the whole process, filming some 200 individual videos. I just finished the YouTube video that you can check out here.
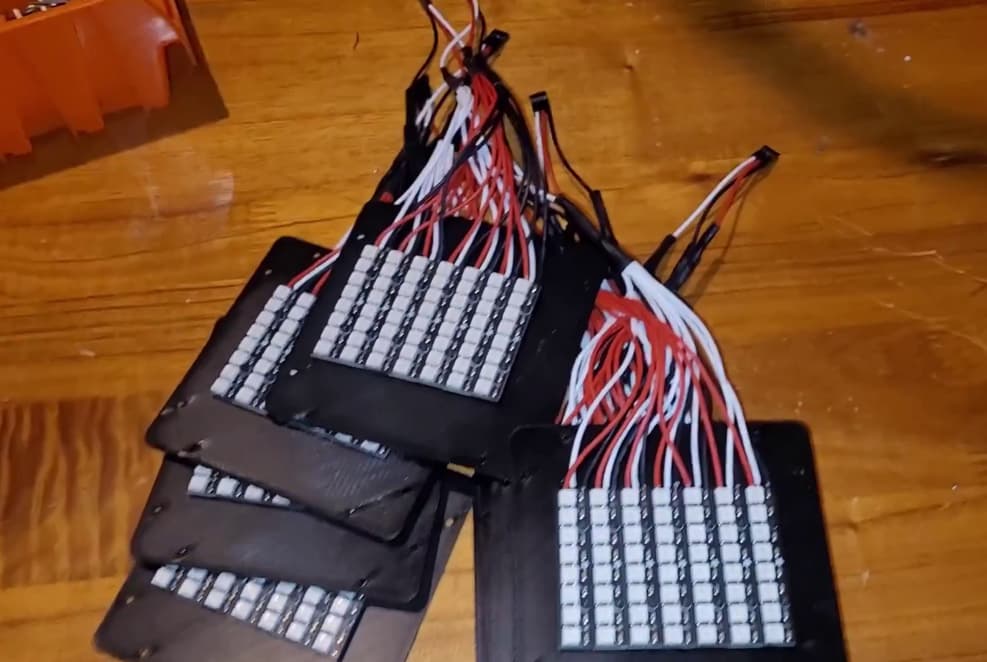
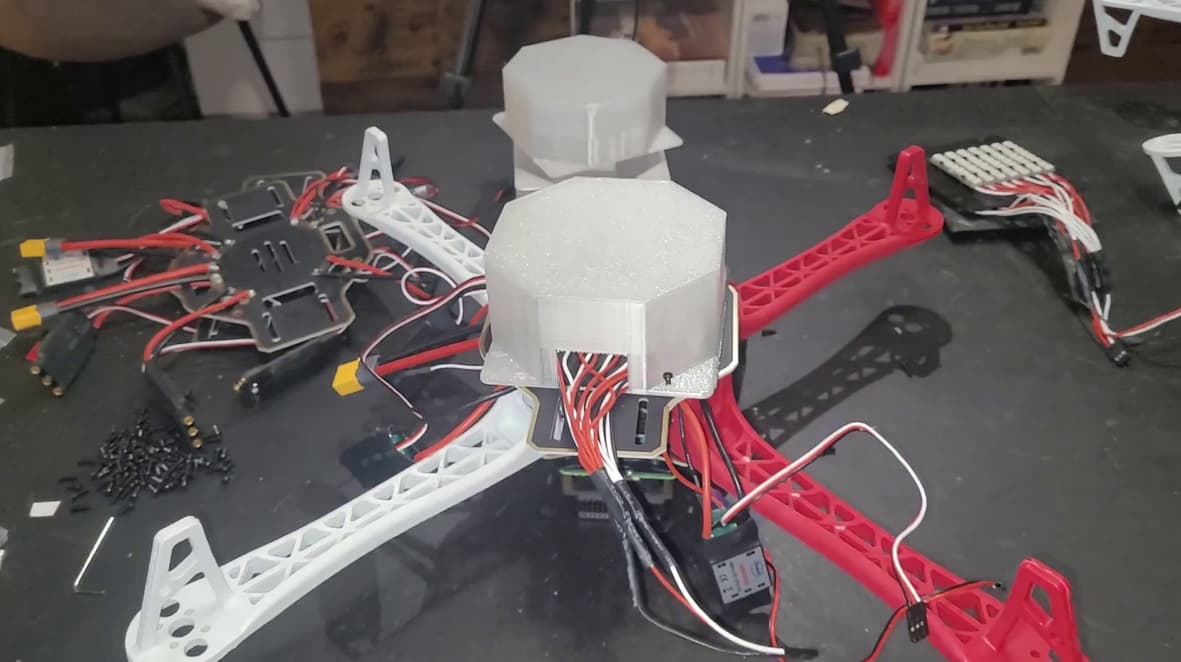
For the LEDs, I went with the Adafruit Neopixel 8 LED sticks. Then I mocked up a mount in Fusion 360 they can secure to. For the diffuser, I went with a see through PLA with 1mm thick walls, and it turned out pretty good.
The Neopixel mount + diffuser has mount points that can thread into the bottom of a F450 frame. They LEDs are powered by the 5V 2A ESC UBECs, and plug into AUXOUT3 on a pixhawk 2.4.8.
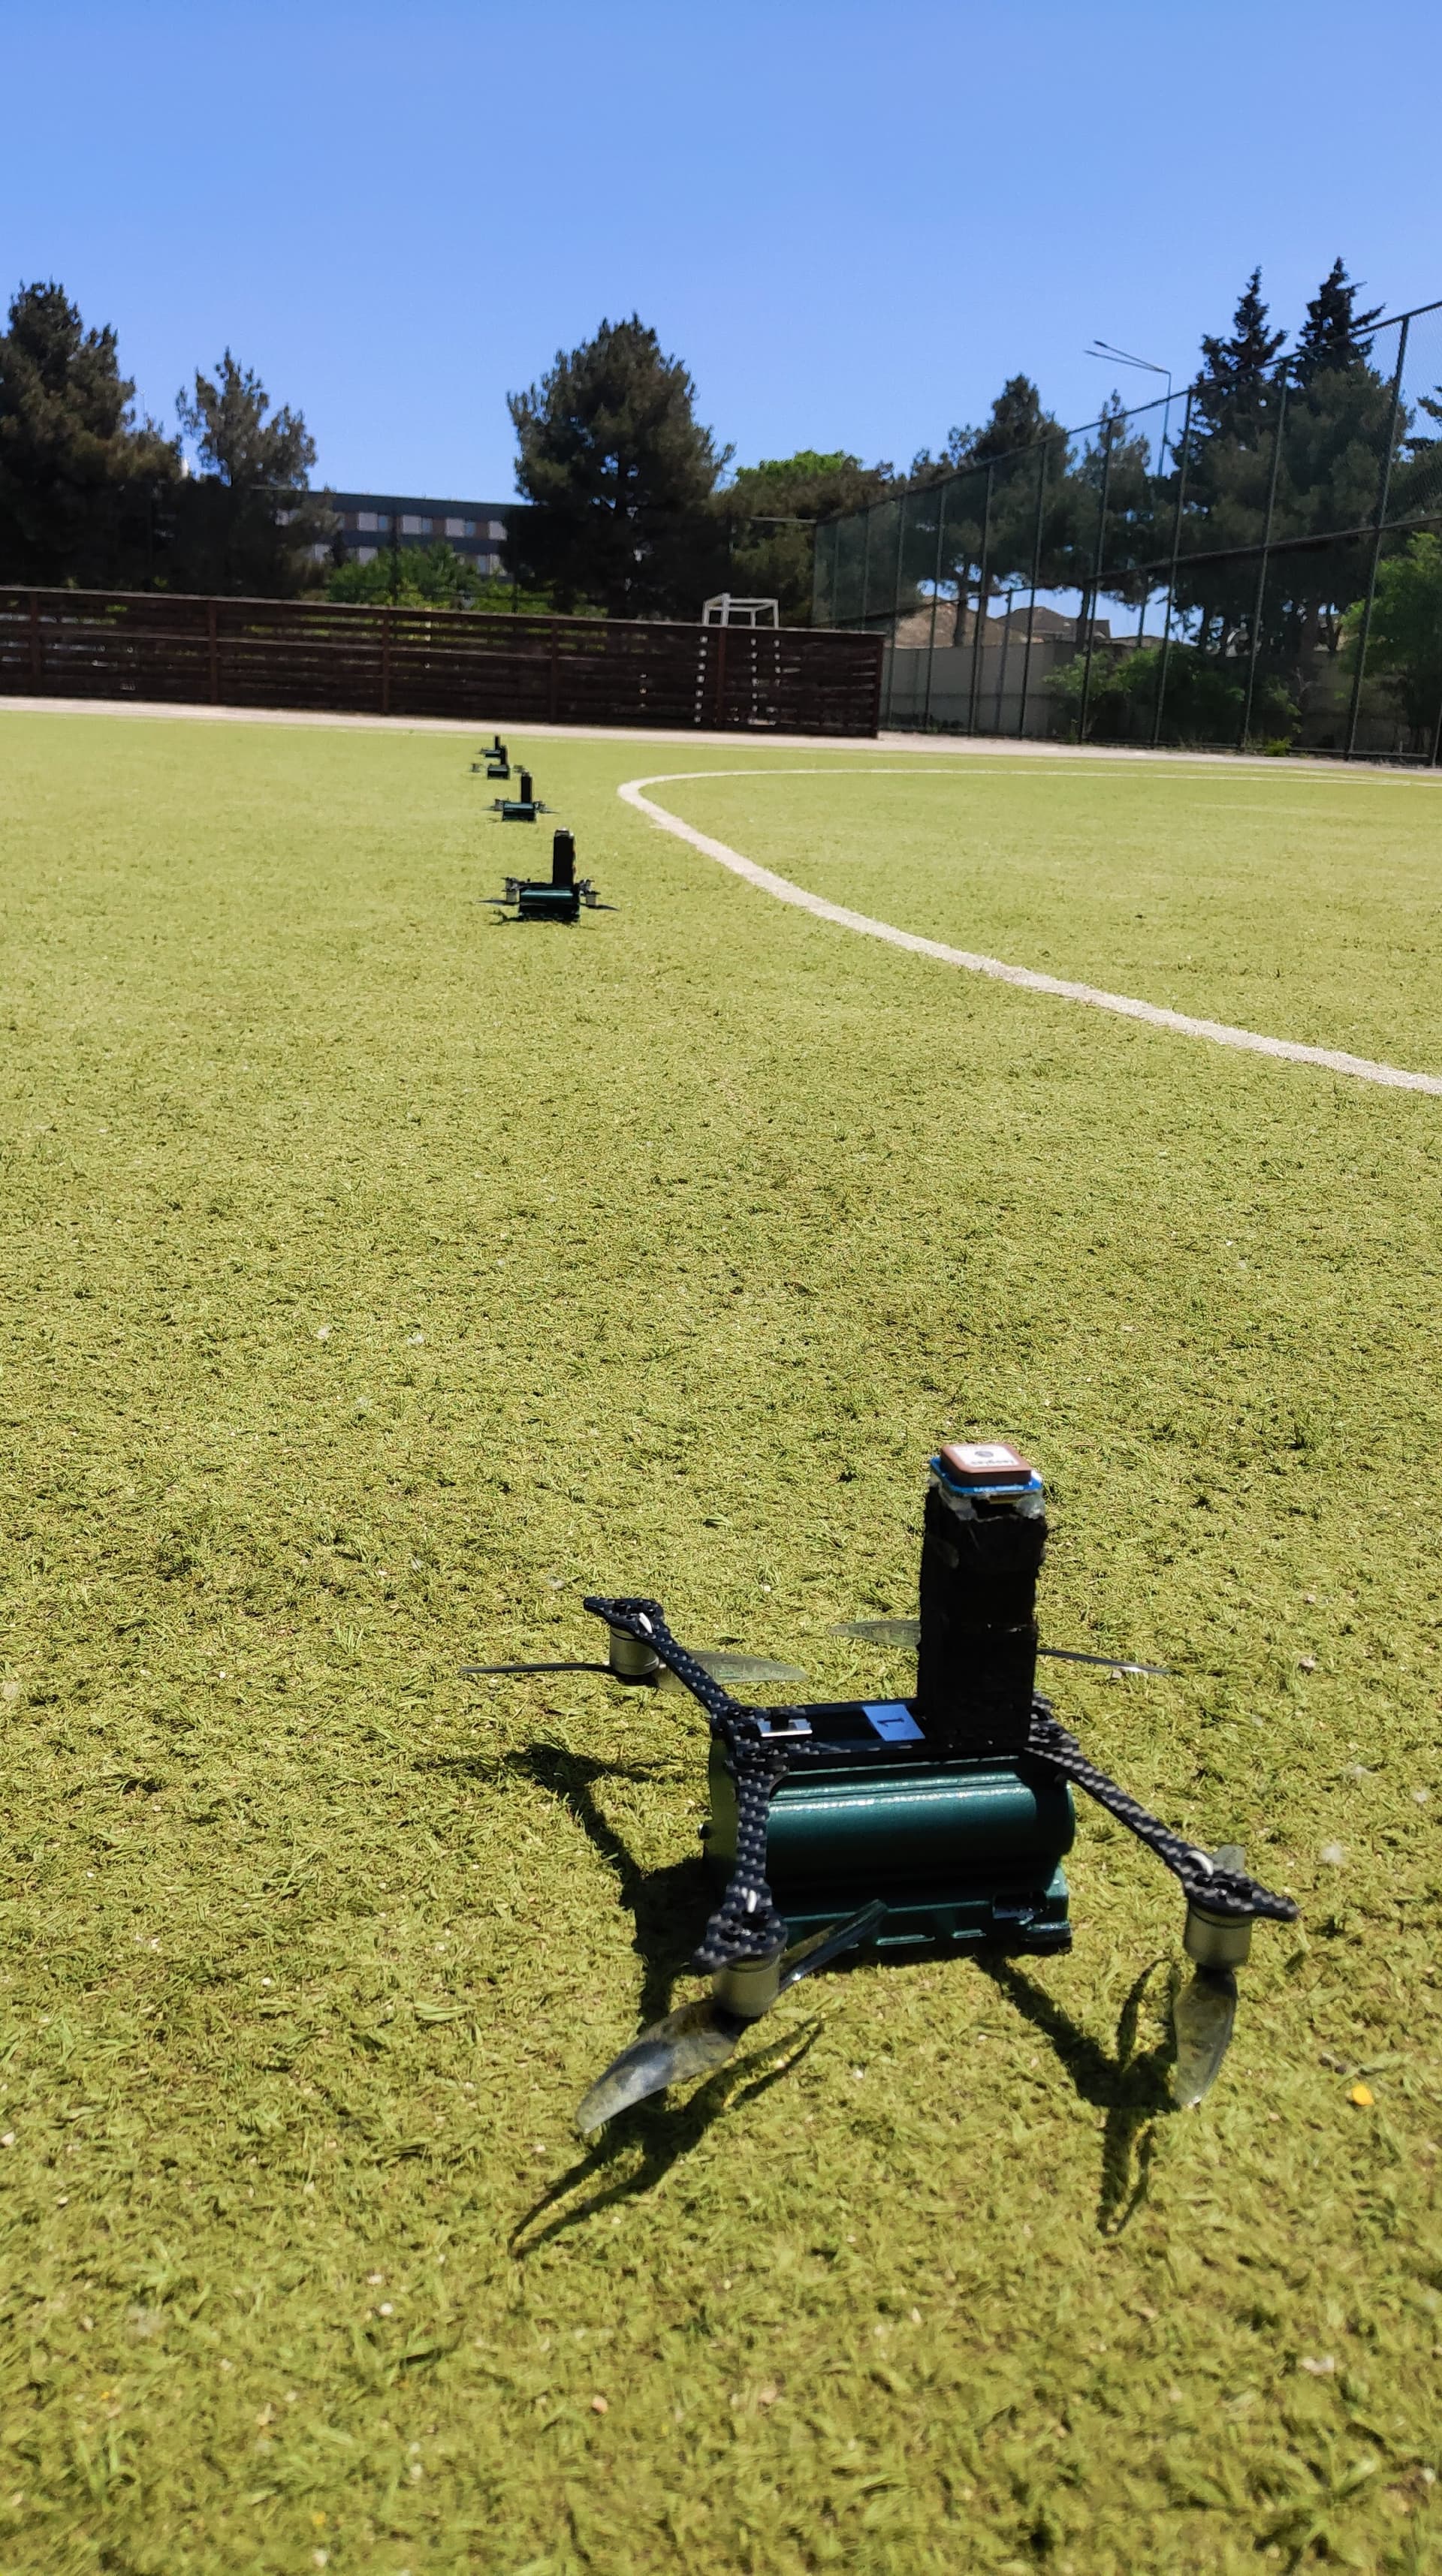
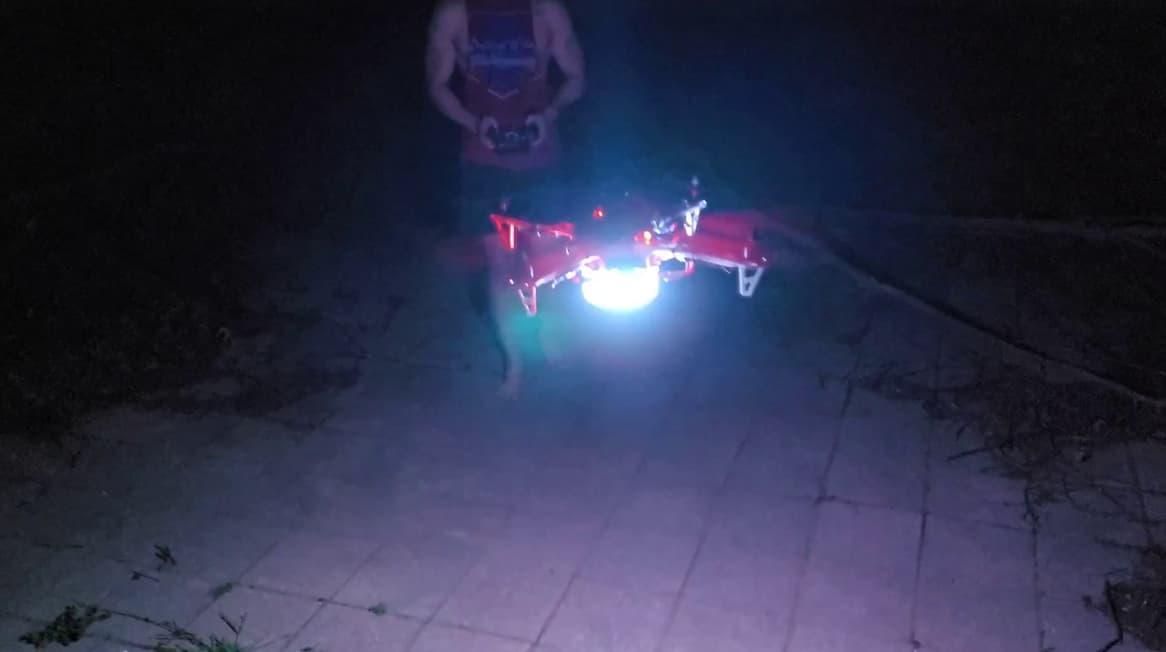
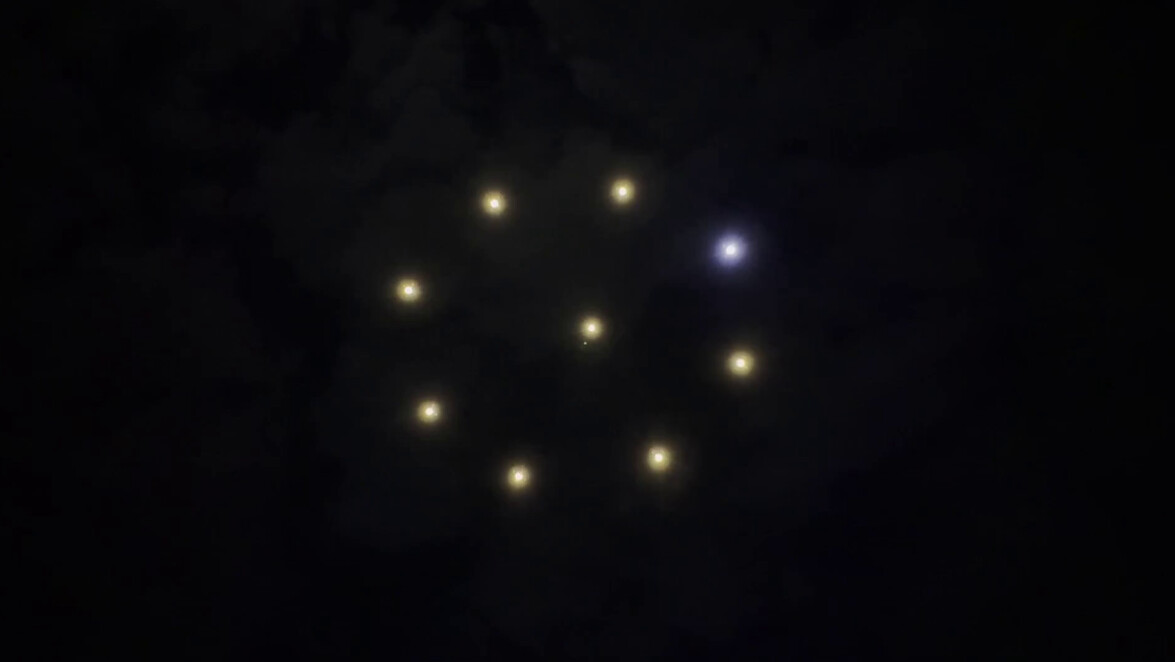
Here’s an image of the first night time test flight in pitch black conditions.
For RTK, I went with Here4s for the drone side, and an ardusimple for the base.
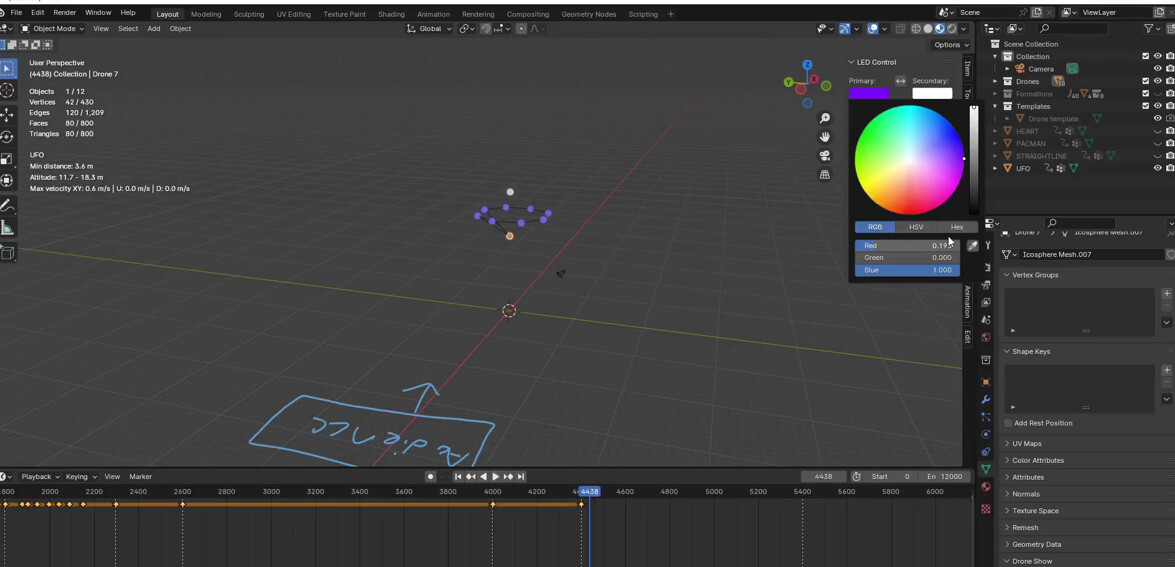
The drone light shows are created in Blender with the Skybrush plugin. There was a bit of a learning curve here, but it’s intuitive after you get a feel for it.
For the 10 drone light show, I made a few different shapes, including a heart, a pacman, and a flying saucer UFO to scare the neighbors.
The networking in Skybrush is done all through a router + the IP protocol. I set the router as 192.168.2.251 so that each drone can have its dedicated drone number as the last octet of its static IP address (for example, drone 1 has an IP of 192.168.2.1)
I used a Pixhawk + Raspberry Pi drone, so each drone gets its own IP address. I connected the Pi to the Pixhawk with a UART bridge. I used MAVProxy and pymavlink on a Pi to accomplish the MAVLink networking side of things. MAVProxy worked to create a connection with the GCS (in this case Skybrush Live).
For fleetwide commands (ARM or LAND all drones for example) was a bit of a headache. This is because SkyBrush Live sends fleet wide commands to the broadcast address at 192.168.2.255. For those unfamiliar with the broadcast address, any packets sent to the broadcast address will get copied to every connected device on the network (so all of the drones).
The port dedicated for broadcast packets in Skybrush is 14555. Unfortunately, I could see the incoming fleetwide commands incoming on the drone side, but I couldn’t figure out how to route them to MAVProxy.
So in addition to the UART bridge connection between the Pi + Pixhawk for individual drone packets + individual commands, I made another connection between the two. This was a micro USB on the pixhawk, plugging into a USB hub on the pi.
With my pymavlink sniffer looking on port 14555 and this micro USB connection, I was finally able to successfully route fleetwide commands from skybrush live to the pixhawk flight controller.
I have to say, I’m really impressed with the Skybrush software suite. I was really blown away that DIY drone light shows were this accessible.
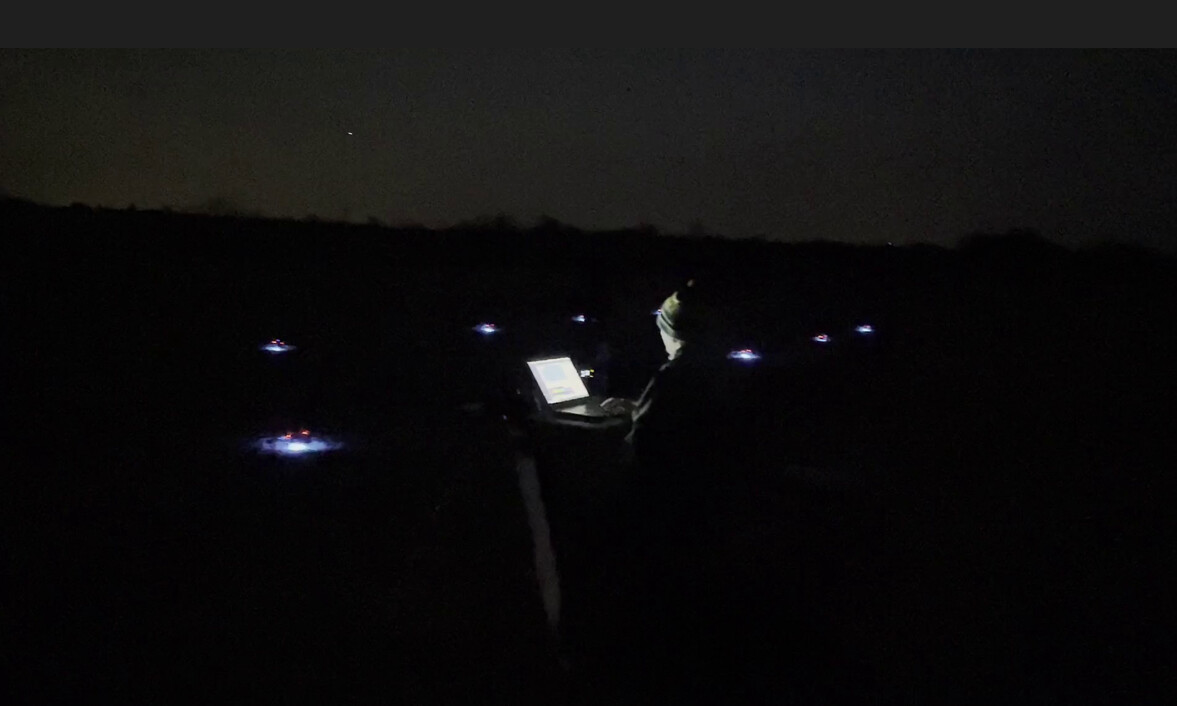
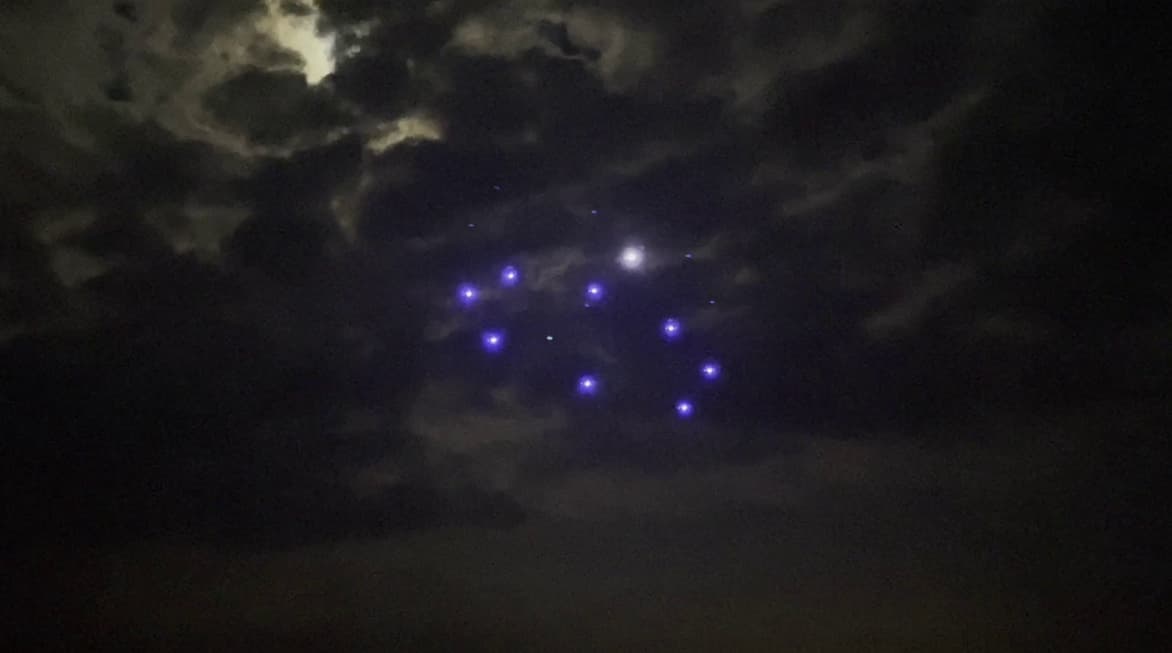
Outside of a dumb crash, the light show was a success. It’s an epic feeling hearing the drones roar while making animations that were developed on a computer.
Here’s a couple shots of the light show.
I’d be happy to answer any questions people may have. Check out the video to see the whole process. Hope you enjoy the project!