Hi everybody,
I will post here the process for building and setting up a simple and inexpensive obstacle stop system. The base concept is to put a "sensing " box between the RC receiver and the flight control board of the flying machine, so no mods on the arducopter firmware are required. The sensing box will act as an override on the pilot controls whenever an obstacle comes within the rangefinders predetermined “distance_threshold” (see the meaning of this parameter in the attached GitHub firmware), preventing the multicopter from moving any further toward the obstacle.
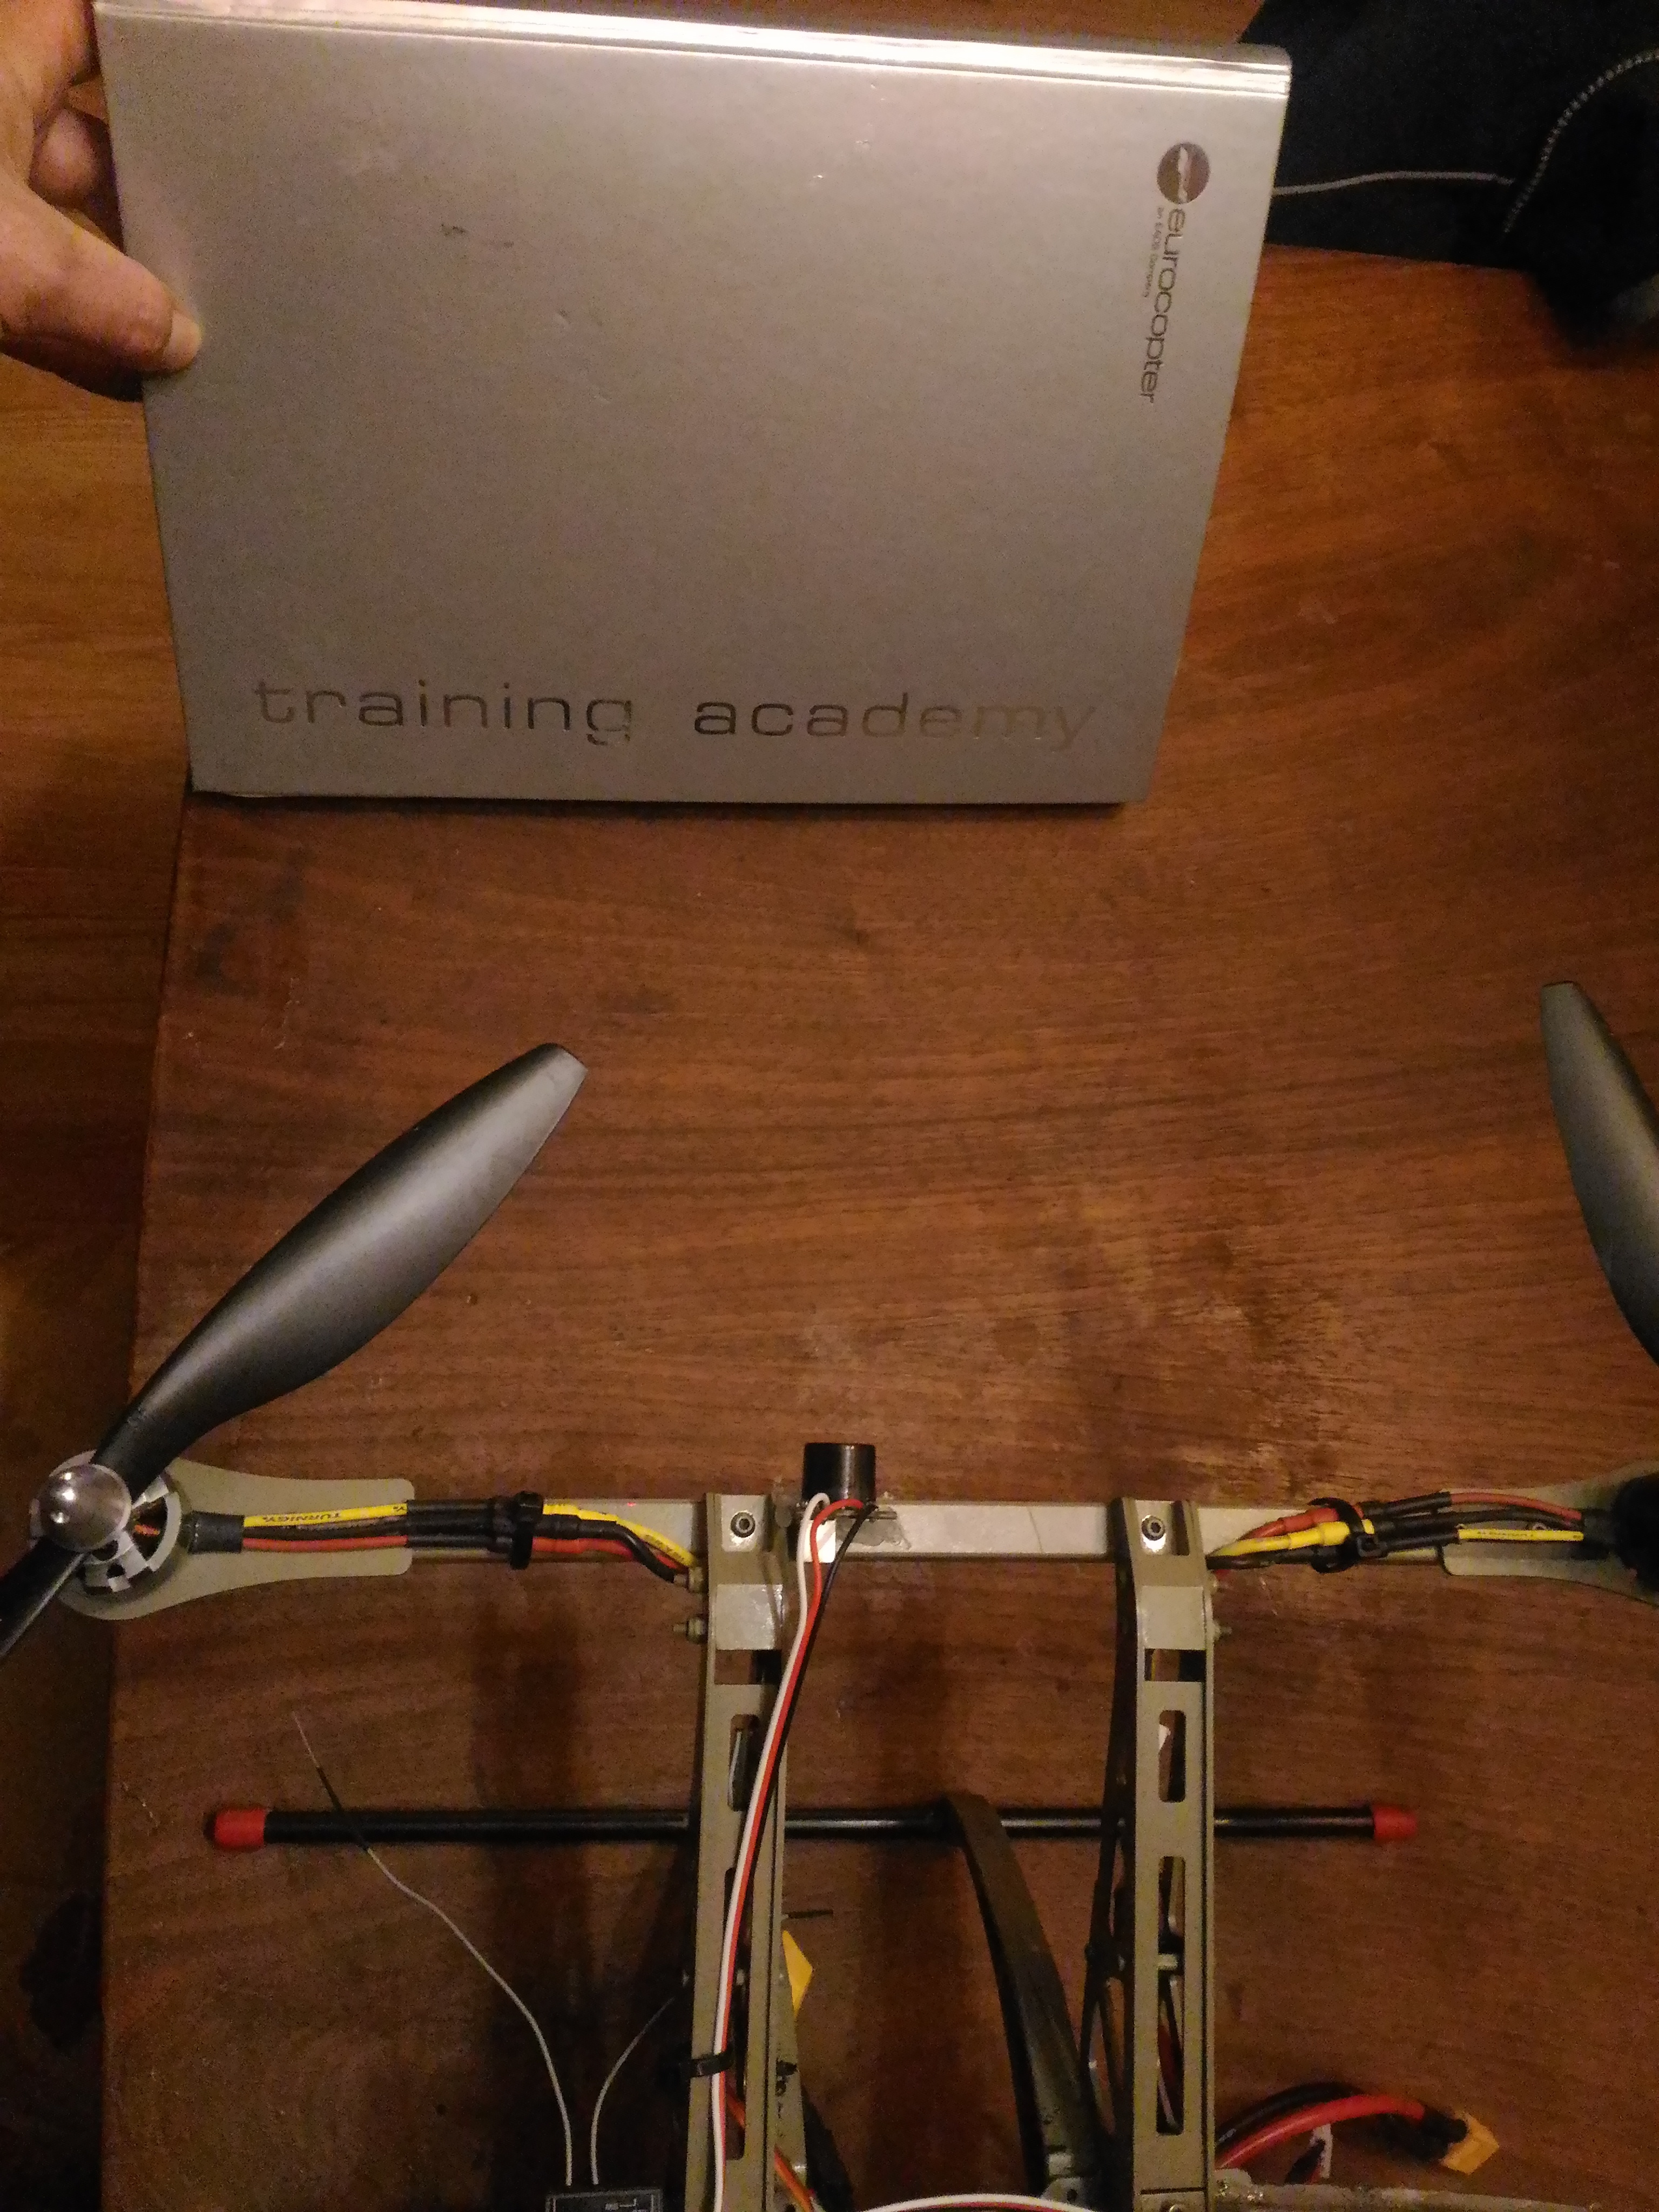
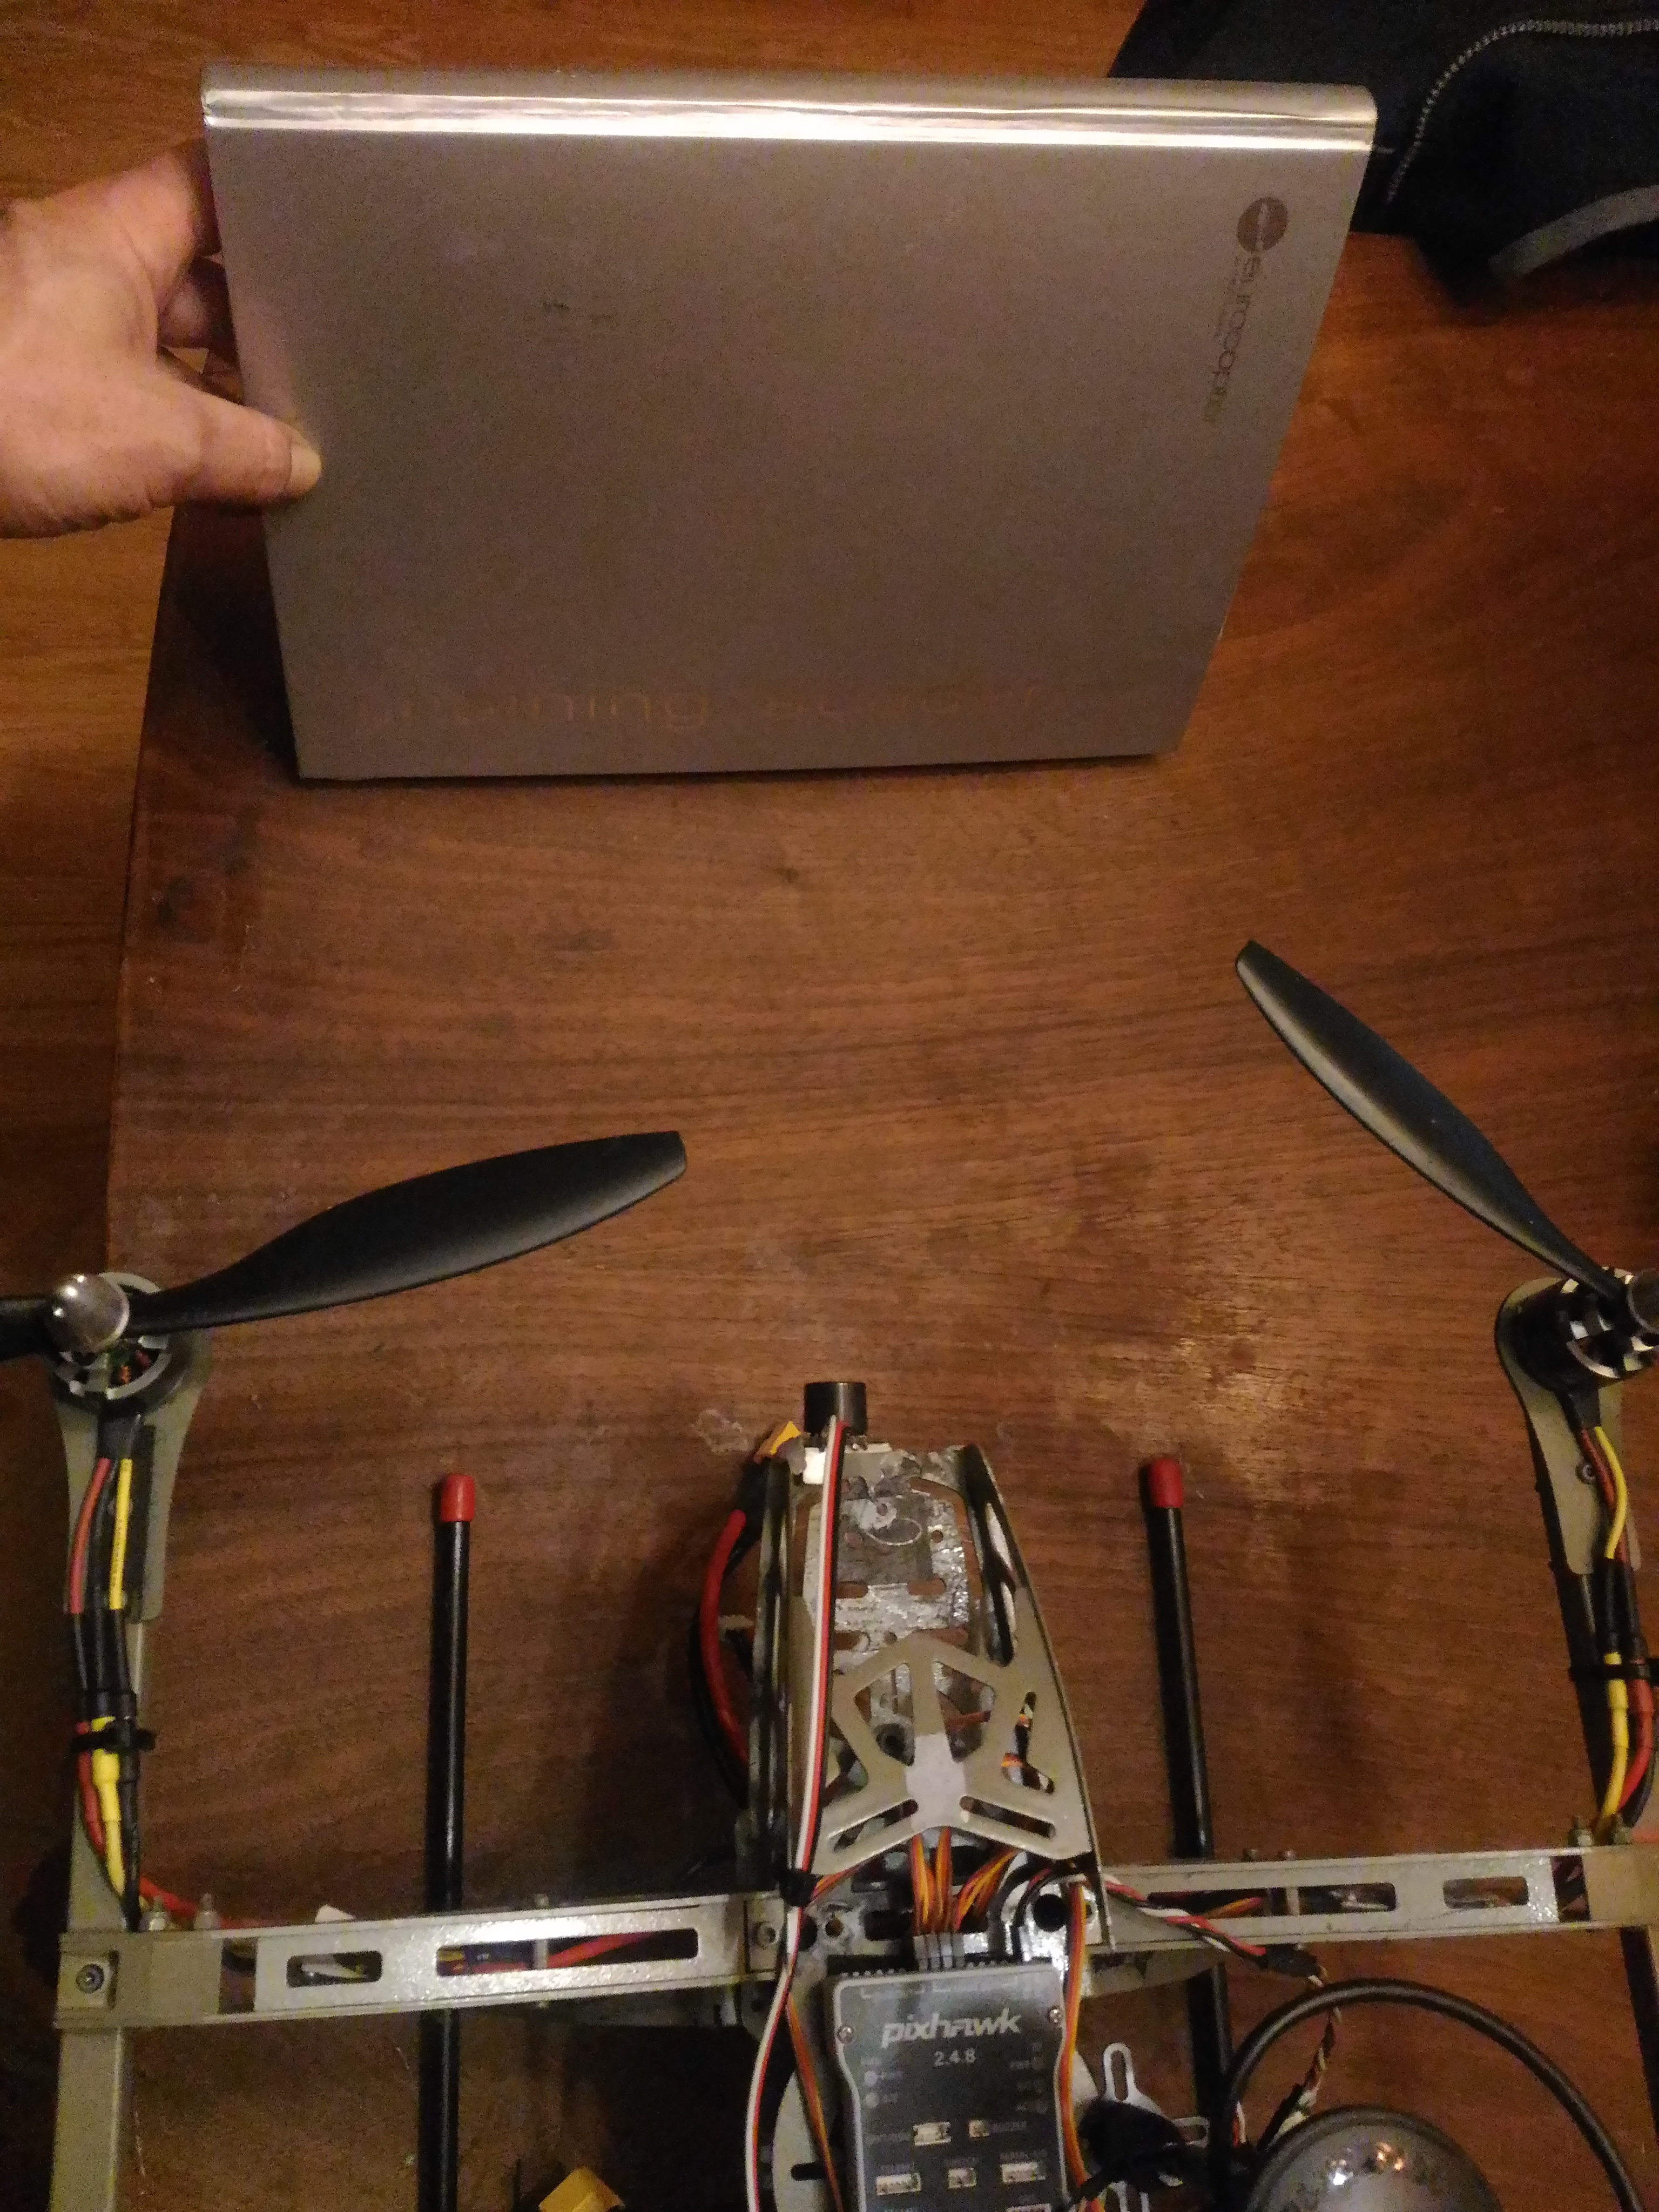
The rangefinders are 4, two on the longitudinal axis( so acting on pitch) and two on the trasversal axis (acting on roll).
Since the sensors range is poor, the flying speed which guarantees a safe behavior of the system is low, so it works best in those cases where a precise hover or low translational speeds are involved (for example close inspections outdoor/indoor in those cases where a “safe” distance must be kept from the target).
The system has been tested and works positively for the following flight modes:
Stabilize;
Loiter ( should work flawlessly for PosHold too, but I do not believe this flight mode is a real need if you have tuned your Loiter parameters to perfectly suit your flying needs);
AltHold;
DO NOT use it if your simple/supersimple boxes are checked for the related flight mode.
Here is what you need to build it:
teensy 3.2;
4 rangefinders ( I have used MB1240);
a ppm encoder;
Teensyduino compiling tool;
a flying multicopter, already tuned at its best;
Connect the sensors analog output to the specified teensy pins (see firmware) and double check it, if anybody wants to use the PW output from the sensor just change the code accordingly.
Starting from the receiver connect the aileron, elevator and mode_in (for example i used channel 6 on my radio–this is needed to activate/deactivate the system) channel number to the pin on teensy specified in the firmware, then connect the output from the teensy to the respective channel input of the PPM encoder. The remaining channels from the receiver have to be connected directly to the PPM Encoder. I know it will be a little mess of wires…but I’m working to use SBUS thorugh the whole thing, just need time to study properly. Remember that teensy is powered by 5 volts and all grounds have to be common for receiver, sensors and ppm encoder.
Download and compile/upload the following firmware to your teensy: https://github.com/Ferruccio1984/Obstacle_Stop_v1/blob/master/Obstacle_Stop_v1.cpp
If you haven’t installed the PID libraries for Arduino just go on the Arduino webpage and follow instructions on how to get it. Once you have installed the library you need to change the maximum output (default is 255, so you have to increase it in the PID_v1.cpp ).
I have put inside the code a “smoothing” process for the readings coming from the sensors, and it’s basically the same found in “smoothing” of Arduino webpage, so credits go to David A. Mellis.
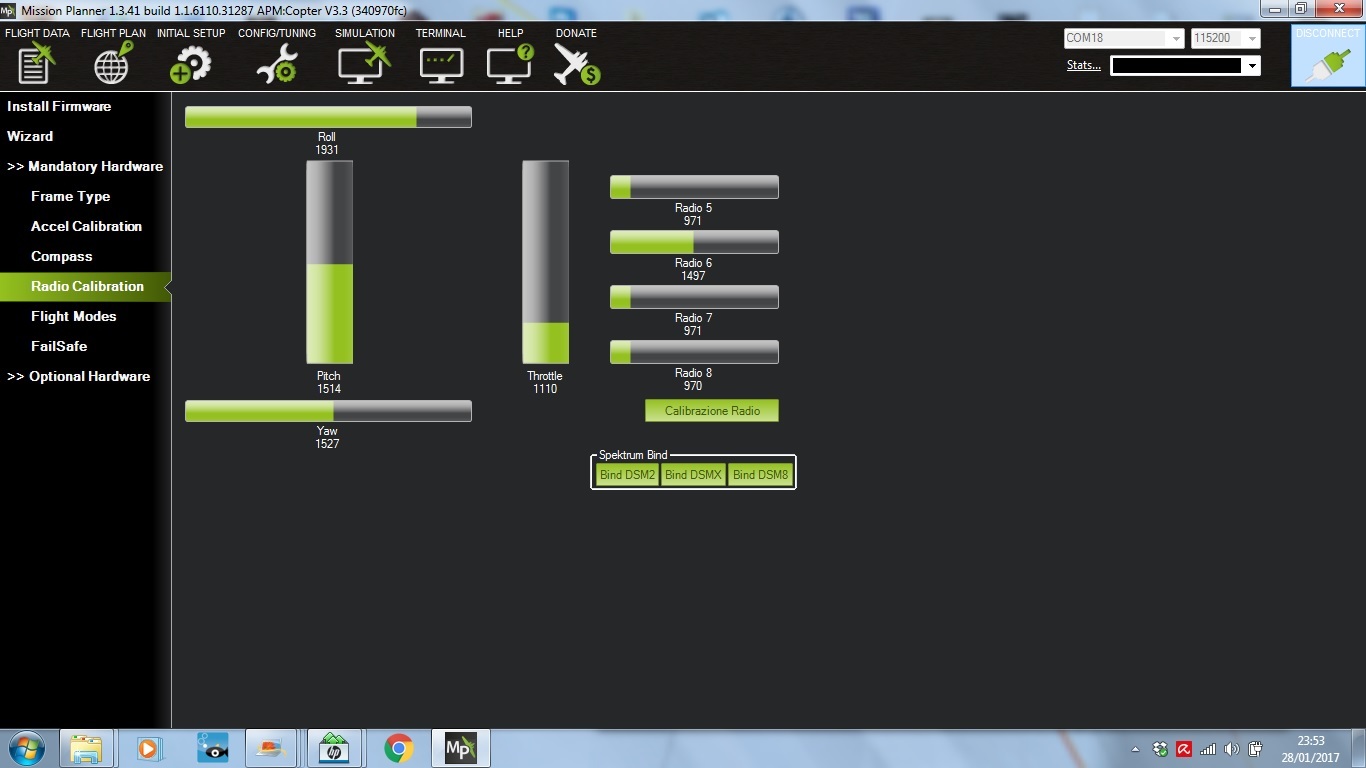
Once you have compiled and assembled the whole thing, connect the FC to MissionPlanner and check if it is working properly by following these steps:
1)remove props;
2)put an obstacle on the left side of your copter:
NOTE: I haven’t included any predetermined PID or Distance values in my firmware, since they are related to the specific machine/autopilot PID setup, so you can determine yours by iterative trials.
Here is a little video showing how it works in practicehttps://www.youtube.com/watch?v=QRxb-W8P4YY
Please feel free to ask or comment/suggest improvements.
very well done Ferruccio.
Due to the fact I’m already using a RPi 2 as companion computer to send HV video to ground station using WiFi and/or 3G/LTE connection and to control my SJ4000, I’d like to implement obstacle avoidance with RPi, connected to or lidar-lite or sonar hc-sr04, what do you think to work on it together?
Great stuff!
By the way, it’s nice to put a picture or video near the top of the blog post so that it’s visible when ardupilot.org is opened. Just makes it a bit more attractive to viewers. thanks!
Nice, why not! I’d avoid sr04, 4 m range is too little for our purpose (even the ones i’m using are at their limit for this task), i’d go for a lidar straight away if you can put the hands on one. PM me with your plan and we can discuss about it! Have a look at what Randy is doing here http://ardupilot.org/dev/docs/code-overview-object-avoidance.html
WOW !!
Is this what we call ‘‘think outside the box’’
A full PWM control chain == Teensy controlling a STM32 (PWM IN) controlling 4 Atmels (PWM OUT to ESC).?
Very interesting, and it has the potential to be intergarted on any type of FC, might try it on a Naze Based Cleanflight…
Very nice! I’m working on a similar system that works in conjunction with Mavlink. I’m also using a TEENSY3.2. In my case, the TEENSY has two types of sensors RADAR (uSHARP “PATCH”) and LIDAR (Terrabee Terra Ranger).
My scheme works only in AUTO mode. When an obstacle is detected, the craft is taken out of AUTO mode into ALT-HOLD mode and stops the craft as fast as it can. It then moves the craft diagonally, “up” and “right” until the obstacle is no longer seen, It then goes back into AUTO mode to complete the mission.
I’m just starting to get it working.
Hi, nice sensor.
I tried as well the control logic you are talking about, but in my case (being the range of my sensors so poor) I had to reduce the WPNAV speed so low that didn’t make any sense to go on with this logic.
Instead of using Alt-Hold you should use Loiter as a switching mode (which will automatically stop the copter as soon as obstacle treshold is triggered).
Regards
Thanks for the tip. My goal is to brake very hard when I see an obstacle. I normally fly around 45KM/hr. Both sensors have good range when the object t is large, but for small objects, the range is much less. As a result, I need to stop very, very quickly. I’m thinking I’ll have to go into full reverse + full throttle to stop fast enough.
Hi I want to make a drone like yours but I want obstacle avoidance on all 6 sides up, down, front, back, left and right. But I only want the down obstacle avoidance to work when the drone is in auto mode and takeoff or land command has not been given to it. Can you please help as I don’t have much knowledge of teensy boards and C++? BTW I am using a Pixhawk 2.1 and I am using SBUS with Taranis X9D Plus with Flight Deck. Plus I am using 16 channels. Pls Help.
Such a task I think it’s only possible to do in the main Arducopter code. You can specify the orientation of the rangefinders in the param list. I think to handle the cruise part of the flight you have to customize the firmware though…
regards
Of course not , its only seeing the RC from the transmitter , and the sensor , in auto mode , the commands are elaborated by the firmware, receiving the infos from the telemetry radio
Hello.
I’m a student learning drone. I want to connect MB1240 product to the PixHawk2 product. i using ADC port, but the price is not available. Do you know how to modify the parameter values?
hi. im using flysky with fs ia6b receiver. i saw in your diagram that your pin 21 goes to aux rec on/off. for fs ia6b where is the aux rec on/off port?. soory im new to drone
HI @Ferrosan we are working on a project that needs collision avoidance, very similar to this, can we use arduino mega instead of a teensy controller, and can u explain a bit about PID libraries you used in your code and why we have to use them…