Hello,
Last time I have built an ardurover was about ten years ago.
( documented in this video for those nostalgic
)
It was based on a fun little off-the-shelf 6AWD chassis (Thumper brand if my memory is not wrong). It really was more a toy than anything else.
I recently binge-watched DIY ArduRover mower builds, which reignited my excitement to build one myself. I’m eager and curious to explore how ArduRover has evolved and to discover its latest features.
This time, I don’t want to build just a toy. I aim to create something large and versatile, a universal platform that can serve multiple purposes—whether as an automated mower robot or a transportation assistant bot.
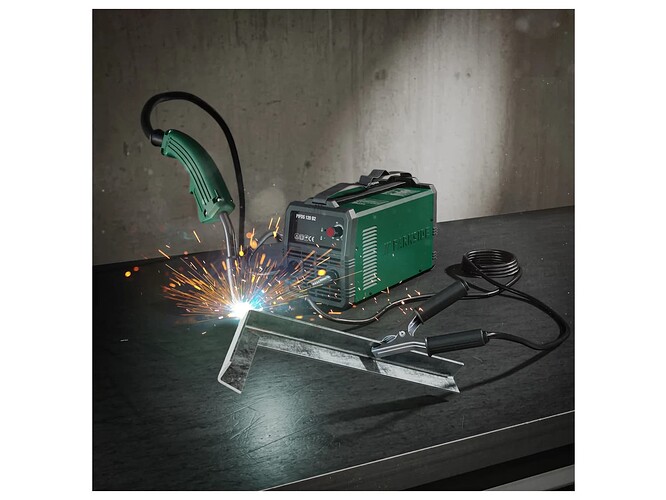
Since the building process is at least as enjoyable, if not more so, than using the ArduRover once it’s complete, I decided to use this opportunity to learn metal welding. I’ve never fabricated or welded metal before, so making that a secondary learning goal for this project felt like a perfect fit. To prepare, I watched numerous YouTube tutorials and decided to invest in a flux-cored wire welder, as it seems to be the easiest option for a beginner:
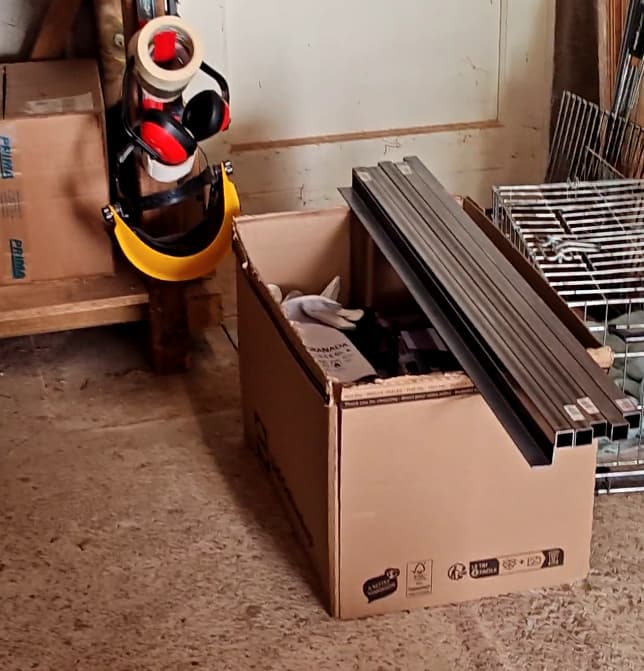
It does not require argon or similar external gases since the included flux within the wire produces its own protecting gas shield against oxygen. The produced gases are quite toxic so a gas mask is a must with this thing.
The chassis will be made with steel hollow square tubes, with a of 1 inch x 1 inch section:
I chose for a square section as it provides a good compromise in deflection and torsion strength and stiffness versus flat, corner or U shaped steel beams. A square section is also very practical for alignment and fixing parts on the chassis later on (as opposed to round tubes).
I want the chassis to be equipped with a mower “module” when I want this ardurover to mow, but I want to be able to remove the mower part and be able to use this ardurover as a simple flat bed transportation system (count on me to be the first marchandise on board to be self transported lol).
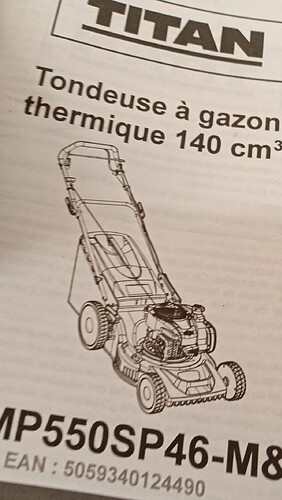
So I purchased the cheapest hand lawn mower I could find,
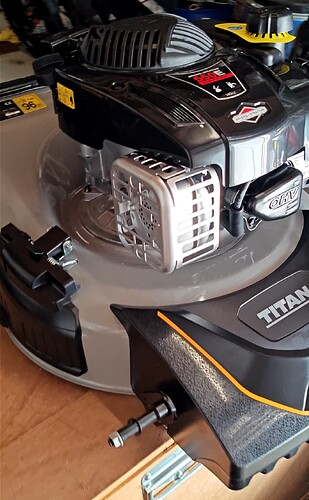
having still a good engine (Briggs & Stratton, 4 stroke, 140 cc)
I removed the handle bar and all four wheels:
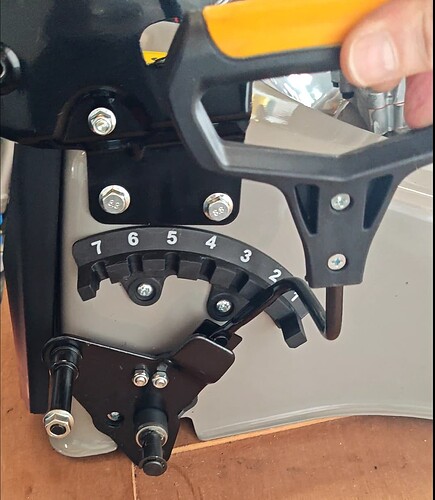
This mower model integrates a height adjustment mechanism I will reuse:
Chassis build step:
Mocking Up the Chassis
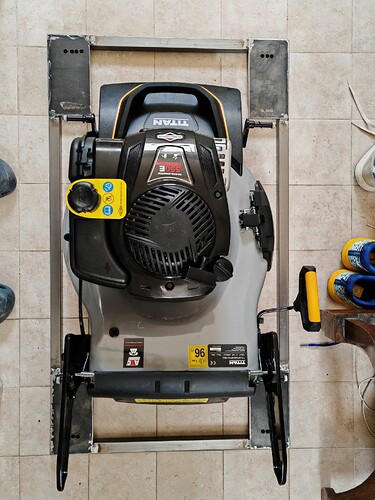
To determine the necessary dimensions, I mocked up the chassis around the lawn mower:
Those squared welder magnets are a must to get everything squared up
Welding the Chassis
The chassis is now fully welded up ![]()
Motor Mounting
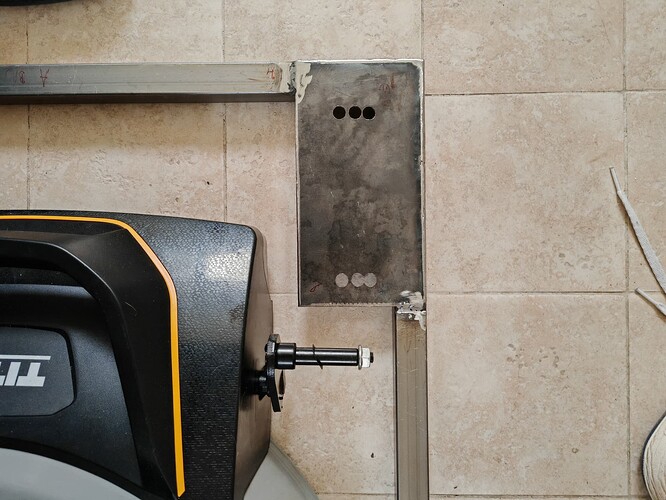
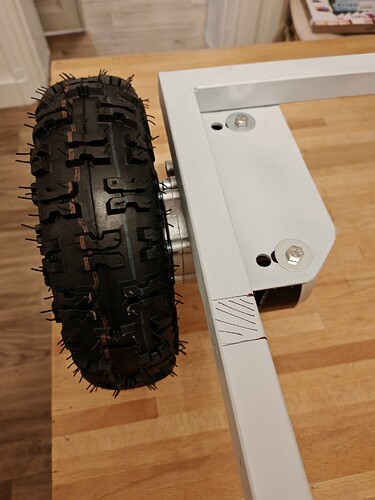
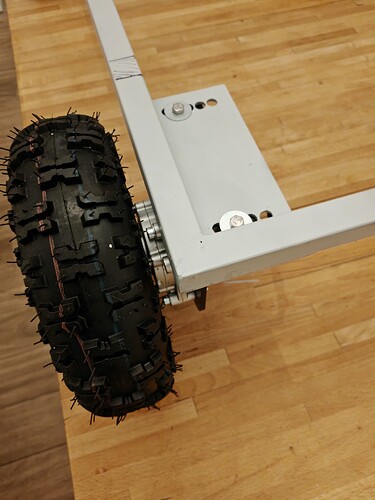
The motors are mounted with screws, allowing for flexibility to repurpose them in future projects. To achieve this, I welded flat metal plates in each corner of the frame and drilled screw holes into them.
Motor and Wheel Specs
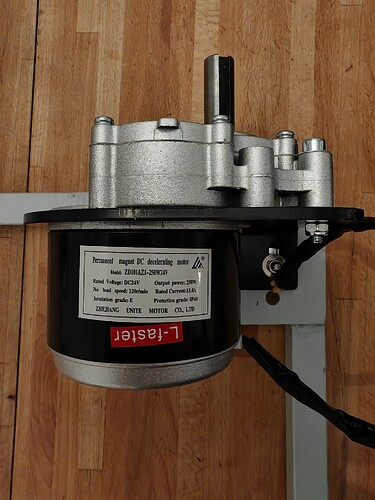
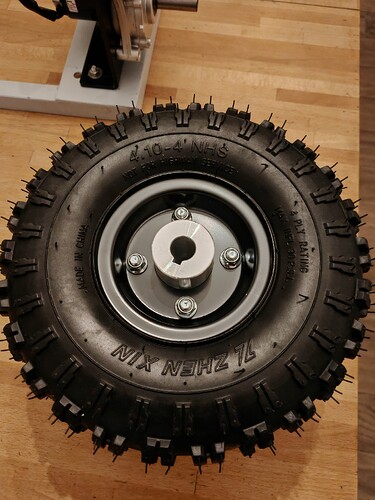
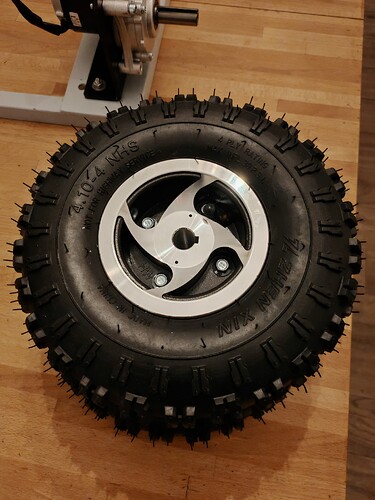
This ArduRover will be powered by 24V DC motors rated at 250W with a speed of 120 RPM. It will use 10-inch diameter all-terrain wheels for robust performance:
The motors come with L shaped motor mount brackets.
Cleaning, Sanding, and Priming
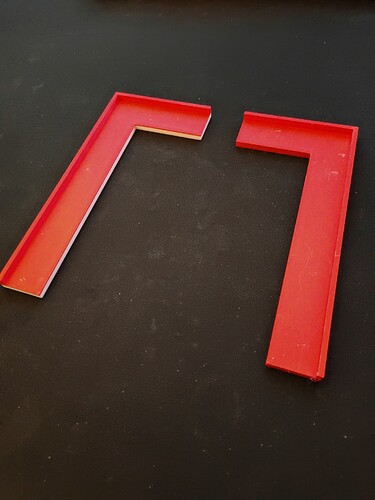
After cleaning and sanding the chassis, I applied a primer coat. To ensure the motors were perfectly aligned with the chassis, I 3D-printed corner templates, allowing for precise placement of the motor mounts:
Detailed Views
Here are some close-up views of the chassis:
Empty chassis:
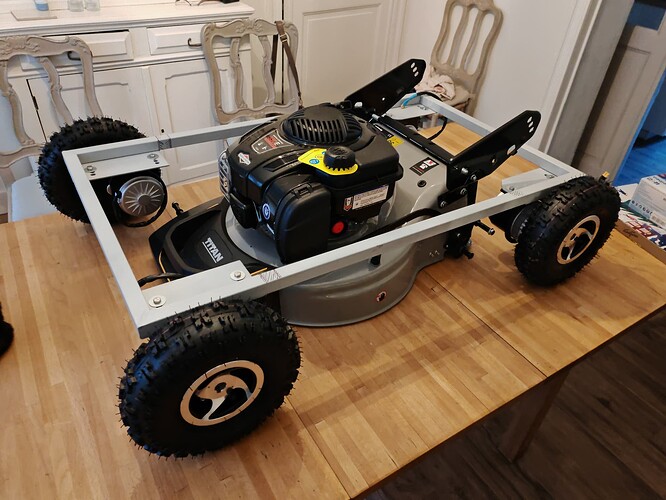
Test fitting of the mower:
Potential Stabilizer Bars
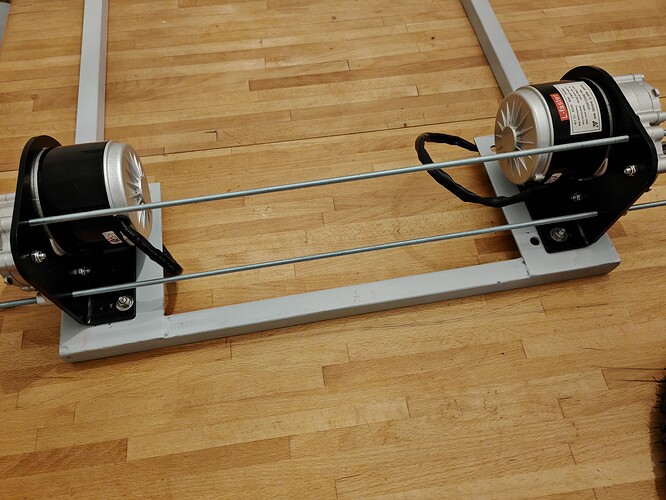
I considered adding stabilizer bars between the opposite motors for additional rigidity::
However, the chassis is already incredibly strong and rigid, so these bars might not be necessary.
Next Steps
The next phase will involve custom-welding removable steel brackets (fastened with bolts) to suspend the mower from the chassis.
Stay tuned for more updates on this build!![]()

