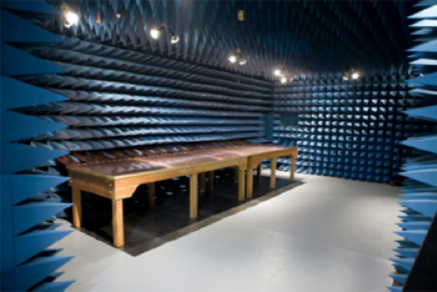
RF Testing in generally is a black magic…
As you know. RF Testing is usually very expensive, rather challenging and a lot of VODOO around it. Why?? Well because it just is. You are dealing with Radio Frequencies (RF) that you cannot see, hear, taste, touch and so on. There are companies around the world that offers just an Anechoic chamber services like above in picture for people who want to test their antennas, WiFi systems, routers, computers, cars, fighter planes and so on.
Luckily I don’t need that big system yet and you also can measure antennas in open spaces if you keep things steady and accept errors. What I want it a bit more robust test setup to test some of our antennas what we are using at jDrones.
We have a anechoic chamber in use on university close to us and we also have few RF shielding boxes in use at our office, but and I wanted to have a bit bigger what we have now. So as always, the big tinker inside me want to build my own test box and to see how good we can get it when made from more traditional stuff. Yes most likely it will not be as good as those RF Testboxes made from solid steel/aluminum but we should still get it’s RF shielding on reasonable levels.
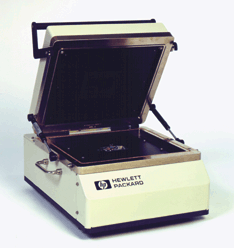
So our goal it to make similar to this RF Test box from HP but from common materials.
Materials
Materials to build RF Test box:
-
MDF sheets
-
Screws
-
Piano hinges
-
Aluminum foils
-
Aluminum sheets
-
RF dampening foams
-
RF shielding tapes
-
Electromagnetic shielding meshes
-
other shielding materials
-
SMA cables
and so on…
Also for RF measurement you need directional couplers, signal generators, spectrum analyzers, RF cables, filters, attenuators and so on… That’s the stuff that usually costs a lot.
Test box will be: 50 x 53 x 50cm in size.
Building the basic box
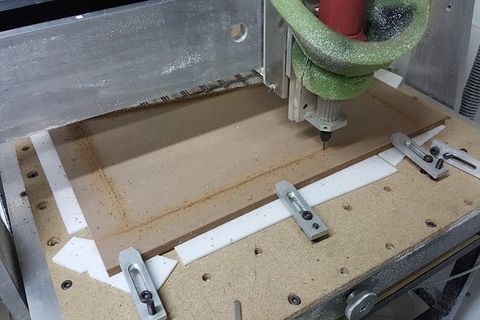
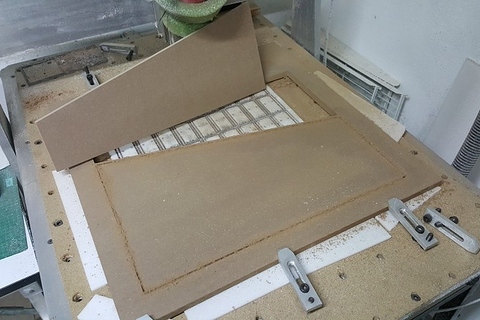
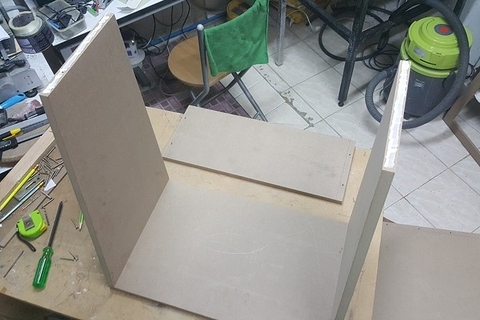
The box consists mostly of square parts and they MDF company close to our office made those ready for us, side pieces we need to run trough our CNC’s at my offices prototype lab as they are not full squares.
Sides have some angled edges that normal sawing companies cannot do. So our CNCs were really good for the task.
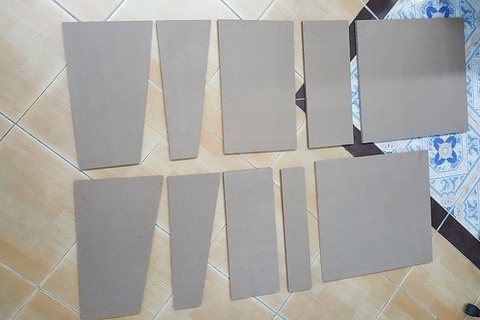
Final set of the MDF parts for the main box:
The build:
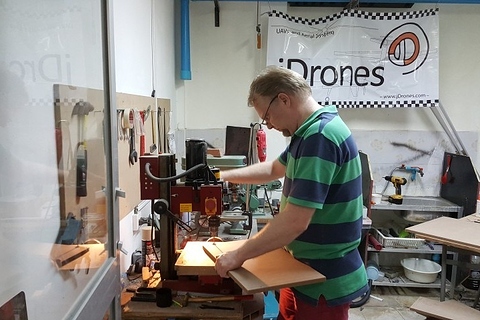
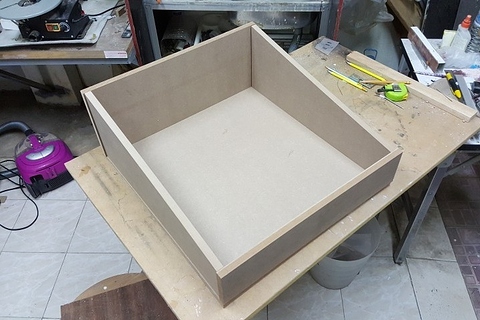
I know a lot of worse ways to spend Saturday afternoon than this. Nice time on our small prototype engineering room: a lot of measuring, drilling, gluing and building the initial box.
Measuring and planning drilling for cover
Gluing parts for bottom part:
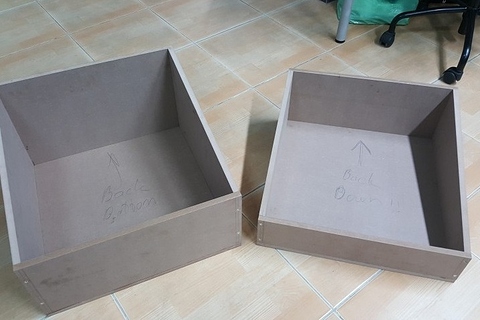
Top and Bottom ready
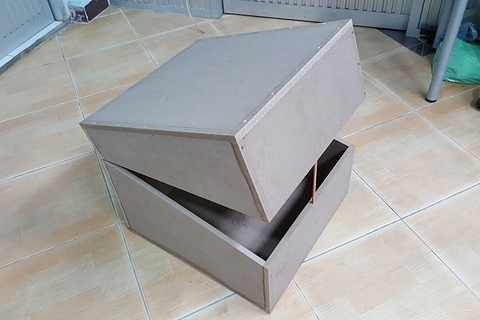
Test assembly
Now that main box is fully ready, only things left is to assemble piano hinges and maybe some additional handles. Still looking what size of pneumatic cylinders etc I should use on it…
Next part: Starting to work with internal RF shielding and others…
