I have not tested but this look conform:
I tried this code, but it fails compilation. I tried with many different boards, but I keep getting errors. Unfortunately, my coding knowledge is very low…
I’m still looking for a dedicated ppm to joystick converter. Even though the betaflight controller was working, today it stopped. I’m still debugging, but haven’t found the problem yet.
You have to make sure you are using a HID compliant device like an arduino Pro Micro or a Teensy.
The reason for this is I would like to have a possibility control the aircraft when out if range of the tx via telemetry, just using the same transmitter. This would be like an emergency home-bringer.
I’ve tried it using SITL, and it seems to work.
Technically you have the home-bringer with the Failsafe mode as it automatically switch to RTL in case of RC and/or GCS lost.
I tested remote control through GCS telemetry long range on 900MHZ using my Spektrum RF linked to this Dongle and connected to PC acting as Joystick control
https://www.spektrumrc.com/Products/Default.aspx?ProdID=SPMWS2000
it is working OK in guided modes but it is sluggish and laggy in manual control
Fully agree with you about this failsafe. However, this telemetry solution would be the last resource to bring the aircraft home. I’ve also seen those dongles, but they are always dedicated to a specific tx. I am still looking for a reliable, universal ppm (or any other protocol) 8 channel to joystick converter solution.
I guess the FC & Betaflight combo is a good option, that is cheap and easy to implement
You are right. It worked very well for a few days, but today stopped. Anyway, many thanks for your help and advice. Much appreciated.
1 Like
/*
- This code was adapted from many others by Charles Linquist
- of CAL Multirotor in Arroyo Grande, CA
- Use a TEENSY 3.2
- The TEENSY must be uploaded in the serial+keyboard+mouse+joystick mode
- Connect the TEENSYs VCC and GND pins to the receiver and
- the PPM output of the receiver to TEENSY Pin #10
- This circuit has been tested with a FrSKY i10 receiver, although
- any other one should work.
- If you need to change the input pin, change the number in the joyin.begin line.
- you will need the PulsePosition.h file from the TEENSY website.
#include <PulsePosition.h>
PulsePositionInput joyIn;
void setup() {
Joystick.useManualSend(true);
joyIn.begin(10);
}
void loop() {
int num;
num = joyIn.available();
if (num > 0) {
Joystick.X(map(joyIn.read(4),1050, 1900, 0, 1024));//Pitch
Joystick.Y(map(joyIn.read(2),1050, 1900, 0, 1024));//Roll
Joystick.Z(map(joyIn.read(3),1050, 1900, 0, 1024));//Throttle
Joystick.Zrotate(map(joyIn.read(1),1050, 1900, 0, 1024));
Joystick.sliderLeft (map(joyIn.read(5),1050, 1900, 0, 1024));
Joystick.sliderRight(map(joyIn.read(6),1012, 2012, 0, 1024));
Joystick.button(3, joyIn.read(7) >= 1900);
Joystick.button(4, joyIn.read(8) >= 1900);
}
Joystick.send_now();
delay(5);
}
/*
- This code was adapted from many others by Charles Linquist
- of CAL Multirotor in Arroyo Grande, CA
- Use a TEENSY 3.2
- The TEENSY must be uploaded in the serial+keyboard+mouse+joystick mode
- Connect the TEENSYs VCC and GND pins to the receiver and
- the PPM output of the receiver to TEENSY Pin #10
- This circuit has been tested with a FrSKY i10 receiver, although
- any other one should work.
- If you need to change the input pin, change the number in the joyin.begin line.
- requires PulsePosition.h from TEENSY website
*/
#include <PulsePosition.h>
PulsePositionInput joyIn;
void setup() {
Joystick.useManualSend(true);
joyIn.begin(10);
}
void loop() {
int num;
num = joyIn.available();
if (num > 0) {
Joystick.X(map(joyIn.read(4),1050, 1900, 0, 1024));//Pitch
Joystick.Y(map(joyIn.read(2),1050, 1900, 0, 1024));//Roll
Joystick.Z(map(joyIn.read(3),1050, 1900, 0, 1024));//Throttle
Joystick.Zrotate(map(joyIn.read(1),1050, 1900, 0, 1024));
Joystick.sliderLeft (map(joyIn.read(5),1050, 1900, 0, 1024));
Joystick.sliderRight(map(joyIn.read(6),1012, 2012, 0, 1024));
Joystick.button(3, joyIn.read(7) >= 1900);
Joystick.button(4, joyIn.read(8) >= 1900);
}
Joystick.send_now();
delay(5);
}
Thanks for sharing. However, it doesn’t compile:
https://drive.google.com/file/d/1KTdw92f1kgB_BKPokxmdO2iOUy-WlxIE/view?usp=drivesdk
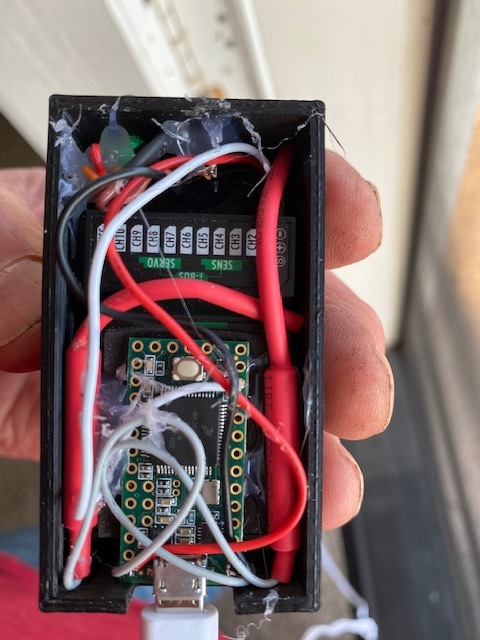
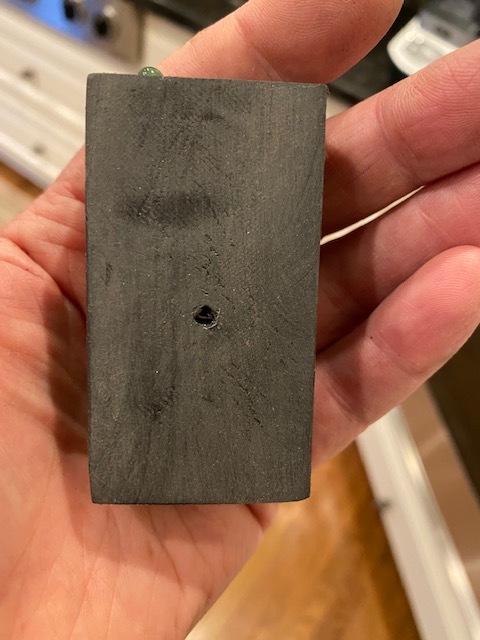
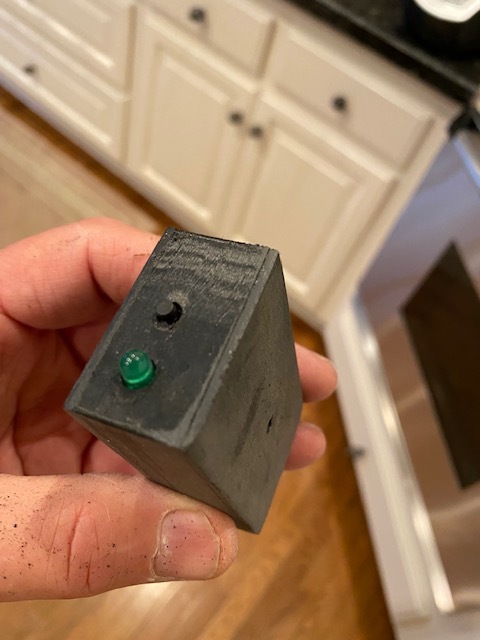
I built another one. The case is 3D printed and the hot-melt glue - although messy, keeps everything in place. Not shown is a green LED power indicator and a tiny pushbutton on the top. The pushbutton connects the BIND pins of the receiver. You bind to a new receiver by pressing the button while you power it using the USB cable. The cover which is glued on top, has a hole for the RESET button on the TEENSY which allows for programming the controller, should that ever be desired. The two diversity antennas of the receiver are crammed in, but it still seems to have decent range.
Sorry, it does compile. Seems I made a mistake in the settings. Waiting for my Teensy to arrive.
I use this device so I can control my flyers via a 2.4GHz link, a 915MHz link or a 4G link - using the same hand-held controller. When I want to switch from 2.4GHz to another method, I simply change the “model” in my only R/C controller.
Thanks , tested and working fine on my Teensy 3.5
Note: I had to revert Arduino IDE1.8.15 back to 1.8.12 so the Teensyduino installation can start ( It is lagging a little behind Arduino releases)
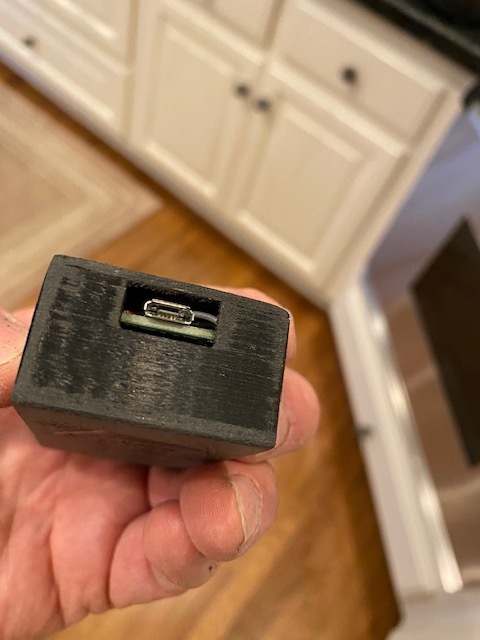
Here are three pictures of my 2nd unit. I’ll polish it up and put a label on it. It contains the TEENSY and a FrSky i10 receiver, everything is powered by the USB port. The LED on the top is POWER, while the button is connected to the BIND pins of the receiver. The hole in the side is the TEENSY reset button, which allows me to update the firmware over the USB port.
Fantastic. Got my teensy 1 hour ago, works like a charm. And fully configurable. It also detects whether the ppm is rising or falling. So it works with receivers with positive ppm or negative ppm.
The solution with the Betaflight controller worked fine, but not as flexible as this.
Couldn’t wish for more. This is exactly what I was looking for.
Thanks for the advice.
I use the joystick as a fallback - or the only method of control when using 4G. The biggest problem I have is when Mission Planner switches over from one source to another, it requires that you reconnect. So MP reloads all parameters, which takes too much time. I have made a request that both the FC and MP calculate a CRC on all the important settings and save that number. Then, when connection is made, it the CRC’s match between the FC and and MP, don’t reload the parameters. This method would guarantee that everything was up to date, but wouldn’t waste time reloading everything. Alternately, MP could make the user responsible and have a “connect without reloading parameters” button.