Thanks, I would like to upgrade my v2450 camera/tx to save weight. I live at 4200’ asl and this model series appears to be gaining considerable weight, making it’s performance borderline at best, especially at 90° f and light breezes. If one could somehow shed 30g, it would still be heavier than the original airframe design for the v2400HD.
It appears that your photo (and great description) illustrates sdhc support from the FC. Is there anything else in that metal box (besides that and the split vid./tx)? I’d sure like to make it go away. That and the SVvideo app! Aloha Mission Planner!
Again, great work!
(Yes, I’d be willing to spend that much on this little bird)
Hi @Steve.Enomoto, yes high altitude should be a challenge. I heard an advice on electric RC planes to inch up the prop there. (plane with 9 inch prop at sea level will require 10 inch.)
Not sure it is a good idea to give up Sky Viper’s Sonix wifi/camera board. SV flight controller contains Rx, so SV may be able to arm and fly without Sonix board, but I do not want to that because it is scarey not be able to connect APP or Mission Planner/QGC to find flight board status, not be able to log the flight on SD card…
Check this thread on brad112358 's effort to lighten SV by removing a few case and parts. He has posted detailed weight saving info somewhere but I cannot find…
I tried to transfer SV on lighter frame, described here. It is a bit of work and require another tuning.
There is a picture of inside Sonix board shield here. It provides WIFI connection, web server, camera and logging.
Have you tried a 5v regulator? Like the ones out of most PDB?
Aloha! I am considering a camera system like the Runcam Split Mini, which, if I am correct, would handle the wifi and sdhc requirements. I will look into the Logging function. Currently, I am experimenting with props (i.e. 5042 and 5544 3 blade don’t generate enough thrust, 5550 3 blade on the way). I was concerned that going to 6" would put too much stress on the motors. Dropping one tooth on the pinion gear is also a project in the works. I was wondering if anyone had experience with replacement (upgrade) brushed 8520 motors like Micro Motor’s cl-0820 or Globals’ M44A and whether to use 15k or 17k versions?
Saving 15g by switching to the v2450gps means the difference as to whether this extremely upgraded model is even able to fly at this air density.
The quote about "Adequate Power on the Ardupilot site says it all! I am trying to improve BOTH power (5%-15% goal) AND weight (20g+ goal)! I would very much like to continue working with the Sky Viper drones primarily because of their Ardupilot implementation and relatively low cost. If…
Mahalo, SE
Hi @Luiz_Felippe_Ozorio, 5V would be too high for SV. Not tried but SV is designed for max input of 4.2V 1S battery, onboard regulator may generate too much heat. Look for regulator ’
DC-DC Buck Step Down Module’ or similar at eBay etc, they cost less than $1, output voltage is adjustable.
Hi @Steve.Enomoto, Runcam wifi or SD card will not interact with ArduCopter on SV, will not provide connection for SV app or web server.
It may help to replace motor with higher kv one. Micro Motor Warehouse motor is better quality (though expensive), they have several kv to choose from.
1 Like
I found some very tiny and light adjustable step-down power modules which work very well for this application here:
They also come in fixed flavors and drive enough current to operate both SkyViper boards. I set one for 4 volts to power the boards. I used another for a 5 volt reference since my ESCs don’t include a BEC.
The 5 volt reference is used for this handy level shifter because my ESCs also don’t reliably work with the 2.8 volt PWM signal put out by the controller board.
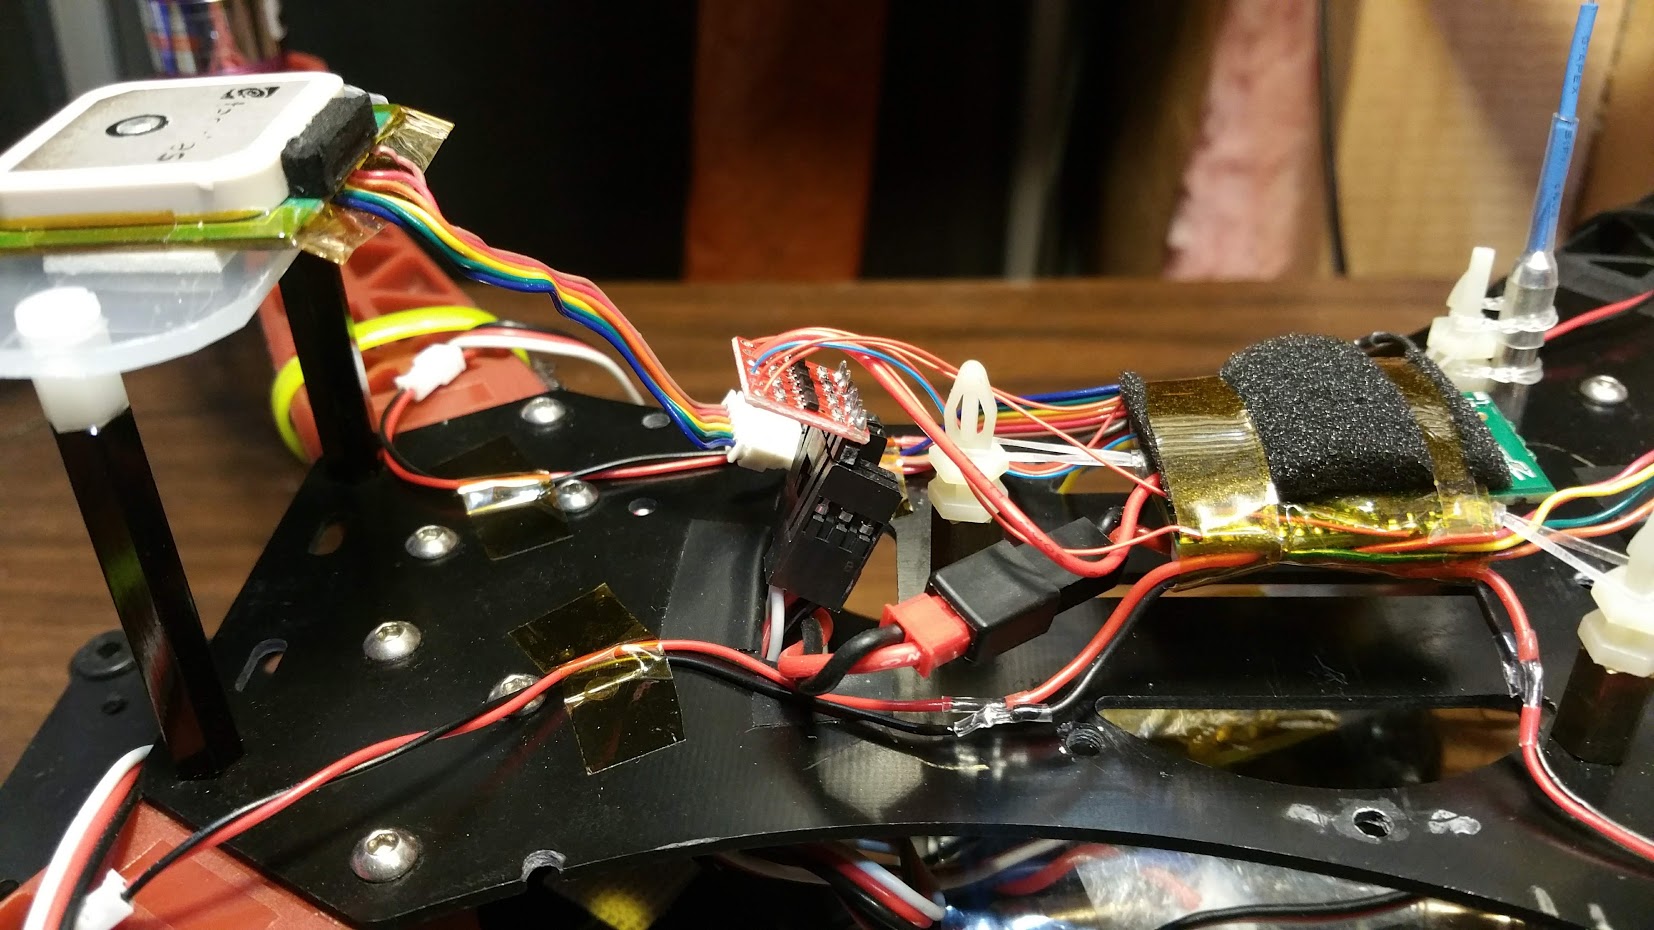
As long as I’m here, a few other things I’ve learned and some pictures:
The 10 inch props on this old frame make a lot of vibration in the Z direction. Suspending the controller from the 3 mounting holes with elastic bands neatly solves the vibration problem for little additional weight.
Mount the GPS well away from the RF noise of the controller, camera and the fields of the motor and power wires. Don’t forget to do a full calibration of the sensors, including motor mag field calibration.
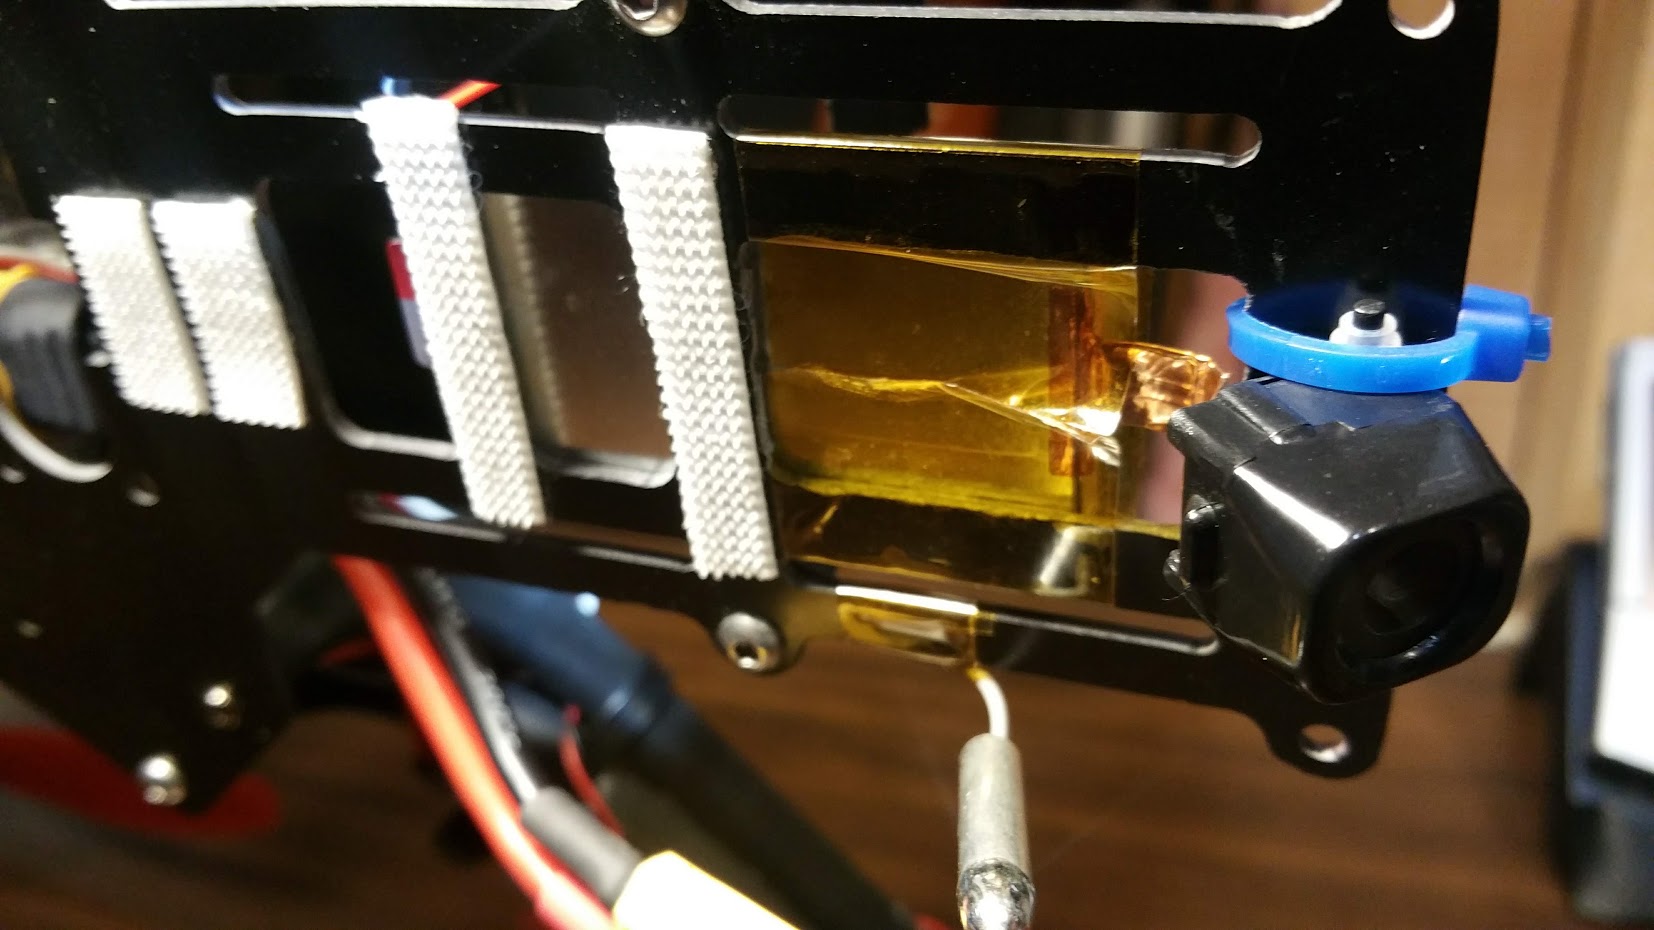
The foam over the pressure sensor is important.
Heat shrink tubing works well to stiffen the antennas (upper right of photo) if you want to point them up.
I extended the LED wires to place them (pointing down) under the motors.
I’m still working on a better way to mount the camera to avoid the nasty vibration on this large frame.
1 Like
That looks fun. I’m curious. Why is there such a necessity to move the GPS away from the antenna, when they are packed so closely within the SV frame? Is there some shielding within the frame?
Also, did the pressure sensor have foam over it in the SV frame?
Yes, that is, in fact, the same foam which was sandwiched over the sensor in the original SV frame. It helps avoid moving air over the sensor from disturbing the reading due to the lower pressure of moving air.
The GPS is receiving and correlating very weak signals and it is sensitive to RF noise which processors and radios make. the compass built into the GPS board also benefits from the extra distance from the magnetic fields generated by the power and ESC wires. The SV is so small that there isn’t much choice on GPS placement. They have pointed out that they used a fairly high quality GPS receiver. It is possible that the higher quality and cost was justified because it is so close to noise sources. GPS does seem to work just a little better on the original frame after I added some additional shielding. I posted about the shield I added to the SV frame a few months ago if you care to search for it.
2 Likes
Thanks, noted. New motors and pinions ordered, props on. Want to stay with stock airframe. Is there a way to upgrade the box (shield?) that contains the video board? Anything to shed a few g’s. I saw how others have externalized their antenna(s)… Something I had planned on. How about an upgrade there? Cloverleaf?
I didn’t personally get any Rx/Tx improvement from re-positioning the antennas.
But I did get significant improvement in Rx/Tx by changing this parameter
BRD_RADIO_TXMAX -> 8
It defaults to 4. I set it to 8 and now I can fly a long ways away…probably runs the battery out faster though.
excellent, using homemade reflector helps avoid signal loss to bird, this parameter max actually works. Thanks se
1 Like
Has anyone here tried building Rover for the SV flight controller? I’ve acquired 2018 Journey FC/Motor and Sonix boards from the parts store and intend to start the process of building a small FPV rover. If anyone has done any work that could give me a head start, that would be appreciated.
1 Like
I personally haven’t heard of anyone doing this yet, no, but by all means do NOT let that stop you!! I’d LOVE to hear/see more on this subject!! Please keep us posted!
Coming in 2020, Ground Viper. … Wait…all vipers are on the ground.
1 Like
@aerobat, I build skyviper-v2450 plane and am flying well. Tried to build skyviper-v2450 rover in master and went fine without error at least. I think 2018 Journey code is not in master yet and not sure it can build the same there.
In plane build, toy-mode is off and SV transmitter does not work as is. Also gyro seems not be working in my case.
I can still get skyviper-v2450 FC at ebay and stocked a few. Rover looks interesting.
@Luiz_Felippe_Ozorio Did you ever get around to experimenting with the RPi 0 and SV?
I’ve started playing with them myself and am in need of more “outputs” out of the flight board – alike what a full fledged Pixhawk / APM offers – to trigger some servos / devices on the SVs. Since I’m not yet finding a way to do that, or hack the Sonix board, I’m hoping to be able to add something to serve as additional companion computer.
I’m looking to do a brushless conversion with as few mods to the Journey flight controller package as possible. The one aspect bugging me is voltage monitoring. If I run with a buck converter with 3s down to 4v or so for the SV board, it will hold voltage constant output past the point where the ESCs will have enough voltage to fly. I do have a power module from another build, and I could regulate that down, but is there any provision on the SV flight controller for an external power module voltage input? Or is there some better way to handle this so that I have some sense of voltage while flying to avoid dropping out of the sky. Thanks!
This part I gave up. Could not find a good way to use existing SV voltage monitoring. My friend with good electric circuit knowledge had no simple way either…
Satoru